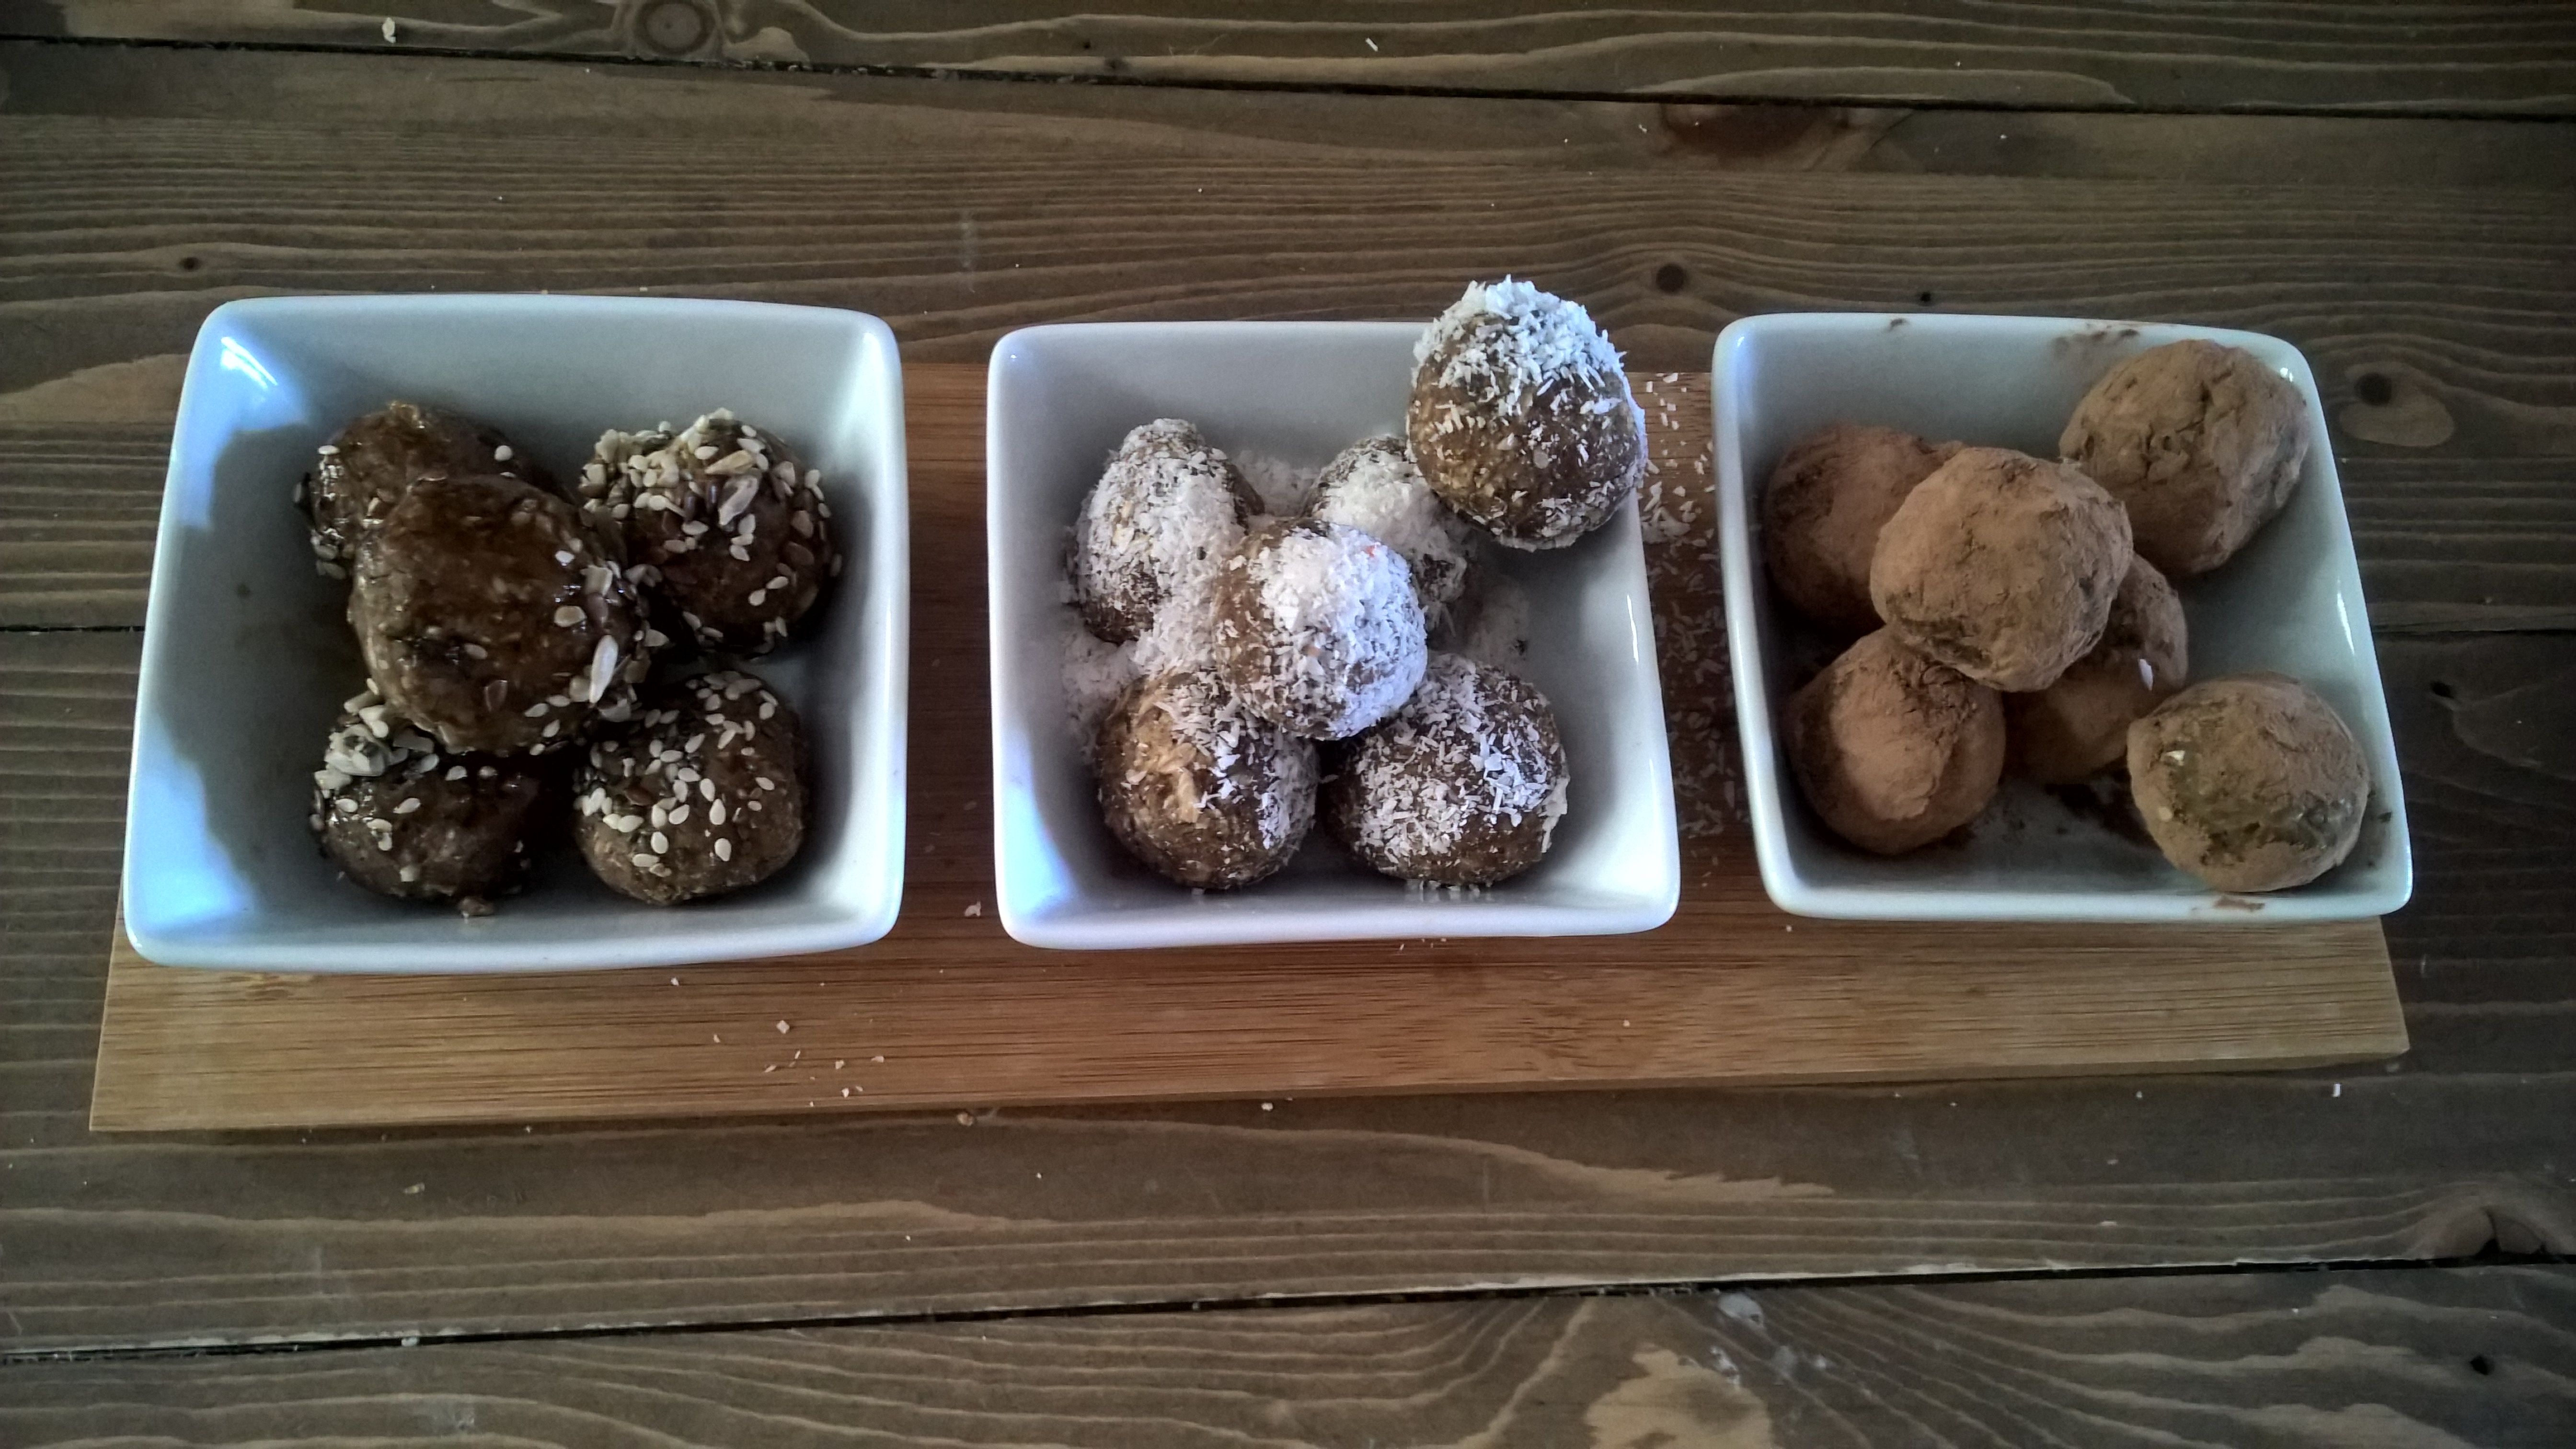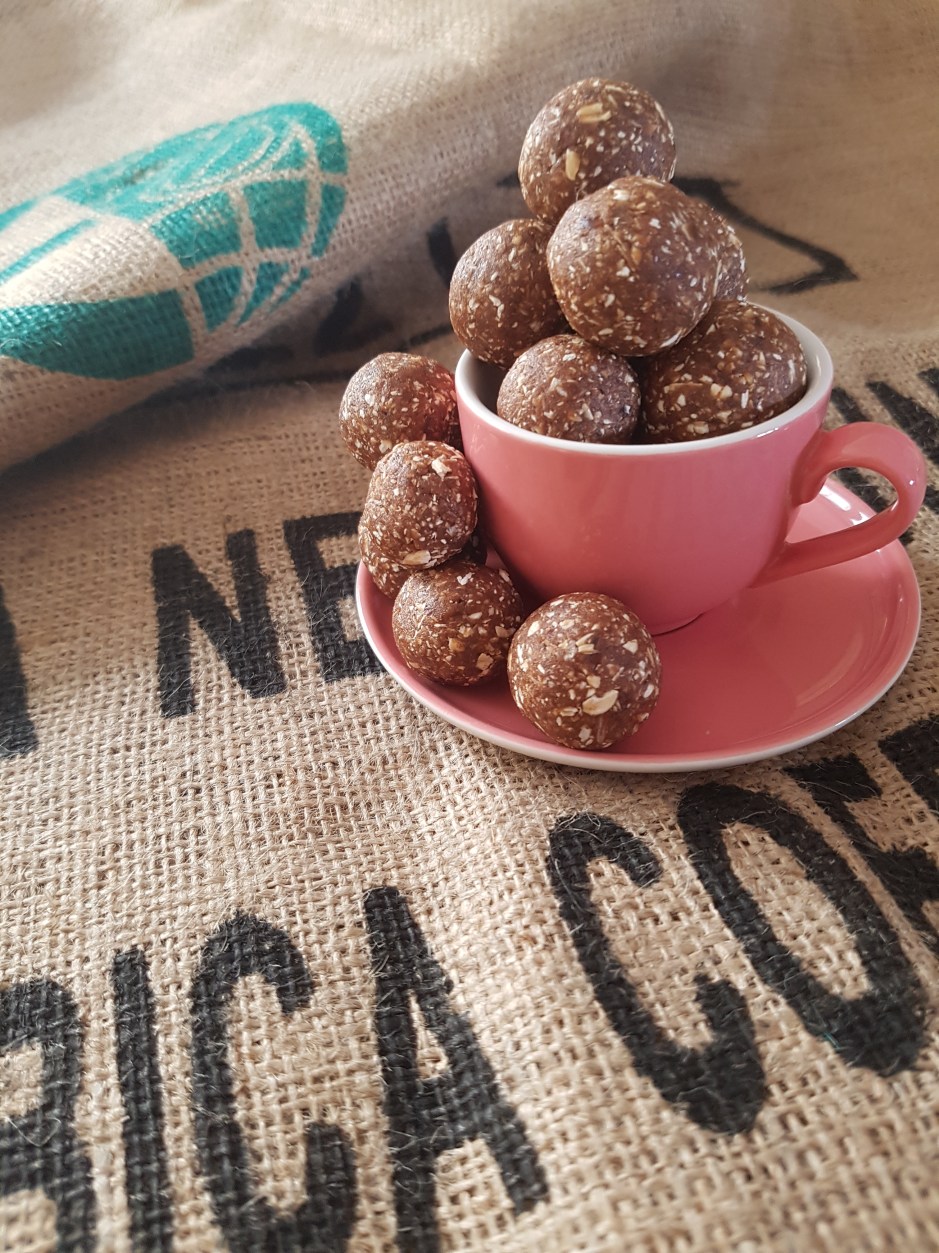
I hope you love all my recipes, but you gotta love these maca espresso energy balls. If you don’t – seriously, what’s wrong with you? Just kidding, I mean, no kidding. These energy balls are so crazy insanely delicious it is actually a sin I haven’t put them on the blog sooner. They are buttery, scrumptious, decadent…I am lost for words. And they pack a serious nutritional punch. All this requires five super-healthy ingredients and five minutes of your time. Yes, that’s right.

Want to know what’s in them? Five superfoods that will get you out of your afternoon slump before you have time to yawn:
Medjool dates – chock-full of fibre, aminoacids, potassium, zinc, magnesium, calcium, iron, B vitamins and lots of other goodies.
Oats – one of the healthiest foods on the planet, they contain a type of fiber called beta-glucan, which helps lower levels of bad cholesterol. Plus, manganese, selenium, magnesium, vitamin E and zinc to boot.
Carob or Cacao – carob contains gallic acid which has antibacterial, antiviral and antiseptic properties. Carob also contains vitamins A, B1, B2, B3, D and E. It is a lower fat and naturally sweet alternative to cacao. However, you can totally use cacao instead, which has 40 times the antioxidants of blueberries and is the highest plant-based source of iron.
Maca – rich in vitamin B vitamins, C, and E. It provides plenty of calcium, zinc, iron, magnesium, phosphorous and amino acids and is known to balance hormones and mood. It is also a caffeine-free source of energy.
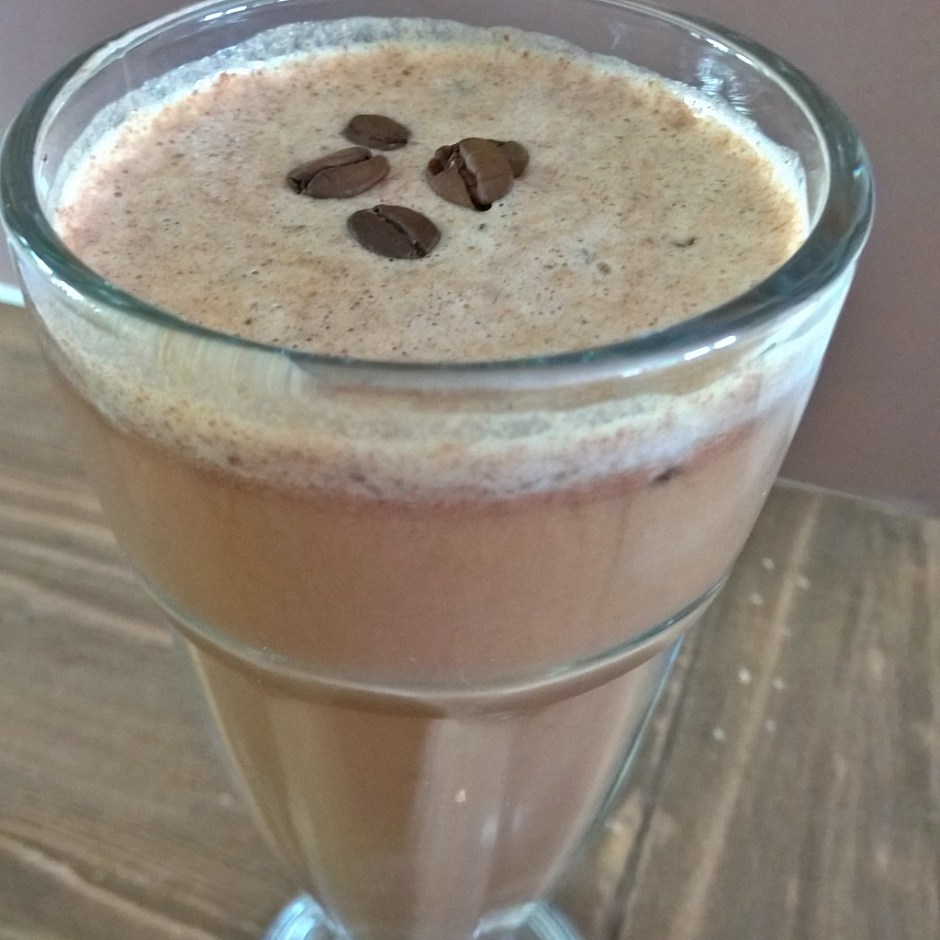
Espresso coffee – loaded with antioxidants and may even protect against diabetes. Improves cognitive function, mood and fat burning
If that wasn’t a reason alone to get rollin’ – these will also be the easiest energy balls you’ll ever make. Just pulse the ingredients in a high-powered blender and after 15 seconds (!) you will have a malleable dough. No mess, no fuss. Just what you want when you need an energy kick. You can eat them straight away but they will firm up and improve texture in the fridge. They would last a while, at least a week – though I highly doubt that you’ll leave them for that long!
I have mentioned before that I am in love with Medjool dates. The feeling that you are eating something naughty and indulgent when it’s a gem of nature can only be topped by eating bananas! And it’s not only the taste, the texture is just so exquisite, it’s like a buttery caramel fudge made with butter, cream and lots of sugar! None of those nasties in these little babies, however. They are gluten free, dairy free, vegan, nut free, soy free, refined sugar free, and – unlike most recipes for energy balls or bliss balls – very low in fat.
The oats will make sure to fill you up so you don’t need to reach for the bag of Skittles on your co-worker’s desk, while the dates proved slow-releasing carbs without the sugar crash that would normally lead you to yet anouther trip to the vending machine. Carob, maca and just a little bit of coffee (that can of course be caffeine-free if you want) provide a gentle energy kick without the jitters. Maca espresso energy balls for the win!
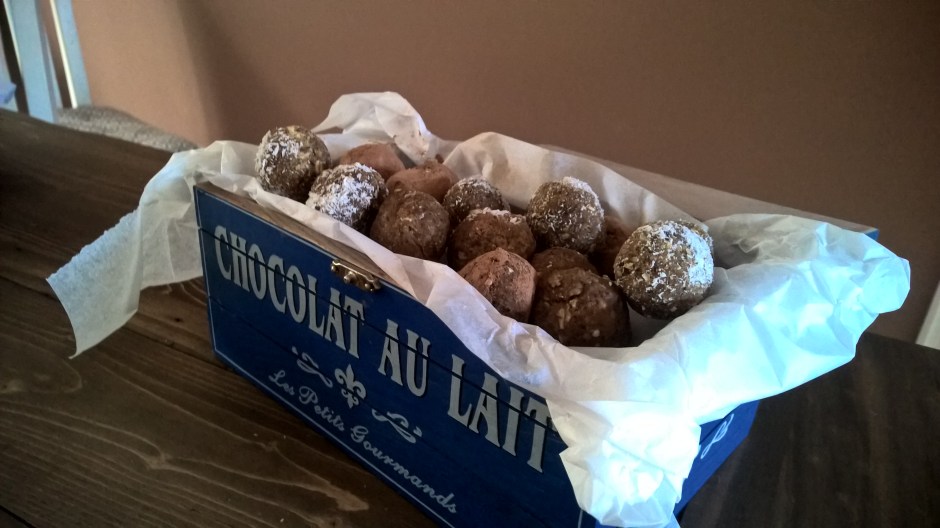
Maca Espresso Energy Balls

Makes 12 balls
115 g Medjool dates
60 g rolled oats
2 tsp carob (or cacao)
1 tsp maca
1 tsp instant espresso powder
Just blitz all ingredients in a high-powered blender until a doughy ball forms. Shape into 12 balls and store in the fridge.
Enjoy!