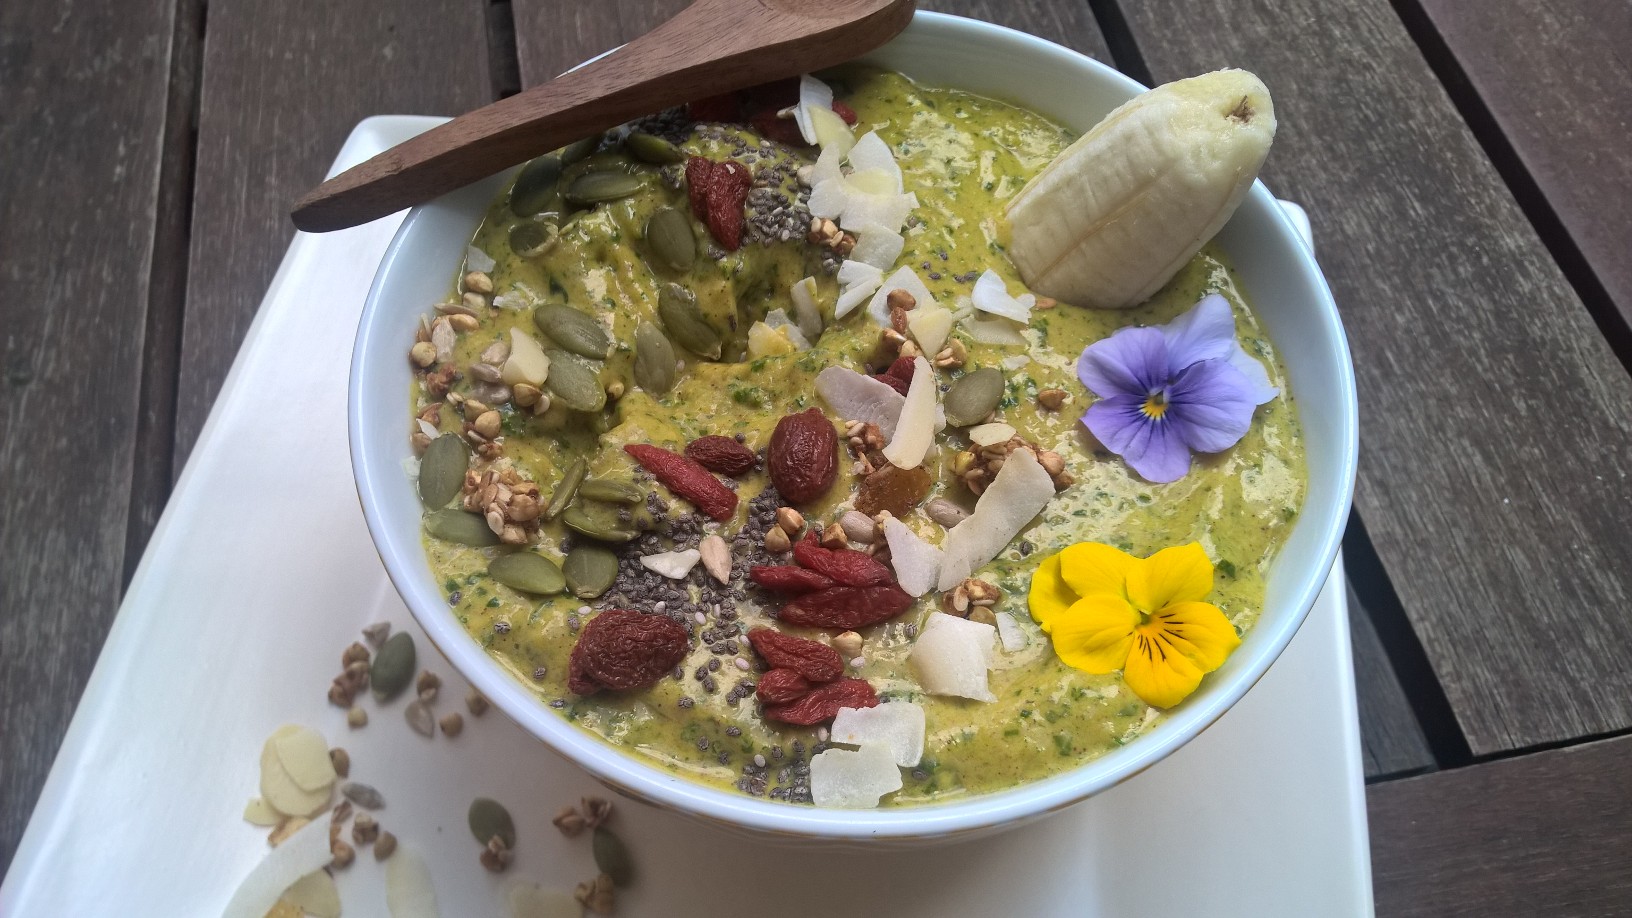
Sundays are for smoothie bowls (actually, every day of the week is), and with “golden milks” featuring turmeric and other delicious spices being all the rage right now, it was only a matter of course for me to create a golden smoothie bowl! A golden mango and turmeric smoothie bowl, to be precise. Turmeric, cinnamon, cardamom, ginger and cayenne fire up your digestion in the morning (or make for a great pick-me-up in the afternoon), while kale, banana, and mango provide fibre and micronutrients and the vegan protein powder makes sure you last until lunch!
This smoothie bowl is not only pretty to look at, it is also insanely creamy and delicious, very filling and warms you from the inside out. No need to pick up a sugary chai latte from your local Star****s! I always keep a stash of frozen mango, banana, and kale in my freezer, which means that it takes less than a minute to throw everything together! And if you don’t post it on instagram you don’t even need to decorate it! The toppings are completely optional, but apart from completing the look, I find they always add a nice crunch and textural variation to the smoothie bowl – not to mention that they also provide you with extra nutrients!
Golden Mango and Turmeric Smoothie Bowl
1 large smoothie bowl
1 cup plant milk
30 g vanilla-flavoured vegan protein powder
frozen banana
1 cup frozen mango
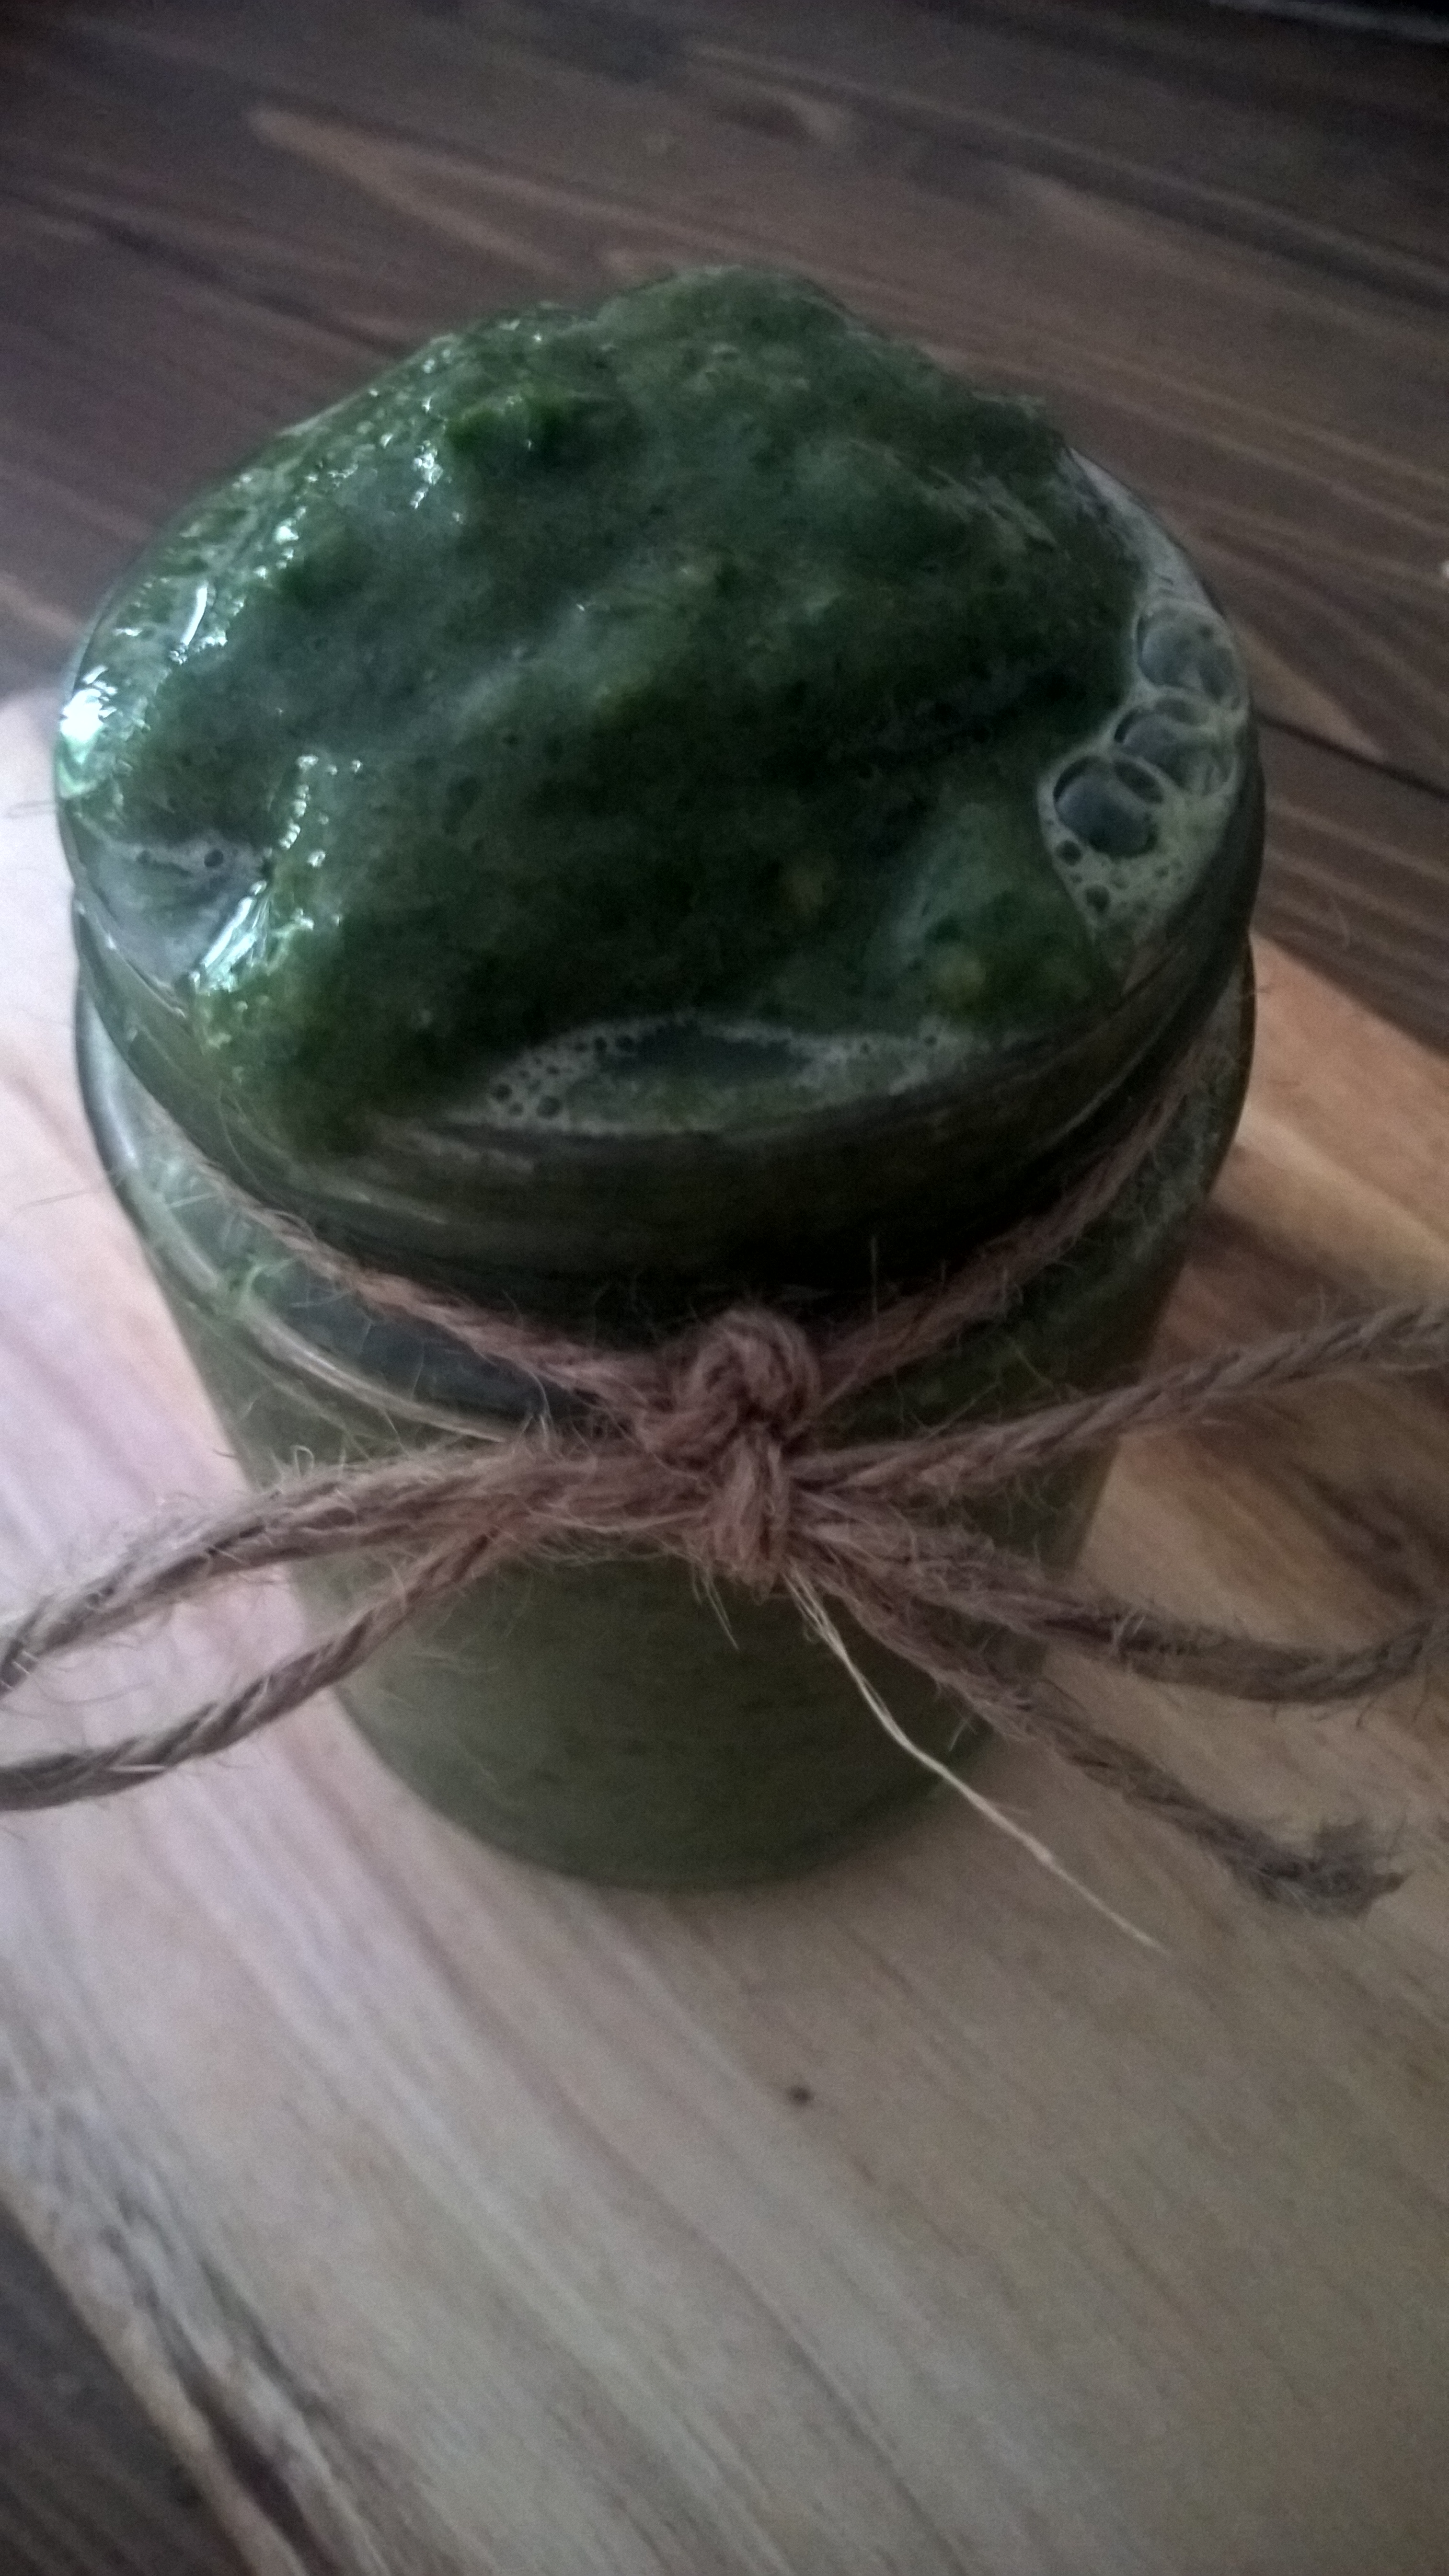
a handfull of kale
1 tbsp psyllium, LSA or flaxmeal
1/2 tsp turmeric
1/2 tsp cinnamon
pinch cardamom
1/4 tsp ginger
pinch of cayenne
toppings (optional) such as goji berries, nuts, seeds, granola, fresh or dried fruit, chia…
Blitz everything bar the toppings in a high-powered blender, transfer to a cute bowl and top with your favourite toppings.
Enjoy!