Paleo Vegan Chocolate Cupcakes (nut free)

Paleo Chocolate Cupcakes

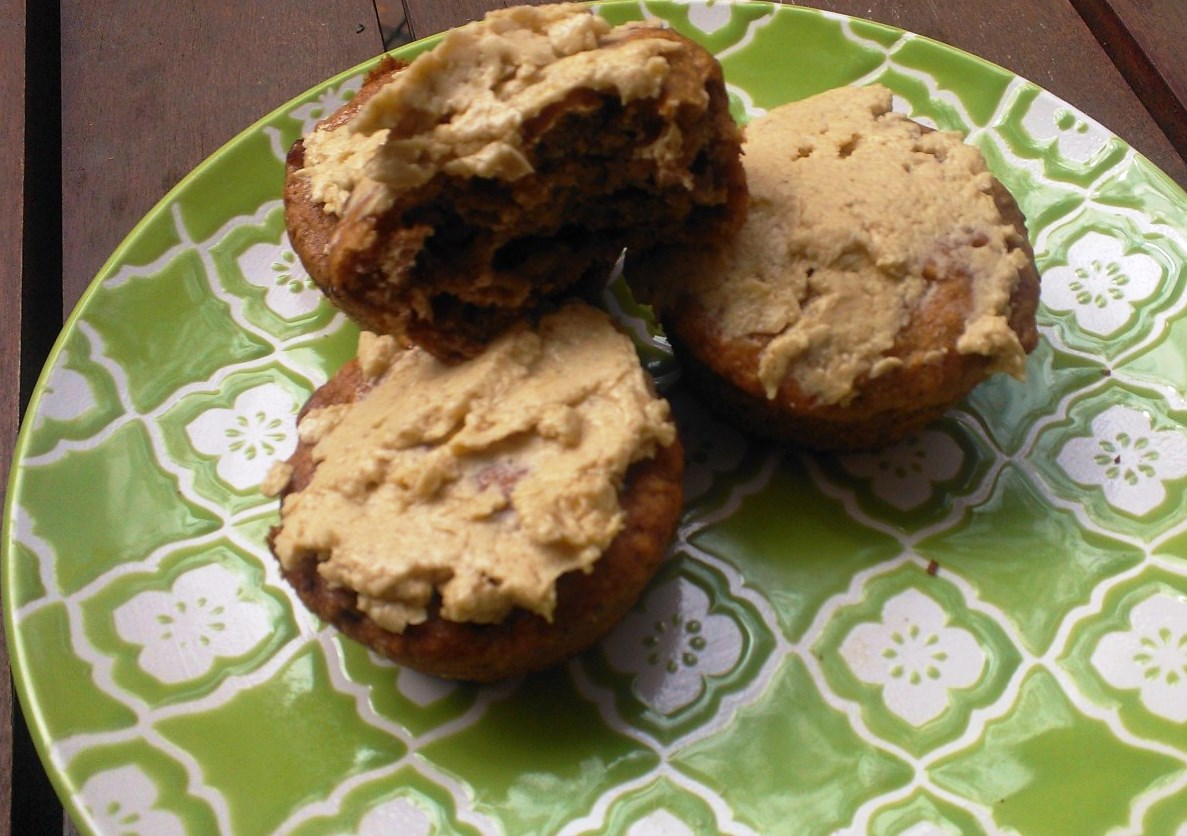
How about sinking your teeth into a luscious, moist, fudgy, chocolatey cupcake…knowing that it’s paleo and vegan? A cupcake that is so delightful that you wouldn’t in the world believe it’s gluten free let alone grain free let alone paleo and vegan? Could that be something you are interested in? Would you like to try a scrumptious chocolate cupcake with lashings of chocolate cream on top (that is paleo and vegan)? I might have you covered!

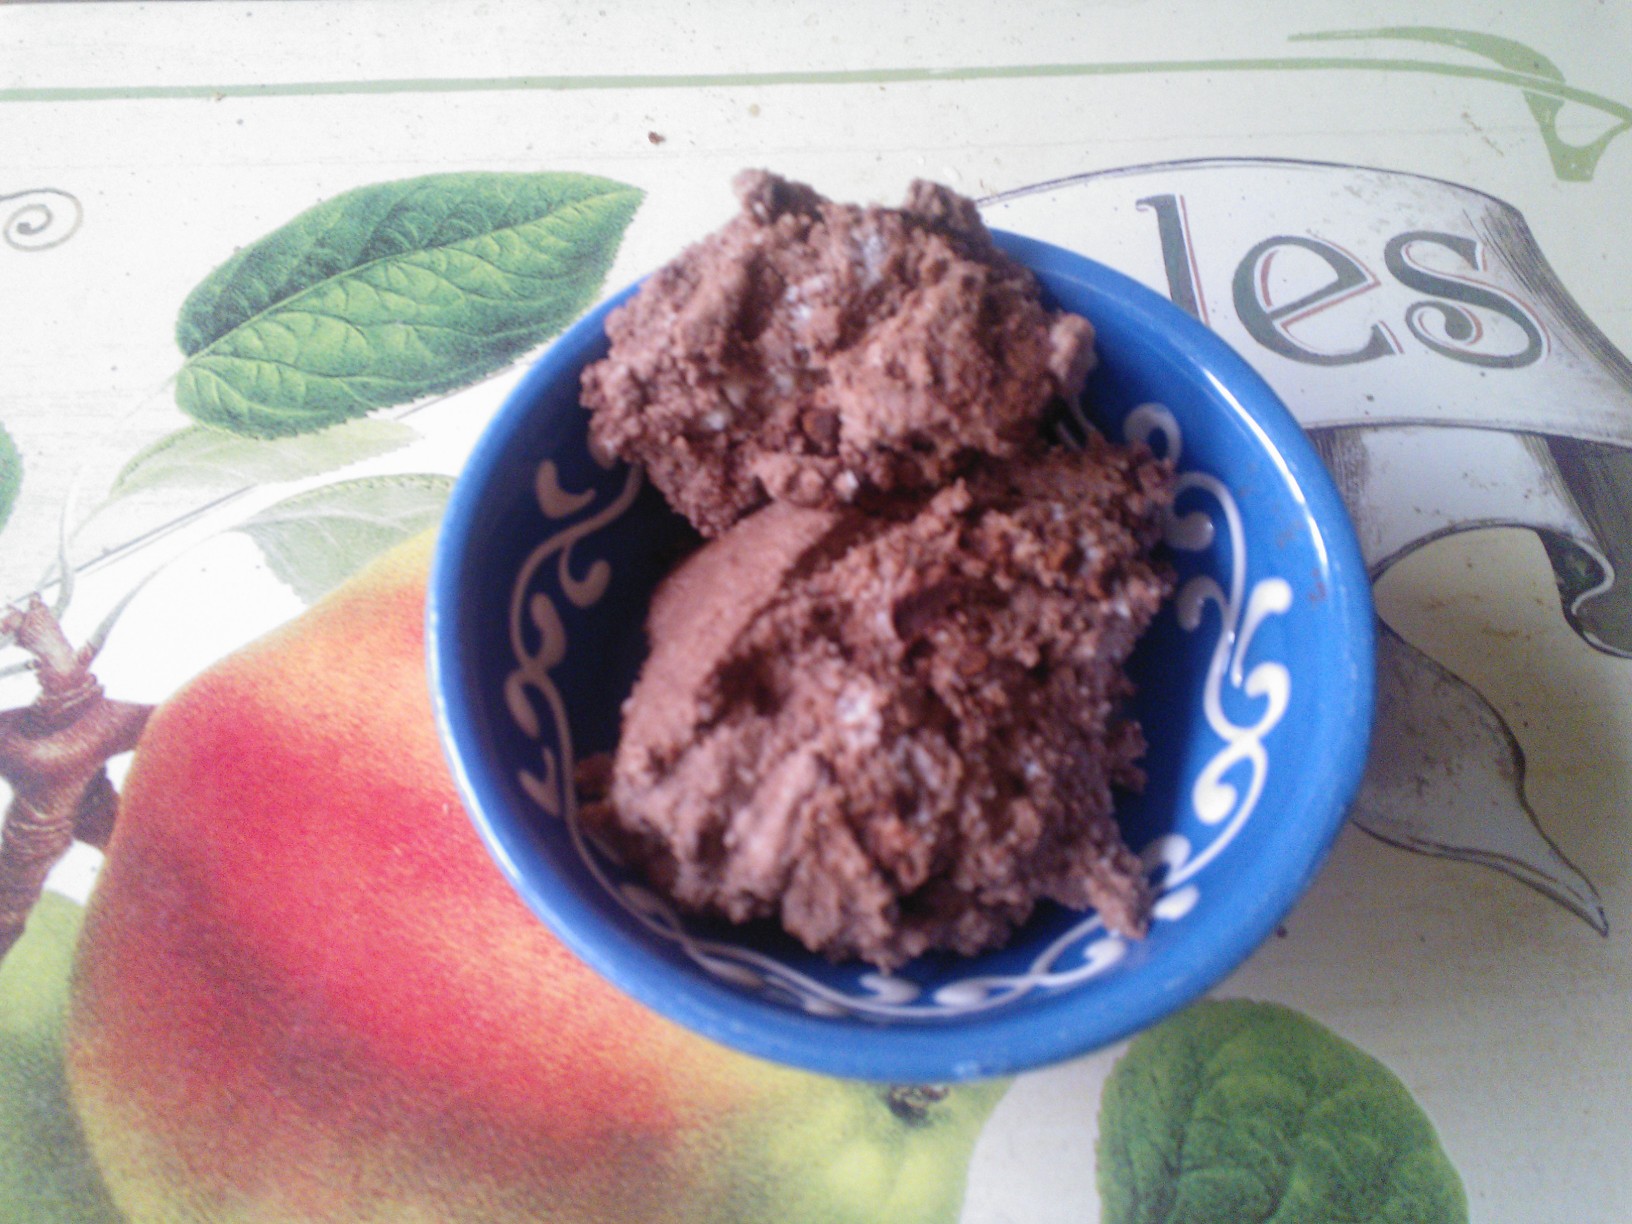
These super easy and quick cupcakes (in fact, you can also use the dough for muffins or just regular chocolate cake) are whipped up in a jiffy, and while your non-paleo friends will love the indulgent chocolatey taste (while you know that this comes with virtually zero net carbs), it is the texture that is the real marvel here – moist, fluffy…just like the best cupcake you can imagine. And yes, at the risk that I am repeating myself, these babies are grain free – not only gluten free, but grain free! And they are entirely made of coconut flour, so no almonds or other nuts here (as coconut is not technically a nut).

Coconut flour is sky high in fibre, which means that these cupcakes are extremely satisfying. But do not go overboard, as exactly that fact can lead to bloated tummies if you are sensitive. Next to fibre, these delicacies also boast omega 3 from chia seeds, antioxidants and minerals from raw cocoa, healthy fats from coconut oil, and much more…there is really no need to wait for a special occasion!

Makes 18 cupcakes or 6 muffins

100g coconut flour
50g raw organic cacao
1 heaped tsp. aluminium-free baking soda
generous pinch of Himalayan sea salt
4 tbsp. or 10g stevia
2 tbsp. or 30g coconut sugar
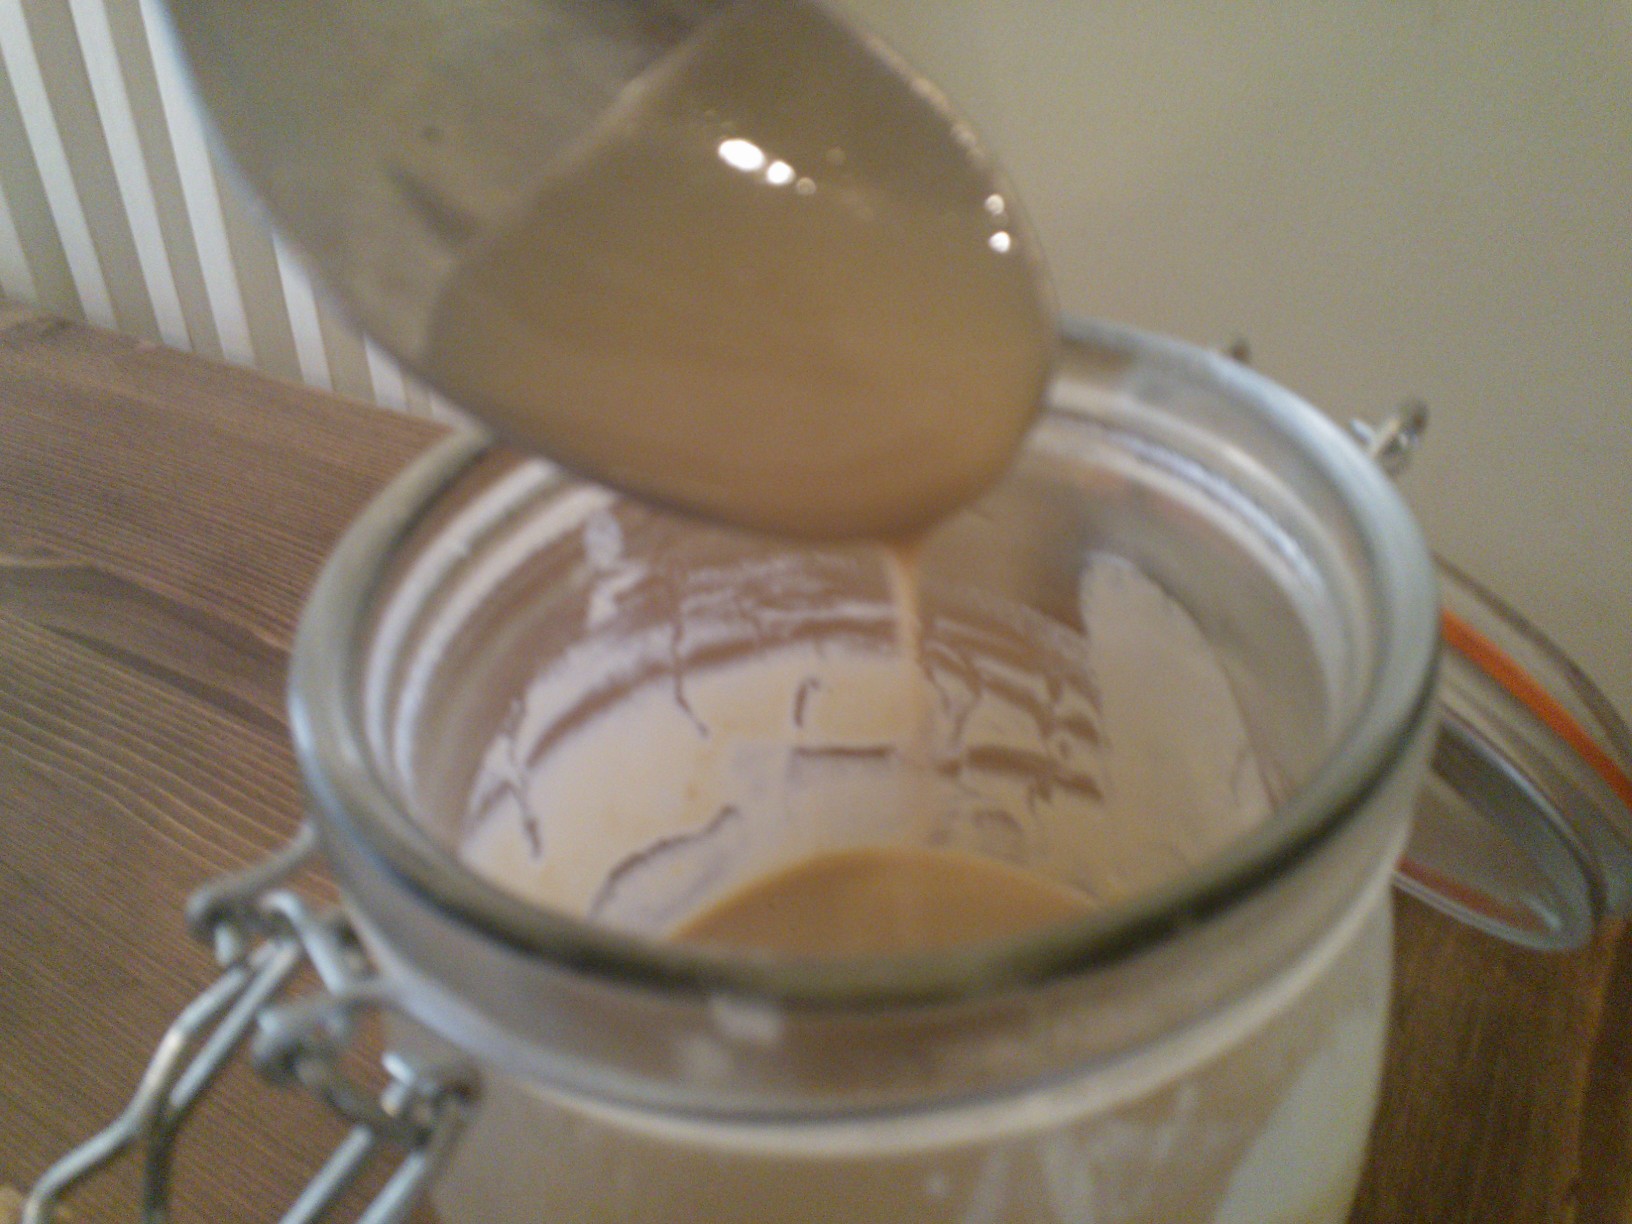
3 egg replacers or “flax eggs” (1 flax egg = 1 tbsp milled flaxseed dissolved in 4 tbsp water)
3 tbsp. chia seeds, soaked in 9 tbsp. filtered water
100g full-fat coconut cream
100g melted virgin unrefined coconut oil
dash of vanilla extract
2 tsp. organic apple cider vinegar
100ml warm water

For the frosting:
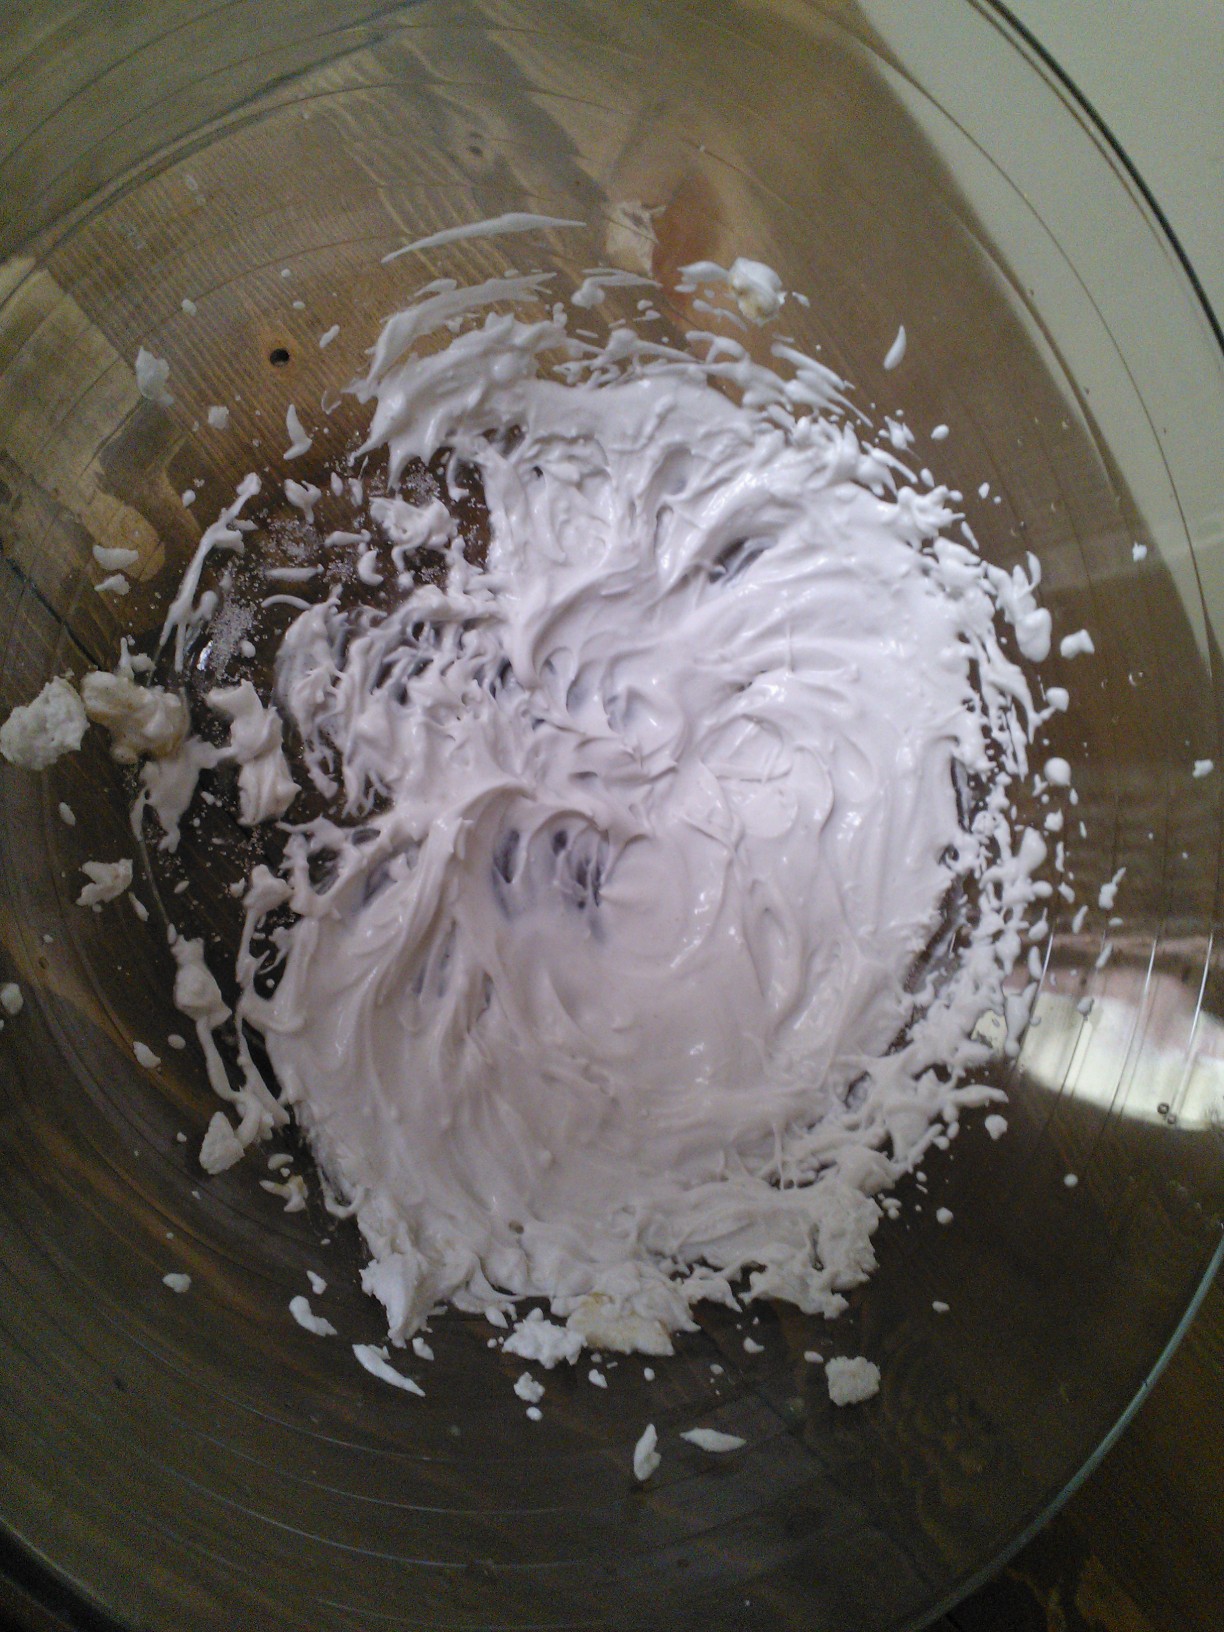
tin of full-fat coconut cream, chilled overnight
raw organic cocoa to taste
stevia to taste

Preheat oven to 180°C and prepare a muffin/cupcake tray. Combine coconut flour, cacao, baking soda, sea salt, stevia, and coconut sugar in a medium bowl until combined. Mix eggs, soaked chia seeds, coconut cream, coconut oil, vanilla, vinegar, and water in another bowl and mix on medium speed until homogenous. Add dry to wet ingredients and mix until well combined. Bake for 20-30 minutes depending on size or after the toothpick comes out clean. Let cool in the tray and refrigerate. The texture improves in the fridge and they last a long time when stored in the fridge.

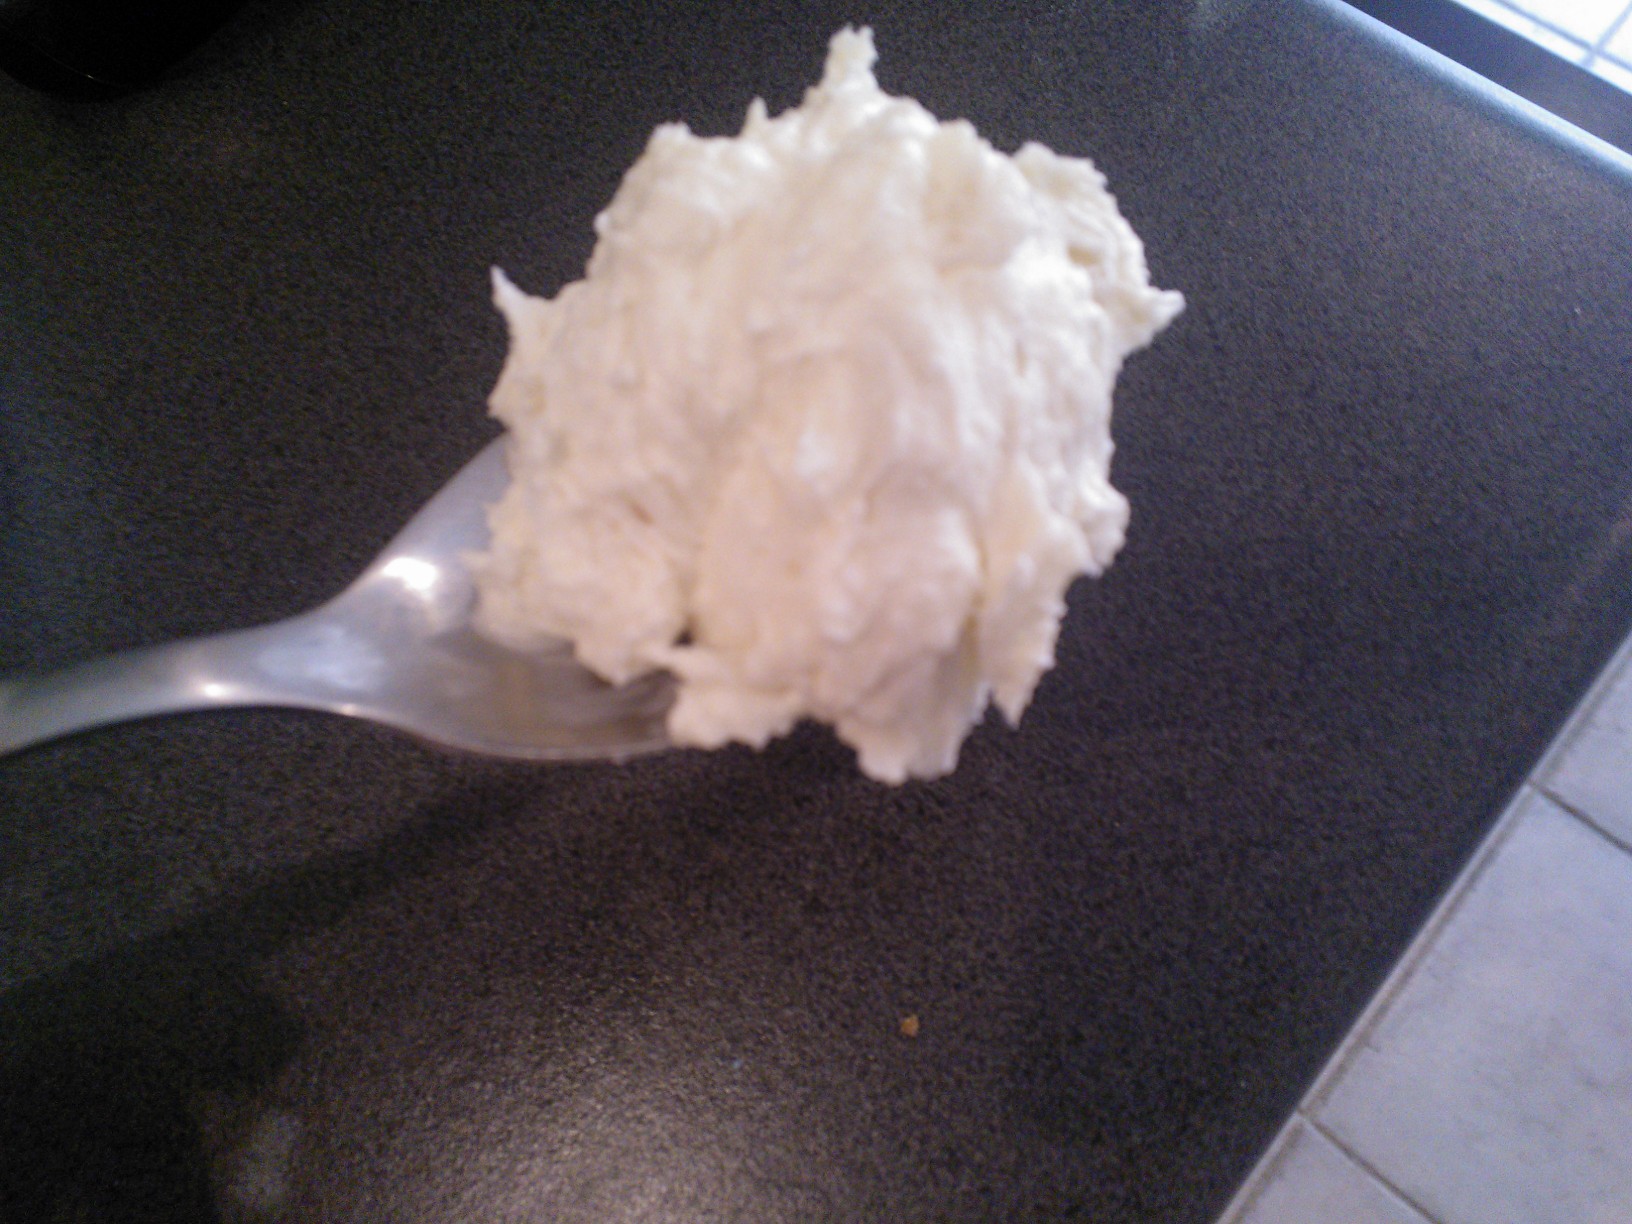
Mix the ingredients for the frosting according to your liking and chill until firm enough to pipe onto cupcakes. Sprinkle with hundreds and thousands (optional).

WP_20150624_002

Enjoy!

Vegan Paleo Panna Cotta with Mocha Sauce


Paleo Vegan Panna Cotta

It´s time to eliminate your prejudices – you don’t have prejudices, you say? I bet you have some – two of which I will eliminate in this blog post. First, I am sure you think that “vegan” and “paleo” is mutually exclusive. Well, yes and no. If you are talking lifestyle, then probably yes. If you are talking indulgent desserts, not necessarily. Oh, you say that “paleo” and “indulgent” is mutually exclusive? And that “vegan” and “indulgent” is mutually exclusive? That actually takes us to four prejudices I will get rid of with this post. What is the fourth one, you ask? Well – have you heard of panna cotta? With the possible exception of Italian chefs, the word “panna cotta” is commonly associated with the words “difficult” or “complicated”. But, actually, this could be the easiest dessert you’ll ever make. And yes, you can finally invite your paleo cousin and vegan sister in law to the same dinner party!

The educated among you will know that “panna cotta” is Italian and means as much as cooked or boiled cream. Which already presents the first challenge as dairy cream is neither paleo or vegan. What to do? Coconut to the rescue! If you have followed this blog, you will know that I am a big fan of coconut – coconut oil, coconut flour, coconut cream – you name it. Not only does this versatile gem taste divine, it is also exceptionally healthy. I have mentioned the various health benefits of coconut numerous times, so I suggest you do your research on this.

The second challenge is the gelatin required in traditional panna cotta recipes – though popular among the paleo community – and rightly so – it is a no-go for a vegan or even vegetarian diet. but nature wouldn´t be nature if it hadn´t bestowed us with a worthy alternative – agar, which you can almost use completely interchangeably with gelatin. Voilà! There you have a dessert which boasts healthy fats and is loaded with antioxidants. Win!

Serves 4

1 tin (420 ml) coconut cream, full fat
1 tablespoon vanilla essence
100 g honey
1 tablespoon agar
200 ml boiling water
For the sauce
100 g honey
2 tablespoons raw organic cocoa
1 tablespoon potato starch
1 tin (420 ml) coconut milk
2 tablespoons ground coffee

Heat the cream, vanilla and honey in a saucepan over medium heat until the honey is completely dissolved and everything is well combined. Take off the heat. Boil the agar in the water for five minutes until completely dissolved. Stir into the coconut mass until completely dissolved. Pour the mass into four heat-proof moulds and refrigerate for three hours or until set.

For the sauce, combine all ingredients bar the coffee in a small saucepan over small heat until thickened. Turn off the heat and stir in the coffee until completely dissolved. Refrigerate until ready to use.

Enjoy!

Paleo Vanilla Icecream

Paleo Vanilla Icecream

Who said you can’t have ice cream in winter? Rubbish! You can and should have ice cream at any time of the year – of course, not that processed crap from the supermarket, which is overflowing with sugar, chemicals, and cheap vegetable oils. Is it possible to stick to a healthy lifestyle and still enjoy sumptuous ice cream which melts in the mouth? You sure can! And as July is the international month of ice cream, and the first flower buds are opening here in Victoria, it is only fair that I conclude this month with a recipe for delicious, allergy-friendly and good-for-you ice cream!

If you are gluten and/or dairy intolerant, you will sooner or later stumble upon the paleo diet. Without getting into all the minutiae of the paleo diet (you will find a wealth of information on the net), I always enjoy creating and sharing paleo-ish recipes, and that also goes for my favourite dessert, icecream. Coconut milk is what most paleo or dairy free ice creams boil down to – and coconut cream is a great ingredient in terms of flavour, texture, and health profile, and a great replacement for dairy milk. However, as pleasant as the taste of coconut is – coconut doesn’t always go so well as a topping for apple crumble, brownies, mud cake, or pancakes. Vanilla is what we want here – but all the vanilla beans in the world usually cannot mask the strong coconut flavour. So what is the health-conscious (or dairy intolerant) ice cream addict to do?

There are of course other milks such as almond milk. But, alas, almond milk is just not fatty and creamy enough to be used as a base for ice cream! It’s nice as a refreshing sorbetto in summer, but that’s about it. In winter, we don’t want light and refreshing, we want creamy and melt-in-the-mouth!

So…I combined the best of both worlds…half coconut cream and half almond milk! That way, we get the creamy texture of coconut milk without the strong flavour. The result is a lovely vanilla ice cream that is totally paleo and totally yummy. It doesn’t taste one bit like coconut and has about the same fat content as regular store-bought ice cream, making it the closest ice cream to the “original”. Whether you are a strict follower of the paleo diet or just use it as inspiration, this ice cream ticks all the boxes!

This ice cream is a custard based ice cream, meaning it involves cooking the ice cream base, adding eggs and chilling the mix before getting started. This way, there is a bit of preparation involved, but it is totally worth it. The non-dairy milks offer the decisive advantage not to catch like cow’s milk. Eggs are necessary as an emulsifier, hence, there is no vegan version of this. If you have paid attention during chemistry lessons, you would know that fat (from coconut cream) and water (from almond milk) are not a match made in heaven and therefore need an emulsifier to bring them together. While commercial icecream rely on industrial emulsifiers from the chemical lab to do the trick, I used nature’s very own emulsifier which was already available to the paleolithic man – eggs! Eggs are naturally high in lecithine, a natural emulsifier, and thus not only nature’s powerhouse in terms of amino acids, minerals, and vitamins, but also a super power in cooking and baking!

250 ml coconut cream
250 ml almond milk
80 g honey
1 tb vanilla
pinch of sea salt
4 egg yolks, lightly beaten

Heat coconut cream and almond milk on low heat while whisking. Stir in honey, vanilla and sea salt (trust me). Take off the heat and let cool down slightly. Quickly whisk in the egg yolks. Chill in refrigerator for at least six hours or overnight. Prepare in ice cream maker according to manufacturer’s instructions (approx. 20 minutes). Serve with brownies or on its own. Use the leftover whites for pavlova.

Enjoy!


Sugar Free Plum Jam

Delicious Homemade Plum Jam in just 5 Minutes

It’s autumn! (For all the ones who think “WTF? It’s April!”, we are talking southern hemisphere here!) Although we still get sunny days in the low 20s, the evenings have that certain something about them that reminds me of the dusky, hazy, and utterly magical October evenings I remember from Europe. Autumn is my favourite season, featuring colourful trees, the smell of leaves and fresh chestnuts, a mellow light, cool-but-not-too-cool days, and a long dusk – and not least some of my favourite foods to eat, which all start with p – potatoes, pumpkin, pears, and -yup- plums!

Even though we started harvesting our lovely plums already a couple of months ago, these yummy purple and yellow fruits are still ubiquitous. As I am still in the phase of perfecting my gluten free bread making skills but want to go a bit more easy on nut butters (think anti-metabolic PUFAs…), I needed to come up with a good jam. Unlike my home country, the selection of jams here in Australia leaves a lot to be desired. It’s hard to find a jam with a fruit content of more than 30% (when in Germany, you can only get 50% +!), and even the ones with a supposed fruit content of 50% taste like sugary mush. Any wonder when sugar and glucose syrup are the main ingredients! I usually prefer going without any sweetener at all as fruit has a natural sweetness to it that doesn’t need tampering with. However, plums are a bit of a different animal, as they are quite sour, so I opted to use a bit of Xylitol. Xylitol (just like erythritol) is a safe natural sweetener that has actually been shown to be beneficial for teeth and even to reverse cavities! I have no issues with Xylitol in terms of digestive distress, but if you are extra sensitive, you might want to opt for eryhtritol instead, which is also an excellent sweetener. Of course, you can use “real” sugar or stevia although I don’t think that stevia gives jam the nicest taste.

I know what you think, that (white) sugar is needed to preserve the jam – and you are absolutely right. However, I am not a preserve-maker (yet), and I like my jam being ready instantly, and I like it fresh! This jam should last a couple weeks in the fridge – it’s so delicious though that you will get through it quicker! The great thing about plums is that they have enough natural pectin, meaning that unlike with other jams, you don’t need to add pectin during the jam-making process and will still get that “jamminess”. Yes, you really can make this jam spontaneously as it takes less than 5 minutes to make! It is really as easy as! Tip: By adding some wintery spices (cinnamon, ginger, cardamom etc.) you will get that perfect autumn feeling!

500 g plums, washed, cored, and roughly chopped (leave skin on)
1 tbsp apple juice
1 tbsp lemon juice
1 tbsp xylitol (or alternative sweetener)
2 tsp arrowroot starch
cinnamon, cloves, cardamom, ginger, nutmeg (optional)

Combine plums, apple juice, and lemon juice in a saucepan over moderate heat and bring to the boil, stirring constantly. Whisk the arroworoot starch with 2 tsp water until a pasty consistency is achieved. Add the arrowroot paste, stirring vigorously. The plums should instantly start to thicken up. Now add the sweetener and the spices and stir until the desired consistency is reached. Let cool completely and transfer to mason jar. Lasts a couple of weeks in the fridge. This jam is great on gluten free bread, in yoghurt and quark, or straight from the spoon.

Enjoy!

Gluten Free Vegan Banana Muffins with Maple Frosting

Gluten Free Egg Free Banana Maple Muffins

Next time you see a bundle of overripe bananas in the supermarket marked down to next to nothing, don’t walk on by! There is sooo much you can do with ripe bananas! I just cut them up and chuck them in the freezer where they keep nicely until I want to create a recipe with them – or I just have them as they are! There is truly nothing more divine than frozen bananas, and they are great in smoothies and milkshakes, too!

My hubs asked me for some cakes he could take to work, so I made some banana muffins – some without frosting for on the road, and some with frosting for a little indulgence at home! These are wonderfully moist, packed with fiber from flax, and they are delicious in many ways. Due to the mashed banana inside, there is no need to add heaps of fat, so they are are a healthy cheat treat for those wathing their waste lines! The vegan maple frosting works beautifully with the banana flavour, too. Oh, and they are pretty foolproof, so you better start making them now – your kids will love you for these! (My hubby is a bit like a child in that he loves unhealthy things – he gobbled these up though, so I am secretly snickering behind his back that these are healthier than he thinks. I didn’t tell him about the flax!)

Makes 12 muffins

3 over-ripe bananas, mashed
100 g arrowroot starch
50 g white rice flour
50 g brown rice flour
100 g sugar or other sweetener (you should use at least some “real” sugar to achieve a nice texture and colour)
90 g low-fat vegan spread
50 g honey
30 g flax
3 tbsp almond milk
1 tbsp molasses
2 tsp baking soda
2 tsp vanilla

Frosting
75 g powdered sugar
60 g low-fat vegan spread
5 tbsp maple syrup
2 tbsp almond milk
1 tsp vanilla

For the muffins, preheat oven to 180 ° C. Melt spread, sugar, honey, molasses and vanilla over low heat until spread is melted. Turn off the heat and whisk in the mashed bananas and almond milk (I know it’s tempting, but don’t eat this mix – at least not all of it!). Mix flours, flax, and soda in a different bowl, and slowly add banana-butter-mixture to the flour mixture. Mix until well combined, then scoop into muffin pan and bake for approx. 20 minutes or until muffins pass the skewer test. Turn off heat, let muffins rest in the pan for 10 minutes, then turn to wire rack and let cool completely.

Only scoop the frosting on top of the muffins once they have cooled down completely, as otherwise it will melt. Whip all ingredients for the frosting until light and fluffy, then store in the fridge until stiffened up and decorate the muffins.

Tip: Mix some walnuts or other nuts or chocolate chips mixed in the muffin batter.

Enjoy!

Quick and Easy Vegan Sugar Free Caramel Butterscotch Sauce

Caramel Latte with Sugar Free Dairy Free Butterscotch Sauce

Okay, I apologise for that humungous title – but I am so excited to have come up with a caramel sauce that is thick and creamy and tastes just like butterscotch caramel, but is completely dairy and sugar free! Howzat? And if this was not enough, it is also extremely quick and easy to make! Yes, you can have your caramelatte (better than Starb*cks) in less than ten minutes – although the caramel thickens up nicely if you leave it in the fridge for a while. What to do with a caramel sauce, you ask? Well, there is caramel latte, obviously, and then there is icecream, pancakes, cakes – and if you just have it straight of the jar (as I like doing) – no harm done! This yummy decadent caramel sauce contains hardly any sugar and only very little fat! Have I mentioned that it is oh sooooo easy?

120 ml unsweetened almond milk
100 g erythritol
1 tbsp molasses
30 g vegan spread or butter (you can use any fat content you like, even light spread)
generous pinch of kosher salt
2 tsp vanilla

4 steps to yumminess
Place all ingredients bar the vanilla in a small saucepan over medium heat and stir vigorously until well combined. Bring to the boil, and reduce heat to low. Let simmer for 5-10 minutes, constantly stirring. depending how thick you want your sauce to be (it will firm up quite a bit more when chilled). Add vanilla and simmer for 30 seconds or so more, then pour caramel in a glass jar and let cool. Use immediately or transfer to fridge. If the sauce becomes too firm in the fridge, just microwave it for a minute or melt it in a bain-marie before pouring.

Enjoy!

The ultimate, perfect, low-carb, vegan whipped cream

Vegan whipped cream that doesn't taste vegan
Vegan whipped cream that doesn’t taste vegan

I have two predicaments right now. One is, I spend too much on groceries – which is not a sin, but saving money is always preferable. The other is that I don’t seem to tolerate nuts very well, much as I like them. I felt it was time to move away from my original vegan cream recipe which used nuts on to a super creamy, super delicious whipped cream made purely of coconut which is ready in seconds, kind to the tummy, very very easy to make and not least quite a lot cheaper than the nut version – and as close to the real thing as you can get!

Honestly, if you don’t have dairy for whatever reason and you are craving whipped cream (or need it in a recipe) then look no further. I am yet to find a recipe for a healthier, cheaper and easier vegan whipped cream. It can’t get better than this. I am not one to dance around the kitchen, but this one made me do just that. Aaaah, this is soooo good!!!

200ml cold full-cream coconut milk – it has to be solidified and look like the coconut milk in this recipe
1 tsp vanilla (this is not mandatory, but it’s killer)
2 tsp of erythritol or other sugar

Whip up all ingredients in a cold bowl with cold beaters. Scoop out of the bowl with your fingers and be in heaven Serve with cake or icecream or use it for my vegan gluten free carrot cupcakes or ginger snaps. You can add some spices, such as ginger, cinnamon or even chocolate powder for a creative touch to your recipe.

Enjoy!

Instant, healthy, low carb (no carb), vegan, paleo chocolate mousse

The yummyness, the fluffyness, the beauty - chocolate mousse can actually be good for you!
The yummyness, the fluffyness, the beauty – chocolate mousse can actually be good for you!

Marveling at the Wonders of Instant, Healthy, Low-carb, Vegan, Paleo Chocolate Mousse or I Want it All, Act I, Scene I

Test Eater: Wow, this looks great! You must have spent ages making this!
Chef: Not even a minute, dear.
Test Eater: Um. So it’s bought stuff, ay? I thought you make things from scratch!
Chef: All from scratch, darling. (Well, I didn’t harvest the coconut or the cocoa.)
Test Eater (tries some): This is heaven! Honestly, this is one of the best chocolate mousses I have tried, and I am picky you know…actually, I shouldn’t really have a treat like that… (becomes serious) It must be loaded with sugar and carbs!
Chef: Not a trace. This is virtually carb-free.
Test Eater: Yeah right. So it’s filled with bucket loads of artificial sweeteners and other poisonous stuff!
Chef: Just the sweetness of nature, honey. (Well, it doesn’t actually contain honey because it’s carb-free.)
Test Eater: Wow. So I can have as much as I want – but you can’t, since you can’t have dairy! And we can’t offer it to XXX – she’s a vegan!
Chef: In this dessert, there is not a cow in sight – nor any other animal.
Test Eater: OK, I give up. What IS this stuff, and how did you make it?
Chef: Scroll down to the recipe!

Common dilemmas and how to solve them. A practical guide.
Problem 1: You need your chocolate fix and you are extremely impatient and/or short of time.
Solution 1: Make this chocolate mousse.

Problem 2: You have an insatiable sweet tooth, but you are trying to eat more healthily.
Solution 2: Make this chocolate mousse.

Problem 3: You are on a low-carb and/or paleo diet, but you miss chocolate mousse.
Solution 3: Make this chocolate mousse.

Problem 4: You love chocolate, but you are worried about all the unhealthy ingredients in it.
Solution 4: Make this chocolate mousse.

Problem 5: You need/want to cut out dairy, but you need/want chocolate mousse.
Solution 5: Make this chocolate mousse.

Problem 6: You are a vegan, but you suddenly have an odd craving for chocolate mousse.
Solution 6: Make this chocolate mousse.

Problem 7: You need your chocolate fix, and you need it now.
Solution 7: MAKE. THIS. CHOCOLATE. MOUSSE. NOW.

It takes one minute to make. One minute! Doesn’t matter whether you are suffering from a very sudden, very intense chocolate craving that does NOT allow postponement or whether you need a goodie for a surprise guest or whether you just can’t be bothered spending hours making a great dessert – this is it. Got the in-laws over for Christmas? Why spend hours making dessert when you need/want the time for your beauty routine/yoga lesson/wrapping presents/unwrapping presents? You can make this in one minute. Or less. One minute, that’s 60 seconds. That’s how long it takes – maximum. And that’s a promise. (OK, your coconut milk must be refrigerated, but you should have a couple of tins in your fridge anyway – at least when you are trying my recipes ;-))

I know not everyone cares whether desserts are healthy, but this one is. Spot on. There is no more than three ingredients (four if you count the water): Coconut meal, coconut milk, raw cocoa. That’s it. No sugar, no grains, no dairy, no processed crap, no GMO, no thickener, MSG, emulsifier, colourant or flavouring. Just. Pure. Goodness. Straight from mother nature. It is real, it is paleo, it is nutritious.

It is low-carb, if not no-carb, it is absolutely sugar free, but without nasty sugar replacements that can spike your blood sugar. This is as low GI as it gets. And it is very filling!

It is absolutely dairy free, and it goes without saying that it is also gluten and soy free. It is vegan. It is a very allergy-friendly dessert as even many nut sufferers can have coconut.

Oh, and for those who are interested – it is also veeeeeery delicious. Not to mention divine.

Dear vegans, low-carbers and paleoists, here comes the one-minute-guide how to have your mousse and eat it, too. Thanks for reading, my friend, and if you can spare one more minute of your precious time, you better make this. NOW.

Note: This has quite a strong flavour. If you like your stuff very sweet, you should probably add some stevia or erythritol. Use honey to make it paleo. I don’t sweeten it, as I don’t like my things overly sweet, but then – I’m special. 😉

Serves 1 very hungry chocoholic or 2 normal people 😉

4 tbsp coconut flour
4 tbsp solidified coconut milk (should have been stored in the fridge overnight)
4 tbsp cocoa powder
4 tbsp filtered water

The coconut milk should look like this:

solid coconut milk
solid coconut milk

Mix all ingredients bar the water in a small bowl, then slowly add the water while stirring until smooth.

Tip: Use less water to get chocolate halva!

Enjoy!

Vegan Frosting II

Dairy Free Frosting on spoon

I experimented a bit more with my dairy and soy free frostings, as I found that Xanthan does not only get lumpy, but is also a bit hard on the stomach for some folks!

This coconut frosting is relatively easy and quick and tastes great! It also has a better texture than my previous frosting and uses arrowroot instead of Xanthan.

1/2 tin of coconut milk
a bit of erythritol to taste
pinch of salt
teaspoon of arrowroot, dissolved in a teaspoon of water
a drop of vanilla
100 g coconut oil
20 g Nuttelex or other dairy free spread (you can use butter if not strictly vegan or dairy intolerant)

Simmer coconut milk, sweetener and salt and simmer for 10 minutes. Remove from heat and add the arrowroot paste and vanilla, bring back to the boil and swiftly whisk out any lumps. The mix becomes shiny and of goopy texture. Remove saucepan from the heat source and quickly stir in coconut oil. Let cool, transfer to container and chill for 2 hours. Once nice and cool, remove from fridge and beat with the spread until it looks like frosting. Voilà! Your vegan frosting is ready to use! Great on my carrot cake! Be careful: This frosting gets very firm in the fridge, but will melt very quickly when outside the fridge.

Enjoy!

Funneled frosting
Funneled frosting

Sweetened Condensed Milk – Dairy free and sugar free!

Condensed Almond Milk

Who doesn’t like puddings, custards, fudge or millionaire’s shortbread (aka caramel slice)? And who wouldn’t want to have these treats sugar-free, dairy free and low-carb? Who of you vegans, low-carbers and dairy intolerant folks has not pondered old favourite recipes calling for condensed milk – only to resign yourself to the fact that no dairy and no sugar means saying good bye to your favourite treat?

Don’t fret! Rescue is nigh! Would you have thought that you can create a sugar free dairy free worry free version of this yummy ingredient (I prefer it straight from the spoon!) all by yourself? All you need is yummy-tummy almond milk – which you should have in your fridge at all times anyway, some erythritol, stevia, honey or other sweetener of your choice, a pinch of salt, and a drop of vanilla, as well as an hour or so of your precious time – so if you are like me, you don’t even need to leave the house! The great thing about almond milk (and other non-dairy milks) is that the risk of burning is considerably reduced.

Makes approx. 400 g sweetened condensed milk (equivalent to 1 tin from the shop)

1 l unsweetened almond milk
2 tbsp erythritol or other sweetener (I have used honey and agave before, which also works well, it just gets a bit more runny than with sugar crystals, so if you make condensed milk for fudge or millionaire’s shortbread, I would use a solid sweetener like erythritol, stevia or palm sugar.)
pinch of salt
drop of vanilla

Place all ingredients in a saucepan (the bigger it is, the quicker you will have your condensed milk!), bring to the boil, then simmer uncovered on low heat, stirring every few minutes until the mixture has reduced by about half and has turned a slight amber colour (this takes between one and up to two hours). At this stage, it will still be slightly runny, but that is okay – it will firm up, promise! Let cool in the pot for a few minutes, covered by a clean teatowel, then transfer to a glass jar and refrigerate. Enjoy straight from the spoon or in your favourite recipes. Lasts about one week in the fridge.

Enjoy!