Vegan Clafoutis {lc, lf, gf}

Note: This is an updated – veganised – version of a vegan clafoutis to my previous recipe for paleo clafoutis! I hope you enjoy it!

It seems I have a thing for French desserts at the moment – or rather, my take on them. While I love the timeless finesse that French desserts exude, a little makeover never goes astray, especially if it’s as delicious as this one! My previous paleo version of clafoutis already hit the spot, but when I embarked on a vegan diet, I knew I had to make this a vegan clafoutis as well. And I have to say, the result was pretty successful! So here is my vegan clafoutis. I use aquafaba (chickpea brine) instead of eggs (more about aquafaba here), so technically this is not paleo anymore. However, there is absolutely no nasties in here, no wheat, dairy, soy, refined sugar or oils, and also no eggs. I hope you enjoy this truly cruelty-free but no less delicious version of clafoutis.

Vegan Clafoutis
Vegan Clafoutis

The thought about making clafoutis has been at the back of my mind for a while – actually, ever since I saw a recipe for cherry clafoutis in my French text book at high school. (Which, sadly, is a long time ago now. Very long.) Ever since then, clafoutis recipes have been popping up in magazines. and, naturellement, on the internet. This recipe is my own little invention. There is low-carb, fibre-rich coconut flour instead of conventional flours and starches, coconut sugar and maple syrup instead of sugar, plant mylk instead of milk, and no fat, oil or butter (I did grease the mould but dare I say that the amount of fat used is rather negligible).

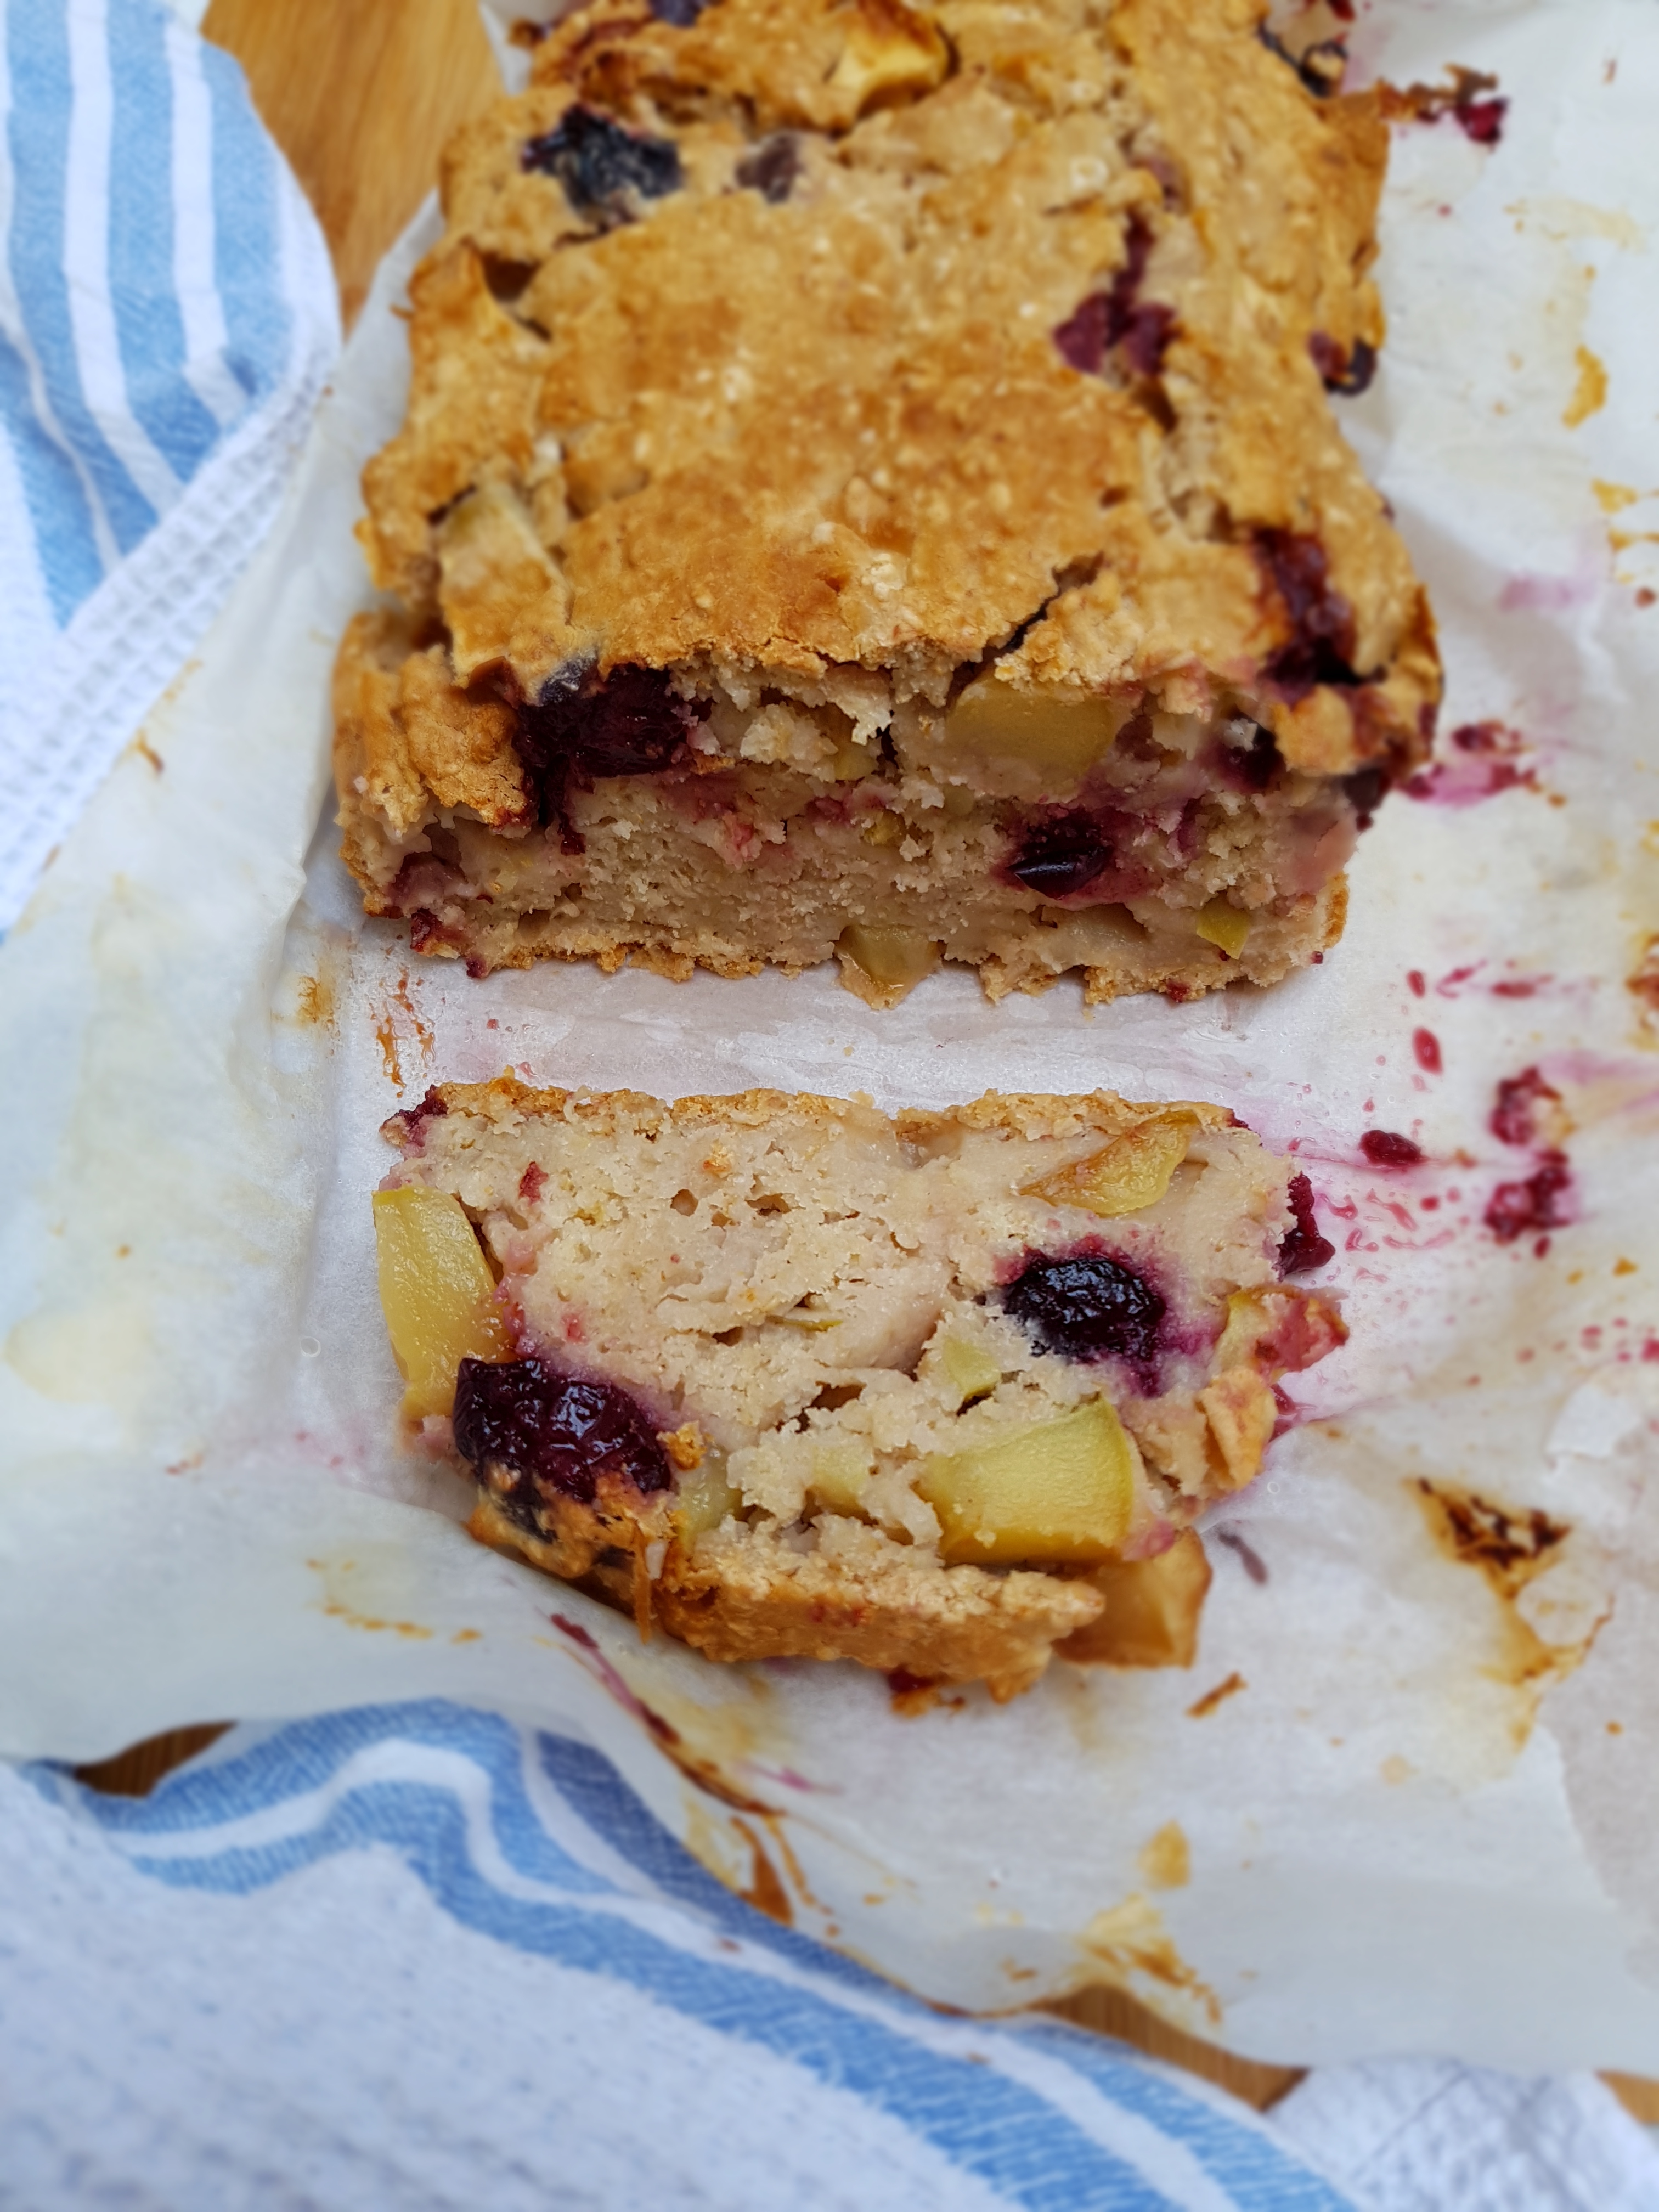
I like my clafoutis so much that I will never go back to any other recipe. It is also very versatile – you can use any fruit, any milk and any sweetener you like. This little delight is as good as impressive dessert to impress guests as it is as for afternoon tea or even a satisfying breakfast – all this knowing that you are devouring a treat that is not going to blow your calorie budget (something you can’t say about French desserts), and that is a winner on the health front. Plus, it looks pretty.
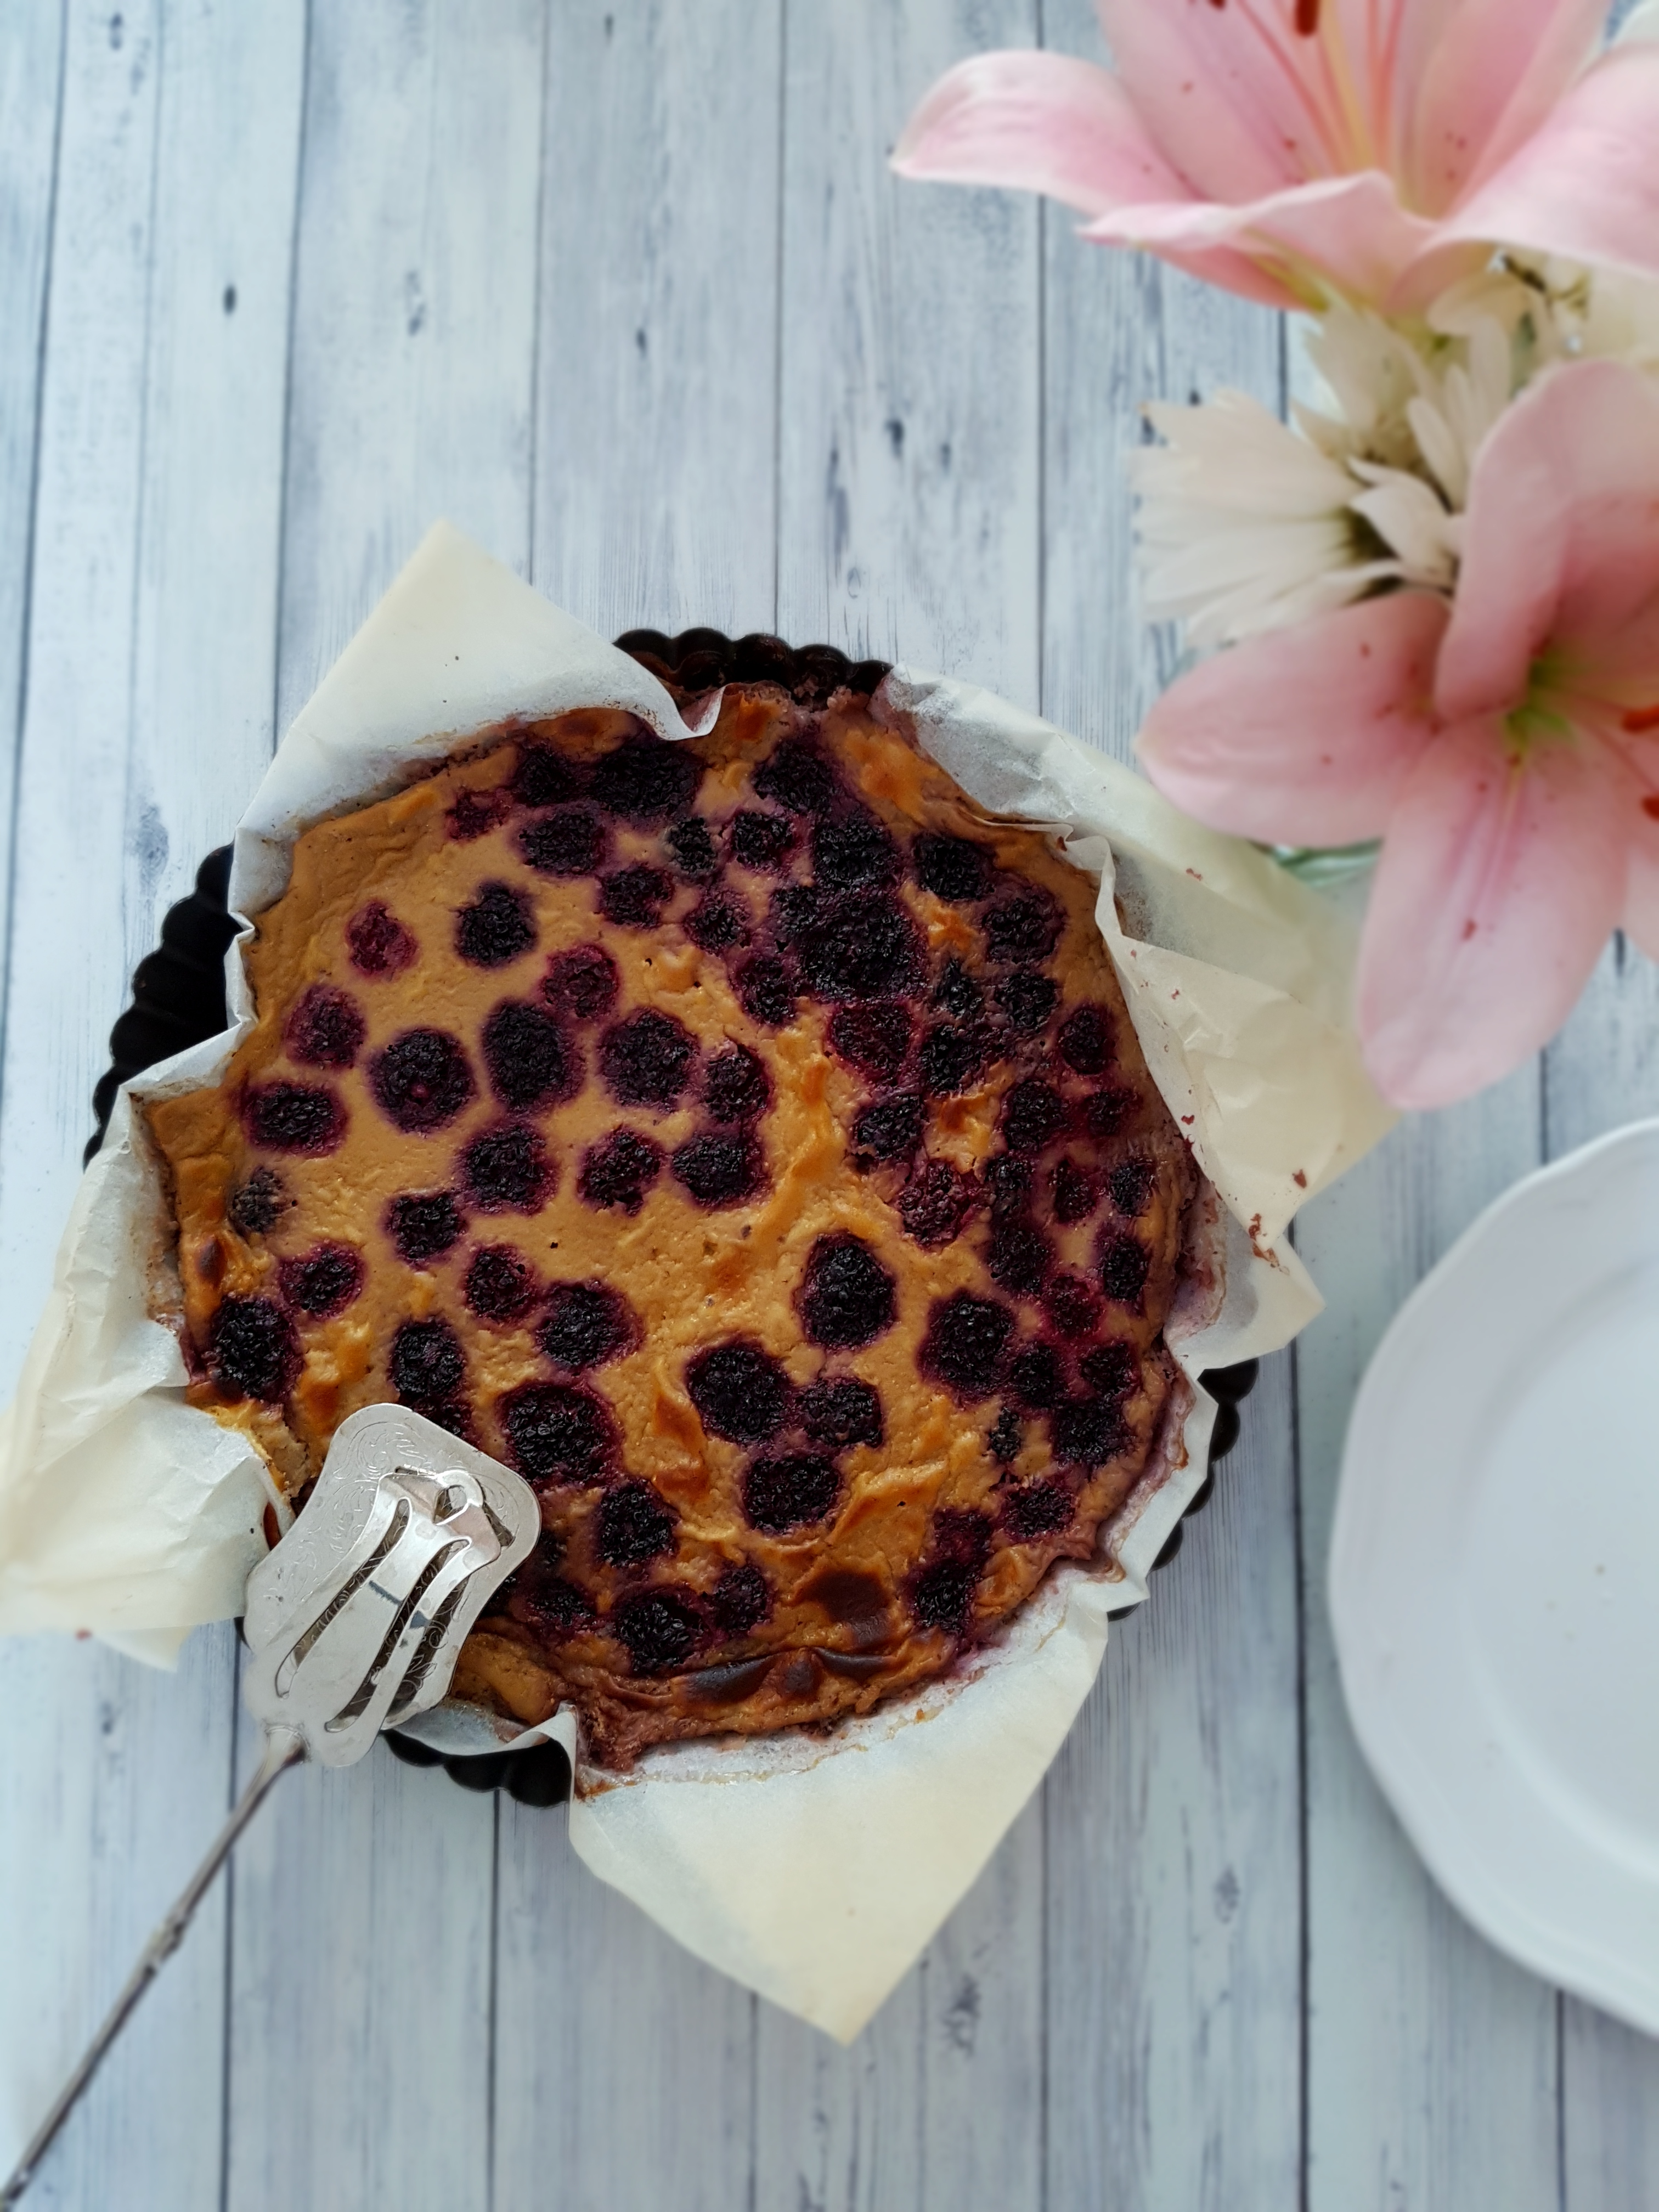
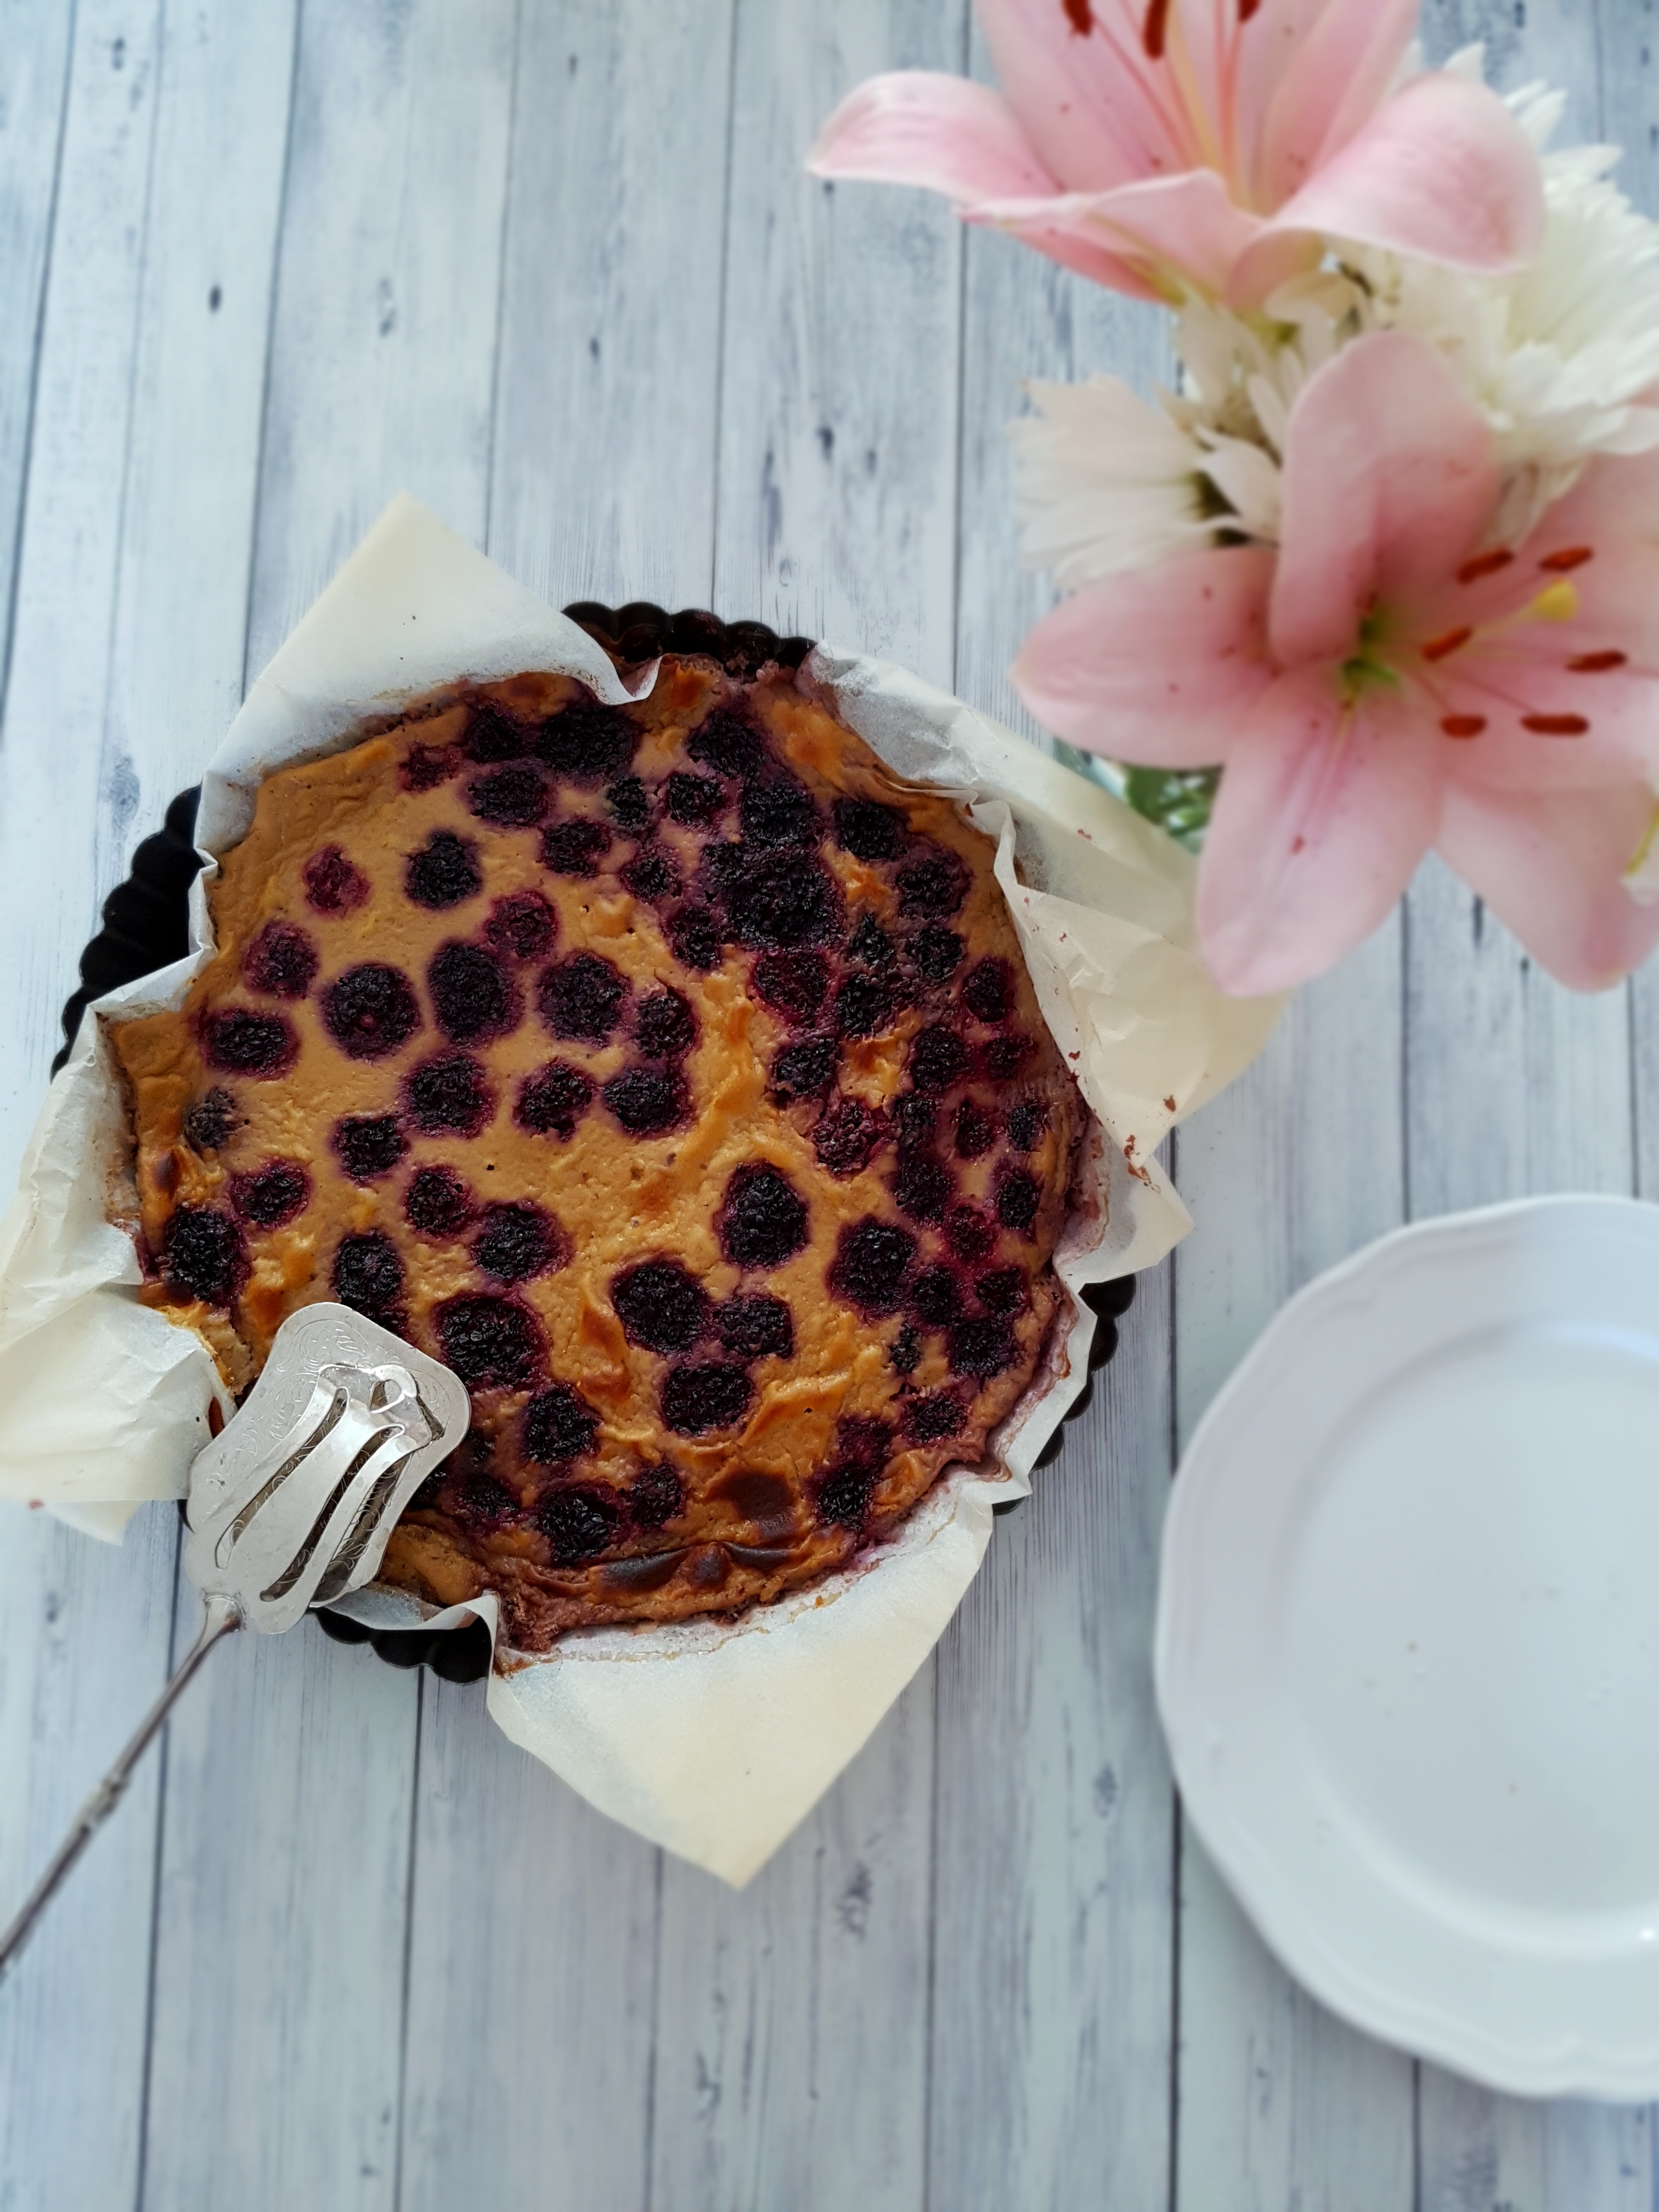
Vegan Clafoutis
Vegan Clafoutis
Vegan Clafoutis

Serves 8

4 tbsp coconut flour
4 tbsp LSA or ground chia seeds
4 tbsp coconut sugar
4 tbsp maple syrup

healthy pinch of Maldon sea salt
aquafaba from one 425g tin of chickpeas (approx. 3/4 cup)
2 cups plant milk (I used cashew)
fruit of choice (approx. 1-2 cups, red fruit are a great option)

Preheat oven to 180 °C and prepare a tart pan by lining it. Mix coconut flour, LSA, sugar, syrup, salt in a bowl. Make a well in the centre and carefully fold in the aquafaba until mixed in. Beat in milk until you reach a homogenic consistency. Divide fruit between the four dishes and spread batter over the fruit. Bake for about 60 minutes or until lightly golden on top. Let cool completely and preferably store in the fridge before serving to firm up.

Enjoy!

Healthy Twix Bar (grain free, sugar free, vegan, paleo, low fat)

Healthy Twix Bar
Healthy Twix Bar

Who doesn’t love a Twix bar? The combination of a crumbly biscuit, gooey caramel and creamy chocolate certainly never goes astray. Shame only that the original Twix bar is so full of sugar and industrial oils – not to mention that for us gluten free folks, it is off-limits anyway. So I thought I come to your rescue and create a healthy version of this popular treat.

As part of my subscription to a monthly box with organic goodies, I was regaled with a packet of coconut flour recently. Though by no means a coconut flour newbie, I have experimented a bit with the stuff lately and just love how it is so easy to create yummy and healthy goodies with it. As it sucks up all the moisture of any other ingredients you mix it with, it is also a great staple for lowfat baking as mixing it with mashed banana or apple sauce yields terrific results. Once I had nailed my shortcrust base, it was time to think of the caramel (knowing that I would use my favourite Lindt chocolate as topping). So it came in handy that Minimalist Baker has this recipe for making a one-ingredient date caramel. A one-ingredient date caramel ticks all my boxes for healthy, easy and yummy delicacies. And I tell you, the stuff rocks. I use it in yogurt, on icecream or porridge. It tastes just as indulgent, creamy and buttery as store-bought caramel – minus the fat and the sugar slump! For this recipe, I use the caramel of about 4 dates, but I’d recommend making the original recipe and keeping any leftovers in the fridge – they won’t stay there for long!

So once you got your biscuit and your caramel sorted, it’s time for the chocolate glaze! Just use your favourite dairy free chocolate for a true vegan delight. If you tolerate dairy and are not vegan, you could also use milk chocolate. It#s a matter of taste and experimenting. The date caramel is rather sweet so I try to offset the sweetness with a bitter-ish chocolate. Using milk chocolate would obviously yield a result closer to a “real” Twix bar (whatever is real about the stuff). It’s up to you – but this recipe is sooo easy and requires just 15 minutes in total so I think you should do it again and again and see how you like it best!

Makes one double-finger “Twix” bar

For the biscuit base
40 g coconut flour
40 g “babyfood” (i.e. unsweetened apple sauce, pureed banana or any other pureed fruit)
2 tbsp of plant milk
stevia or erythritol to taste
generous pinch of Maldon sea salt
pinch of gluten free baking powder

For the caramel
1/4 of this recipe

For the chocolate glaze
40 g chocolate (dairy free preferred)

Preheat oven to 180 °C. Line a baking tray with paper. Mix all ingredients for the biscuit base until it comes together in a uniform mass. Roll a ball, then half this ball and shape two “Twix” like logs. Bake until slightly golden, about 10-15 minutes. Let cool slightly before adding the caramel.

Meanwhile, prepare the date caramel according to the recipe. Spread evenly onto the biscuit logs.

Break up the chocolate in little pieces, place in a microwave safe bowl and heat in microwave in 30 second increments. Once it is liquid and smooth, drizzle over the caramel logs.

Now, here comes the hardest part: If you can at all resist, place the Twix bars in the fridge to firm up. But there’s no harm in devouring these beauties straight away.

Enjoy!

Low Carb Low Fat High Protein Carrot Cake (grain free, dairy free, soy free)

Low Carb Low Fat Carrot Cake

This carrot cake is almost an insolence. Yes, it is low carb AND low fat – for all of you that can’t decide between the two lifestyles (or simply want to eat a truly delicious carrot cake). Talk about having it all. There is many recipes for healthy treats out there, but this cake is gonna make them blush with envy. Not only is this cake moist, scrumptious and totally utterly delicious (tick tick tick). It is low carb and low sugar with the carbohydrates coming from carrots, banana and just a dash of honey (tick tick). It is low fat with the fat coming from eggs and flax (tick). It is high protein (tick), high fibre (tick) and on top of it all, gluten free, grain free, dairy free, nut free and soy free (tick tick tick tick tick). Another decisive advantage is that if you are lazy busy you can just throw all ingredients together in one big bowl in no particular order and without any laborious instructions such as “put the dry ingredients here…mix the wet ingredients there”, separating the eggs, or melting butter or coconut oil (helped by the fact that there is no fat or oil in there). It also neatly pours out of the bowl (thanks to the flax that keeps everything together)

Given the high amount of protein and fibre, this cake will fill you up for a while which is another plus, and the icing on the cake is the icing on the cake (forgive the pun). It is fat free and sugar free, made of cannellini beans – which is the reason why this cake is not paleo. If it wasn’t for the icing, this carrot cake would be perfectly paleo(ish). So for all our primal friends out there, just omit the icing or use your favourite paleo icing instead. As there is eggs and honey in it, this is not a vegan cake, but you might be able to experiment with chia eggs and rice malt/agave/maple syrup though I cannot vouch for the results.

As a word of warning, if you have IBS, follow a low FODMAP diet or otherwise have problems with fibre, this carrot cake might not be suitable for you or you might just want to go easy and enjoy a small amount. The coconut flour in this recipe is full of fibre which is great but might give certain people intestinal discomfort. Try it for yourself. Nothing ventured, nothing gained.

For one cake (approx. 12 large or 24 small slices)

2 heaped tbsp vanilla flavoured pea protein powder
3/4 cup coconut flour
1/2 cup flaxmeal
pinch of salt
1.5 tsp baking soda
1.5 tsp cinnamon
0.5 tsp nutmeg
1 mashed banana
2 tbsp honey
2 tsp vanilla essence
4 eggs
300 ml plant milk
5 large carrots, grated

For the frosting
1 cup cannellini beans, drained and rinsed
4 tbsp stevia
1 tsp vanilla
pinch of sea salt

Preheat oven to 180 °C and line a round baking tin with baking paper. Mix the cake ingredients in a large bowl until a homogenic mass develops (I did this by hand). Scoop into the mould and bake for 20 minutes until a toothpick comes out clean. Transfer to a cooling rack and allow to cool completely before frosting.

For the frosting, process all ingredients in a high-powered blender until completely smooth. You can use it straight away or place in the refrigerator to firm up even more. Tip: If you find the taste of the frosting to bland, you could add spices such as nutmeg or flavouring such as almond or lemon essence.

Enjoy!


Apple & Cherry Bread {vg, gf, lf}

Update: I have updated and veganised this recipe which is now even more delicious and completely vegan! I hope you enjoy it!

I love healthy and satisfying treat that are a cinch to make, especially since having a toddler, and this delicious, fudgy and moist apple & cherry bread just fits the bill. It’s so good that I just had to share it with you! My husband and kid love it, and it’s vegan, dairy free, egg free, gluten free, soy free and low in fat.

This crossover between a cake and bread can be done with whatever fruit you like/have available, and you could even include nuts in it (which wouldn’t make it lowfat but nonetheless delicious). It is very addictive, comes in handy as a quick snack or breakfast on the go, is very kid friendly, not overly sweet and still super yummy, and it’s a great companion with your afternoon cuppa – in short, go baking now!

The base is actually porridge – yes, oats soaked in water! So if you ever find yourself with leftover porridge, here is a great way to make us of it! No need to first mix the dry ingredients and then the wet – just throw everything together. Doesn’t get easier than that!

Apple & Cherry Bread

Apple and Cherry Bread {vg, gf, lf}

Makes 1 loaf/12-15 slices

1 cup almond milk
1 tsp apple cider vinegar
1 cup quick oats, soaked in cup water (porridge)
1 cup gluten free all-purpose flour
half cup brown rice flour

1/3 cup coconut sugar or raw sugar
1 tbsp gluten free baking powder
half a cup unsweetened apple sauce
dash of vanilla extract
2 apples, cubed, or other fruit
2 handfuls of frozen cherries or other fruit

Preheat oven to 180 °C. Line a loaf tin with baking paper (if using a silicone mold, you don’t need to line it). Pour the almond milk into a large mixing bowl, add the vinegar and set aside to let it react for a couple of minutes. Add the porridge, flours, sugar, baking powder, apple sauce and vanilla and mix until you achieve a homogenic consistency. Carefully fold in the fruit.

Pour the dough into the prepared tin and bake for 50 minutes until the top is golden brown and the bread passes the “toothpick” test. Turn off the heat and let the bread cool in the oven to firm it up. Once the tin is no longer hot to the touch, take out the bread and let cool completely. Serve as slices and store at room temperature, wrapped in aluminium foil.

Enjoy!

Healthy Snickers / Bounty bar (gluten free, vegan, no bake)

Healthy Snickers Bar - gluten free, grain free, dairy free, refined sugar free
Healthy Snickers Bar – gluten free, grain free, dairy free, refined sugar free

If you asked me what would be better than a Snickers or Bounty, I’d have to say a Snickers AND a Bounty! Don’t you think? But wait – before you run to the nearest vending machine or fuel station to indulge in said lovelies, wouldn’t it be even more satisfying to make these babies yourself, knowing you’d have a healthy treat in the end?

This recipe allows you to whip up your own Snickers/Bounty bar in next to no time! Sure, it needs some chilling, but other than that, the process couldn’t be easier. And as there is no baking allowed, you save some energy, too. Good for the environment, good for your wallet. Oh, and like all my recipes, these bars are not only good for you and easy to prepare, they also taste amazing! And if you belong to the family of health nut cooks and bakers, you should have all ingredients in your pantry ready to go, which is an added bonus (if the weather in your place is like Melbourne at the moment, you surely don’t want to leave the house, not even for buying ingredients!).

Okay, but what IS this, I hear you asking? A Snickers, a Bounty, or what? Well – I think it takes the best of both worlds, i.e. peanuts and coconut. Of course, if you use any other nut butter than peanut butter, then the Snickers aspect would be lost, but it would certainly still be delicious! I could also call these superfood slices as something so yummy, satisfying and still good-ish for you must be a superfood slice, but it seems that these days, superfood slices need to involve goji berries and acai and these ones have neither (feel free to include them though – a goji Bounty bar, wouldn’t that be nice?). Coconut and peanut make a great item and the bitter chocolate topping cuts nicely through the sweetness and gives the whole creation a lift. So the only thing missing is a name!

Maybe just make them and then find a good name. If you come up with one, just let me know. 🙂

Makes 20 slices

For the base:
150g peanut butter (or other nut or seed butter)
100g desiccated coconut
80g rice malt syrup (or honey if not vegan)
25g raw cacao

For the filling:
150g peanut butter (or other nut or seed butter)
80g rice malt syrup (or honey if not vegan)
20g coconut oil, melted
dash of vanilla essence

For the topping:
20g rice malt syrup (or honey if not vegan)
20g raw cacao
20g coconut oil, melted
chopped nuts to decorate (optional)

Line a 20x20cm baking tin with baking or greaseproof paper. Mix the four base ingredients one by one in a large mixing bowl until very well combined. I’d recommend elbow grease here rather than a processor as you’ve got more control and won’t end up with a mess. It shouldn’t take long before a ball forms; adjust the wet/dry ingredients if you have issues with the consistency, but it shouldn’t be a problem. Press the coconut mass evenly into the prepared baking tin and make sure that it sits in there really firmly. If you can, use a heavy item such as a book to press it down even further. Put in the fridge to set.

Meanwhile, prepare the filling by mixing the filling ingredients until everything is mixed through and smooth. Spoon on top of the chilled base and spread evenly with a spatula. Return tin to the fridge.

Lastly, mix the topping ingredients – you might want to place this into the microwave for 20 seconds to make it nice and thin, but strictly no more than 20 seconds. Pour over the chilled slice, sprinkle with chopped nuts if you like and return to the fridge again for at least four hours or overnight before cutting in slices/squares.

This slice freezes very well and can be eaten straight out of the freezer, so it is a great option to make to have a healthy and filling snack on hand whenever you need it.

Enjoy!

Healthy Anzac Biscuits with banana flour and lupin (vegan, gluten free, soy free)

Vegan Paleo Anzac Biscuits

Anzac biscuits are naturally a must on Anzac day and you shouldn’t miss out on this just because of your intolerance or lifestyle choice! I hope you enjoyed last year’s Anzac biscuits but if they were too macaroon-y for you, here is a recipe that is closer to the original we all love and miss. This one uses banana flour which is a great source of resistant starch, keeping you fuller for longer. It functions like soluble fiber and is therefore great for digestion without being a burden on your gut, like unsoluble fiber. Add to that improved insulin sensitivity and lower blood sugar levels and you can enjoy Anzac day without your usual blood sugar rollercoaster.

These babies are vegan, making them the ideal companion for a cuppa if you are following a vegan or low-cholesterol diet, and depending on which sugar source you use, these could even be paleo. The choice is yours! With the fat coming from moderate amounts of coconut oil, desiccated coconut and just a few sliced almonds for that extra crunch, they are a guilt-free treat, and because they are so satisfying, there is less risk for you to go overboard on them. Despite their moderate fat content, they have a yummy buttery flavour. I also added lupin flakes for added texture, protein and fibre. Enjoy!

Makes 20 biscuits

150g banana flour
100g coconut sugar or other sweetener of choice
50g desiccated coconut
30g lupin flakes
1 tbsp flaked almonds
1 tsp gluten free aluminium free baking powder
50g coconut oil, melted
1 tbsp rice malt syrup

Preheat oven to 150 °C and prepare a cookie tray by lining with baking paper or a silicone mat. Combine the dry ingredients bar the baking powder, i.e. the flour, sugar, coconut, lupin and almonds in a large mixing bowl. Froth the baking powder with 4 teaspoons of hot water in a small bowl, and mix in melted coconut oil and rice malt syrup. Stir the wet ingredients onto the dry ingredients, knead until well mixed, then roll into balls and place on the baking tray. Lick the bowl clean. Bake for 20-25 minutes. Let stand in the oven for another few minutes, then cool on a plate.

Enjoy!

Tropical Smoothie (Breakfast) Bowl

Healthy, Easy, Yummy - the Tropical Smoothie Bowl
Healthy, Easy, Yummy – the Tropical Smoothie Bowl

Whether you want/need to balance upcoming indulgences (yes that’s right), need to cool down in Australia’s summer heat, or are just after a delicious, filling, easy, and, yes, healthy breakfast and/or afternoon snack, a smoothie bowl always hits the right spot – and yes, they are not only for summer. This one is made with banana and mango – hence the reference to “tropical”. But a smoothie bowl wouldn*t be a smoothie bowl if you couldn’t adapt it to your needs.

I just love their versatility – hate mango but love berries? Bingo, enjoy your banana and berry smoothie! Can have dairy – use Greek yogurt. Can’t have dairy? Use avocado or tahin instead. Need a protein boost after your workout? Add a scoop of your favourite protein powder. Got some almond milk leftover? Overripe bananas? You get the picture. You can even add a bit more liquid and have it as a beautiful shake on the run.

Serves one

1 cup lite coconut milk, almond milk, or any other milk of choice
a handful of frozen chopped bananas
a handful of frozen chopped mangoes
a handful of spinach (optional)
a scoop of Greek yogurt, avocado and/or nut butter
a scoop of protein powder (optional)
a tbsp of chia seeds (optional)
any add-ons (e.g. cacao, maca, spices, fruit, seeds…)

Blend all ingredients in a high-powered blender until desired consistency is achieved. Spoon or sip away!


Enjoy!


Paleo Vegan Chocolate Cupcakes (nut free)

Paleo Chocolate Cupcakes

How about sinking your teeth into a luscious, moist, fudgy, chocolatey cupcake…knowing that it’s paleo and vegan? A cupcake that is so delightful that you wouldn’t in the world believe it’s gluten free let alone grain free let alone paleo and vegan? Could that be something you are interested in? Would you like to try a scrumptious chocolate cupcake with lashings of chocolate cream on top (that is paleo and vegan)? I might have you covered!

These super easy and quick cupcakes (in fact, you can also use the dough for muffins or just regular chocolate cake) are whipped up in a jiffy, and while your non-paleo friends will love the indulgent chocolatey taste (while you know that this comes with virtually zero net carbs), it is the texture that is the real marvel here – moist, fluffy…just like the best cupcake you can imagine. And yes, at the risk that I am repeating myself, these babies are grain free – not only gluten free, but grain free! And they are entirely made of coconut flour, so no almonds or other nuts here (as coconut is not technically a nut).

Coconut flour is sky high in fibre, which means that these cupcakes are extremely satisfying. But do not go overboard, as exactly that fact can lead to bloated tummies if you are sensitive. Next to fibre, these delicacies also boast omega 3 from chia seeds, antioxidants and minerals from raw cocoa, healthy fats from coconut oil, and much more…there is really no need to wait for a special occasion!

Makes 18 cupcakes or 6 muffins

100g coconut flour
50g raw organic cacao
1 heaped tsp. aluminium-free baking soda
generous pinch of Himalayan sea salt
4 tbsp. or 10g stevia
2 tbsp. or 30g coconut sugar
3 egg replacers or “flax eggs” (1 flax egg = 1 tbsp milled flaxseed dissolved in 4 tbsp water)
3 tbsp. chia seeds, soaked in 9 tbsp. filtered water
100g full-fat coconut cream
100g melted virgin unrefined coconut oil
dash of vanilla extract
2 tsp. organic apple cider vinegar
100ml warm water

For the frosting:
tin of full-fat coconut cream, chilled overnight
raw organic cocoa to taste
stevia to taste

Preheat oven to 180°C and prepare a muffin/cupcake tray. Combine coconut flour, cacao, baking soda, sea salt, stevia, and coconut sugar in a medium bowl until combined. Mix eggs, soaked chia seeds, coconut cream, coconut oil, vanilla, vinegar, and water in another bowl and mix on medium speed until homogenous. Add dry to wet ingredients and mix until well combined. Bake for 20-30 minutes depending on size or after the toothpick comes out clean. Let cool in the tray and refrigerate. The texture improves in the fridge and they last a long time when stored in the fridge.

Mix the ingredients for the frosting according to your liking and chill until firm enough to pipe onto cupcakes. Sprinkle with hundreds and thousands (optional).

WP_20150624_002

Enjoy!

Banana Flour Chocolate Chip Muffins {gf, vg, nut free}

Banana Flour - a healthy replacement for wheat flour
Banana Flour – a healthy replacement for wheat flour

What do you think if someone -who is absolutely NOT into health foods- can’t stop eating something that is healthy(ish)? I think that’s pretty cool! Let’s face it, most “healthified” or “alternative” baked goods – be they gluten free, paleo, vegan, sugar free, or whatever, taste great to the health-conscious palate, but they are not always crowd-pleasers. I was all the more excited when I came up with this recipe for banana chocolate muffins – muffins that you could serve at a school fête, bribe your junk food addicted teenager or impress your in-laws with without worrying that they might taste “healthy”. All this is possible using one of the latest additions to the gluten free flour realm: banana flour!

I was intrigued by the claim that you can completely replace wheat flour with banana flour by using 25% less, which should enable you to convert pretty much any recipe using what flour without experimenting with 8+ different flours and starches as you normally do in gluten free baking, which is just too good to be true! I got my banana flour from here. Yes, it is pricey, but if you have a few dollars to spend, it is a worthwhile investment as…it really DOES replace wheat flour! I did not use any other flour or starch for these muffins, and the texture was just like normal wheat muffins! It does taste like banana though, so I would not use it for savoury baking, but rather for goodies that are enhanced by a very subtle banana flavour, such as banana bread (for obvious reasons), pancakes, carrot cakes, and, yup, these delicious muffins!

You can even use banana flour as a healthy “thickener” in your favourite smoothie! Either way, banana flour is super-rich in resistant starch, which is a “good” starch (yes, that’s right! Not all starch is created equal!) as it enhances your gut flora, which is absolutely essential for your wellbeing, keeps you full without the bloat you get from flax and fiber, and stabilises your blood sugar, so that you can enjoy banana chocolate muffins without the carb-induced delirium that might otherwise come with a muffin. So again, baking with banana flour is healthy, easy, and yummy, just as I like it.

Makes 12 muffins

1 egg replacer or “flax egg” (1 flax egg = 1 tbsp milled flaxseed dissolved in 4 tbsp water)
90g coconut sugar
100g melted organic coconut oil
200g lite BPA-free coconut cream
210g banana flour
1/2 tsp cinnamon (optional)
1 1/2 tsp aluminium-free baking soda
150g dark chocolate, chopped (or chocolate chips) – the best quality you can find

Preheat oven to 180 °C. Mix egg, sugar, cream, and oil in one bowl, and flour, cinnamon and soda in another. Add the wet ingredients to the dry ingredients and mix until smooth. Fold in chocolate chips. Pour into prepared muffin tray and bake for 20 mins. Let the muffins cool down and remove from pan once cooled. Will last several days at room temperature and even longer in the fridge.

Enjoy!


Millionaire’s Shortbread aka Caramel Slice {gf, vg, soy free, paleo}

Grain free, paleo caramel slice

Millionaire’s shortbread was my childhood heaven like brownies for other people. I fell in love the minute my mum brought a tray from a business trip to Scotland – a crunchy shortbread base + decadent caramel + chocolate = bliss! When a Marks & Spencer’s opened in Frankfurt, we travelled all the way from Berlin just to bite into one of these moreish delights (that Marks & Spencer’s did not last long in spite of their heavenly baked goods, but that is another story).

Making a gluten free version of Millionaire’s shortbread has been on my to-do-list for a couple of years now. In fact, this is a gluten, dairy and soy free blog, so creating a Millionaire’s shortbread fit for No Worries Cooking was a bit like squaring the circle. There were many failed attempts – either the shortbread was ruined (I had heated the butter a couple of times – never do that!), or the caramel was NQR, or the chocolate burned while melting. But now I can finally tick it off the list: Here is a vegan, grain free, dairy free, sugar free, soy free, and, in fact, paleo-ish version of Millionaire’s shortbread! I love ticking off items from my to-do lists, so this was a success on so many levels!

The shortbread base I have slightly adapted from a recipe for paleo all-purpose flour I found here. I am keen to try it in some other recipes as well, but it worked a treat in this shortbread. The caramel is a super quick vegan caramel sauce (of which I will post the recipe separately later), and the chocolate is my favourite, Lindt Excellence 90%. So it is really a lot easier to whip up this treat than I had antcipated, probably less than 30 minutes preparation, which should be the maximum amount of time you wait before trying this great recipe!

For a 20 cm square baking pan

For the shortbread base:
120 g coconut flour
100g almond meal
60g tapioca flour
pinch of salt
1 “flax egg” (1 tbsp milled flaxseed dissolved in 4 tbsp filtered water)
150g coconut oil or vegan butter, softened
50g rice malt syrup or other liquid sweetener

For the caramel:
1 tin full-fat coconut cream, chilled overnight
1 tbs molasses
dash of vanilla extract
generous pinch of sea salt
150g rice malt syrup or other liquid sweetener
dollop of coconut oil or vegan butter

For the chocolate topping:
200g vegan dark chocolate (at least 80% cocoa)

Preheat oven to 180 °C. Prepare one 20 cm square baking pan by lining with baking paper. Mix all ingredients for the shortbread in a large mixing bowl and mix with your hands until everything comes together and the mass resembles crumble. Note: it will take a while to come together, but you should really use your hands as the warmth of your hands will soften the butter, thus helping to combine the fat molecules of the butter with the dry ingredients. (And you get to lick your fingers, yum!) Once the dough resembles a crumbly mass, pack firmly to build a “ball” and chill for up to 30 minutes (though you can skip this step). Press firmly and evenly down the baking pan and pierce holes into the fough with a fork. Bake for approx. 20 minutes until the edges start to lightly golden.

Meanwhile, prepare the caramel. The solid part of the coconut cream should be on top of the tin. Scoop it out and into a small saucepan. The leftover coconut water can be used for smoothies. Add the remaining caramel ingredients bar the butter and slowly heat over medium heat. Bring to the boil, then turn the heat down and simmer until the caramel starts to bubbly and thicken up. Stir, stir, stir! Once the caramel has the desired consistency, turn off the heat and stir in the butter. Pour into the tin on top of the baked shortbread and refrigerate for one or two hours.

Once set, melt the chocolate in a double boiler while constantly stirring until completely melted. Pour on top of the shortbread and caramel and refrigerate again for another hour or so.

Once everything is firm and set, lift out of the tin and cut into squares with a very sharp knife.

WP_20150512_007

Enjoy!