Ready for a game-changer, peeps? Who doesn’t love mayonnaise? And I bet, after trying this recipe, you’ll love my instant lowfat vegan mayonnaise!
There were two problems with mayonnaise until now: a) it is full of fat, and b) it is incredibly tedious, time-consuming and tricky to make yourself. Obviously, traditional mayonnaise being made from eggs is off-limits if you are vegan or intolerant/allergic to eggs (not to mention the risk of contracting salmonella). If you have ever attempted to make your own mayonnaise, or even tried to “healthify” it, you are in good company. According to internet searches, it is one of the most coveted items to make vegan, oil-free or egg-free. But the plethora of recipes for vegan mayonnaise you can find online were not what I was looking for, either. They generally still use a lot of oil, making a very high-fat vegan substitute or they use cashews as base which are also high in fat, expensive and not suitable if you have nut allergies.
So my browsing of vegan mayonnaise recipes left me thinking of the U2 song: “I still haven’t found what I was looking for…”. Needless to say, I had to create my own version. I wanted it to be very quick, very yummy and very healthy. And I am quite positively surprised that it turned out great on the first try. In fact, this was probably the quickest recipe creation I have ever done.

I knew I wanted to use tofu as a base but without any added oils. I figured that there needed to be some zing and because I could not decide between apple cider vinegar and lemon juice, I simply used both. And because I love mustard (a remnant of my European heritage), I added that as well. I also added just a tiny pinch of toasted sesame oil which is my favourite oil and gives this mayonnaise a mysterious depth of flavour.
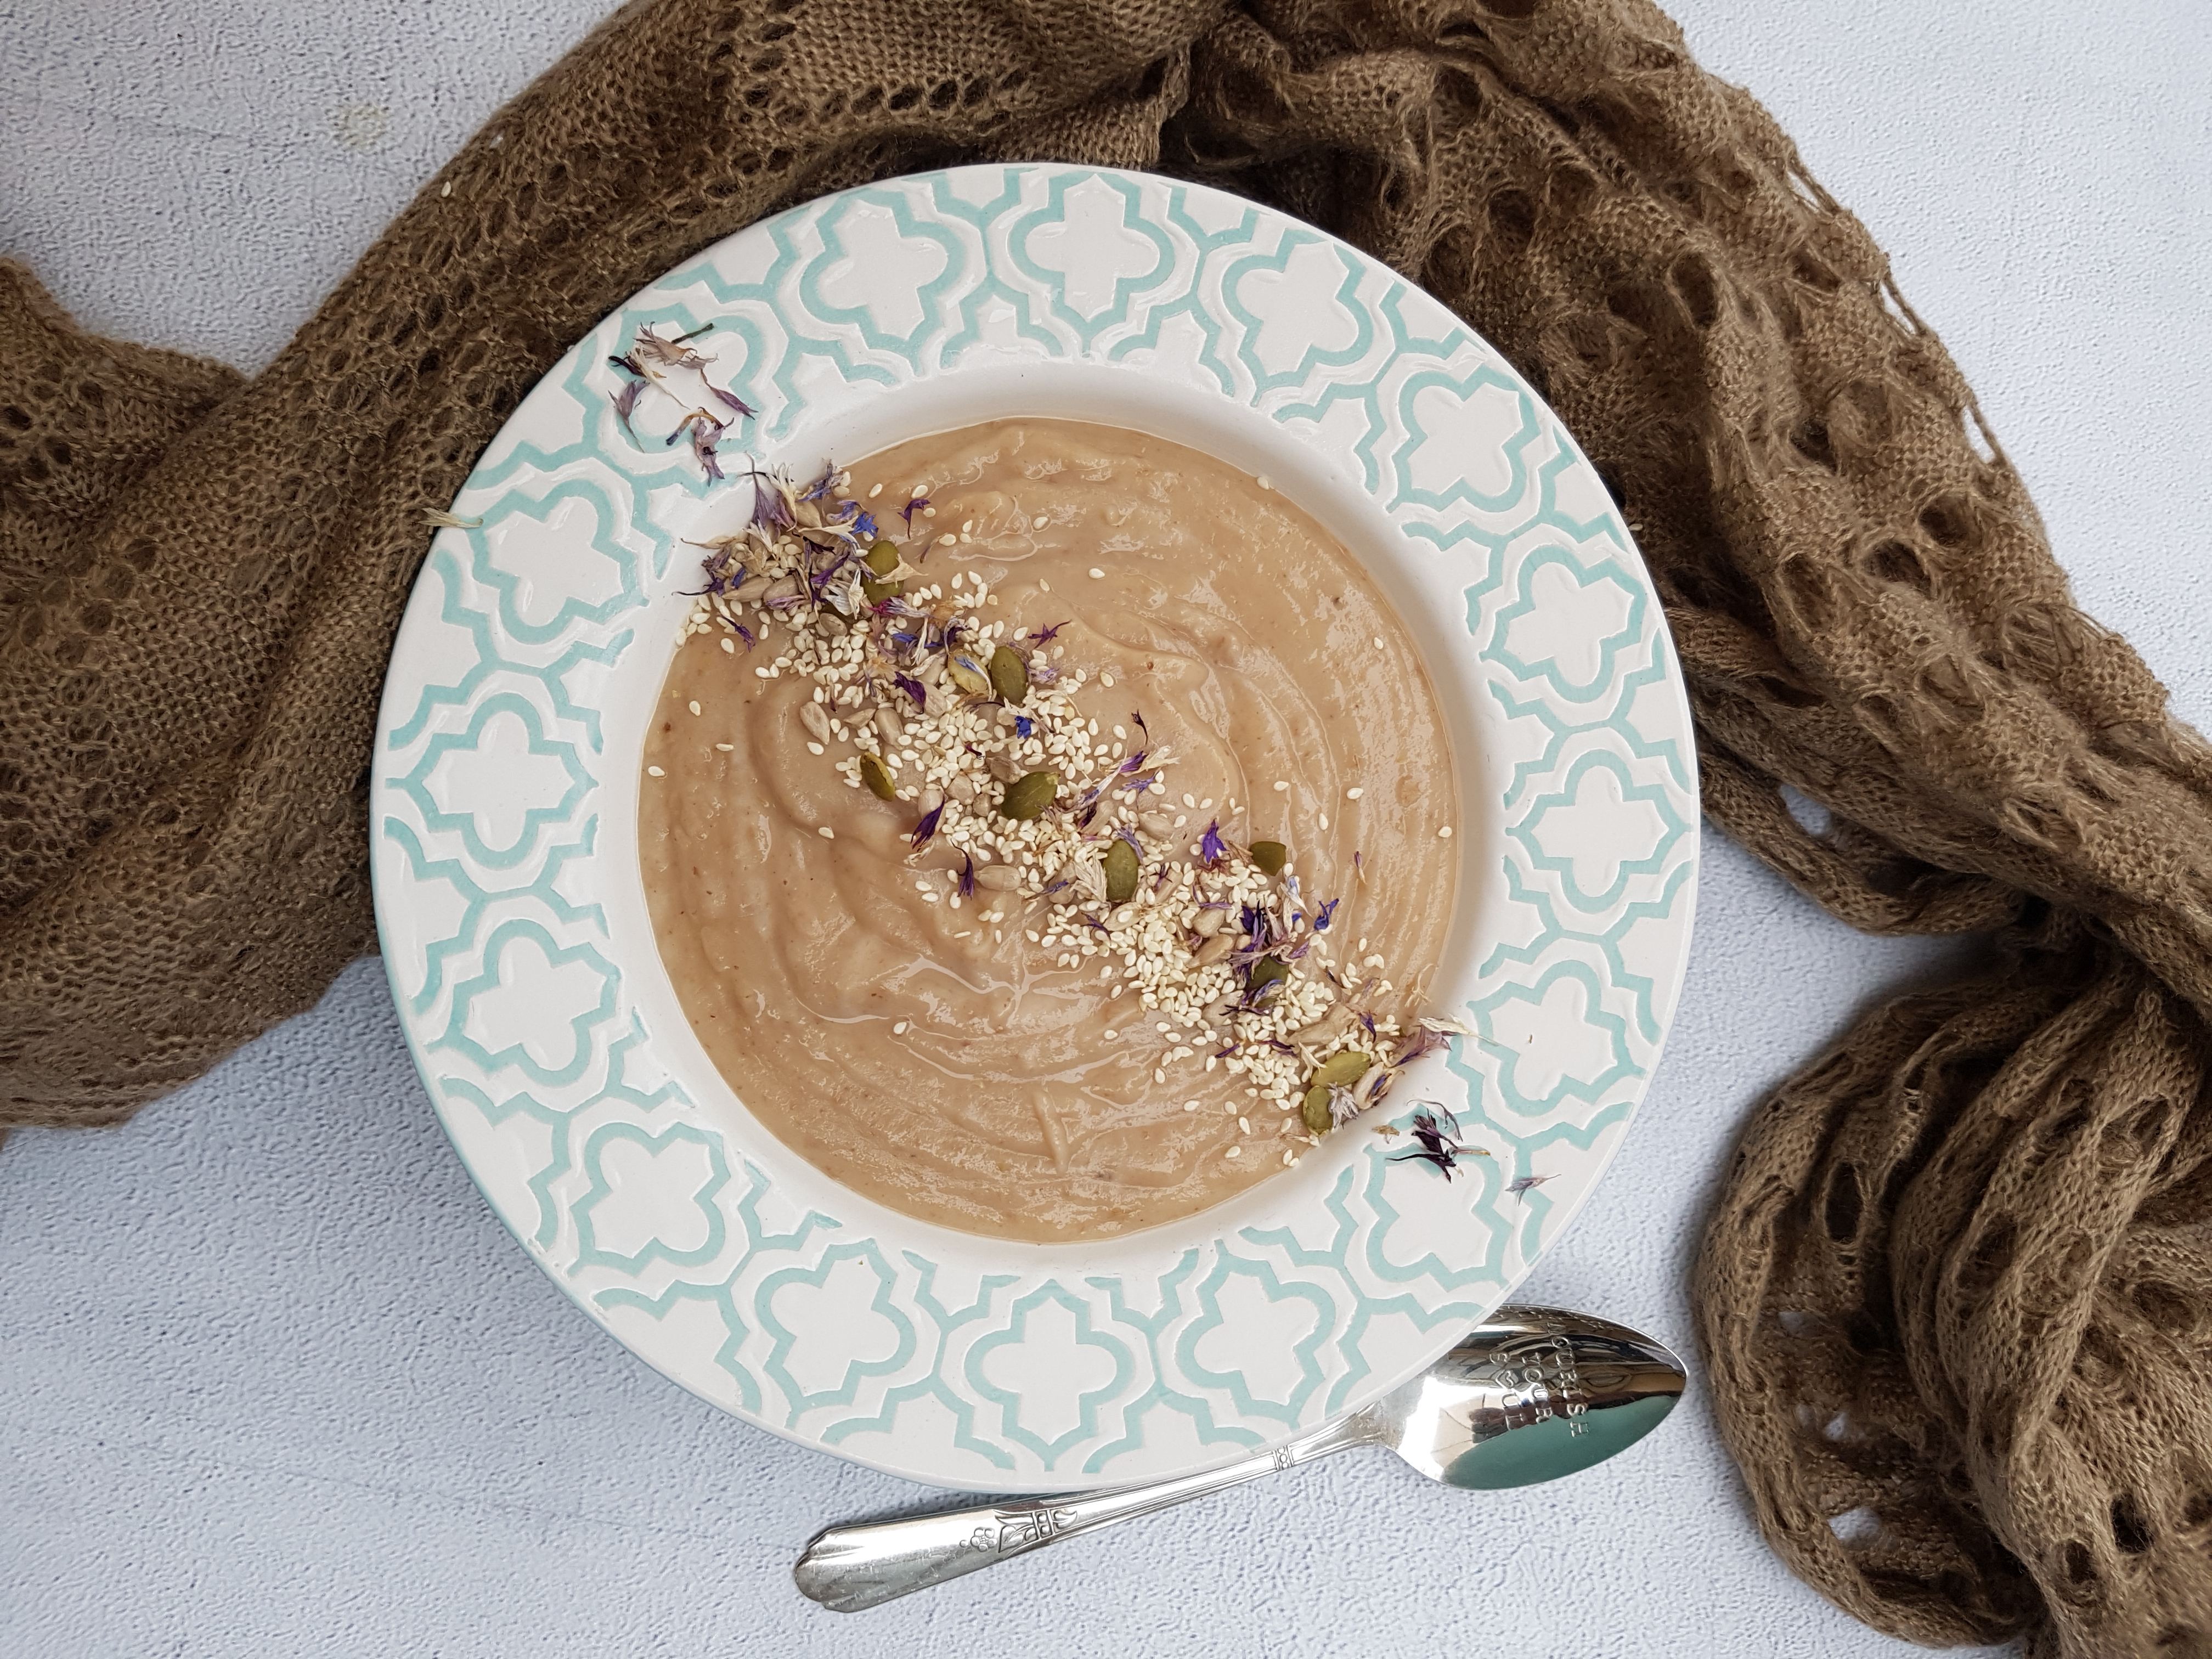
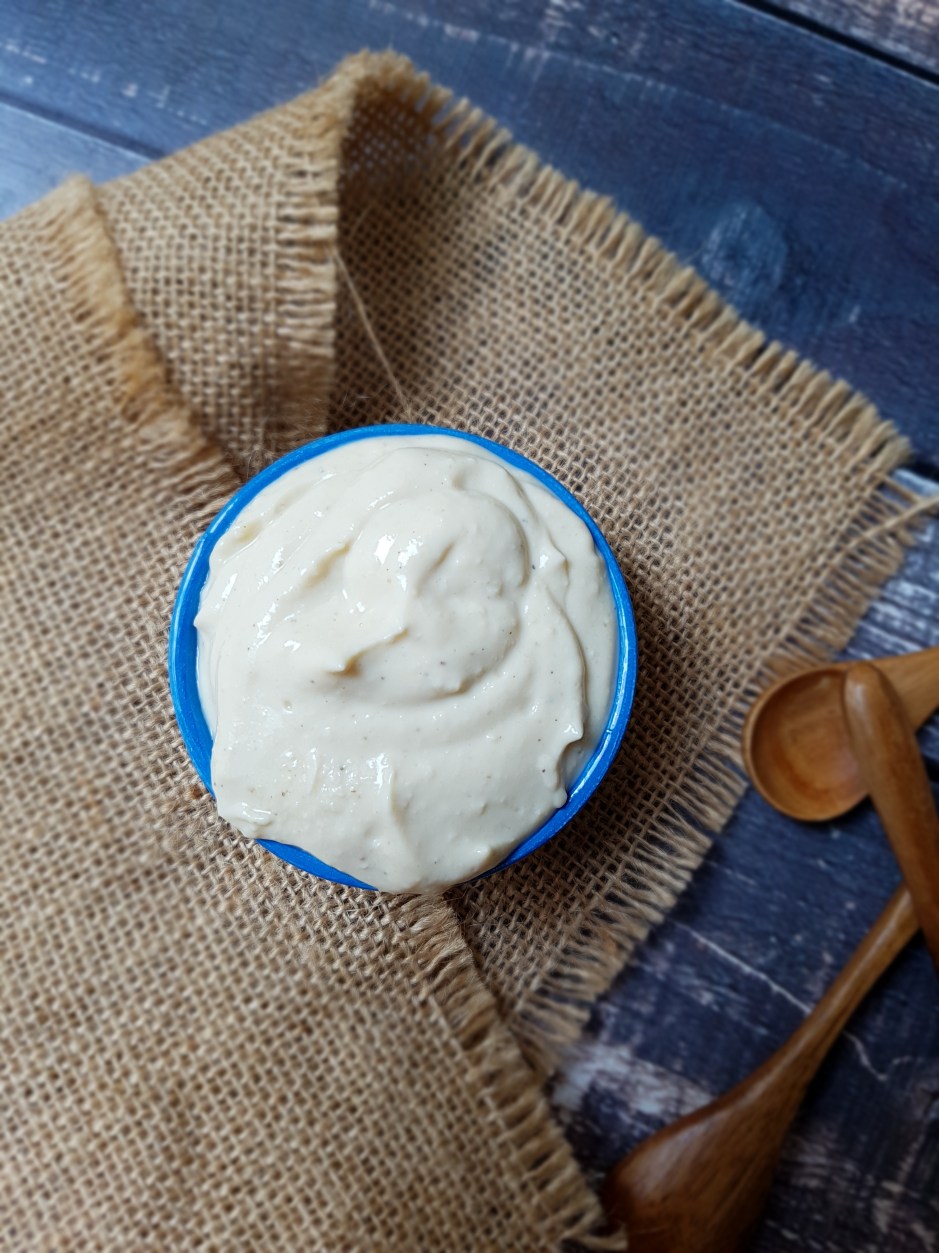
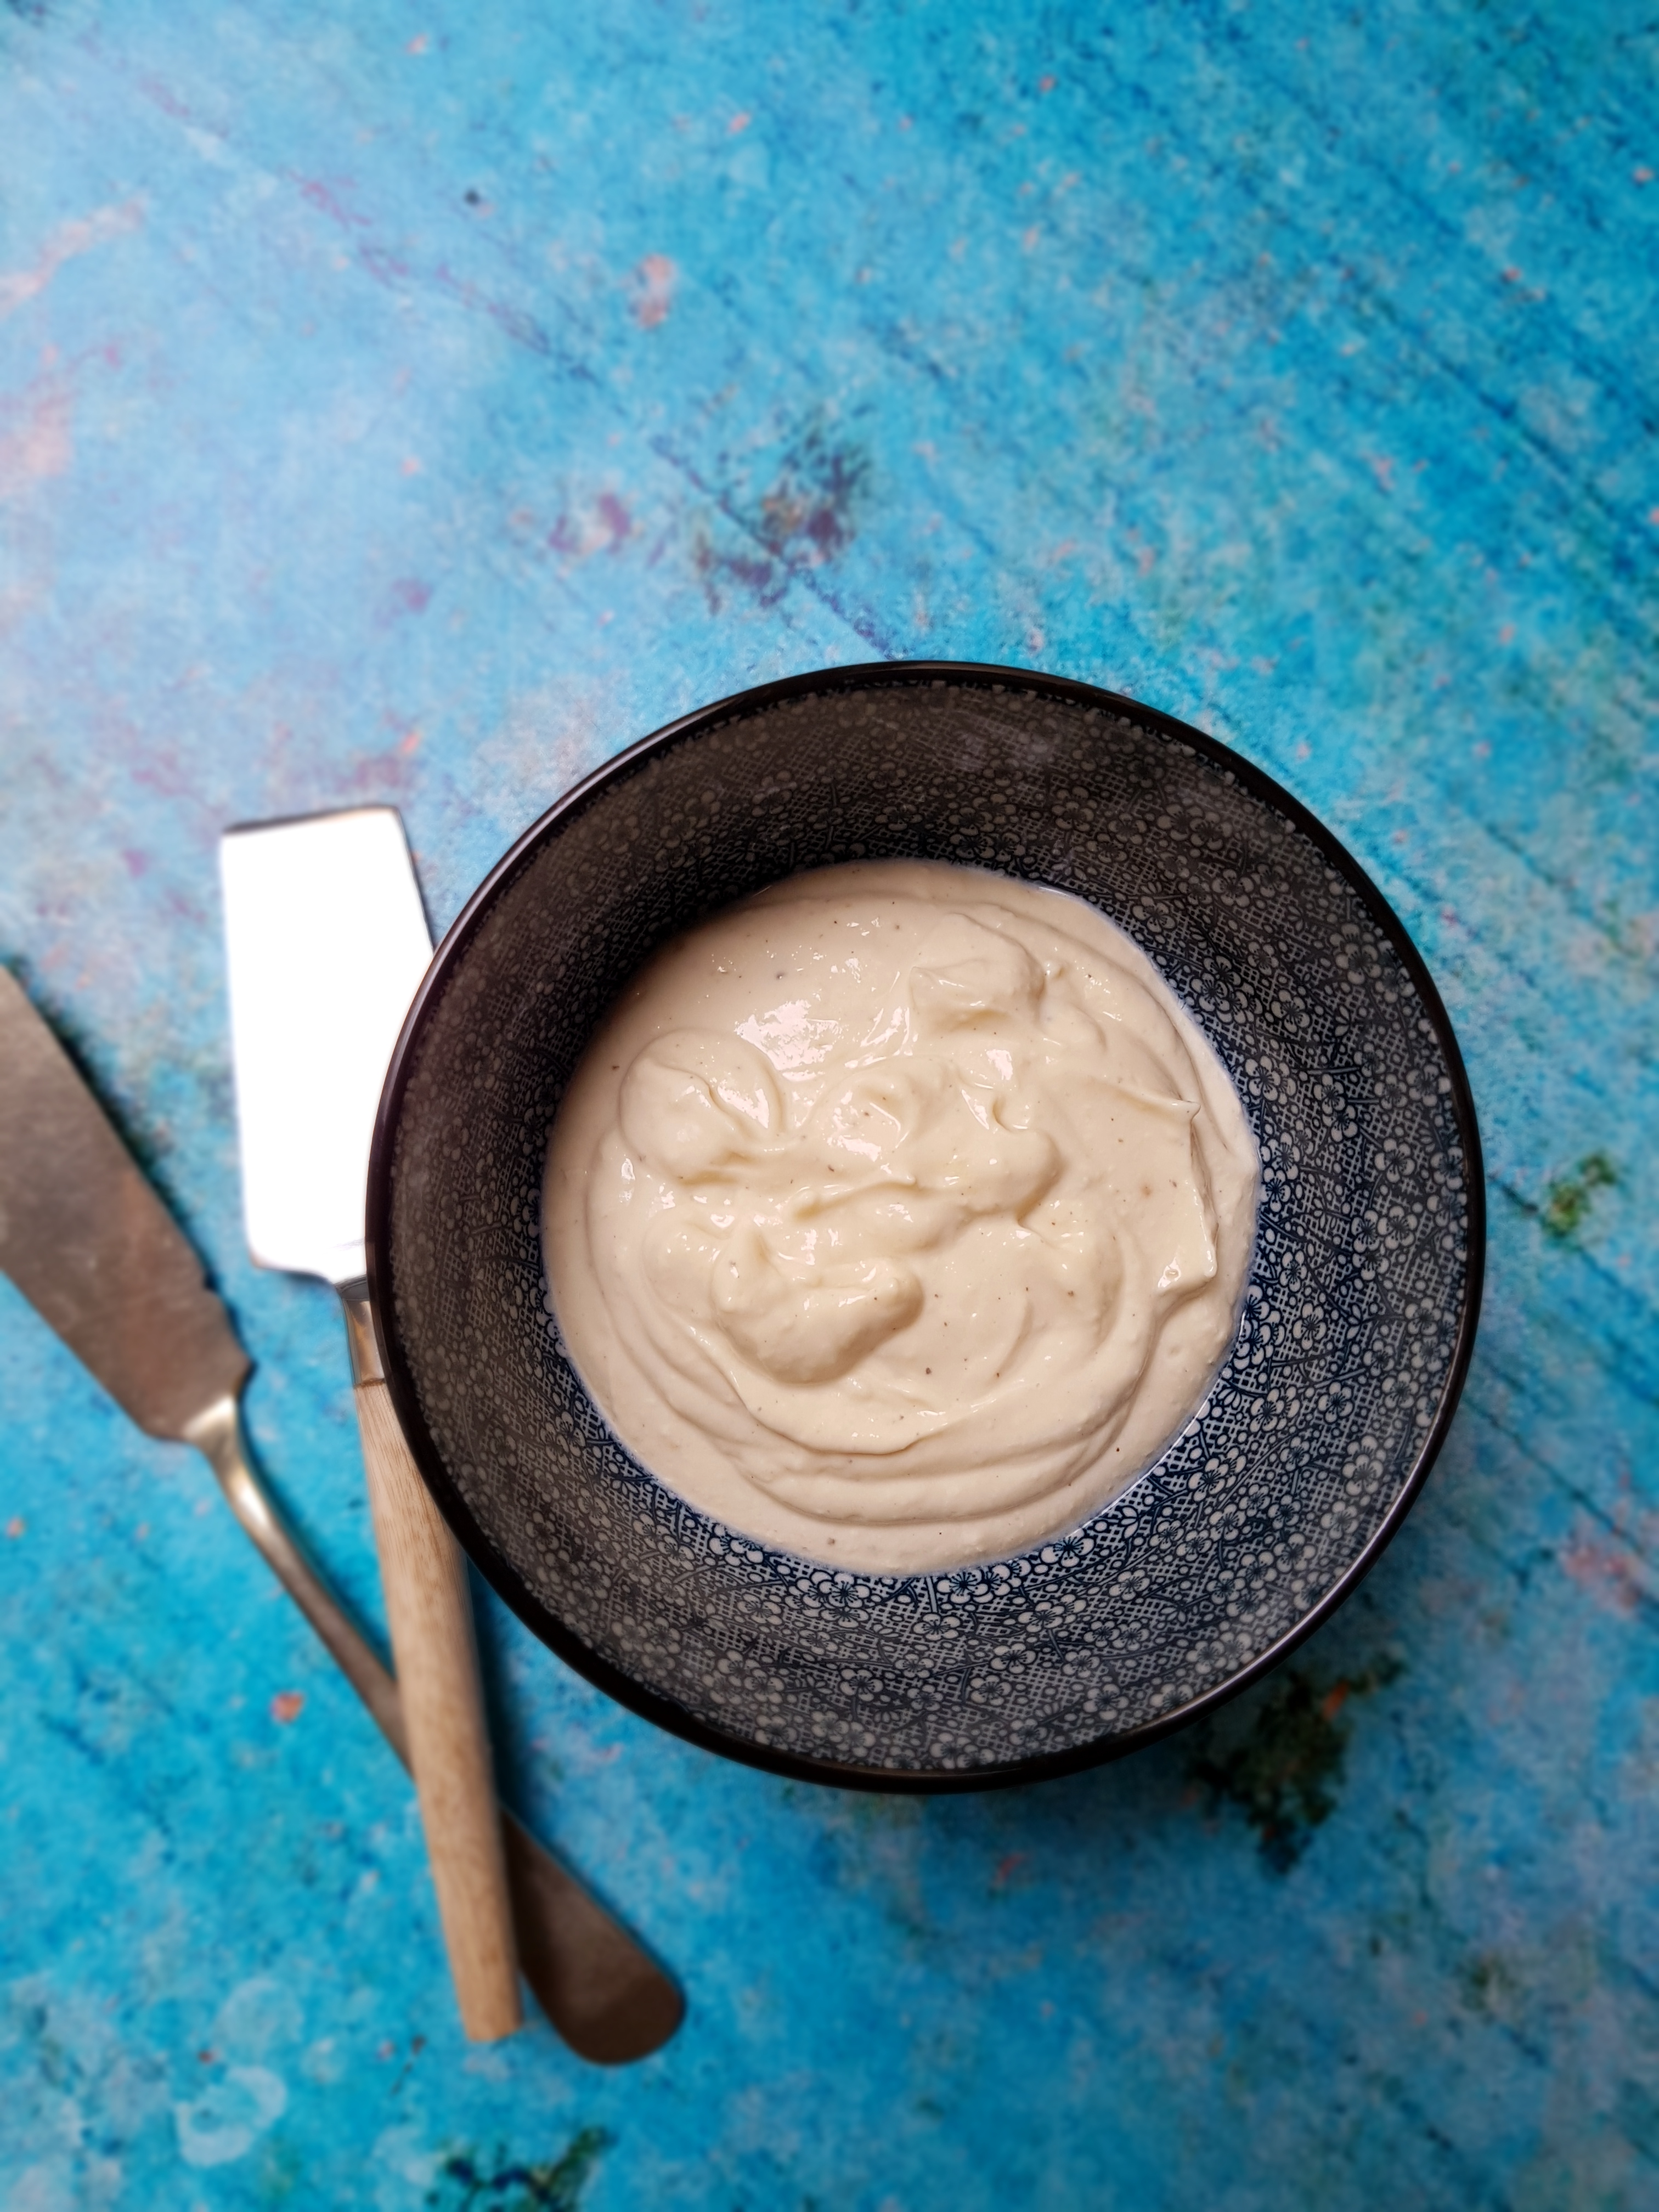
The result was a thick, creamy, luscious mayonnaise that – both in terms of flavour as well as texture – can take on any conventional mayonnaise heads-on. I find it so addictive, I can hardly restrain myself from not gobbling up the whole thing when I make this. And why not? Using naturally low-fat silken tofu as base and with only half a teaspoon of sesame oil, this is a light and lower fat alternative that still provides a very rich, authentic taste. Not a bad effort considering this beauty is gluten free, dairy free, egg free, cholesterol free, vegan, nut free, refined sugar free and almost oil-free!
Tip: If you tolerate garlic, add some garlic to make aioli!
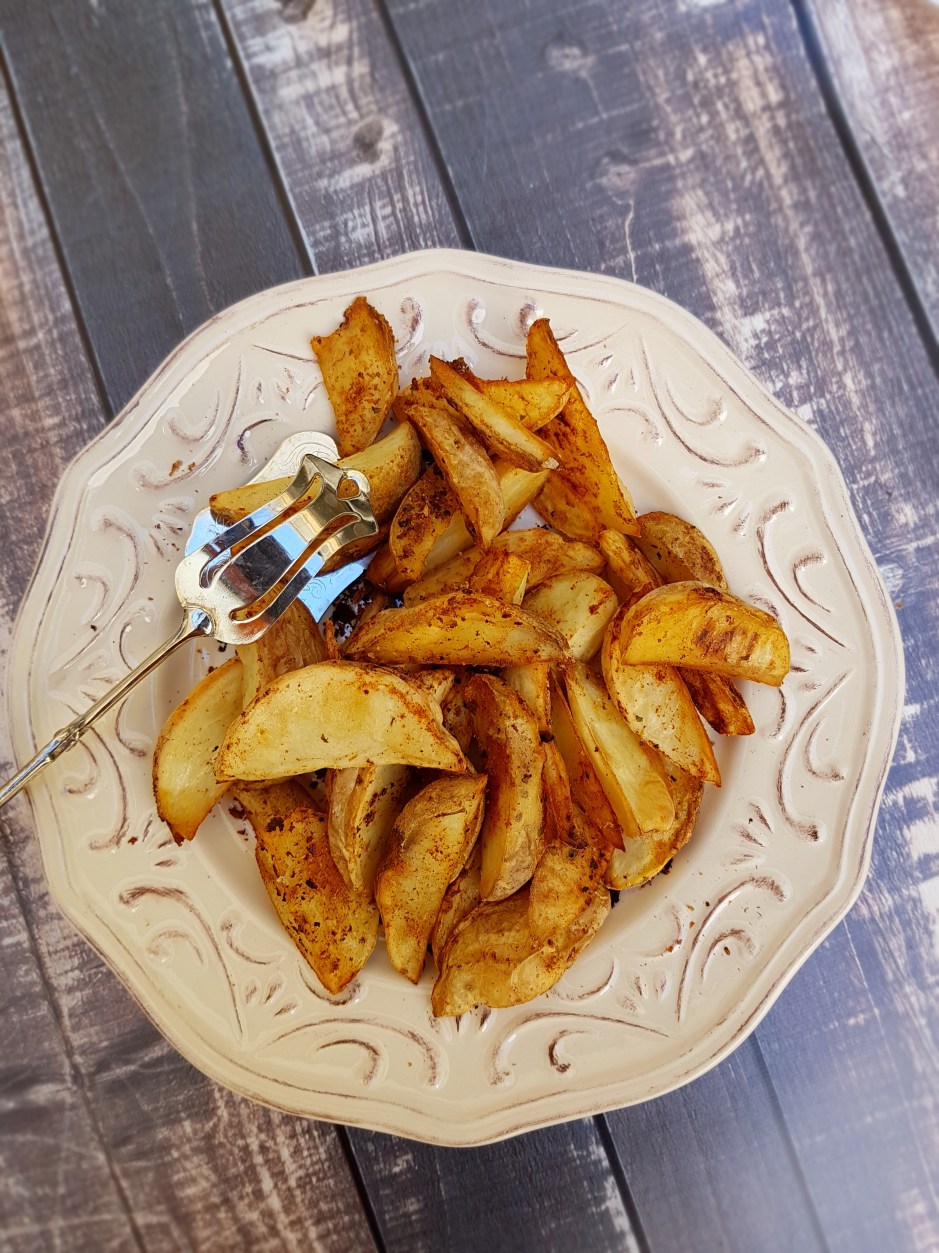
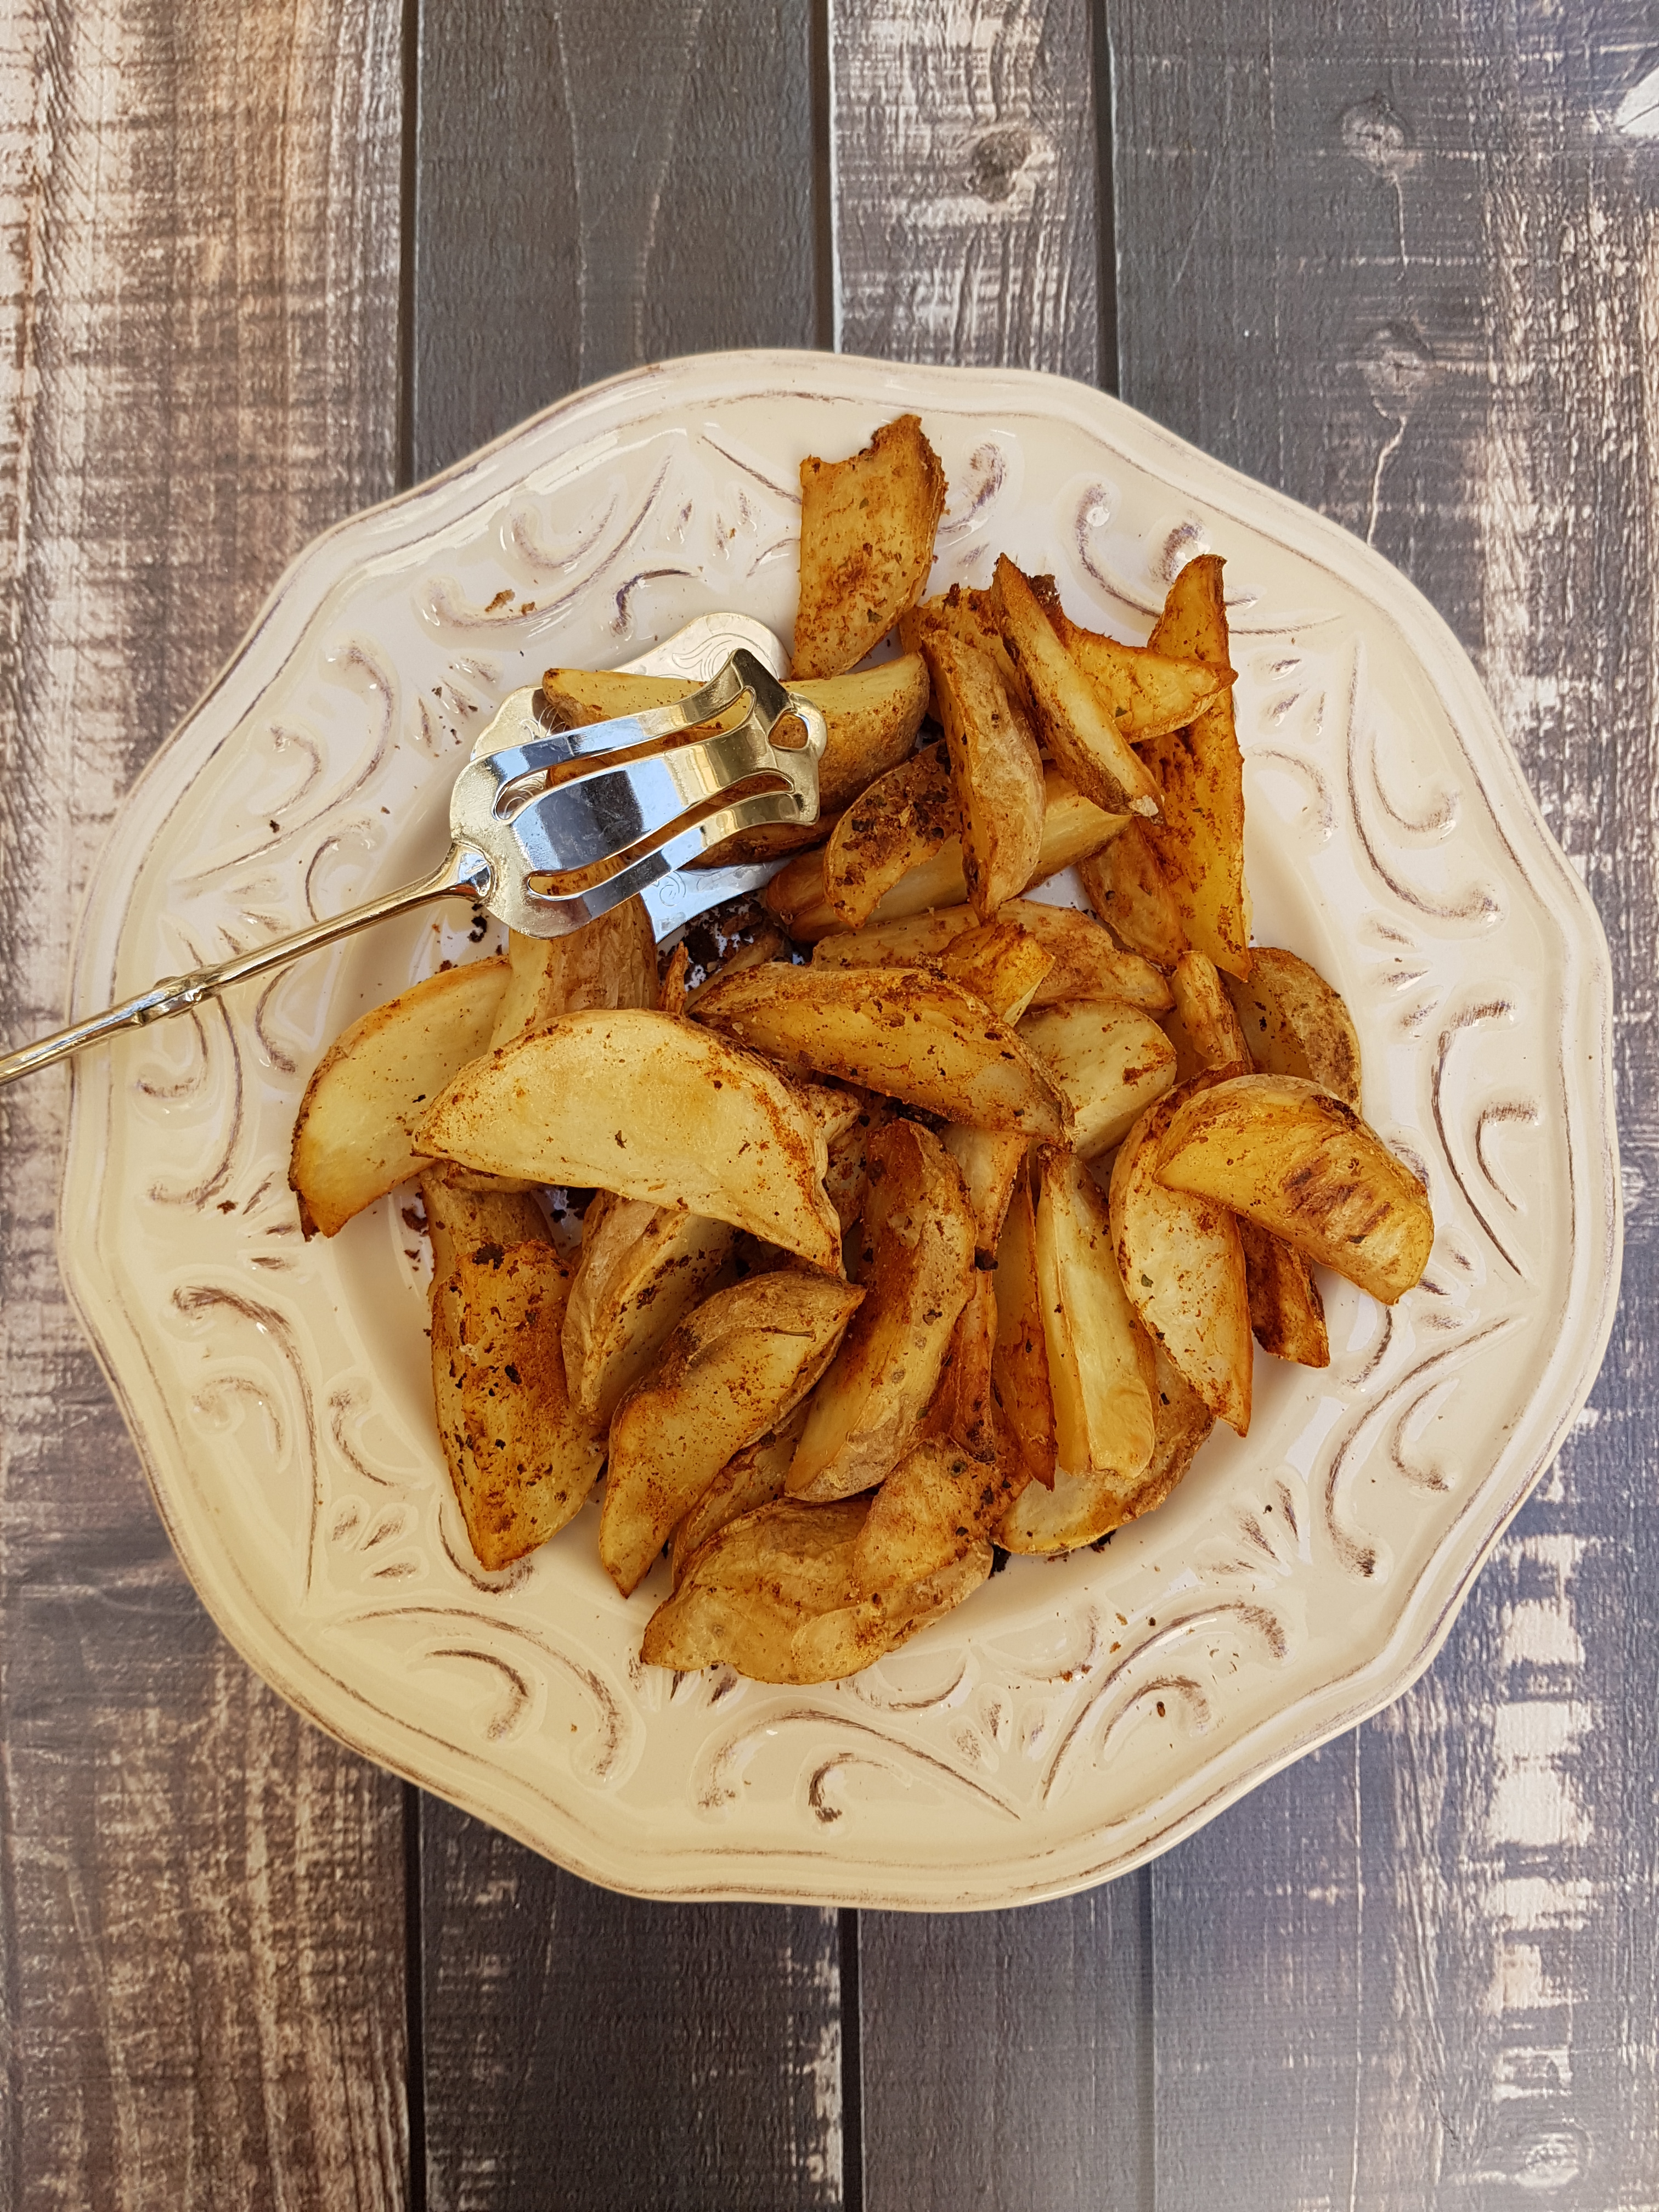
Are your fries/coleslaw/potato salad ready for the healthiest, quickest and most delicious mayonnaise of your life?
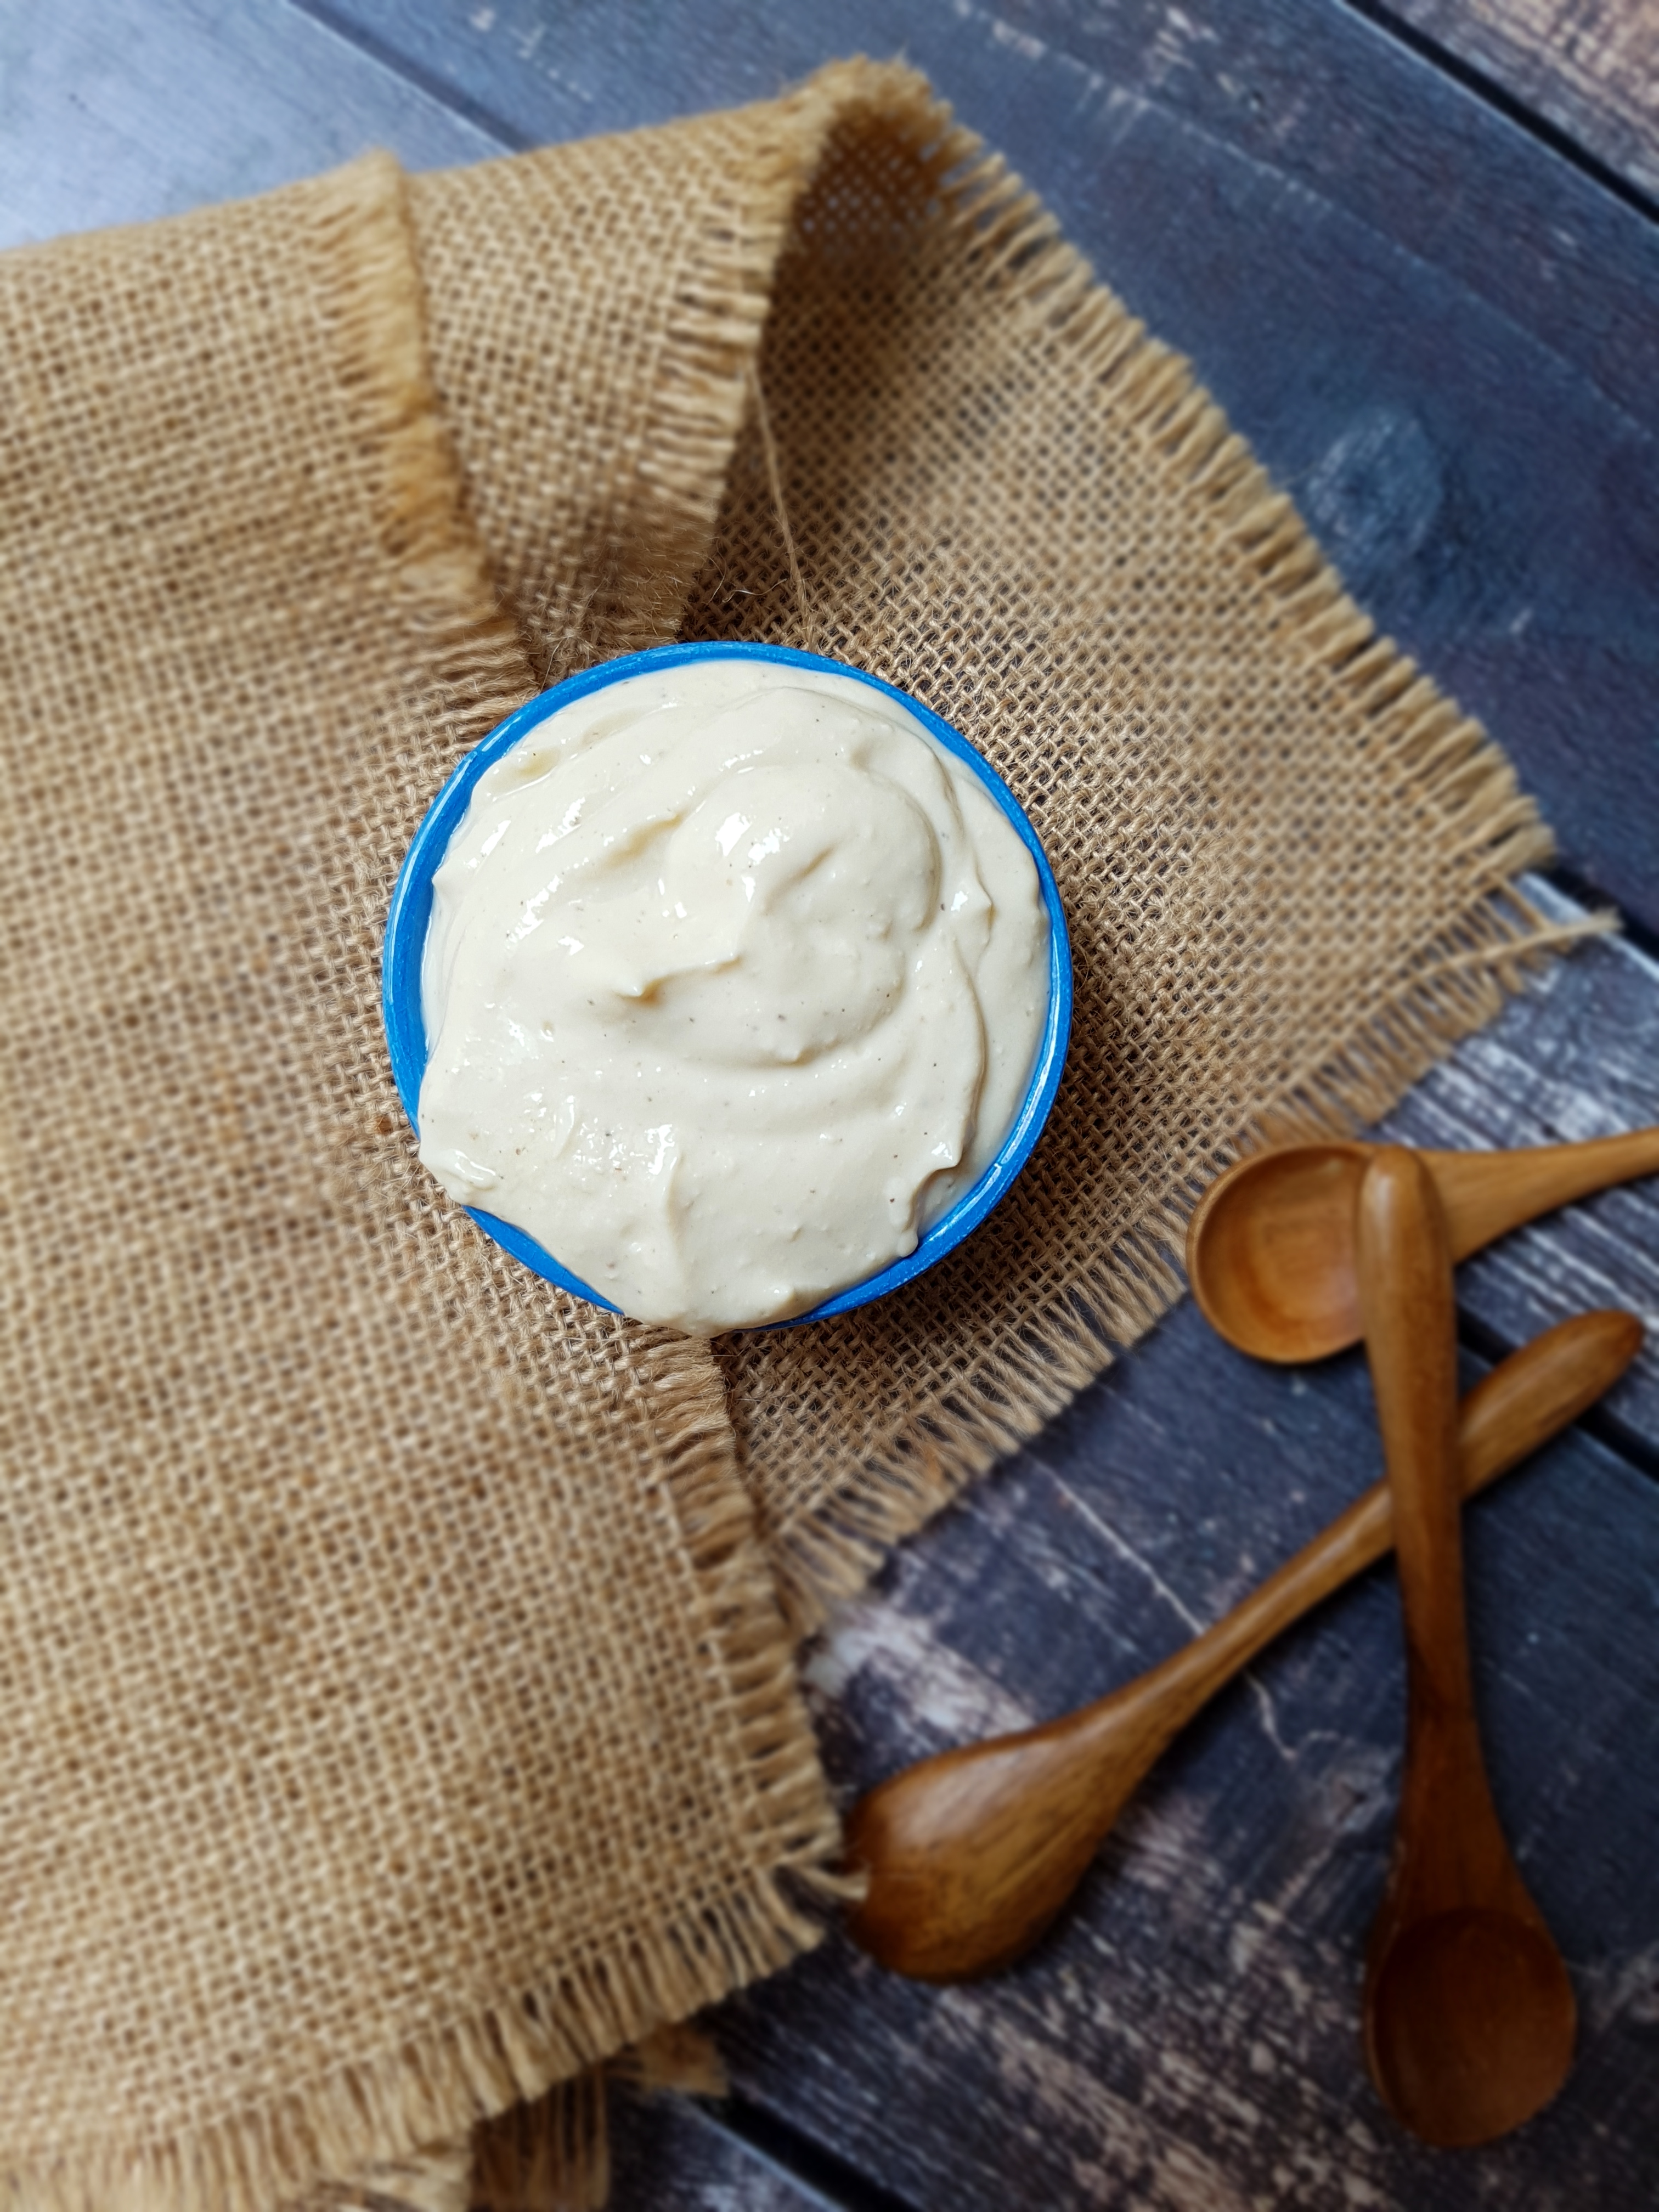
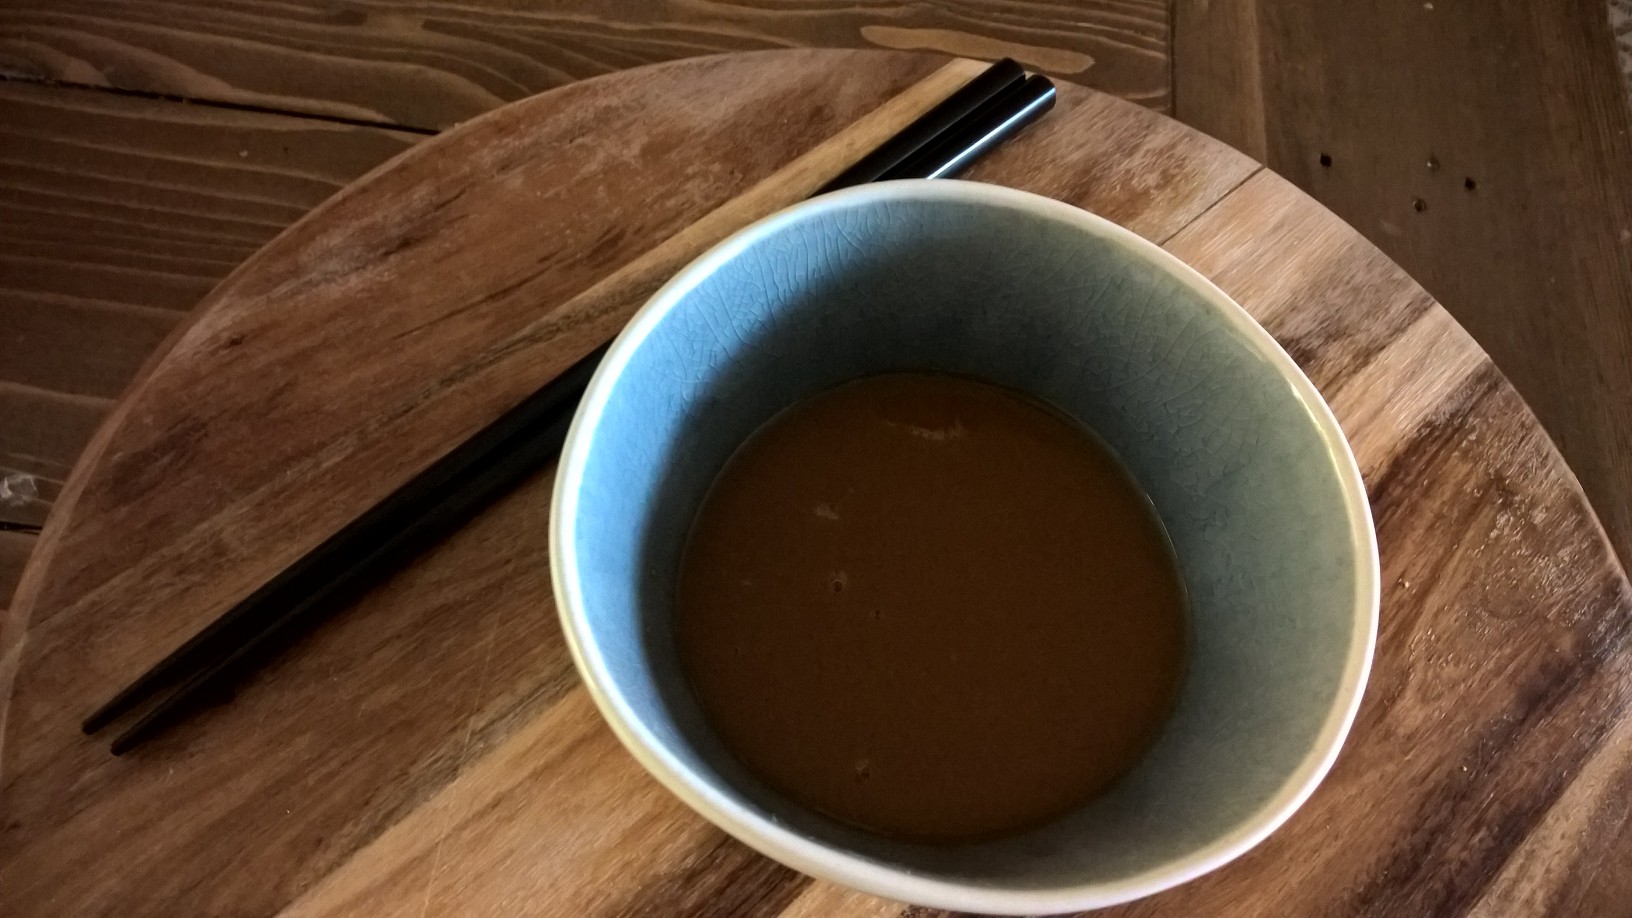
Instant Lowfat Vegan Mayonnaise
300g nigiri tofu
1 tbsp apple cider vinegar
3 tsp lemon juice
1 tsp Dijon mustard
1 tsp sea salt (use herb sea salt for extra flavour)
1/2 tsp black pepper
1/2 tsp toasted sesame oil
Blitz all ingredients in a high-powered blender and serve straight away. Alternatively, store in the fridge for up to 5 days.
Enjoy!