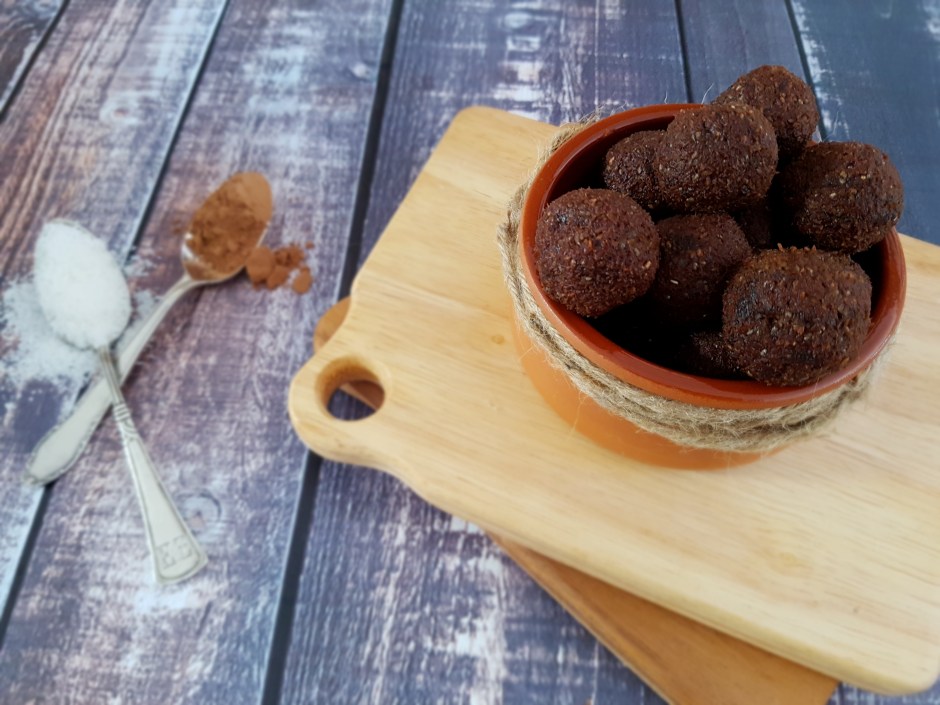
I am continuing my bliss balls obsession with a new flavour that is just perfect for the current season – autumn! While autumn here in the southern hemisphere doesn’t necessarily go hand in hand with gingerbread, the shops in Germany and other Northern and Central European countries start to fill up with all kinds of gingerbread-y goodies as soon as the leaves turn yellow. And because gingerbread is so delicious and comforting all year round – not just in the lead-up to Christmas – here’s my gingerbread bliss balls.
The idea for gingerbread bliss balls has been at the back of my mind for a while. After all, if you make carrot cake bliss balls and cookie dough bliss balls, why not turn other baked favourites into healthy snacks as well? I am pleased to say that these babies are utterly delicious! They are spicy, warming, comforting, full of flavour and just divine. I love all my bliss ball creations – if I do say so myself – but I think this is by far my new favourite. So make these now or bookmark this page if you are craving something really delicious and really healthy or frantically looking for Christmas presets (or any presents) in a few months’ time.
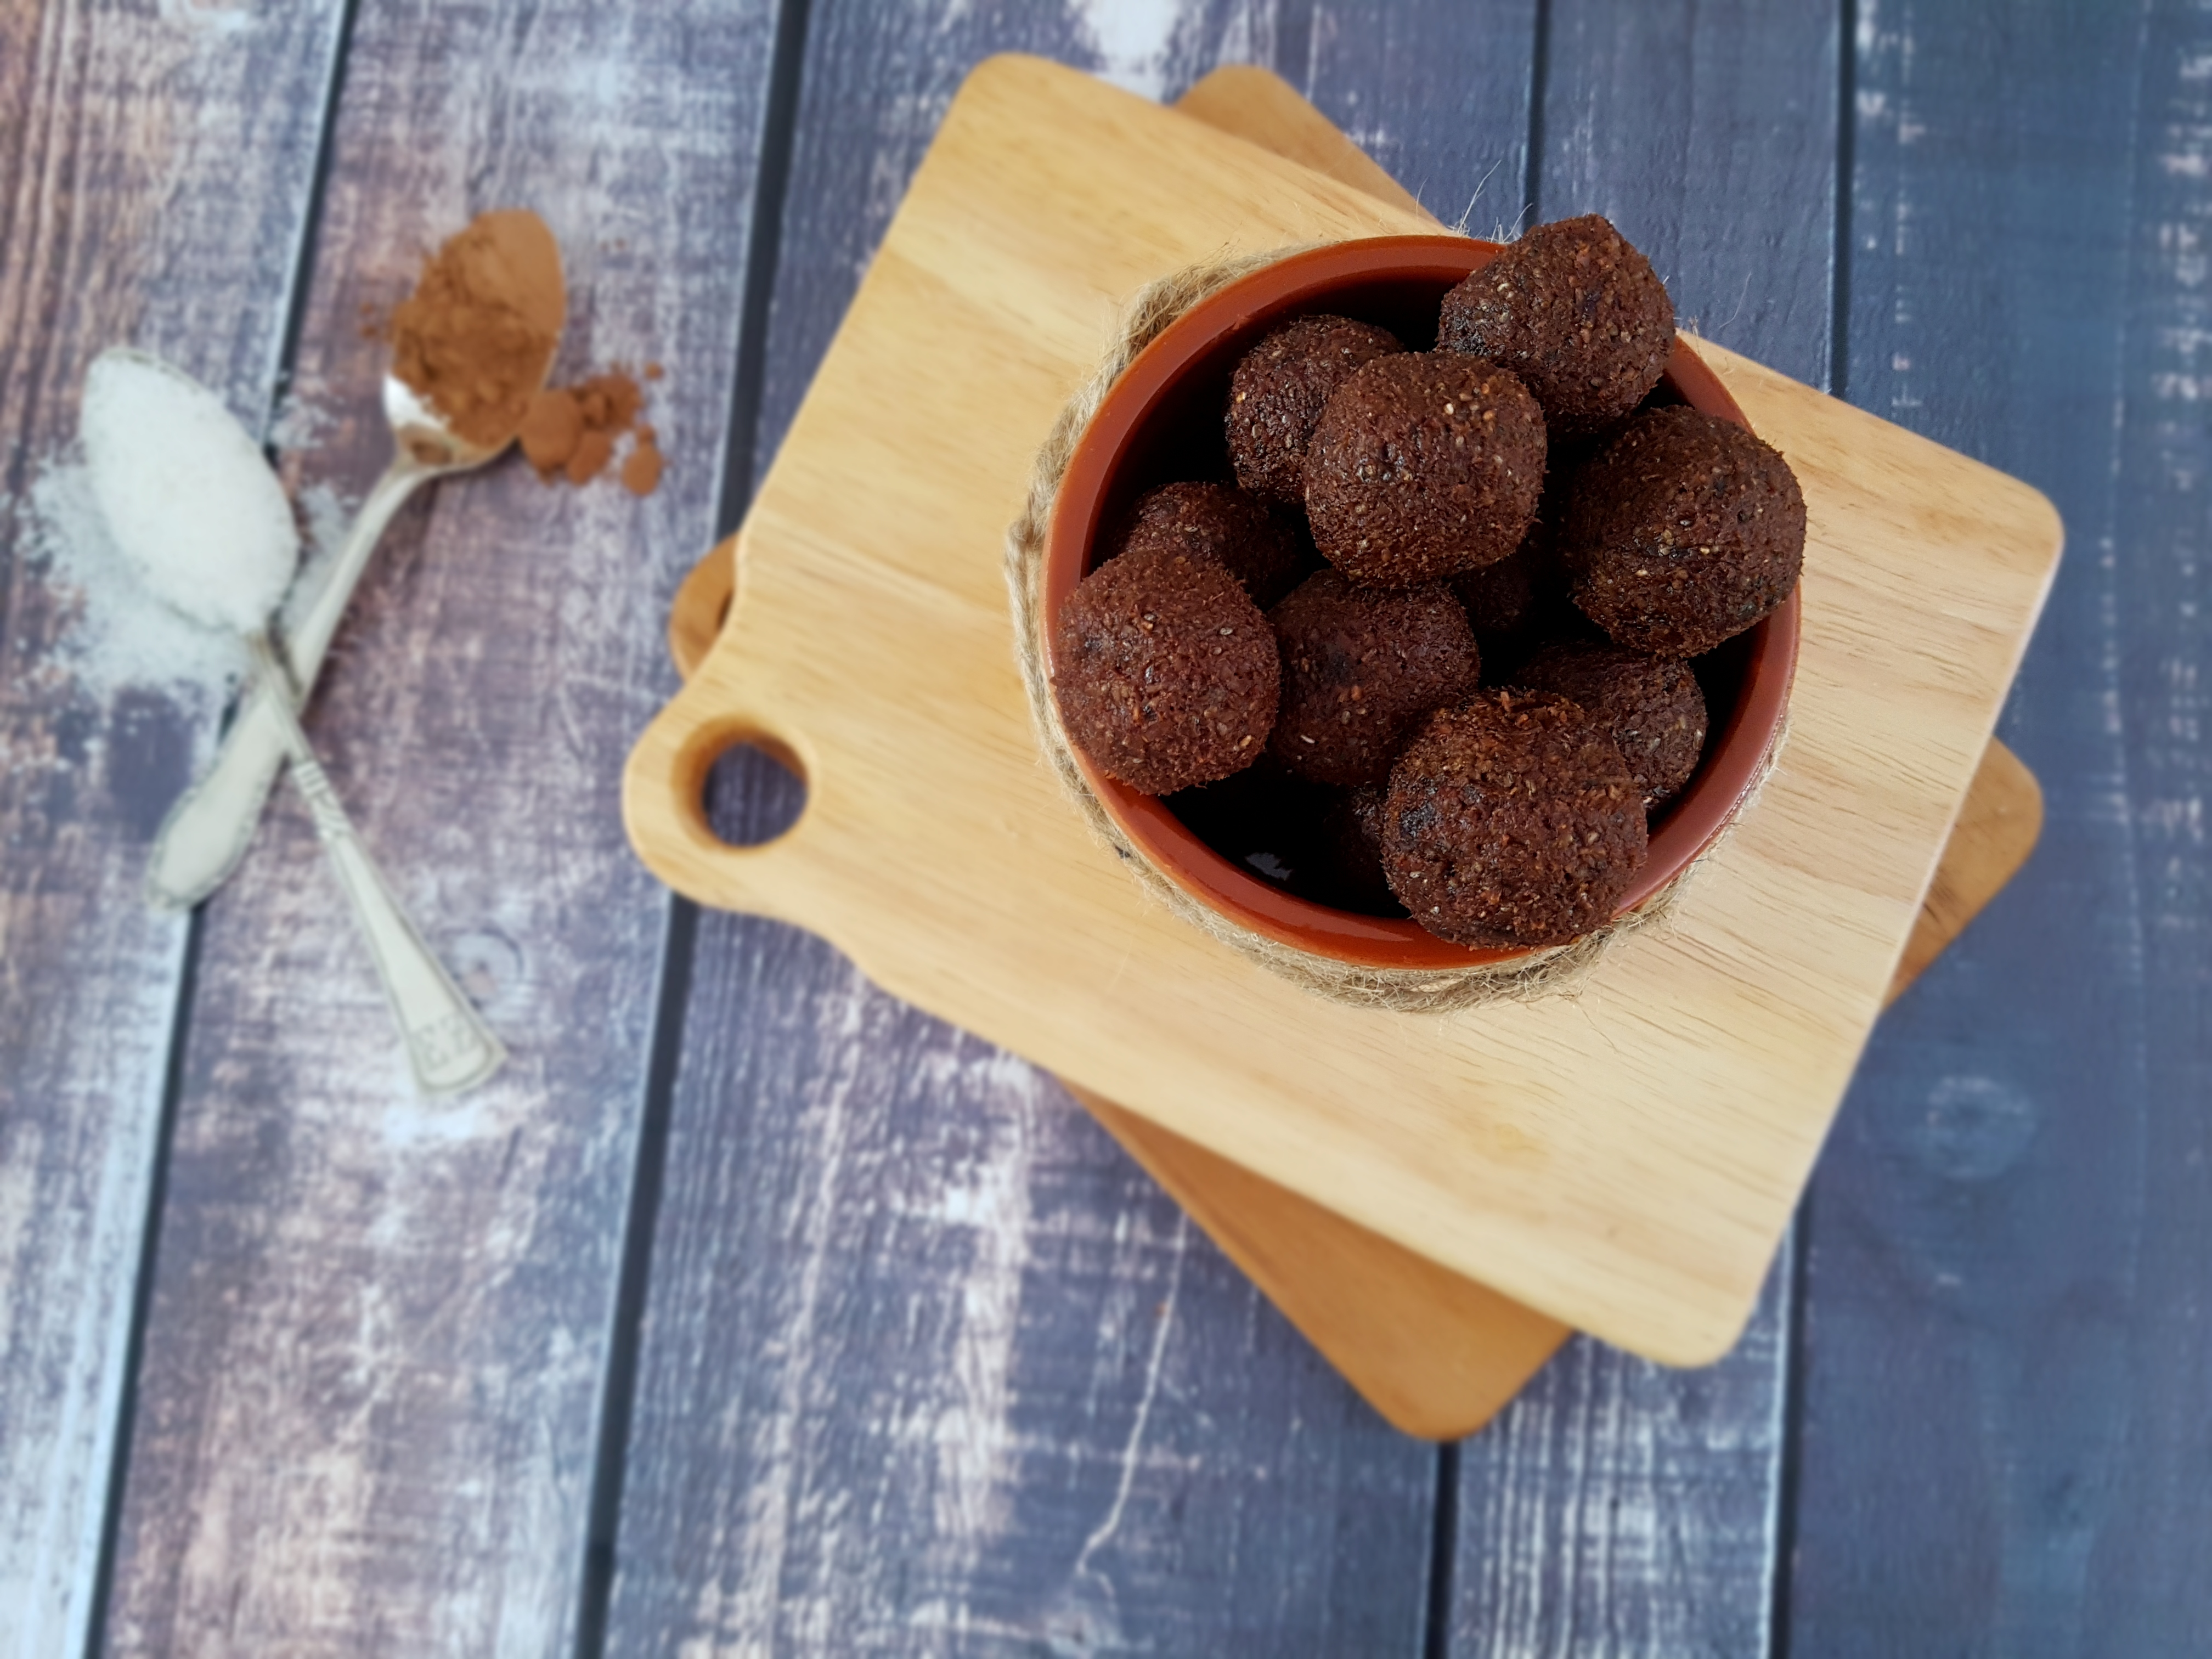
These gingerbread bliss balls are of course vegan and gluten free, but they are also nut free, which is great if you are watching your fat intake or struggle with nut allergies. My gingerbread bliss balls are therefore also great for kids’ parties and toddler snacks, in which case you might want to ease up on the spices a bit. Featuring dates, oats, maple syrup and an array of spices, these gingerbread bliss balls are refined sugar free, packed with fiber and magnesium, antioxidants, vitamins and minerals, while cinnamon helps to lower blood sugar, ginger has anti-inflammatory effects, and cardamom aids detoxification.
If that is not enough to convince you, these balls take just a few minutes to prepare!

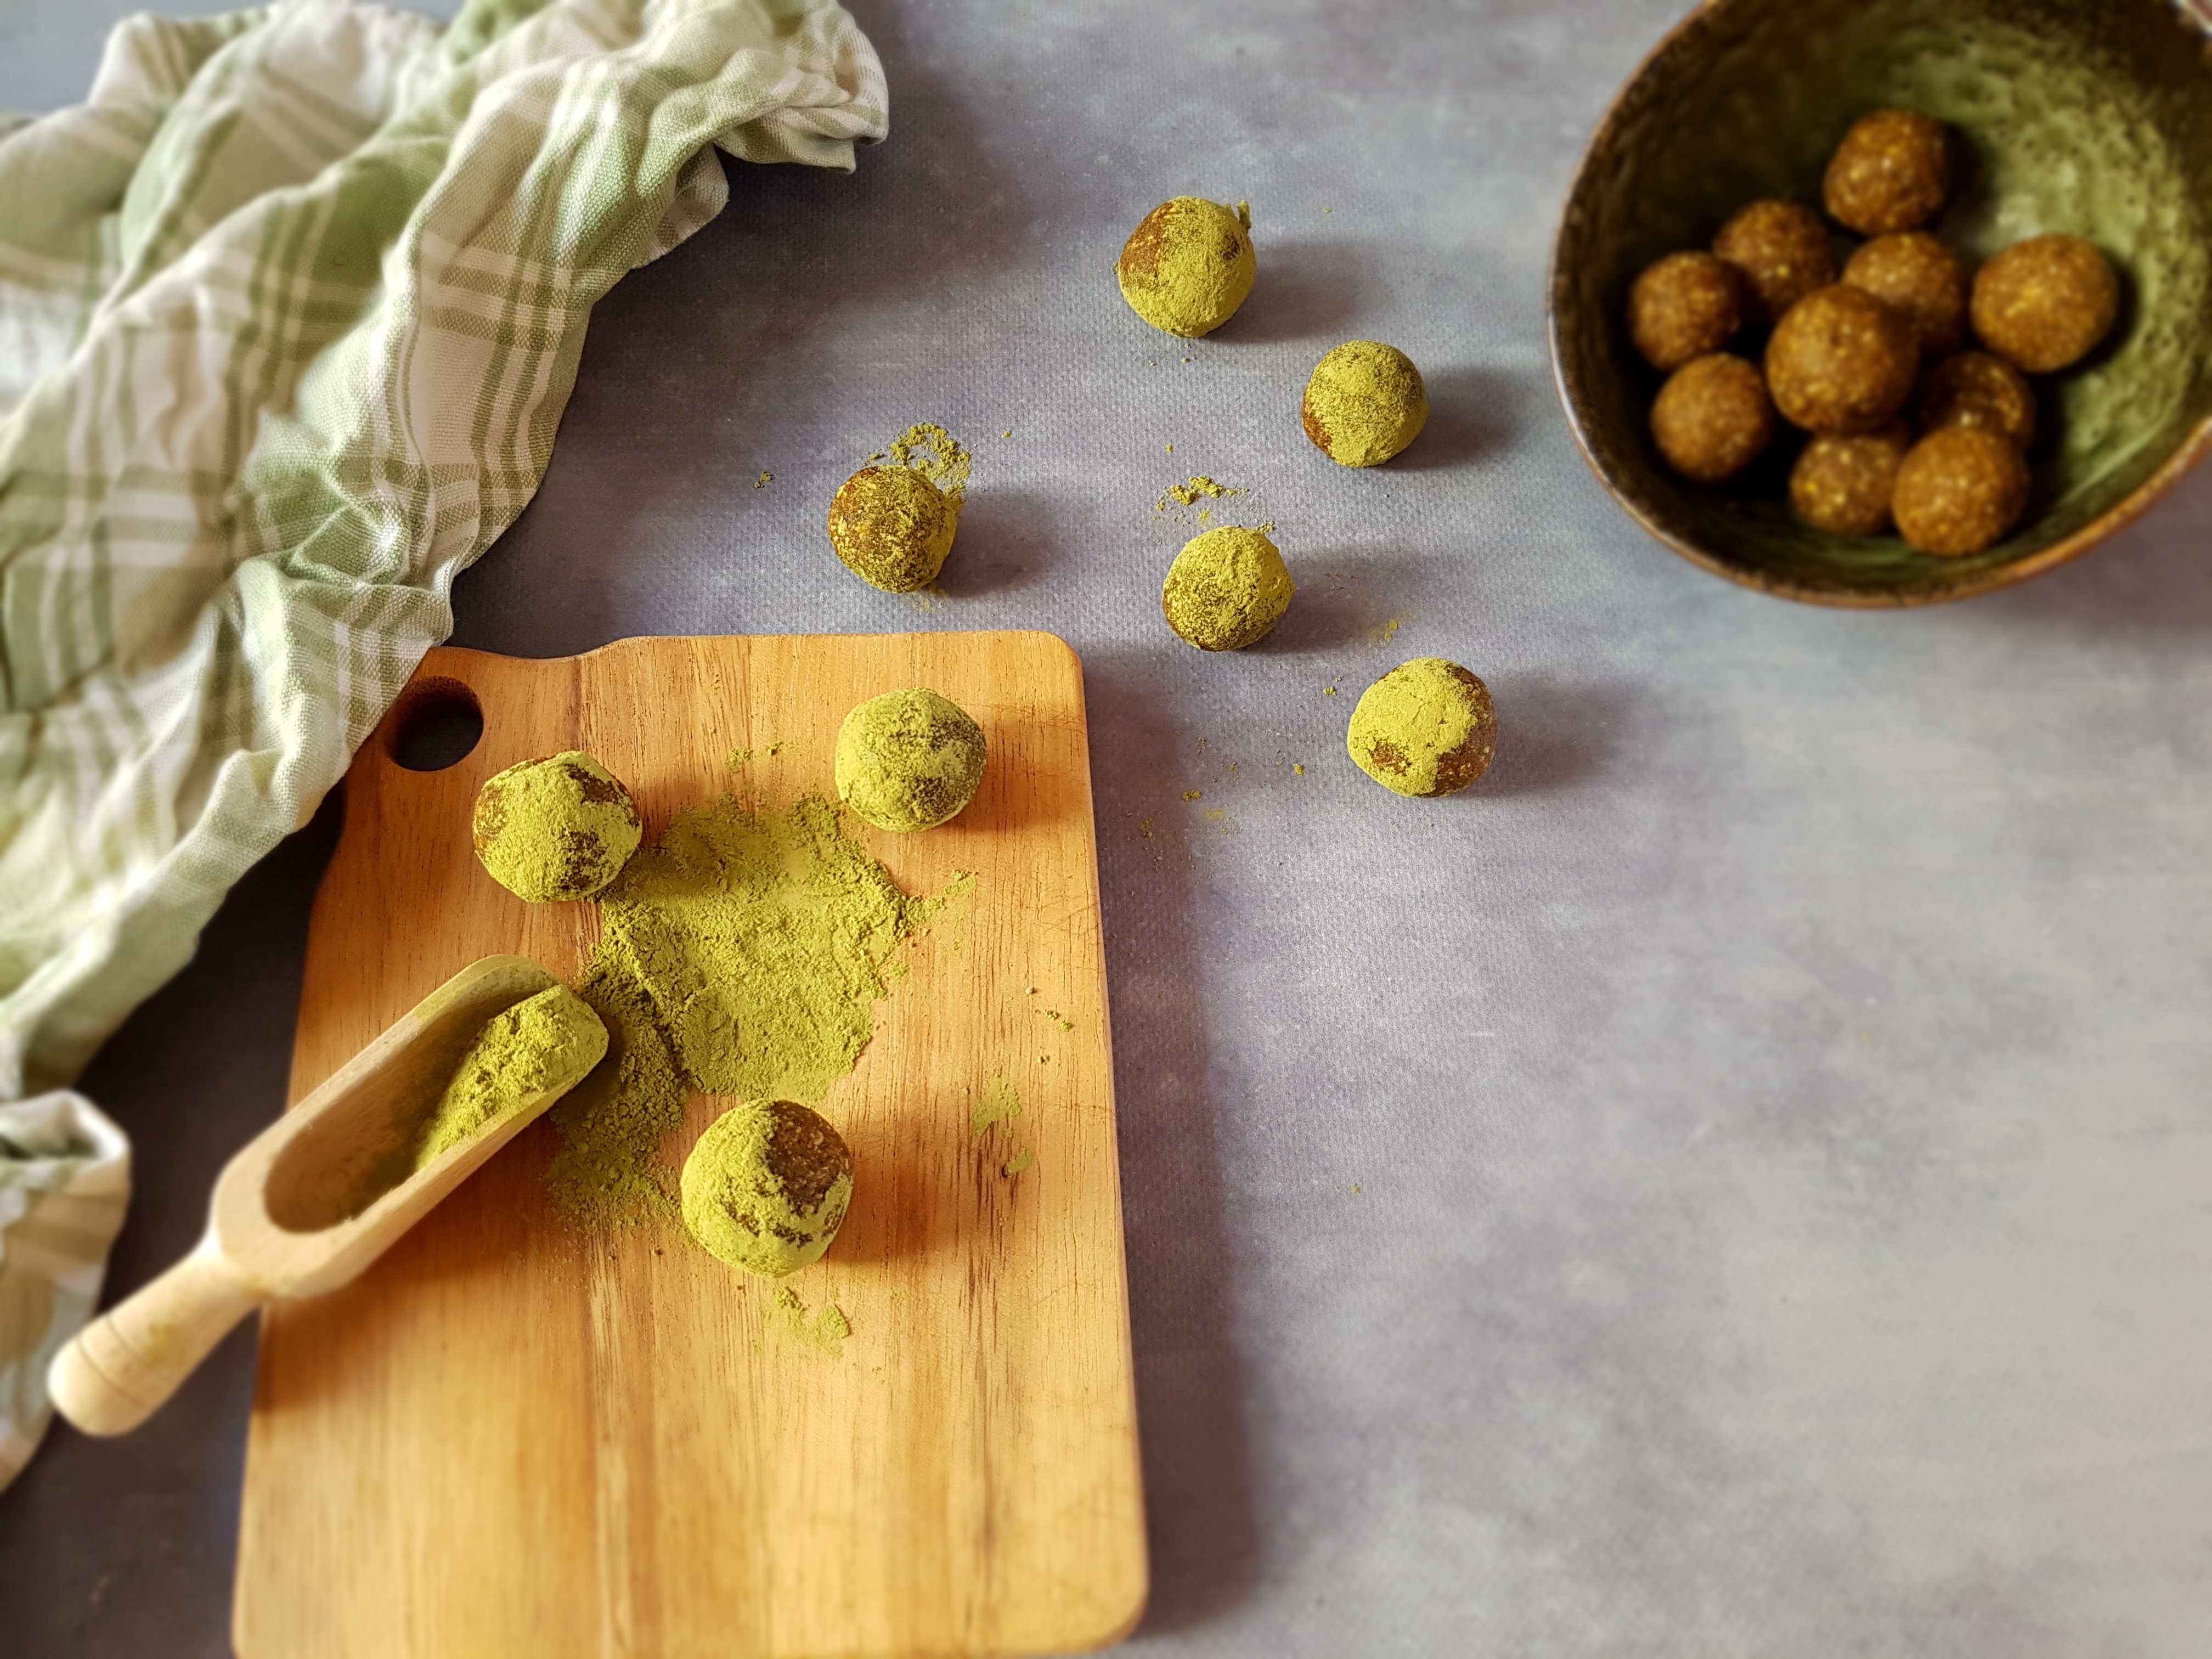
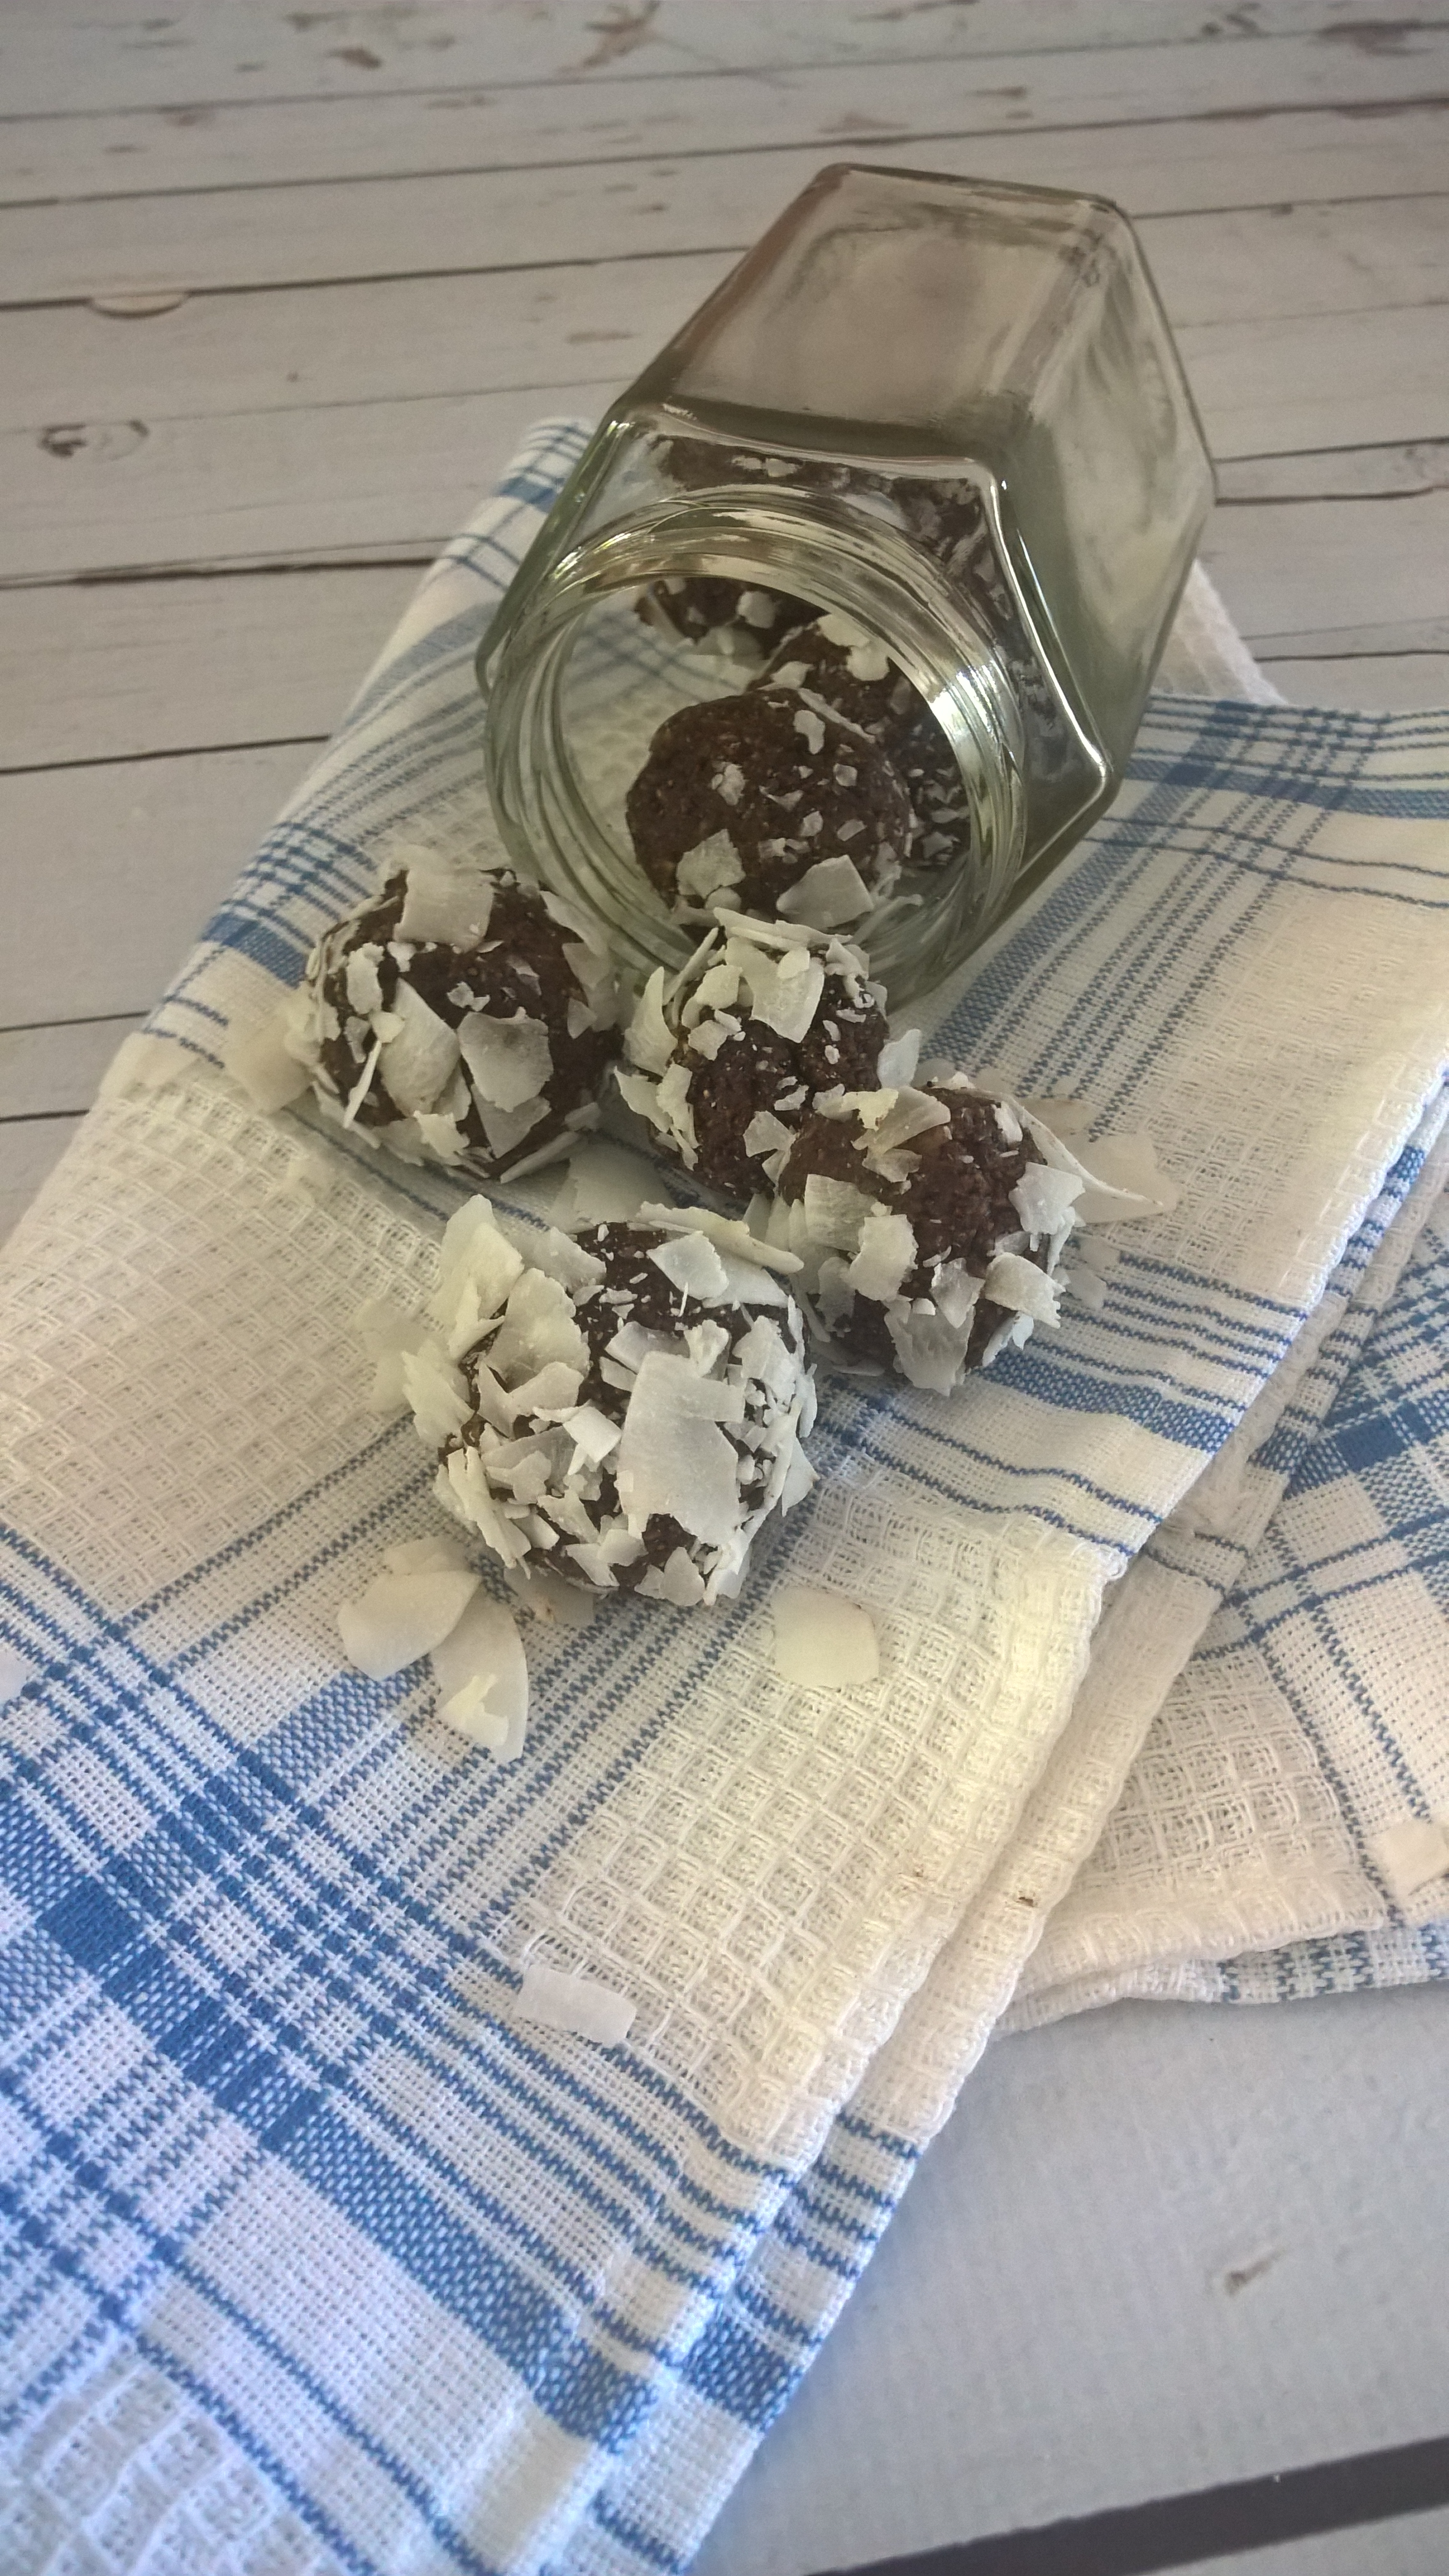
Gingerbread Bliss Balls
Makes 12-15 bliss balls
2 cups rolled oats
6 Medjool dates
1.5 teaspoons ground ginger
1.5 tsp ground cinnamon
half a tsp nutmeg
half a tsp cardamom
2 tbsp maple syrup
half a tsp gingerbread spice
First, process the oats in a high powdered blender until a coarse meal forms. Add the other ingredients and blitz until you achieve a malleable consistency. Shape 12 to 15 balls and store in the fridge to firm up a little. They can last in the fridge in an airtight container for up to two weeks. But I doubt they will last that long. 😉
Enjoy!