Easy Dairy Free Maple Bourbon Icecream (Vegan) AKA Homemade Bailey’s!

Who said vegan icecream can't be decadent?
Who said vegan icecream can’t be decadent?

I have mentioned before that I am an absolute icecream addict. And yes, you can be dairy intolerant and an icecream addict! See here, here, and here. And now HERE. My husband is a great whisky and bourbon lover, and on the occasion of his recent birthday, I wanted to create a dessert we could both thoroughly enjoy. Born was my vegan maple bourbon infused icecream based on coconut milk! For all you sceptics out there, the end product doesn’t taste anything like coconut, but everything like decadence and creamy deliciousness! This icecream goes extraordinarily well with my decadent flourless chocolate mud cake and actually tastes like Bailey’s, only better! Pretty cool, ay?

You could replace the maple syrup with honey, and that would work just as well, but I reckon the maple syrup in combination with the Bourbon is sublime and takes the whole thing to a new level. Put some “Tiger Rag” on, and you are right in New Orleans! I mean, seriously. I am already thinking of adding maple glazed chipotle pecans, but let’s take it easy this time and start churning this three-ingredient icecream! Okay okay, it’s six ingredients, but the vanilla, molasses, and sea salt are totally optional – albeit highly recommended! By the way, you don’t need an icecream maker for this. If you don’t have one or forgot to chill the churner, you can pour the coconut-bourbon-mass into a shallow container, freeze it, and stir every hour or so until the desired consistency is reached. Thanks to the coconut milk, the booze, and the liquid maple syrup, this icecream gets nice and creamy, just as it should be. You don’t need to cook anything here, all you need to do is to chill the tins of coconut milk in the fridge over night before you get started.

2 420 ml tins of full-cream coconut milk, chilled over night
1 tsp vanilla extrace
1/2 cup maple syrup
2 Tbsp Bourbon whisky
1 Tbsp molases
1/2 tsp kosher salt

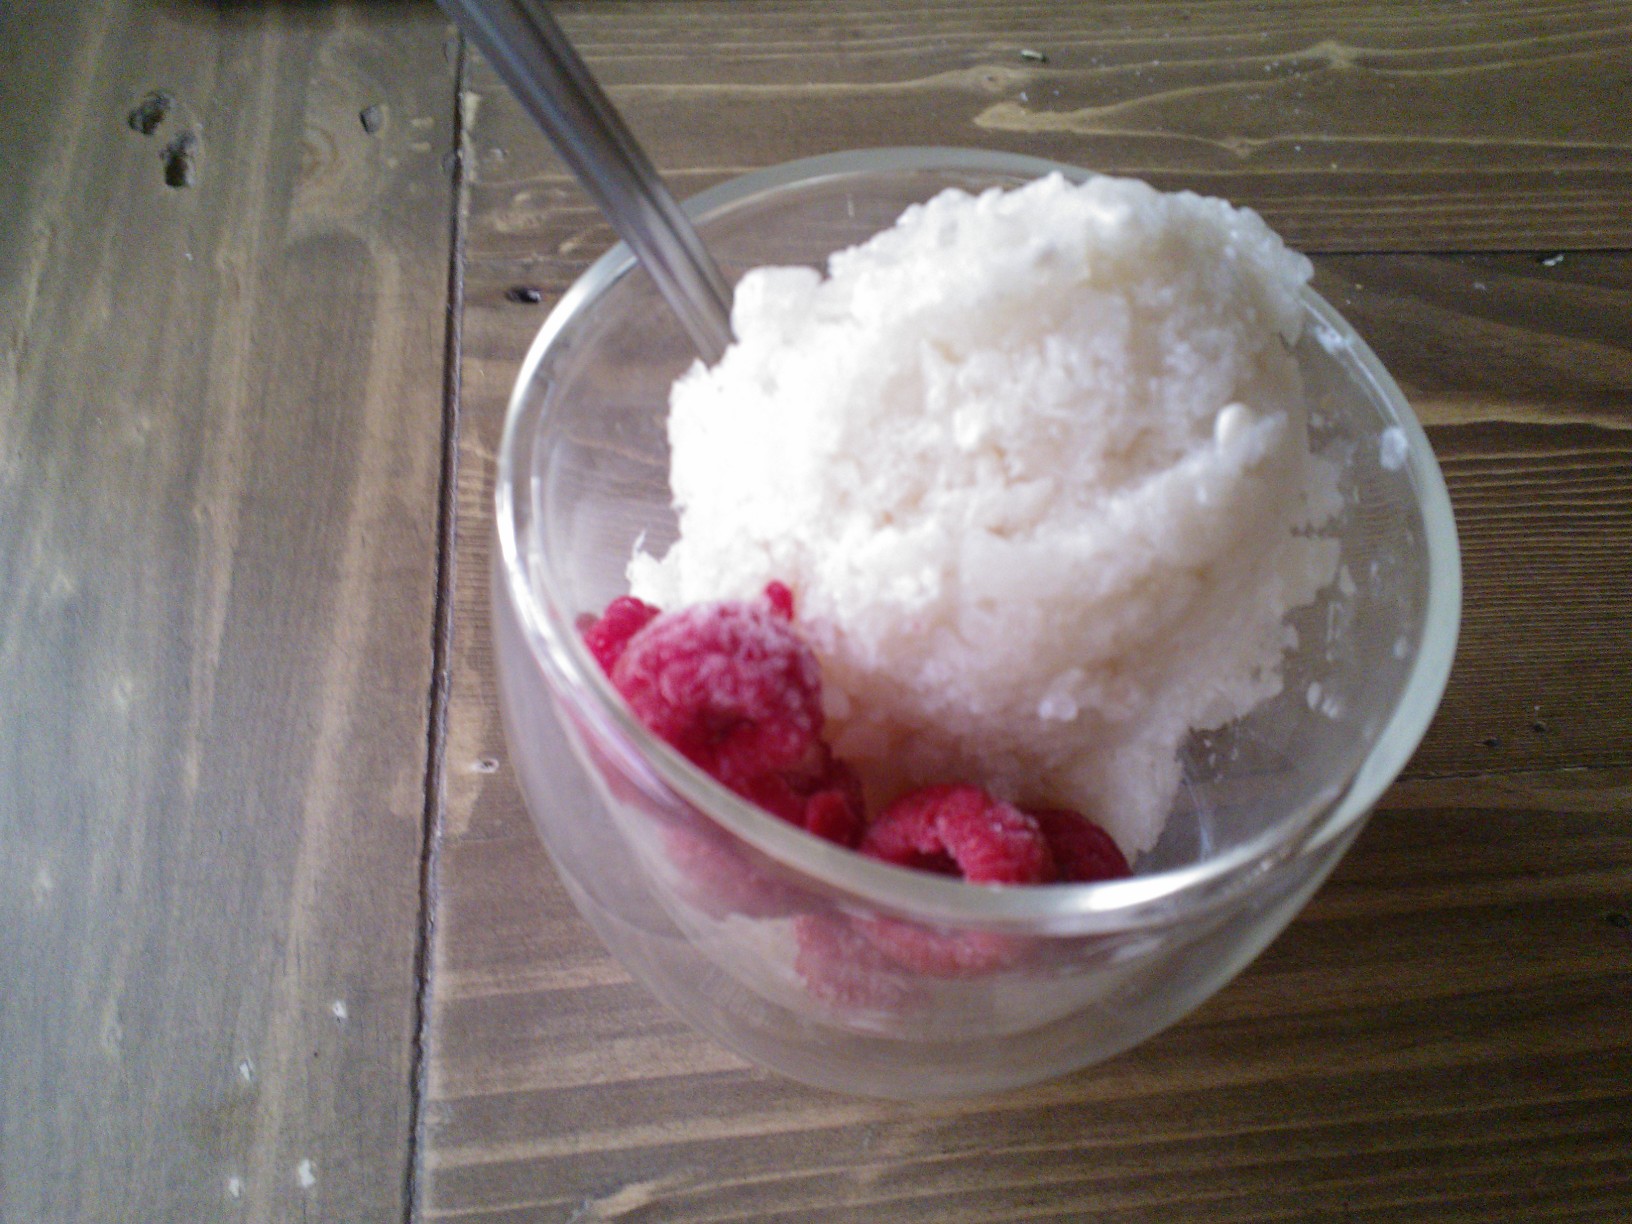
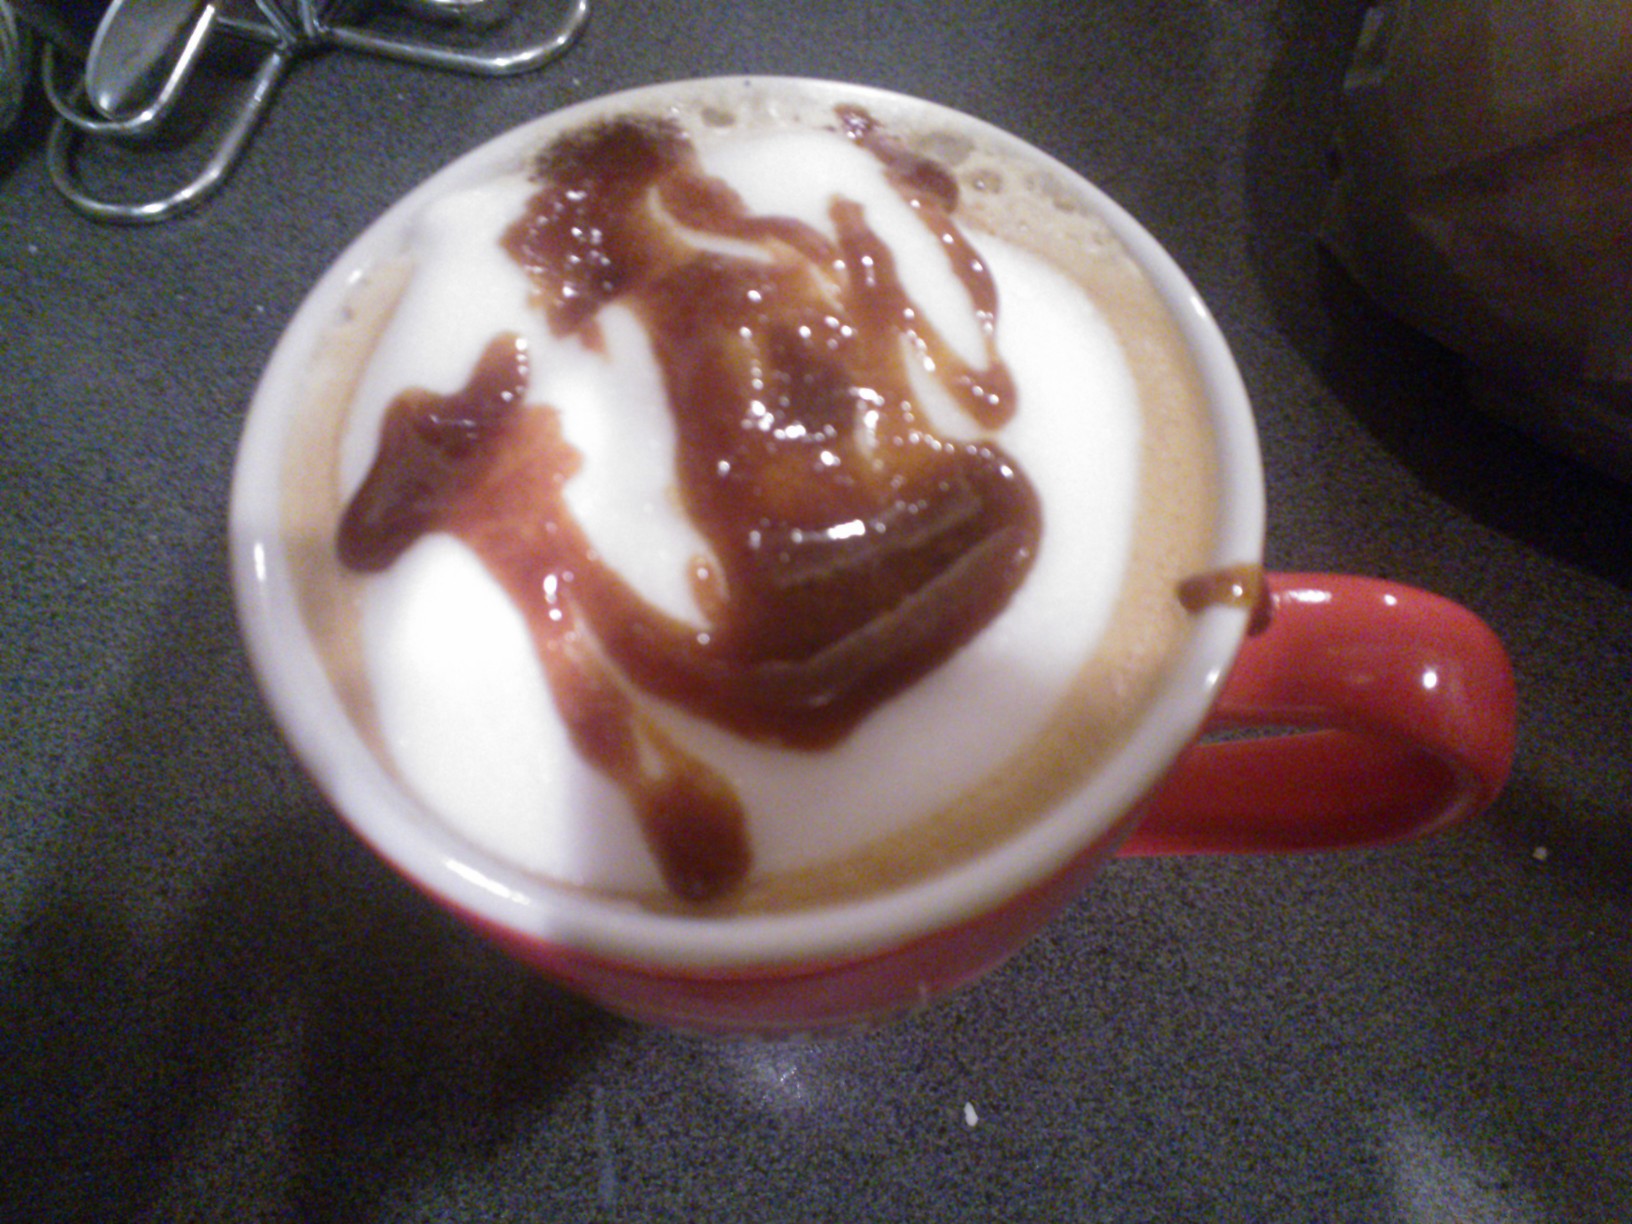
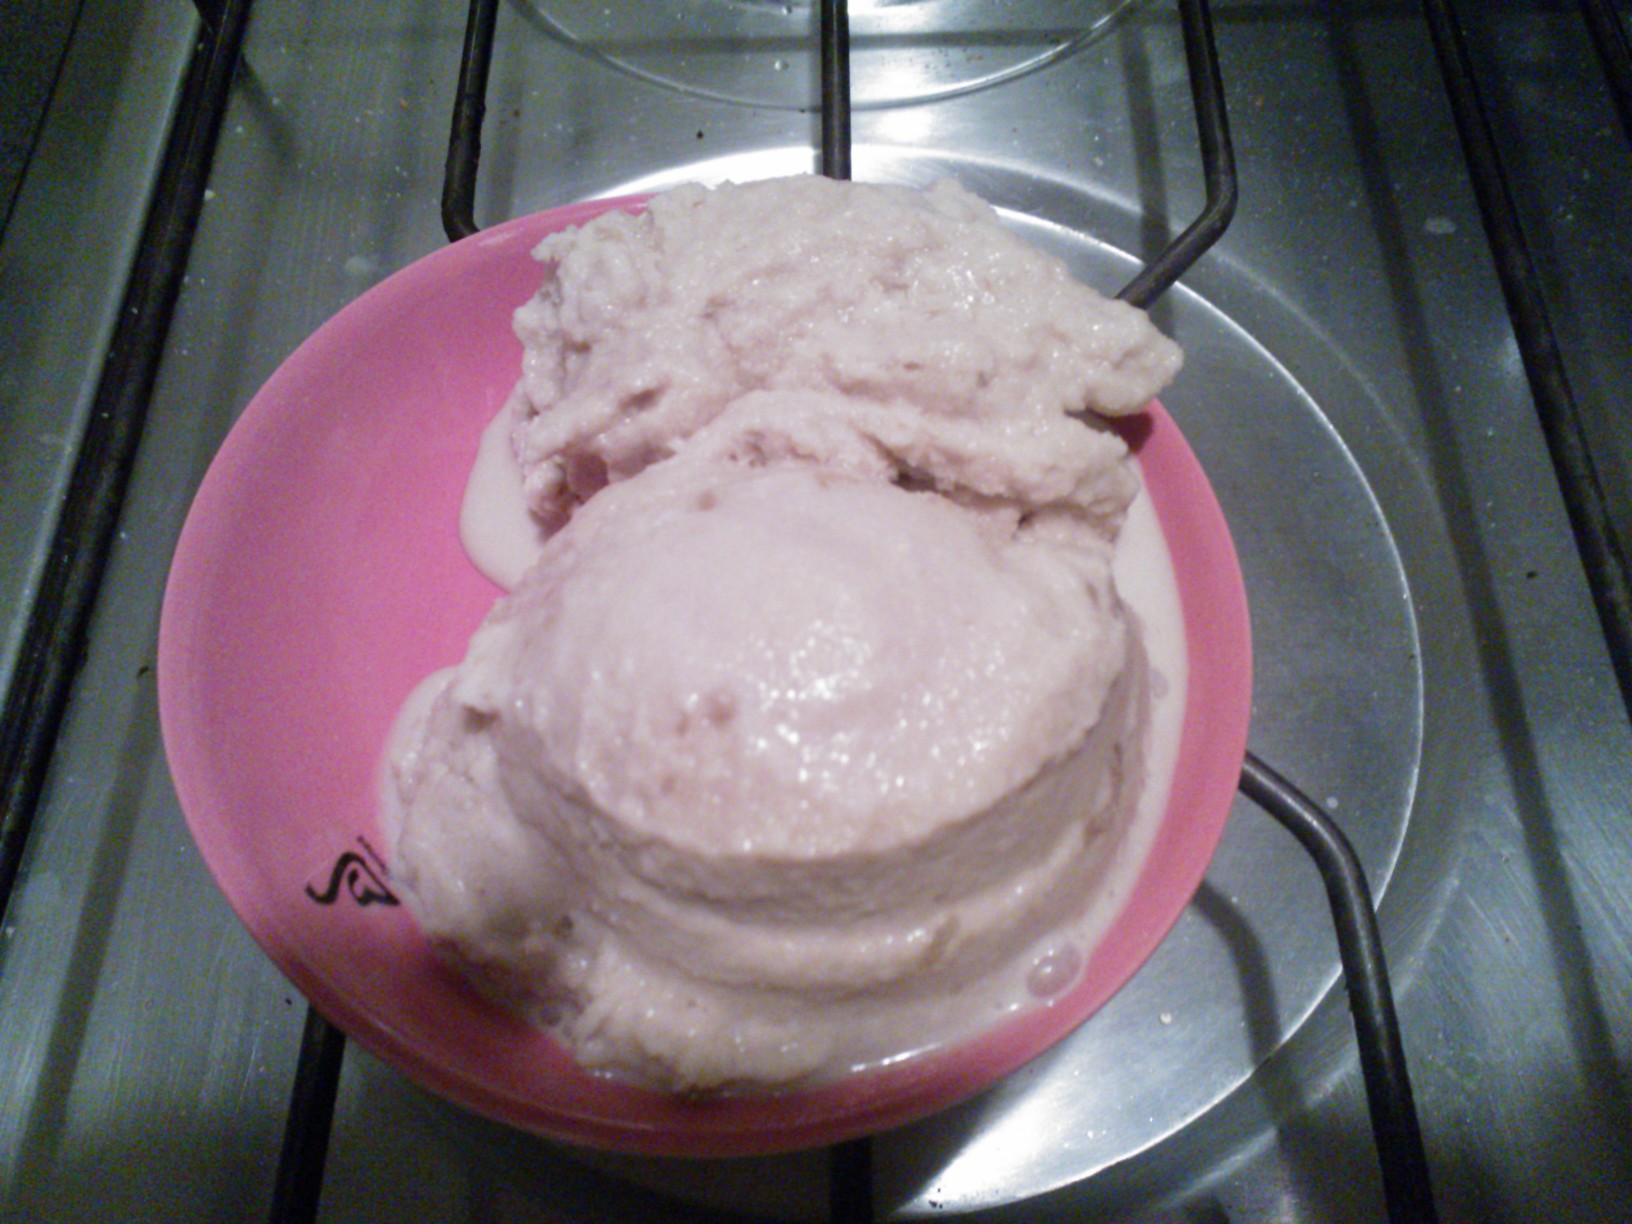
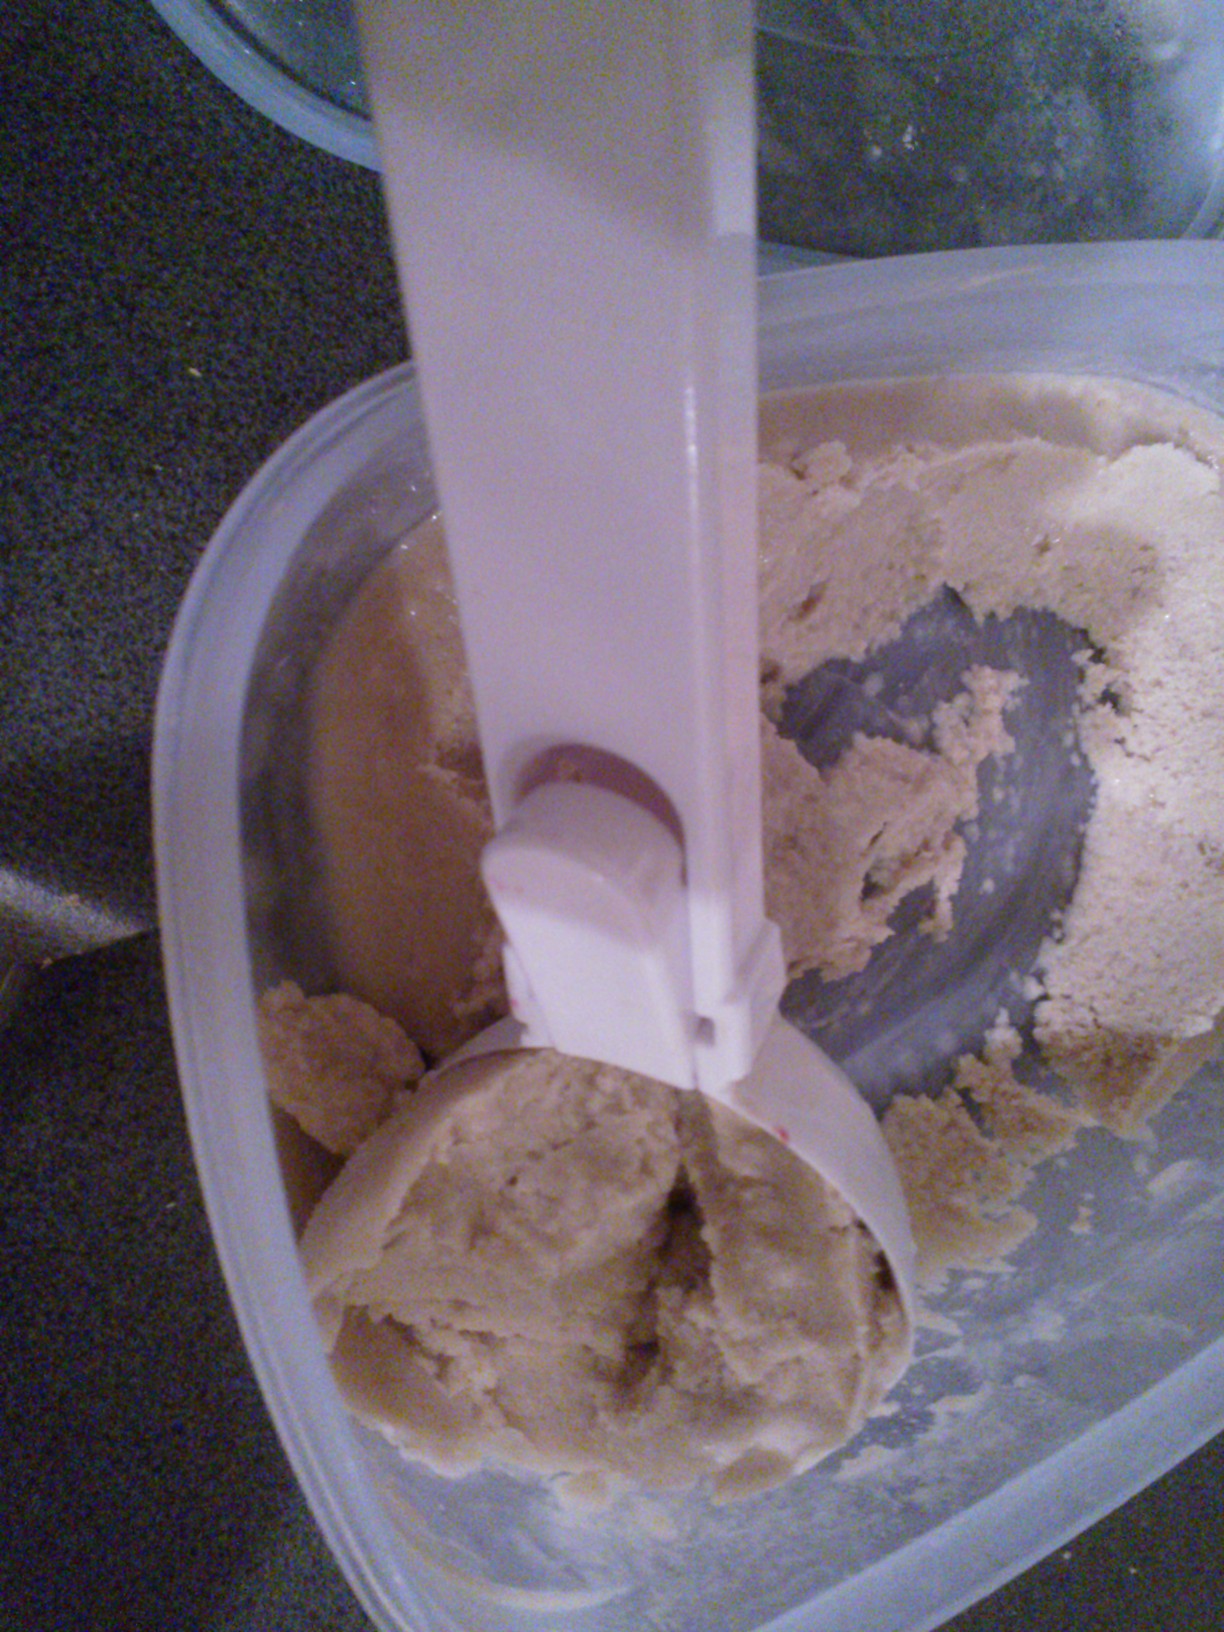
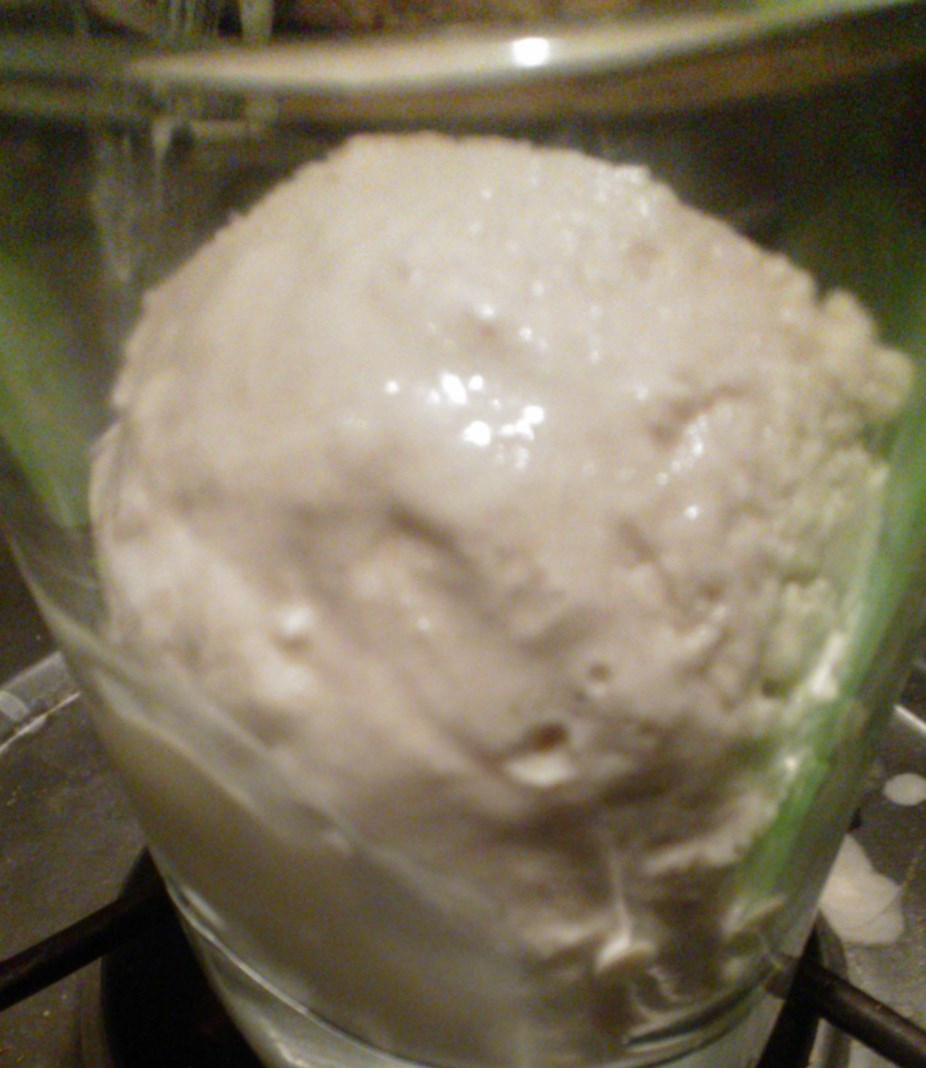
Whisk the creamy part of the coconut milk, vanilla, maple syrup, bourbon, molasses, and salt until homogenic. Pour into a glass on ice and enjoy your homemade Bailey’s! Get your icecream maker going and pour the mixture in while churning. Then let your favourite kitchen device do its work according to manufacturer’s instructions. After 20 to 25 minutes, the icecream has a soft serve consistency. Pour into a container and freeze a bit more until firm. Enjoy on its own or serve alongside a rich chocolate dessert.

Enjoy!

Super Nutritious Power Smoothie {vg}

Super Nutritious Smoothie without Nasties - not only for Breakfast!
Super Nutritious Smoothie without Nasties – not only for Breakfast!

I know, I know…I have neglected you badly during the last weeks, dear friends…I was very busy with work and other things that life throws at you, and although my workload wasn’t necessarily much higher than usual, I just didn’t have the nerve for blogging or experimenting. I was also lacking a bit of inspiration and didn’t come up with anything worth publishing. But the wait is finally over, and I promise you to not let you down and blog regularly from now on! I was also studying a lot about nutrition during my recent quiet weeks – not only about food intolerances per se, but about stress, metabolism, and how to heal your metabolism with nutritious (and plenty of) foods and lots of rest. I hope that I can incorporate my ongoing findings into my blog work in the future. Let’s just say for now that wholesome, “real”, nutrient-dense foods are the key for healing your body and mind and can potentially even reverse food intolerances. Wouldn’t it be nice?

And for those times that life is throwing a bunch of things at you and you don’t know where to start, how about a super-nutritious smoothie to boost your mind and body? No, it’s not one of your fat-free, sugar-free, chemical-laden “health smoothies”, but real food turned into a luscious milk shake! One of these for breaky really sets you up for the day, but it is not reserved for breakfast alone. Let me tell you about all the goodies you get in one glass:

  • tropical fruit for valuable micronutrients and a delicious taste of sun and holiday
  • avocado for healthy mono-unsaturated fats, needed for cell repair, hormones, satiety, texture, and taste
  • chia seeds for protein and omega 3’s
  • maca for an extra energy boost and stamina
  • coconut sugar, a low GI sweetening option with great taste and nutrients
  • rice protein powder for tummy-friendly protein
  • sea salt to replace electrolytes lost during sleep, boost your metabolism, facilitate the assimilation of nutrients, and make the flavour pop!

Oh yes, and it tastes great! The healthy fats from chia and avocado make sure to keep you full for a long time – did you know that your body cannot use nutrients like vitamins and minerals such as calcium without an adequate amount of fat? It’s time to reconsider whether that “healthy low-fat smoothie” they offer you at a juice bar is really that healthy…I’d like to argue that my version is far superior and really gives your body the fuel it needs!

Makes 1 large smoothie

1 large frozen banana
1 cup frozen mango
a quarter avocado
1 tbsp chia seeds, dissolved in water or milk (“chia gel”) (or try flaxseed)
3/4 cup plant milk
1 scoop protein powder of choice (I use rice protein)
generous pinch of sea salt
1 tsp coconut sugar or other sweetener
half a cup soy or coconut yoghurt (optional, to make it thicker=
maca powder (optional)
I recommend chopping the banana, mango, and avo together in a powerful food processor first. Then add all the other ingredients and blitz away! Yum!


Enjoy!


Easy Watermelon Slushie (sugar free)

Refreshing watermelon slushie - healthy, easy and yummy!
Refreshing watermelon slushie – healthy, easy and yummy!

The blazing hot days are getting fewer and fewer in the Southern hemisphere now, but – we still get the occasional day when the mercury climbs above 30 degrees. Our latest gadget – yes, we bought an air condition – still gets to be used, yay! Don’t want to see our electricity bill later…

Anyways, I was in a dilemma the other day, as I needed to cool down, but couldn’t be bothered making icecream, and store-bought sugar laden icecream or sorbet is not an option for me, as you know. So, I got creative again, and whipped up the world’s easiest and mega delicious watermelon slushie! You know, not those chemical-laden slushies you get at the convenience store or petrol station, but a slushie that loves you back! Not only is it yummy and extreeeeemely refreshing, it’s also a great way to stay hydrated when the sun does not have mercy! And if you have a good processor, you can  whip this up in a jiffy – 15 seconds, to be precise!

Makes 1 large slushie (or 2 small ones!)

3 cups watermelon, roughly diced
1 tbsp lemon juice
fresh mint to taste
5 icecubes

Blitz everything in a food processor and enjoy! Tip: Sugar or salt rim your glass before for an impressive alcohol free party cocktail!

Enjoy!

Almost Calorie Free Vanilla Almond Sorbetto

Icecream that loves your waistline

As I have made icecream in pre-dairy free days, I knew that you needed to add some sort of sugar to achieve a consistency anyone would actually like to delve into – I was wrong.

In fact, you can make sugar-free icecream. This is obviously not your usual Sara Lee dessert – but the lack of sugar, fat and calories is worth the slightly more solid texture of this creation. You shouldn’t compare this to the industrialised icecream which has bucket loads of creepies, but as a dessert in its own right, which is easy, quick, inexpensive and very refreshing – perfect for those Aussie summer days when the mercury climbs over 35 ° C. Just to think that you can have ICECREAM without sending your blood sugar through the roof and making your pancreas work overtime?

It is possible, after all.

500 ml almond milk
2 tbsp stevia or erythritol
1 tsp vanilla
pinch of salt

Mix all ingredients in a tupperware dish, then freeze until hard, break up and whip in your food processor until smooth.

Enjoy!


Vegan, Sugar Free, Paleo After Eight (Mint Chocolate Chip) Icecream

Vegan Icecream Delight

It’s summer in Australia! And which foodstuff screams “summer” like no other? Icecreeeeeeeaaaaaam!!!! (Although I have it all year round…don’t judge). Well, I have mentioned before that I am a total icecream junkie – an obsession which was slightly compromised by the diagnosis of dairy intolerance. nevertheless, I have showed in the past that it is possible – and, in fact, delicious – to make healthy homemade dairy free (i.e. vegan) icecream.

I have become a little bit tired of coconut-based dairy-free icecreams, however. I have heard of avocado-based icecreams, but forgot about it, since I thought avocado in an icecream was pretty close to spinach in an icecream – it just doesn’t work. The other day, though, when I – after a long, avocado-less time – devoured a creamy, luscious, decadent Hass avocado, I just thought “there must be something to avocado icecream” – it is just soooo creamy and full-bodied, and it doesn’t have a strong flavour on its own, which makes it PERFECT for icecream. Most vegan icecreams are based on coconut and/or banana, but neither of these ingredients has a very neutral flavour. Avocado has. The only problem is – unlike banana and coconut, avocado has a VERY gaudy colour, so unfortunately, you ar epretty much confined to doing “green” icecream with it. This is not a problem though, as I have always been a huge fan of “after eight” or mint chocolate icecreams. I wanted to give it a try.

This is by far the best and creamiest icecream I have ever made, and the best thing is, this one really IS sugar free (just a bit of lovely honey). As the avocado is rather fatty, you don’t need any refined sugars to create this oh-so-good creamy icecream taste. It just tastes like your regular icecream from the shop! It also needs only five minutes of churning (you probably don’t even need an icecream maker), and you can serve it instantly or freeze it – it won’t affect the texture.

I was sceptical at first whether I should try creating an avocado-based icecream, as I didn’t want to waste my lovely avocados on a recipe which potentially wouldn’t work. Am I happy I did give it a shot! You cannot go wrong with this. Trust me.

I used regular chocolate chips for this (shhhh—-don’t tell anyone!), but you can buy paleo approved ones or make your own – so you can deffo make this a paleo icecream! Oh, and I call it an “After Eight” icecream, as that’s what “dinner mints” are called in Europe – you ought to have this cutie at any time of the day though! Hm…yum yum! Better get started right away!

Makes 1 small tub (500 ml) (for 2 gluttons like my hubbs and me or 4 normal people)

2 ripe Hass avocados (~200 g)
130 ml almond milk
3 tbsp raw honey
peppermint aroma/edible peppermint oil (to taste)
chocolate chips to taste (approx. 60-70 g)
optional: a few fresh peppermint leaves

Blend everything until well mixed. Refrigerate for at least six hours or overnight. Churn in icecream maker for approx. 5 minutes (not the usual 20 minutes). Enjoy chocolate peppermint bliss.

Enjoy!

Quick and Easy Vegan Sugar Free Caramel Butterscotch Sauce

Caramel Latte with Sugar Free Dairy Free Butterscotch Sauce

Okay, I apologise for that humungous title – but I am so excited to have come up with a caramel sauce that is thick and creamy and tastes just like butterscotch caramel, but is completely dairy and sugar free! Howzat? And if this was not enough, it is also extremely quick and easy to make! Yes, you can have your caramelatte (better than Starb*cks) in less than ten minutes – although the caramel thickens up nicely if you leave it in the fridge for a while. What to do with a caramel sauce, you ask? Well, there is caramel latte, obviously, and then there is icecream, pancakes, cakes – and if you just have it straight of the jar (as I like doing) – no harm done! This yummy decadent caramel sauce contains hardly any sugar and only very little fat! Have I mentioned that it is oh sooooo easy?

120 ml unsweetened almond milk
100 g erythritol
1 tbsp molasses
30 g vegan spread or butter (you can use any fat content you like, even light spread)
generous pinch of kosher salt
2 tsp vanilla

4 steps to yumminess
Place all ingredients bar the vanilla in a small saucepan over medium heat and stir vigorously until well combined. Bring to the boil, and reduce heat to low. Let simmer for 5-10 minutes, constantly stirring. depending how thick you want your sauce to be (it will firm up quite a bit more when chilled). Add vanilla and simmer for 30 seconds or so more, then pour caramel in a glass jar and let cool. Use immediately or transfer to fridge. If the sauce becomes too firm in the fridge, just microwave it for a minute or melt it in a bain-marie before pouring.

Enjoy!

Vegan Espresso Icecream

Creamy Espresso Gelati

I was never much into chocolate or lollies, but icecream was one of the sweet things I ALWAYS needed to have. I couldn’t go past a gelateria whenever I was out and about, and I always had a couple of tubs of the frozen delight in my freezer – until the diagnosis of dairy intolerance ruined it all. My newly bought icecream maker seemed to be doomed to abandonment in the shed. Alas! So I thought…until I found that I can make yummy, creamy, luscious, and decadent icecream creations with one of my favourite newly discovered cooking ingredients – coconut milk! Yes, you can make delicious icecreams and gelatis without dairy, and you won’t really taste the coconut in the final product, so don’t worry. This icecream is the happy marriage of strong and black Italian espresso with creamy and sweet coconut milk – oh my!

Inspired by Channeling Contessa

600 ml full-fat coconut milk or cream
160 ml espresso (I used Nespresso Grand Cru Roma)
100 g sugar
1 teaspoon vanilla

Creamy, dairy free frozen delight

Whisk all ingredients in a saucepan over medium heat, stirring continuously until well combined. Bring to the boil and simmer for 5 to 10 minutes. Remove from heat and stir in vanilla. Let cool, and then transfer to fridge. Chill in fridge overnight – the longer the better! Then churn in icecream maker according to manufacturer’s instructions. After 20 minutes or so, it will be like a Frappuccino – transfer to a freezer safe dish and put in freezer, stirring every now and then. After a few hours in the freezer, it’s all ready to go! On the second day, it gets a bit harder, and you might have to let it thaw for a few minutes before serving.

Enjoy!

Raspberry Champagne Sorbet with Mint

It's decadent, it's pink, it's tangy, it's refreshing, it's Nat's Raspberry Champagne Sorbet!
It’s decadent, it’s pink, it’s tangy, it’s refreshing, it’s Nat’s Raspberry Champagne Sorbet!
Raspberry Champagne Sorbet with Mint

I thought it was time to venture into new areas of dessert making that did not involve an oven, and since I have had an ice-cream maker for a while, sitting unused on the bench, I thought it was a good idea to make use of it instead of just dusting it, as usual – and I think I am gonna do this more often now! It came in handy that we had some champagne left from a gathering a couple of nights ago, and the mint in our yard is overgrowing, so my mind came up with this concoction. It is a raspberry champagne sorbet with mint, and it is divine, whether you are entertaining the in-laws or having a girl’s night. It is lovely and pink and yummy. It is especially refreshing in summer, but also great on New Year’s Eve. In fact, you can just have it anytime, and it could not be easier to make!

It contains regular sugar though – in ice-creams and sorbets, you cannot really replace the sugar, as the texture won’t work out any more, and you need the sugar to keep it smooth, or it gets brick hard (I learned that the hard way). I know there are sugar free ice-creams out there, but not only are they made in high-power machines which are able to whip more air in than an ice-cream machine for home use, but they are filled with nasties, and we would rather have sugar than thickeners, fillers, emulsifiers, starches, preservatives, and who knows what! Trust me, this is worth every calorie! And the sugar content is rather low when compared to other ice-cream recipes anyway.

375 g frozen raspberries
375 ml champagne
70 g sugar
juice of 1 lemon
mint to taste

Dissolve the sugar in the champagne and bring to the boil; then add the lemon juice and simmer for 5 minutes. Take the syrup from the heat, add berries and mint and puree everything with a stick blender. Transfer to a container and chill thoroughly (for several hours or according to the instructions by the ice-cream maker’s manufacturer). Churn in your ice-cream machine according to instructions.

Enjoy!

mhh...straight off the spoon is best!
mhh…straight off the spoon is best!