Panna Cotta is the ultimate Italian dessert. It is creamy and indulgent, but light enough to to be served after a rich meal. Because it is a snap to make and can easily be prepared in advance, it is a popular option for dinner parties. Maximum impression with minimum effort – well, not so fast. Panna cotta (literally “cooked cream”) is traditionally made from cream and/or milk, making it unsuitable for folks with dairy intolerance/allergies or those who avoid dairy for health and/or ethical reasons. Moreover, panna cotta’s infamous “jiggle” results from beef gelatin which is obviously not suitable for vegans and vegetarians or for those who avoid gelatin for religious reasons. But fear not! I got you covered with my vegan chocolate coconut panna cotta – less jiggle, more fun to eat!
The concept to use agar agar instead of gelatin is of course not new and I have experimented with it before. However, it is very difficult to get the ratio right. Most of the time, the vegan “panna cotta” ended up brick hard, overset and just unpleasant to eat. Obviously, a panna cotta made from agar will never be 100% like a gelatin one, but this vegan chocolate coconut panna cotta is almost like the real deal without any dairy – and is omnivore-approved as well. I think that’s a fair deal!
This vegan chocolate coconut panna cotta is fairly foolproof to put together and the agar sets a lot quicker than gelatin – another plus in my book. So yes, if your mother in law texts you to let you know they’ll be at your place for dinner in an hour, you can still whip this one up and have it ready for dessert. If that sounds good or you just want to have an excuse to enjoy a healthier, but no less delicious, version of a classic, grab your pot and stirrer now!
I used coconut milk for this panna cotta. I tried both full-fat and “light” versions and it definitely works with both! Obviously, more fat equals more taste but if you have a luscious main meal and want to go easy on the dessert, you can totally use light coconut milk here. In any case, coconut milk contains beneficial fat called lauric acid, a medium-chain fatty acid that’s easily absorbed and used by the body for energy. Coconuts’ fatty acids are primarily saturated fats, but they’re known to actually help you lower cholesterol levels, improve blood pressure, and prevent heart attacks or a stroke. I don’t think your traditional panna cotta can match this!
I also used xylitol instead of sugar (though you can totally use sugar or any other sweetener of your choice). This makes this dessert practically zero-carb, although that is not necessary. The idea to add cacao is due to the fact that I had run out of vanilla. If you have vanilla, I would still recommend adding it as it just makes everything awesome. I used raw organic cacao – another superfood I consume pretty much daily. Not that I am a health freak. But if you can have deliciousness that’s also good for you, why not?
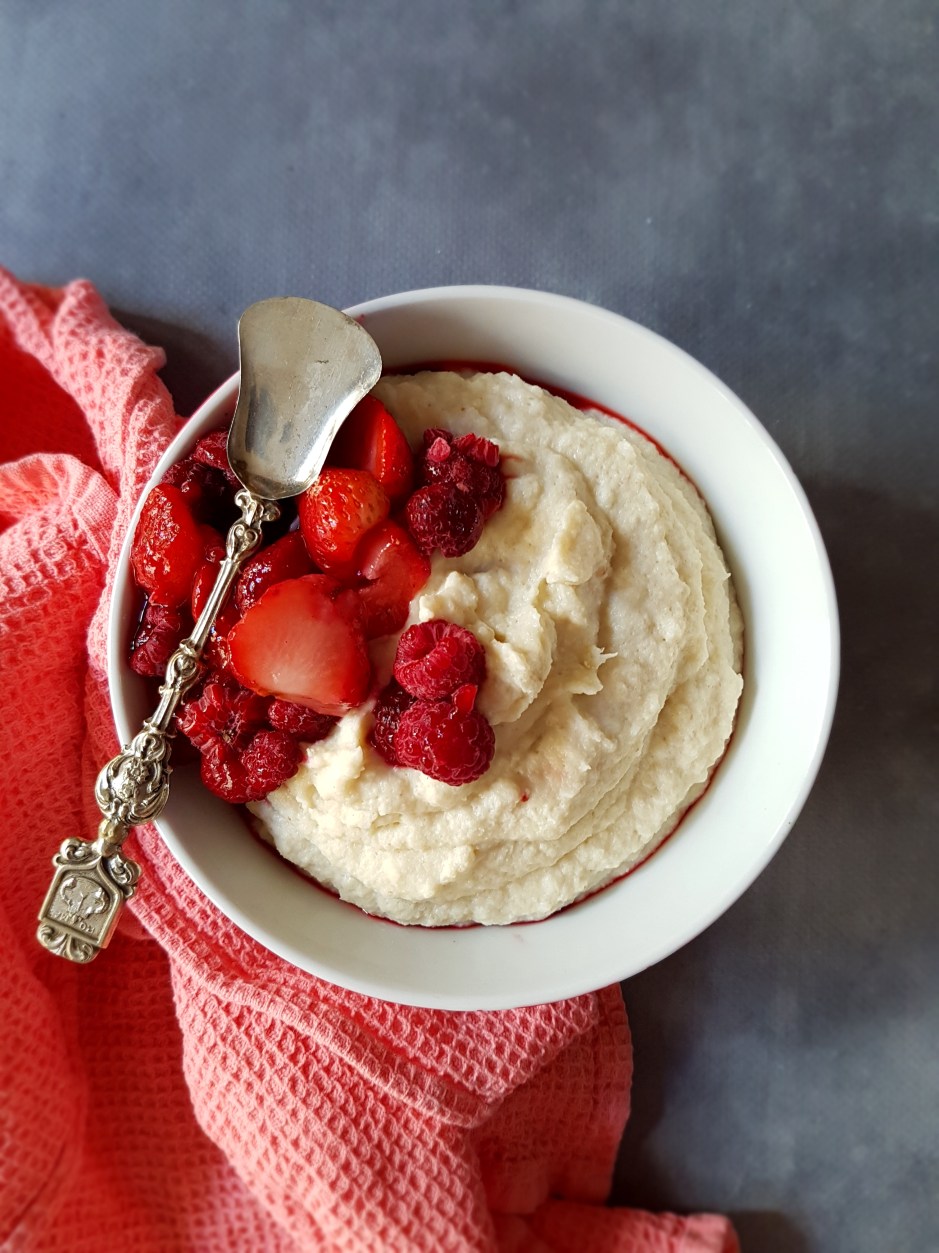
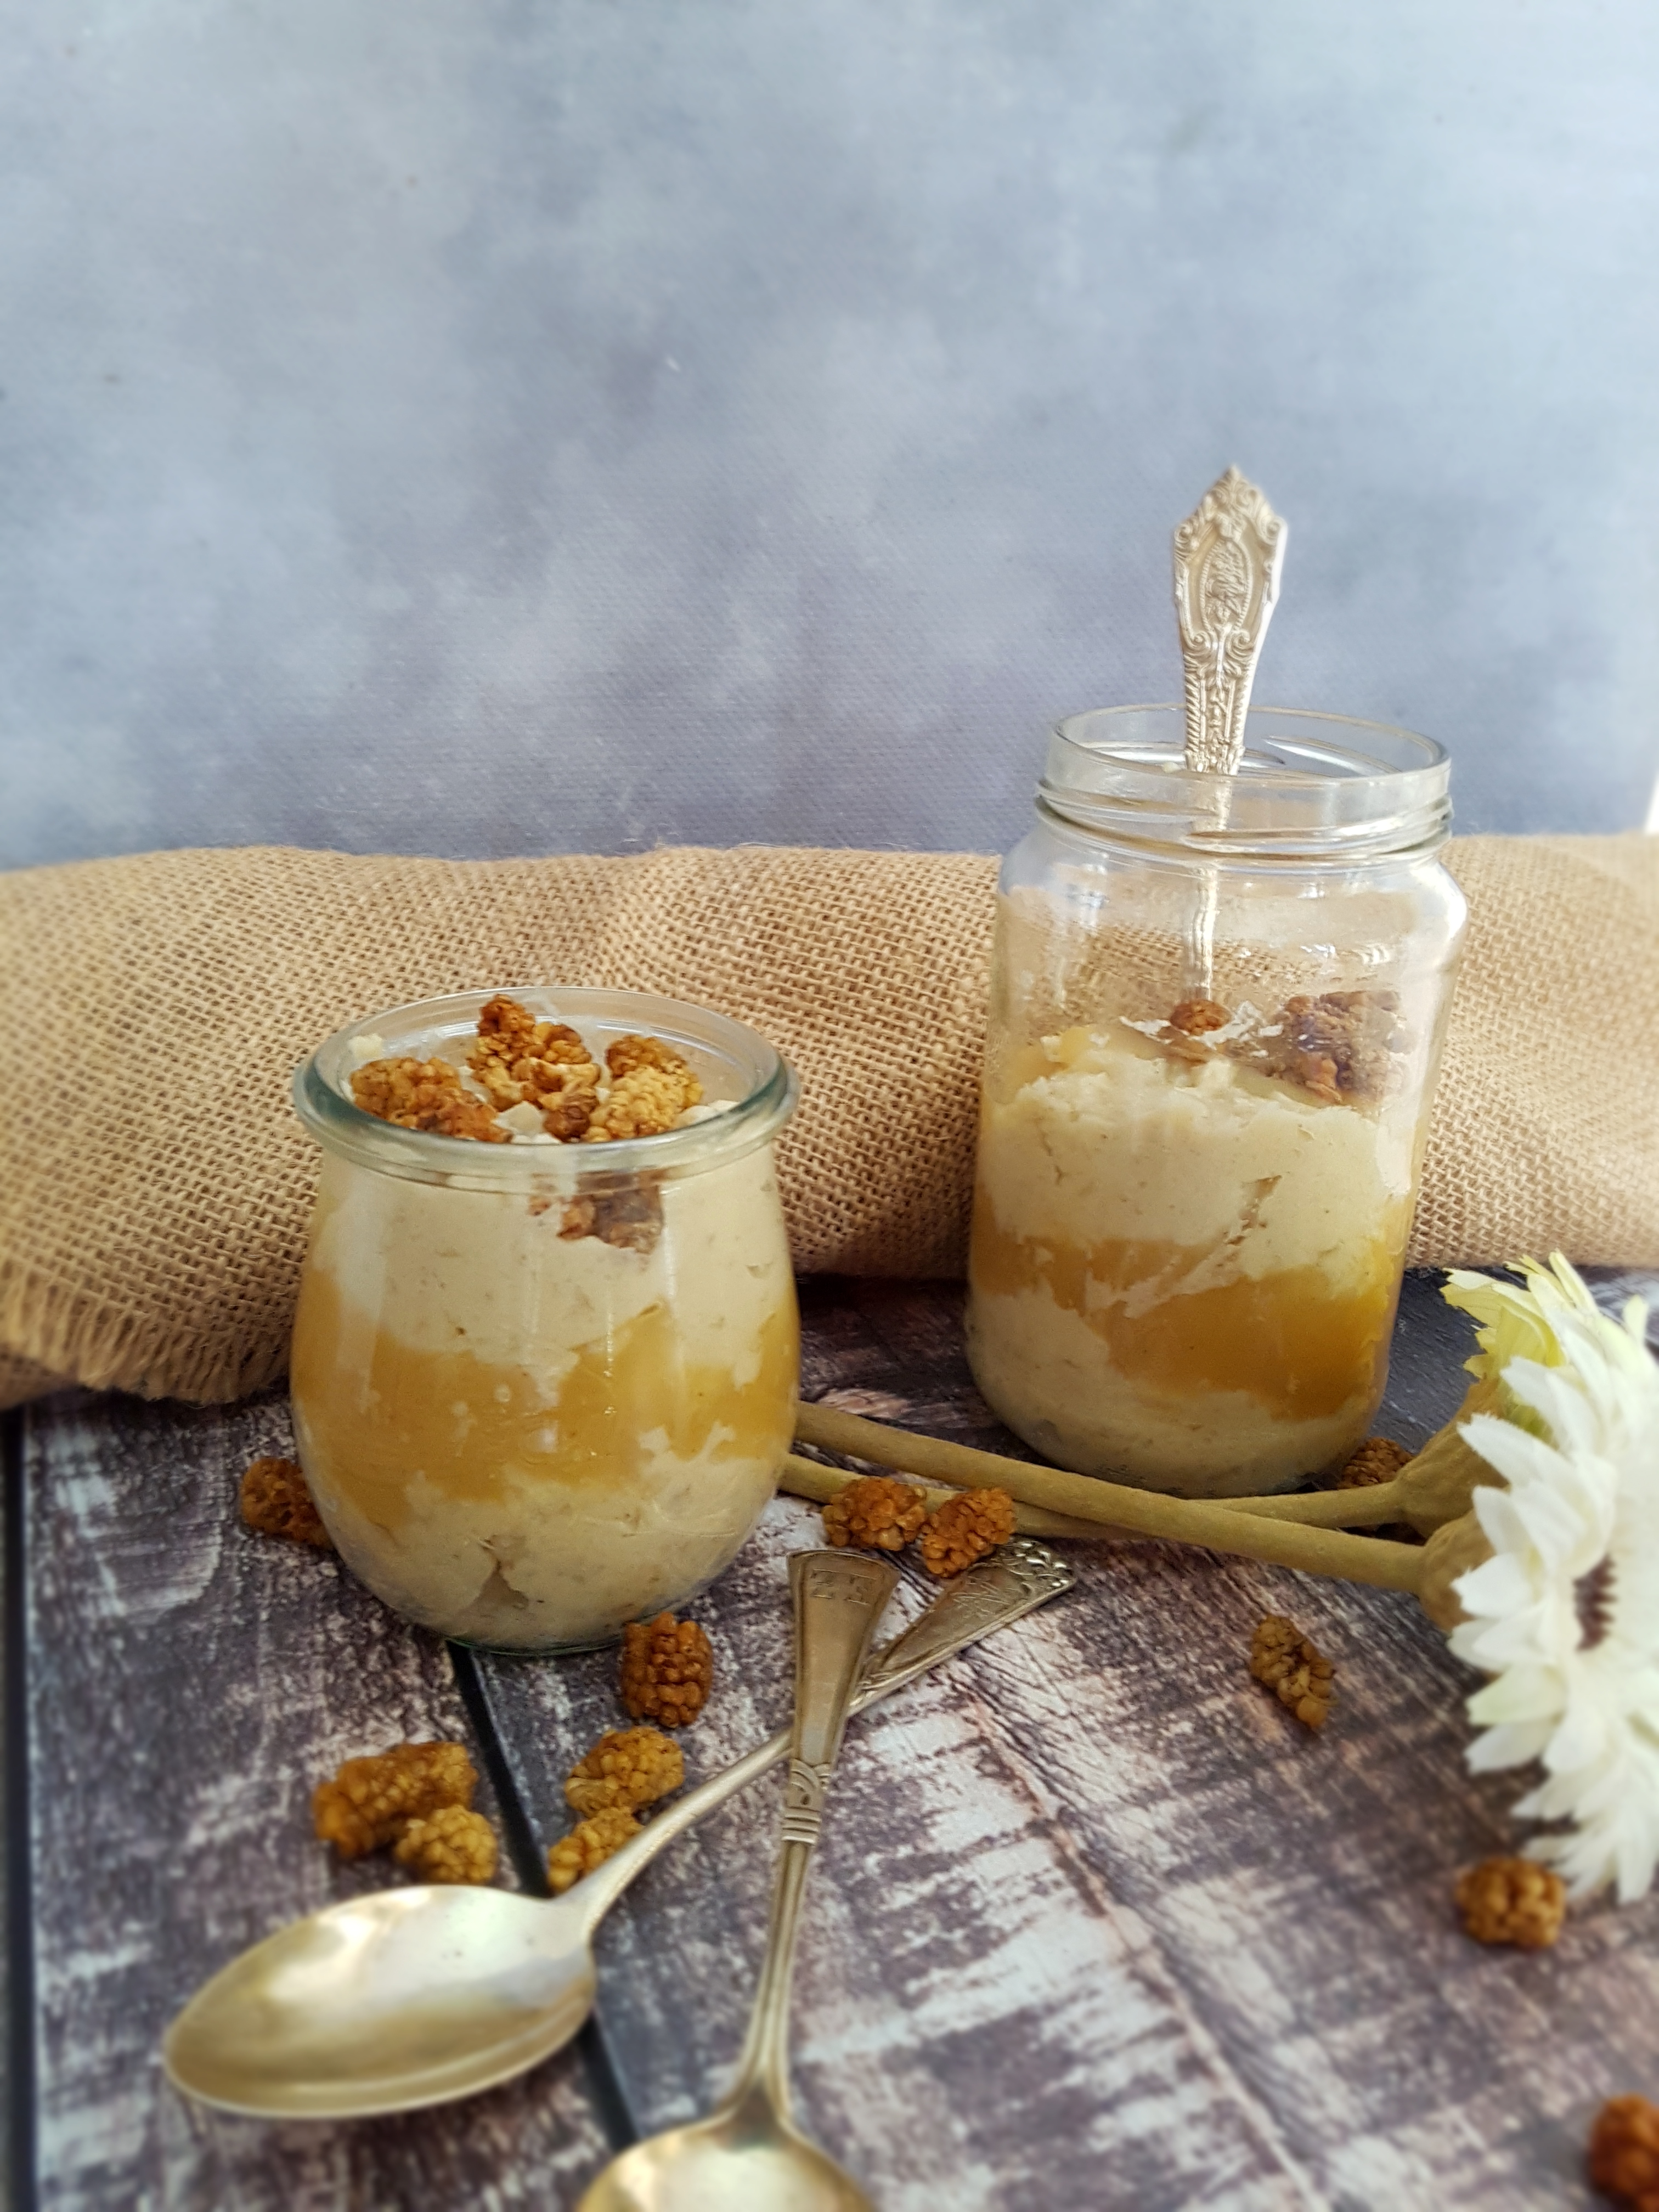
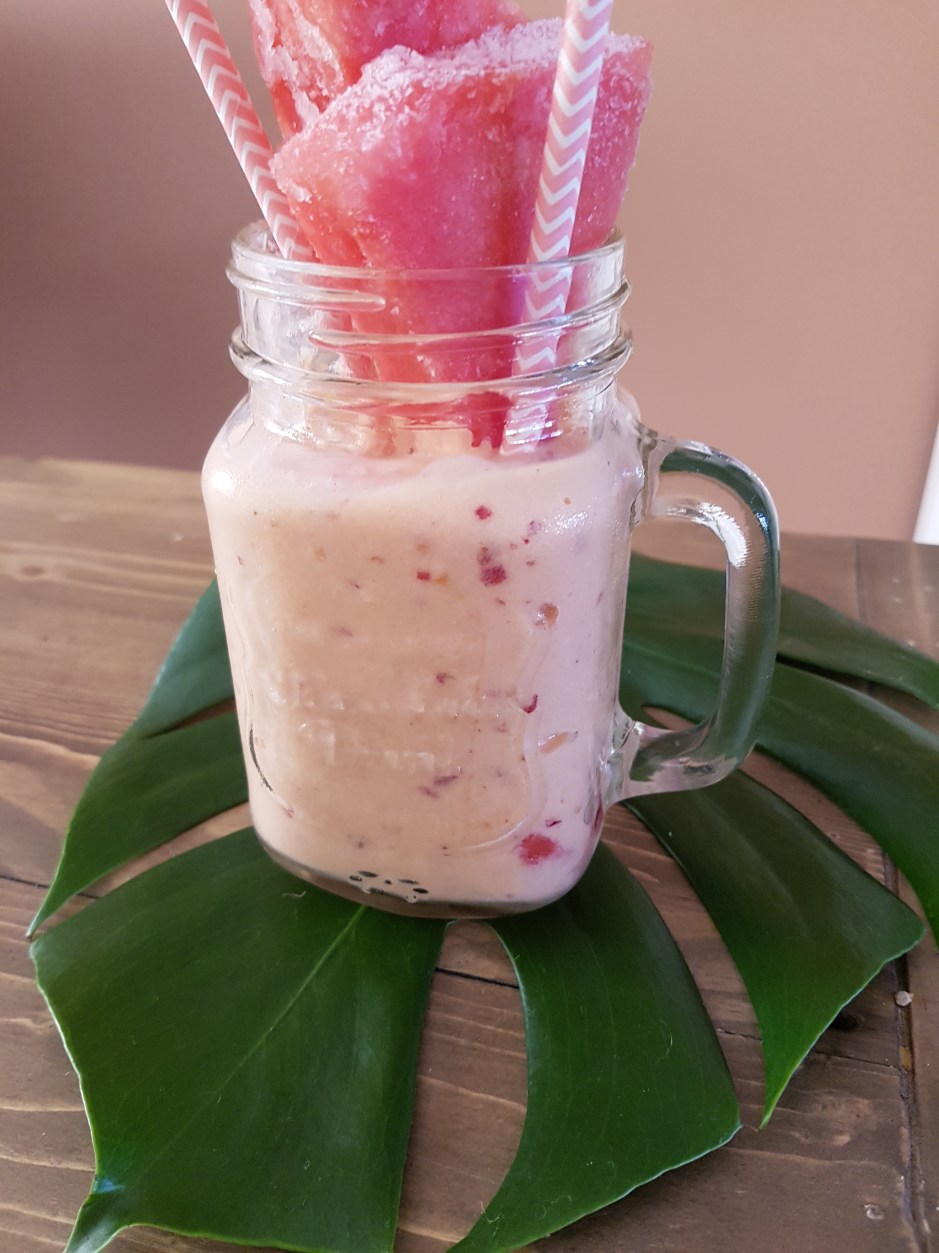
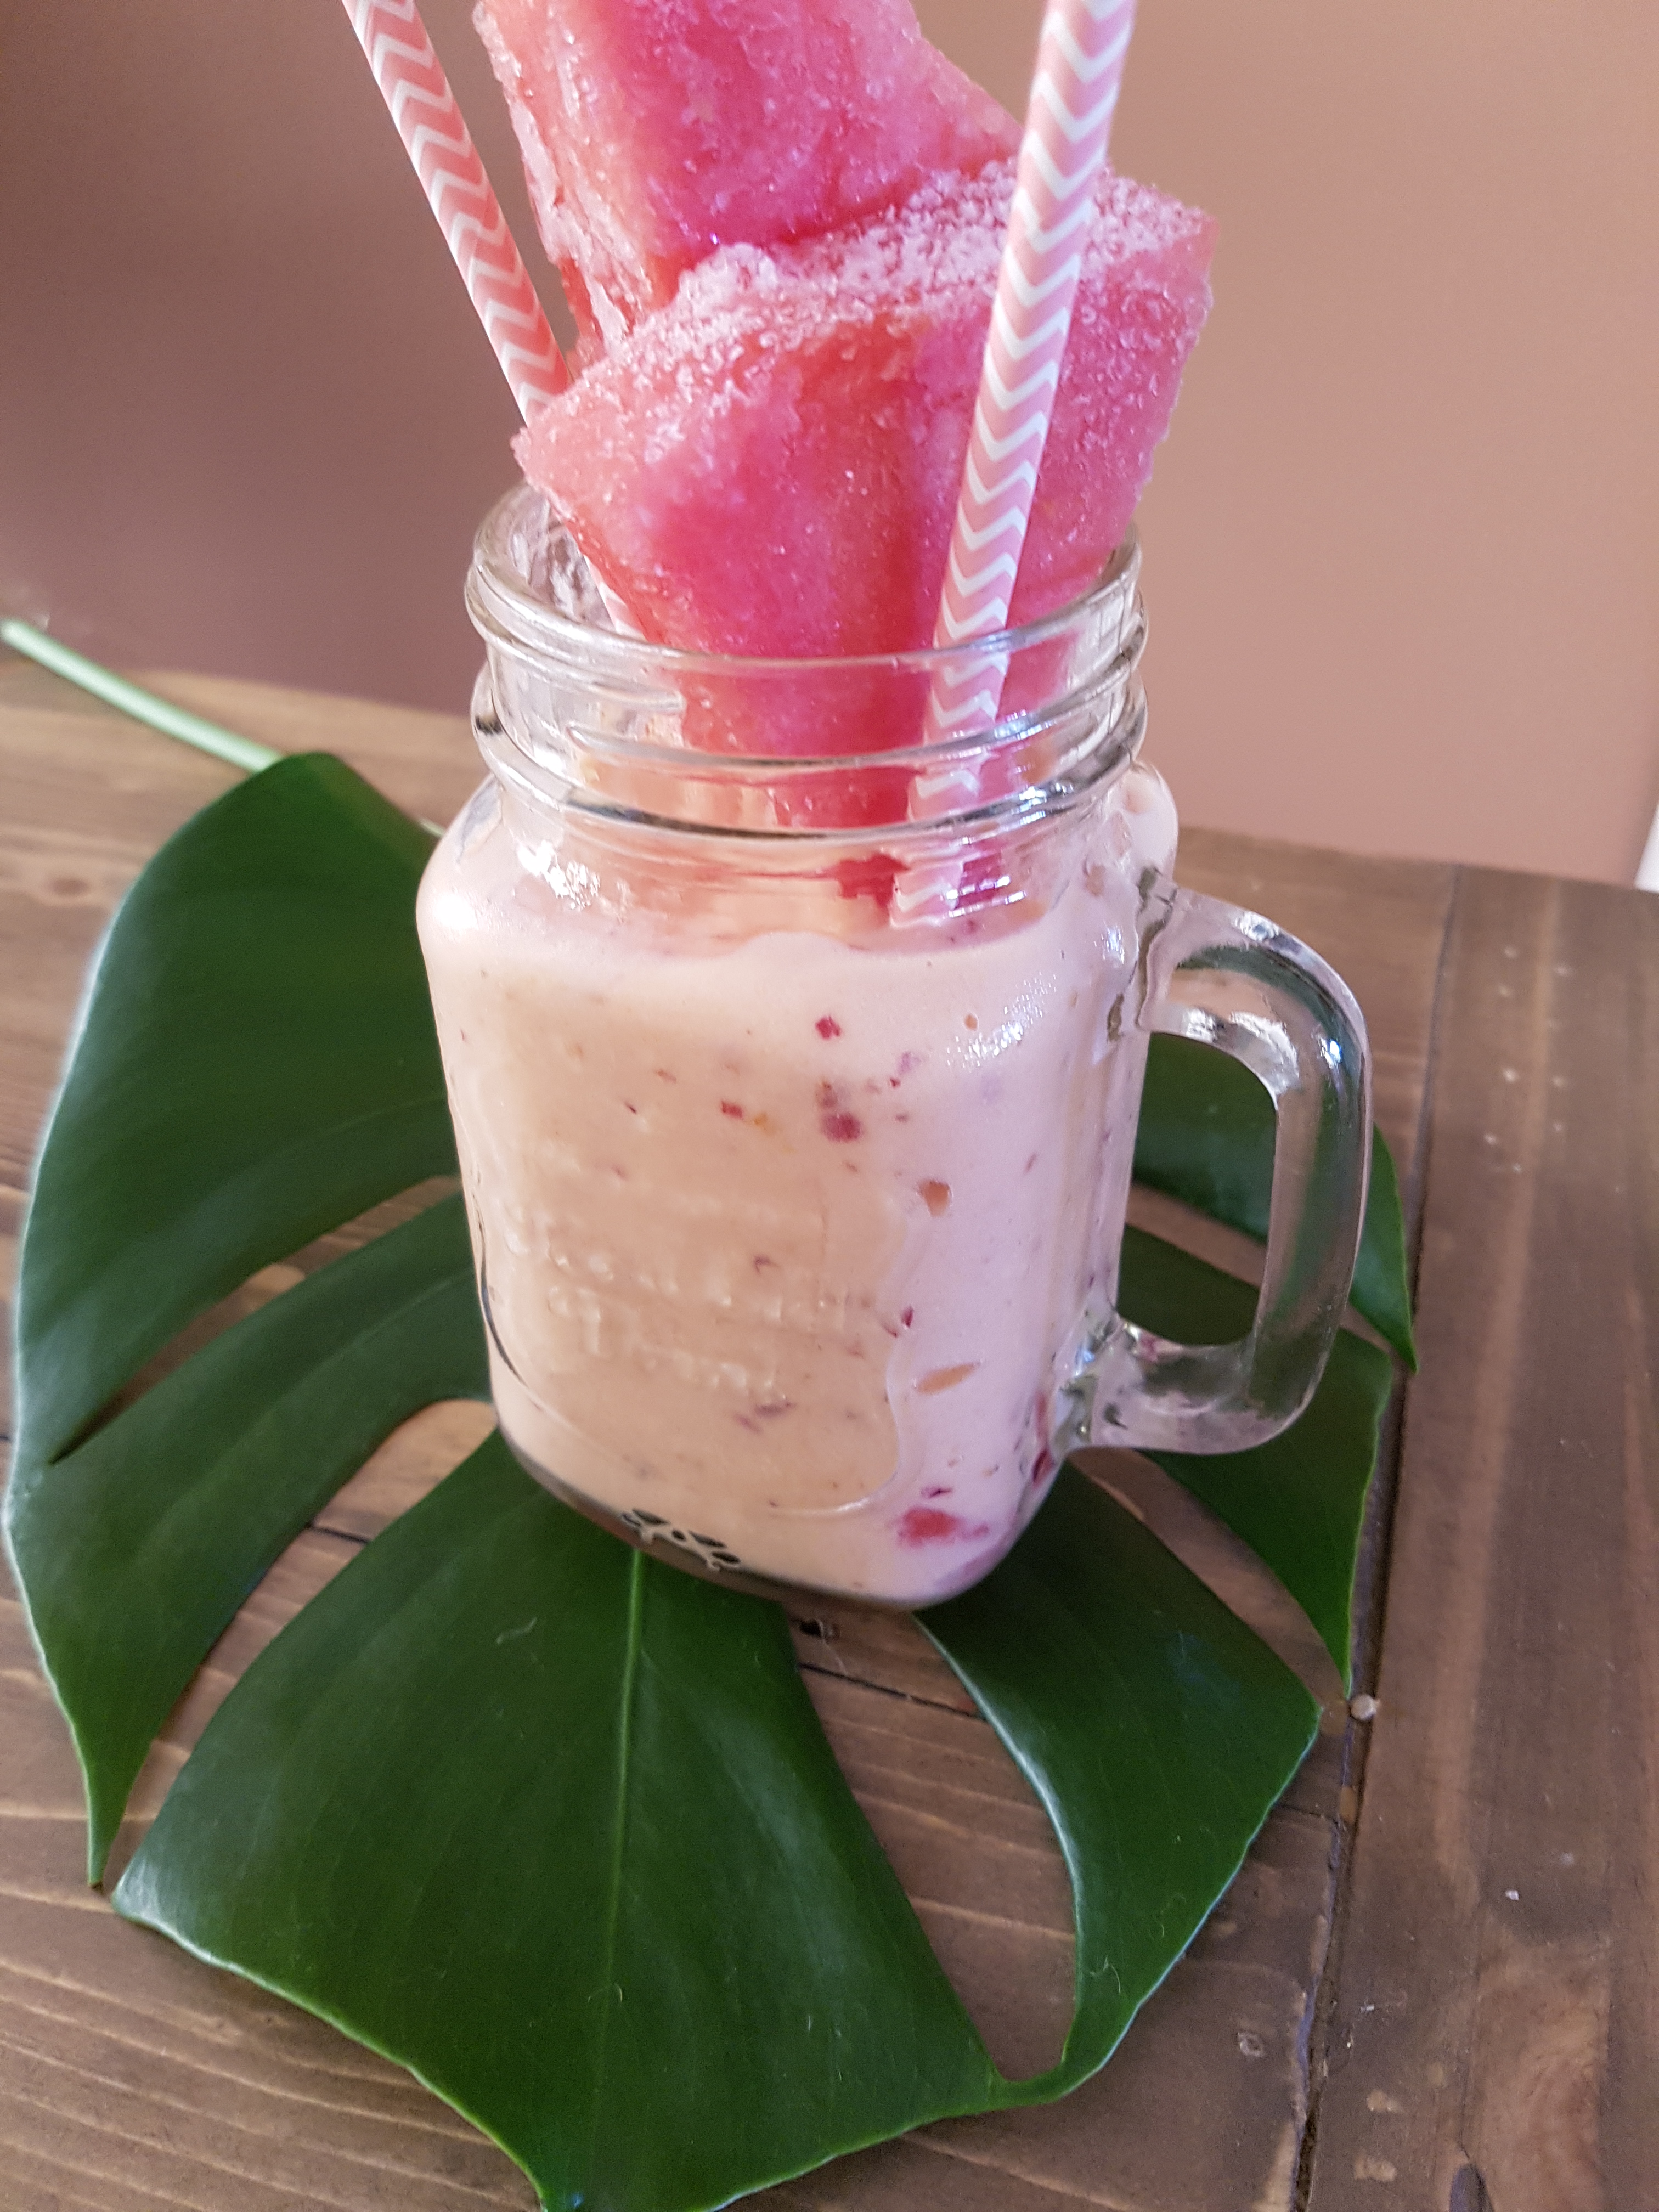
Another thing I love about this vegan chocolate coconut panna cotta is that it is so customisable. Add some peppermint or orange oil for an interesting twist. Bring the summer on your table by adding some berries or mango!
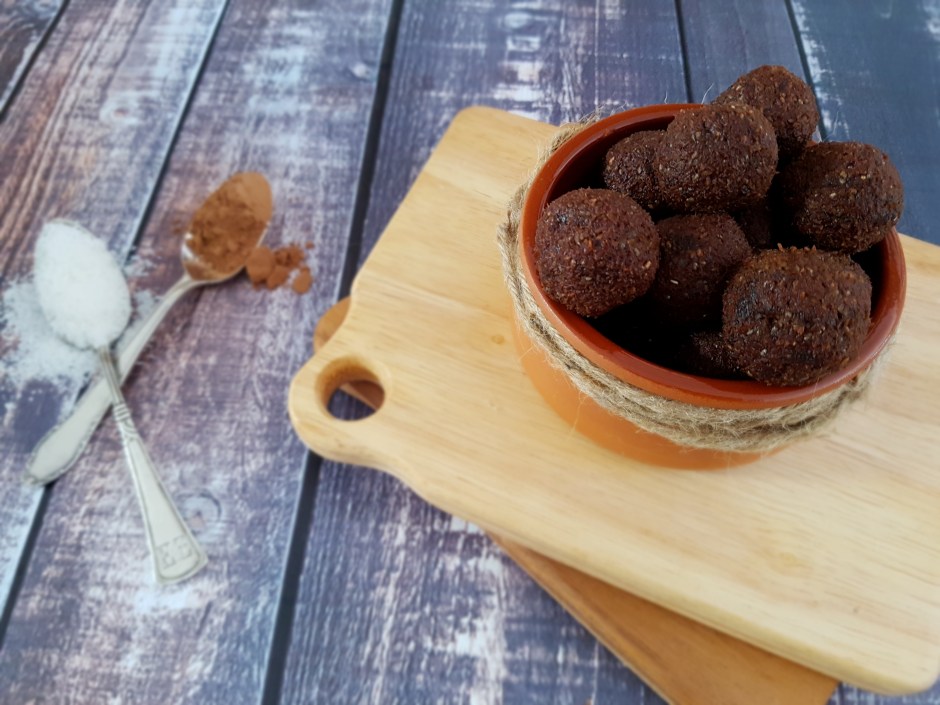
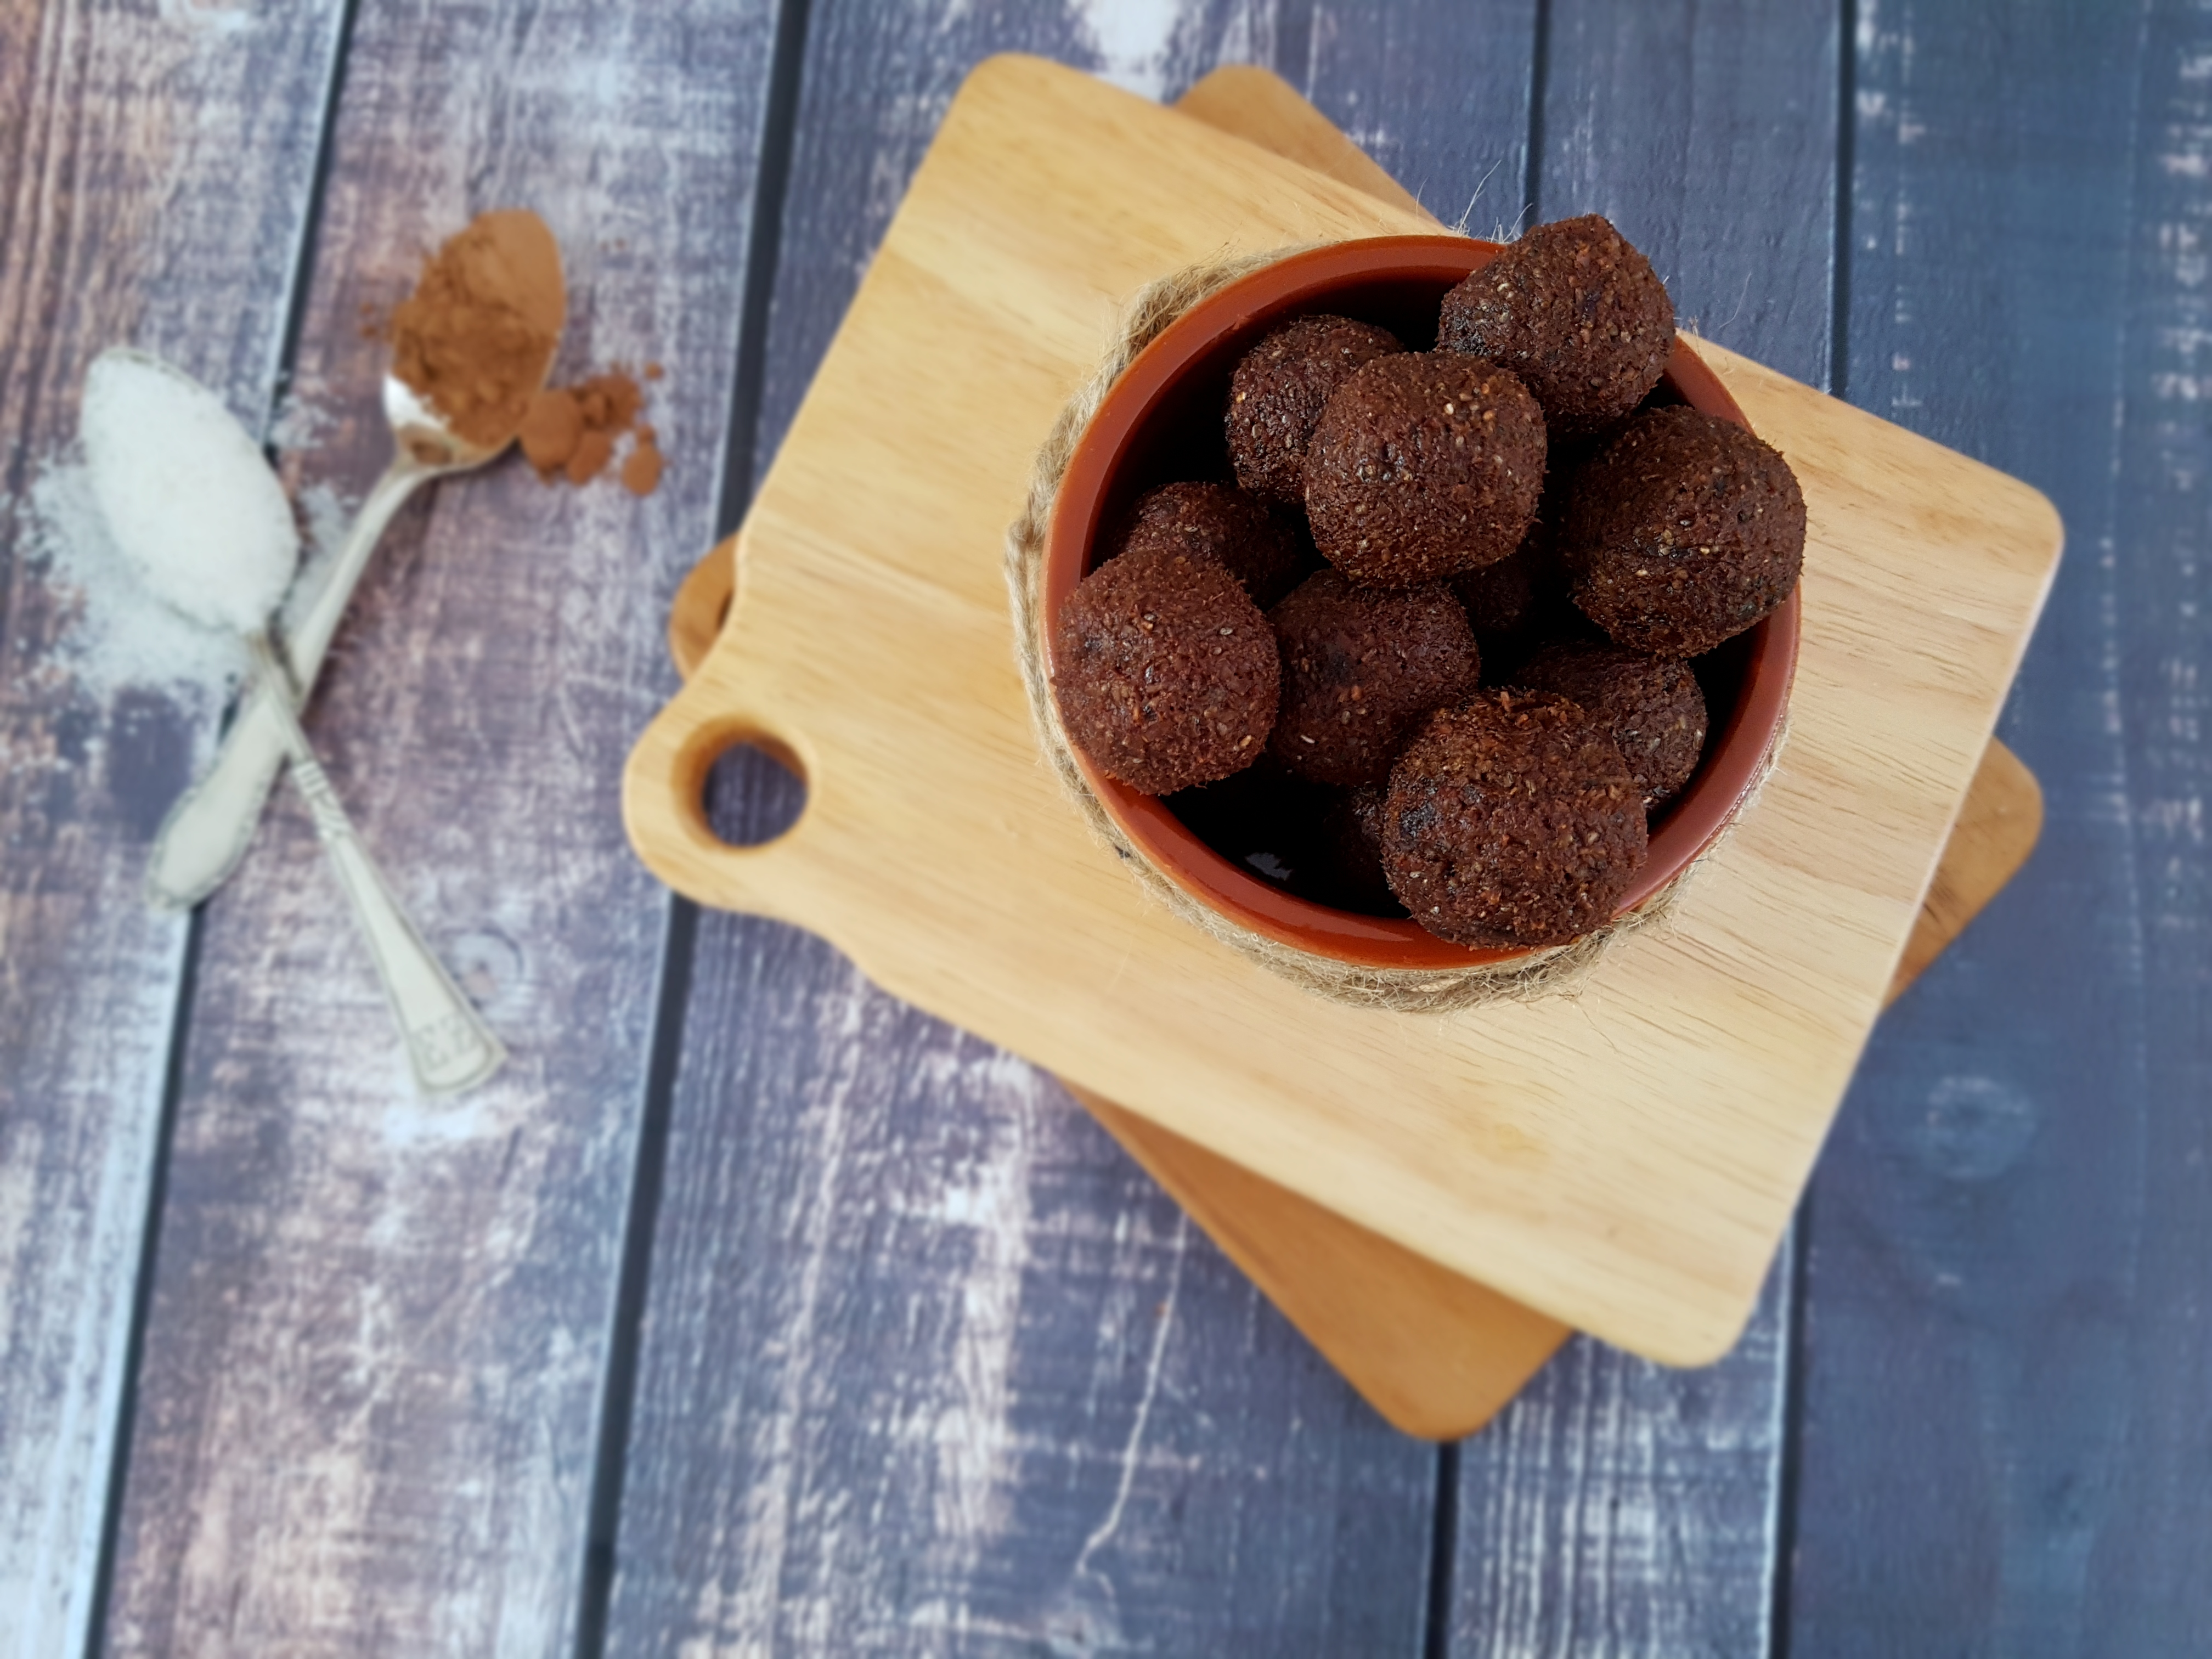
Vegan Chocolate Coconut Panna Cotta
Serves 6
250ml coconut milk (light is fine)
1.5 teaspoon coconut oil (melted)
0.5 teaspoon agar agar powder
2 tablespoons xylitol or sugar
2 tablespoons raw cacao
a dash of vanilla essence (optional but recommended)
Add coconut milk, coconut oil, agar and xylitol/sugar into a saucepan and stir well over medium heat until completely dissolved. Bring to a gentle boil while constantly stirring, then turn down the heat. Add the cacao and vanilla and keep stirring on a gentle simmer for at least five minutes or until viscous.
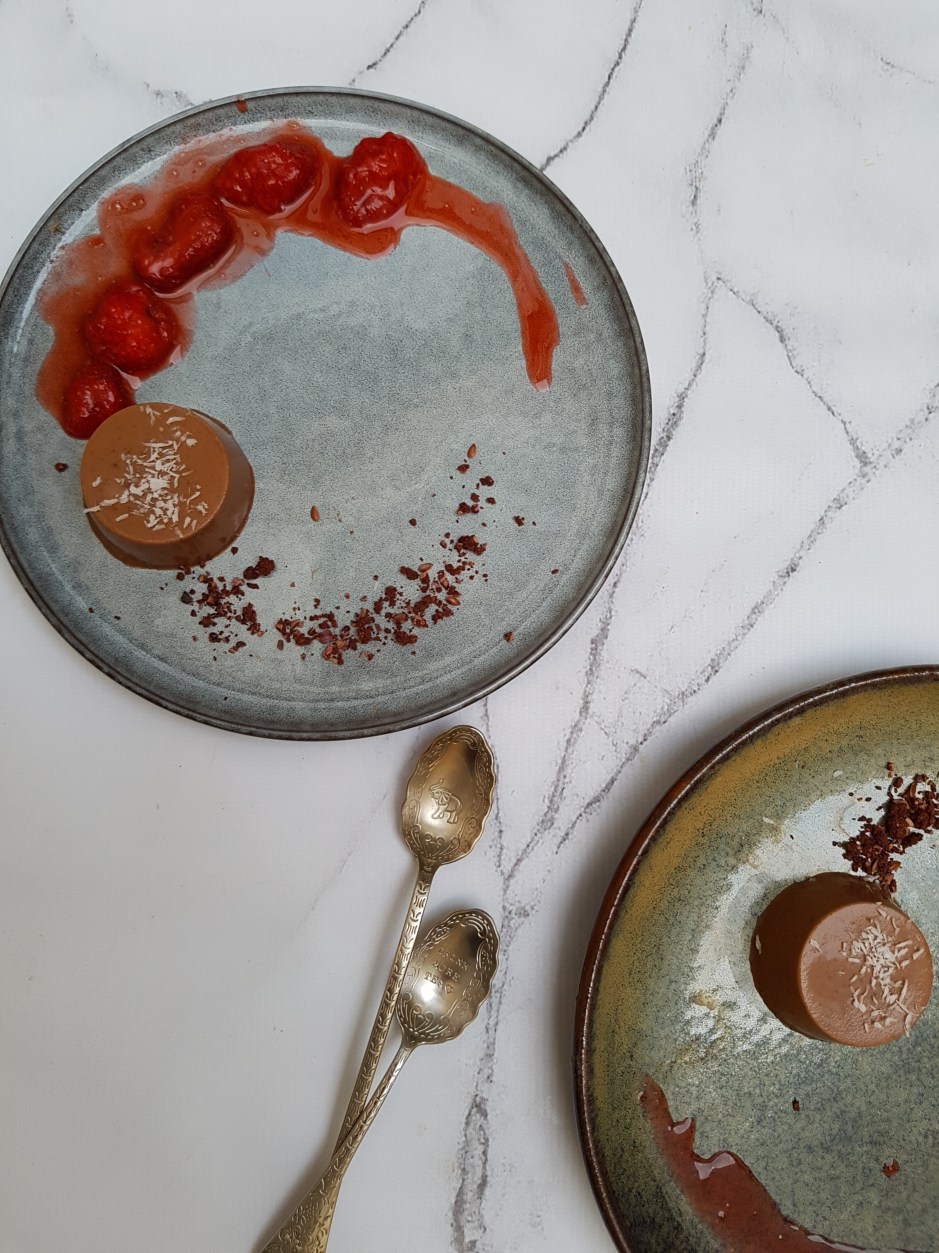
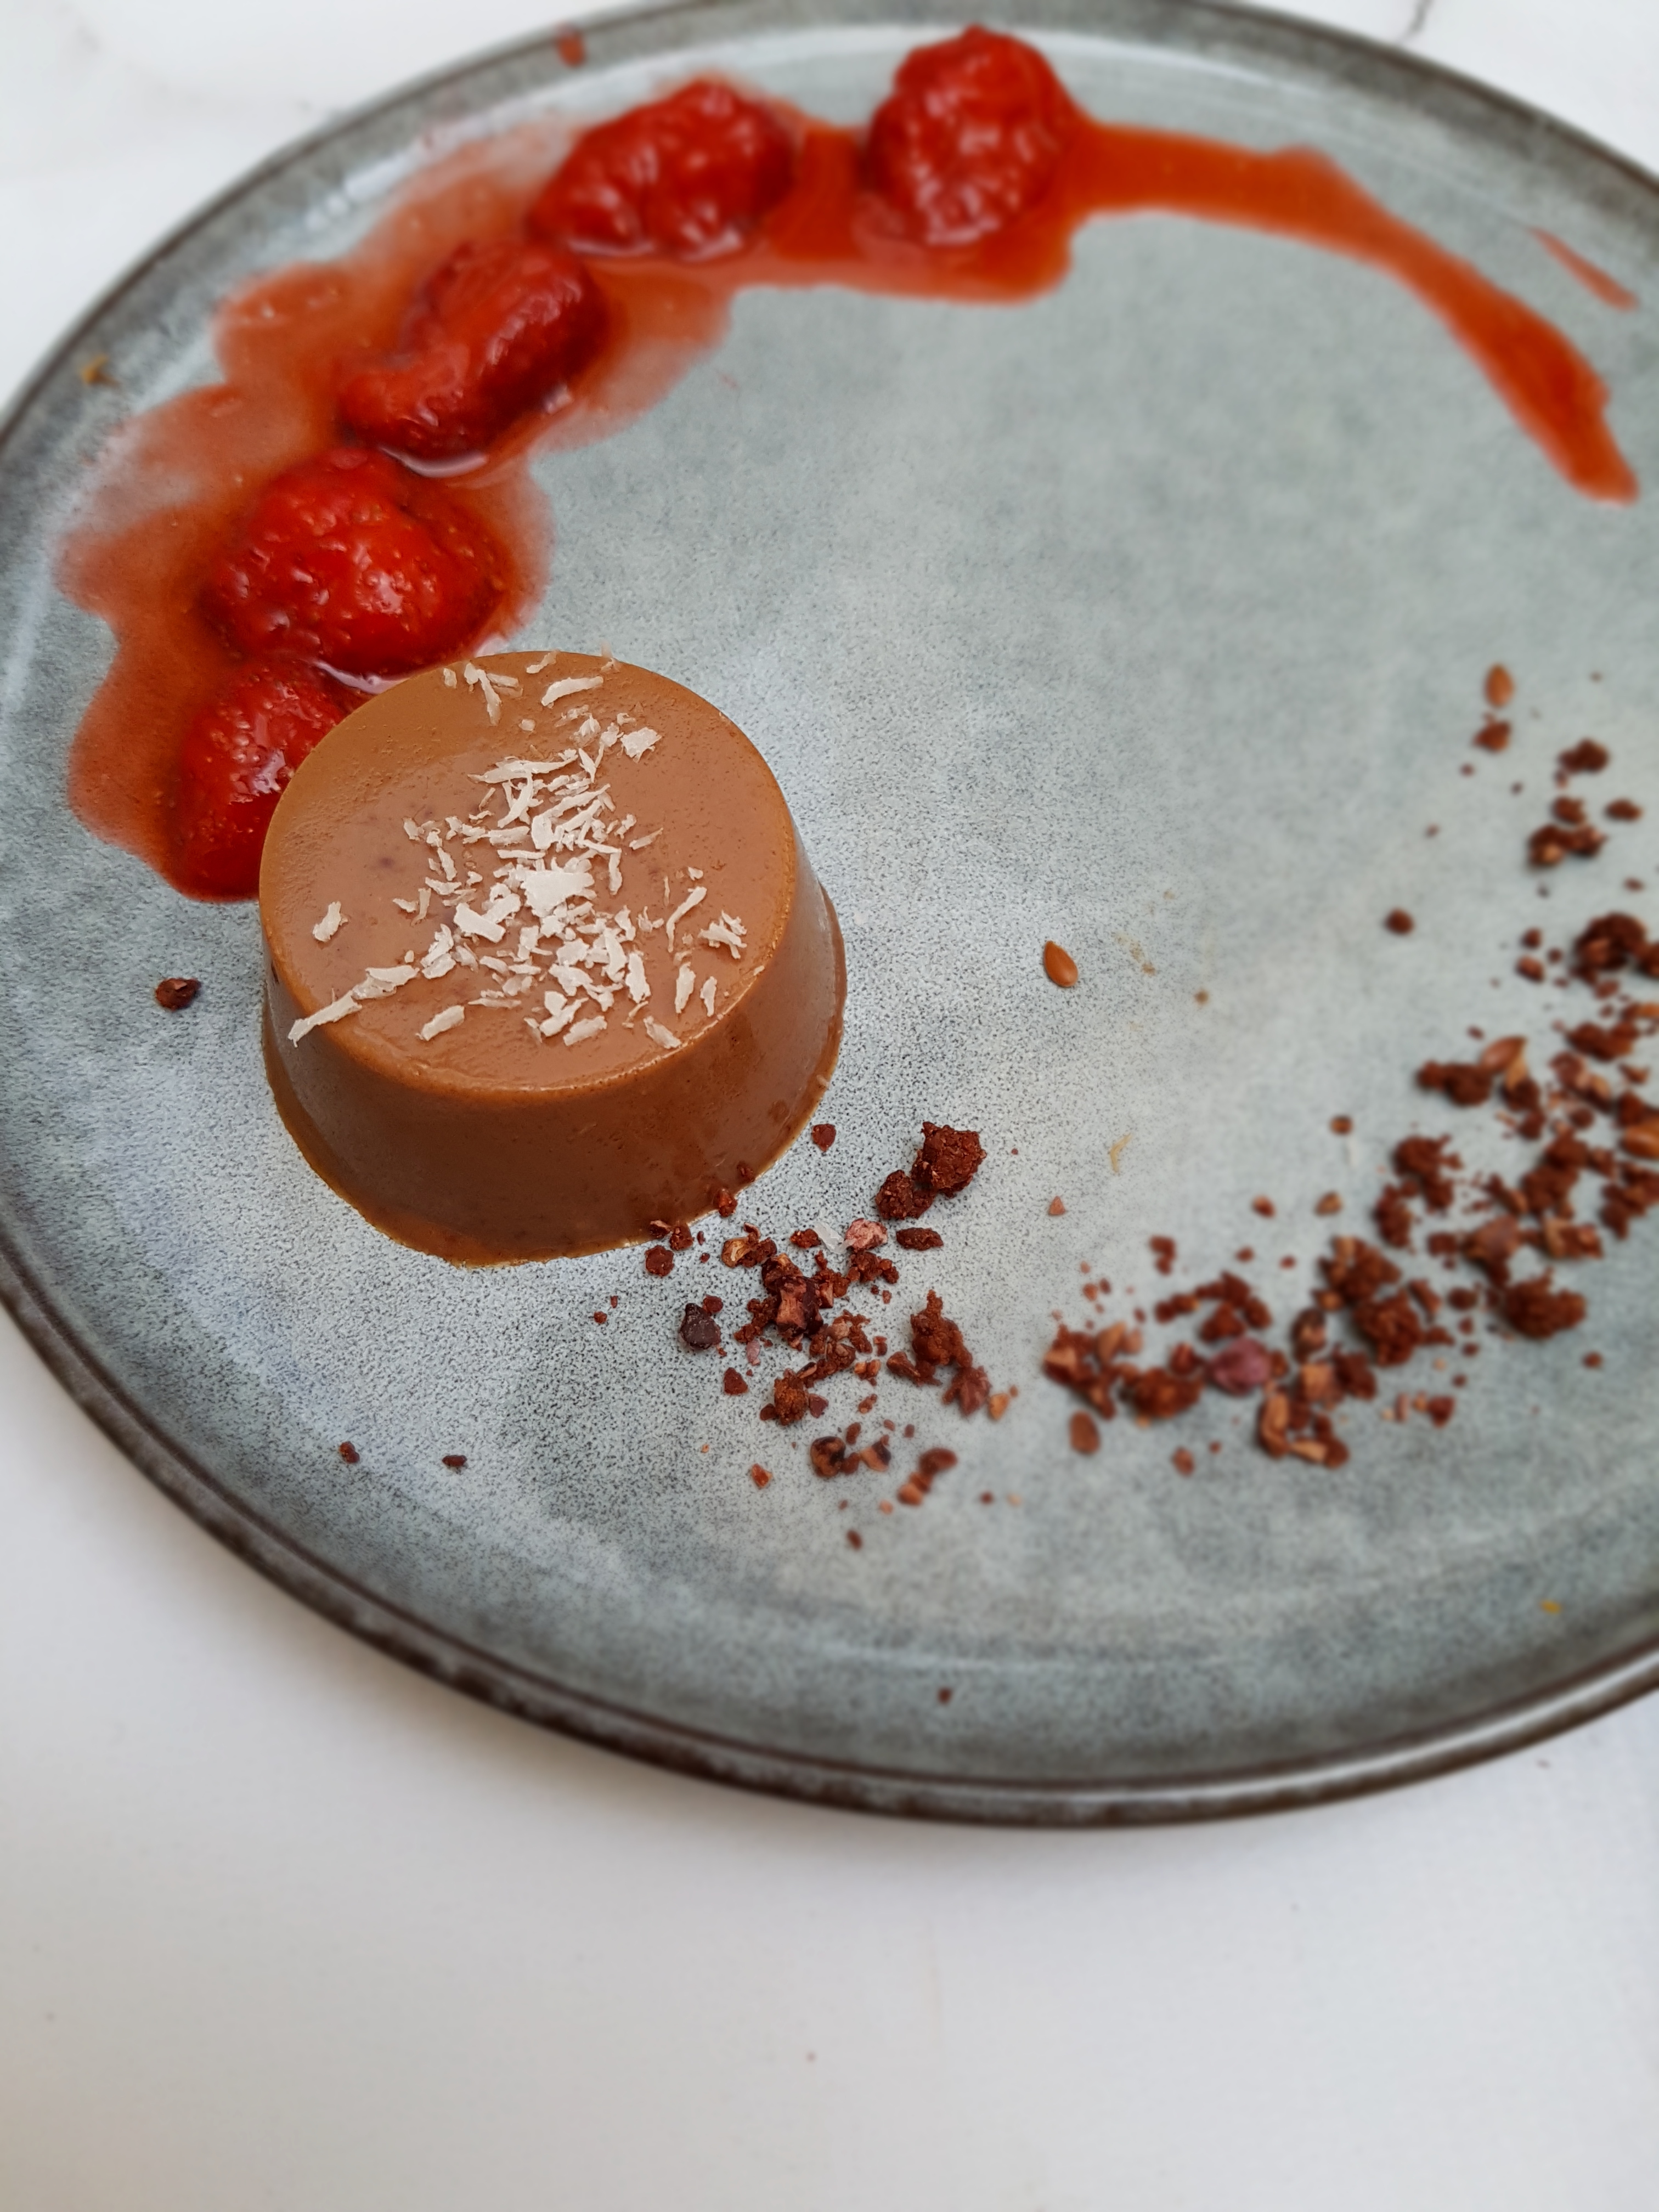
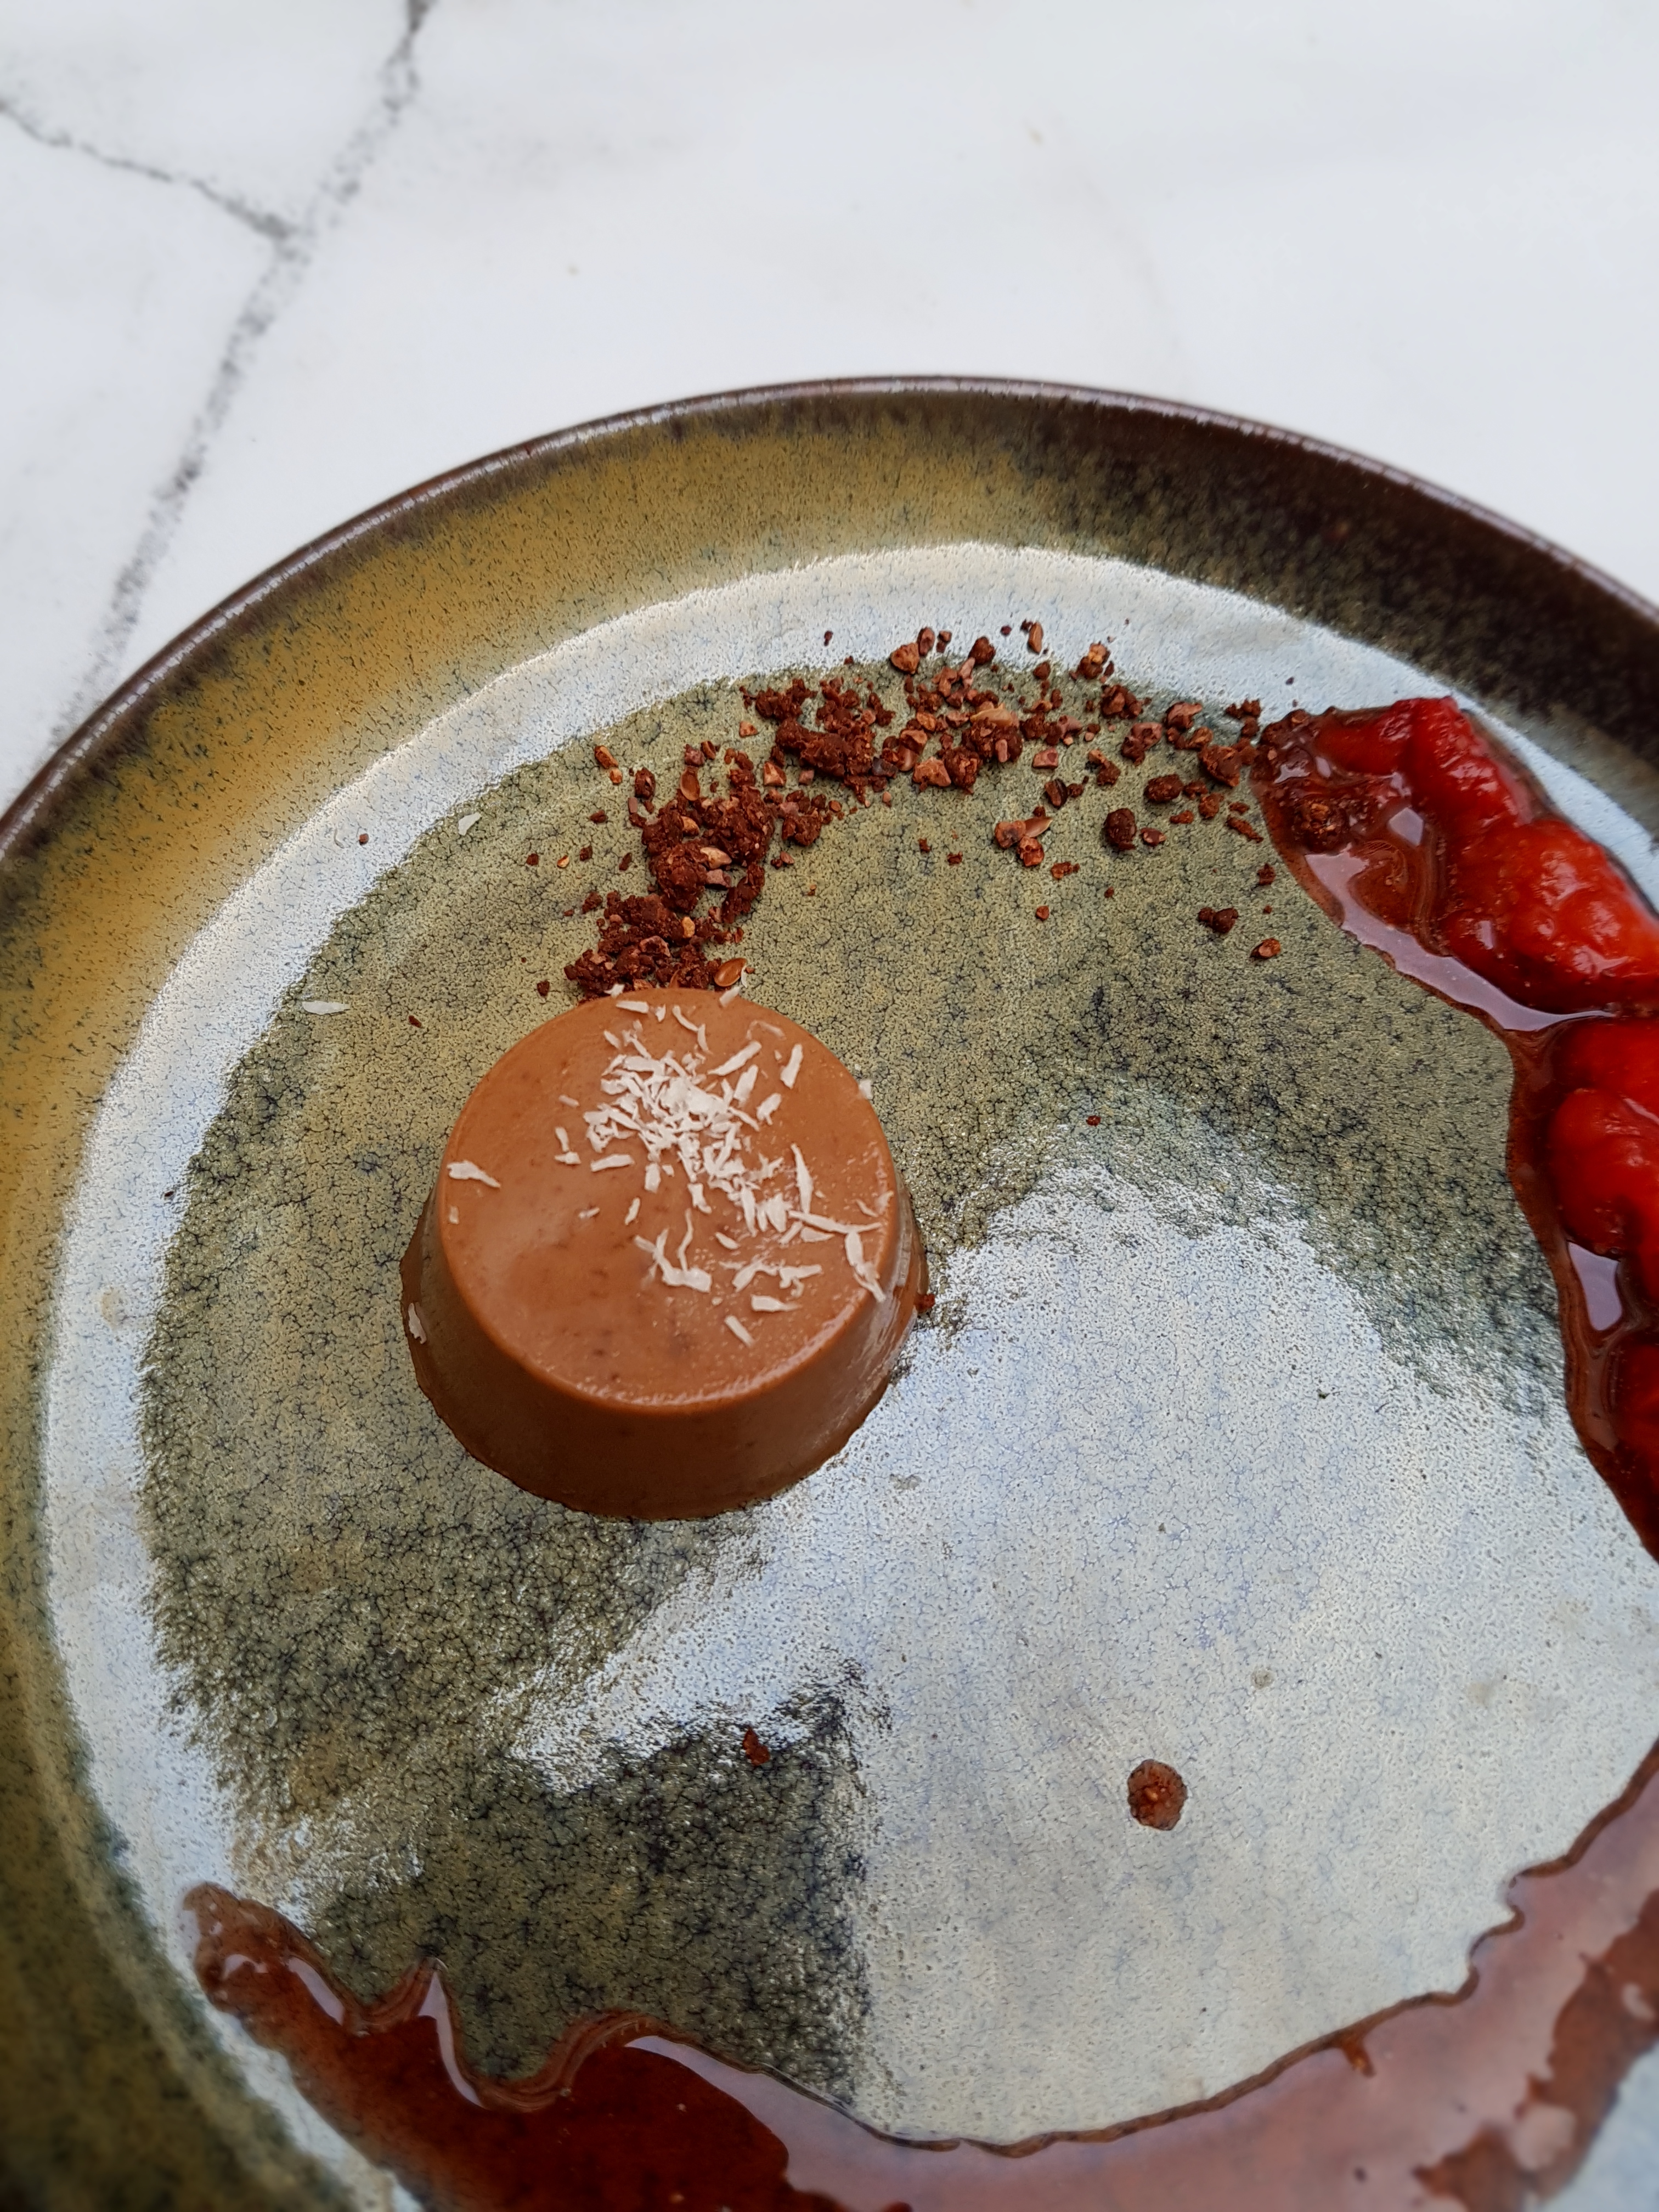
I used a silicon mini muffin tray to pour the mixture in. If you are using a ceramic or metal mould/ramekin, you will need to slightly oil it to be able to get the panna cotta out. If you intend to serve it in a glass without flipping it over, you won’t need to worry about. Pour the mix into your mould and chill in the fridge for around two hours. Serve with whatever you fancy. Chocolate sauce and fresh berries are great options.
Enjoy!