The net is swarming with recipes for “paleo bread” these days, which is great. After all, it’s good to know you can get on with your life even if – for medical or lifestyle reasons – you don’t eat “regular” bread. And let’s admit it, we all like bread, at least now and again, even the paleo police!
The thing about “paleo bread” is that it usually contains a bucke load of eggs – hey, don’t get me wrong! I loooove eggs – poached with smoked salmon and avocado smash. Not as an ingredient in bread. I’ve seen paleo bread recipes calling for as much as six eggs. Six! That’s cake. It’s not bread. I wanted bread! (Using six eggs in a recipe is darn expensive too, but that’s another story.)
The solution – chia seeds! The “chia gel” made of chia seeds with the triple amount of water is a perfect (and cost-effective) way to replace whole eggs. It also means you can meet your vegan friends and enjoy some nice bread together.
While in theory, you can always replace egg with chia gel, it works especially well in this recipe. The nutty flavours of besan flour and buckwheat flour complement the chia seeds well. This bread is perfect as an accompaniment for light savoury dishes such as soups and salads, and it is also amazingly good on its own or dipped in olive oil.
The best thing about this bread is that it is easy as, and in just a little more than an hour (the majority of which spent on waiting) you can enjoy delicious bread!
Makes one loaf
1 pint (473ml) filted water 2 tbsp extra virgin olive oil 2 tbsp organic apple cider vinegar Chia gel, made of 3 heaped tbsp chia seeds, dissolved in nine tbsp filtered water 125g besan flour 125g arrowroot 125g potato starch 100g brown rice flour 50g buckwheat flour 3 tsp sea salt 1 tbsp raw sugar 1 tbsp dried yeast
Preheat oven to 180 °C. Mix together the wet ingredients in one bowl, and the dry ingredients in another. Mix the wet to the dry ingredients and mix for 2 minutes on low.
Pour the dough in a prepared loaf tin. Cover with a clean cloth and let stand in a warm place for half an hour, and then bake for another half hour: Place on the medium rack and place an empty baking dish with icecubes on the lower rack (this step is not necessary but helps to achieve a crust). Quickly close the oven door and bake for 30-45 minutes or until the bread sounds hollow when knocking on it (this will depend on your oven, the time of year, temperature, humidity, and even the altitude of your home!).
So I got a bag full of “Jerusalem artichokes” (lucky me that I married into a family of horticulturists), and didn’t really know what to do with them (or what they were in the first place). Had someone told me that they are what we call in Germany “Topinambur”, I would have known that it is that miracle vegetable that they sell in Europe in small capsules to promote satiety, stabilise blood sugar, get your digestion going, and, yup, lose weight (don’t think my in-laws knew all that when they planted them!). A bit of research on my side revealed that these unsightly tubers, which, according to my husband, “smell like dirt”, neither originate from Jerusalem nor are they artichokes, but in fact, they belong to the family of sunflowers, and their Italian name “girasol articiocca” (sunflower artichoke) was spoofed by the English and became “Jerusalem artichoke”. I’ll use their alias “sunchokes” here as it’s shorter and saves me time, lazy me! (And with winter approaching, you can never have too many reminders of the sun).
Now I don’t know if you’ll really lose weight with these bulbs, but they are certainly delicious and satisfying, and my favourite way to consume them is to roast them in the oven, smothered in good olive oil – you don’t even need to use salt (and when I say that, that means something!!!). Now, because roasted vegetable is not really a recipe, and because I needed to improvise a dinner, and because I had brown rice to use up (I know brown rice has come under quite some criticism lately, but I had it and I am still here), I came up with an easy and frugal and, yup, delicious way to use up sunchokes and brown rice, so if you ever find yourself in the situation of having to use up Jerusalem artichokes and brown rice, here I come to your rescue!
I don’t know how I thought of the combination of risotto/sunchoke, it just came up to me,l but a quick internet search revealed that I wasn’t the first one to think it up, only the first one to make that whole thing vegan. In fact, the tubers add a lovely tang to the risotto, which is a great thing, given the minimalistic amount of spices that I use. They are also a great substitute for mushrooms, which are usually a staple for our risottos (though feel free to add them as well). I’ll also show you that a “vegan” risotto is just as delish as the classic version, and you don’t even need Arborio rice or stock! What, no stock??? Yes, that’s right. I actually don’t stock stock (pun intended), as it is such a hassle to make your own, but the store-bought versions always have junk in them (even if they claim they do not), so yes, I mostly cook without stock, heretic that I am, and it turns out every bit just as good! (I also cook mainly without garlic and onion, but that’s a different story.)
So what did I use then instead of stock? Water and wine – my two favourite drinks apart from coffee, but making risotto with coffee seemed a bit too experimental for me. Oh yes, I had white wine to use up too, so if you need to get rid of your sunchokes, brown rice, and white wine, here we go!!!
Serves 6
2-3 handfuls (or thereabouts) of sunchokes, washed well and cut into 2cm pieces (no need to take off the skins, but you are welcome to) 400 g brown rice olive oil salt and pepper 500ml water 500 ml white wine tamari 100ml coconut milk plus more to serve coconut oil
First, boil the rice in approx. 1,5 l of salted water until all water is absorbed and the rice is al dente (this should take 10-15 minutes). Heat enough olive oil in a Dutch oven or deep heavy skillet to cover the bottom. Add the par-boiled rice and stir until rice is covered with oil. Add 250 ml wine and wait until all wine is absorbed, stirring occasionally. Then add 250 ml water and wait till all is absorbed, 250 ml wine, and then again 250 ml water. Add plenty of tamari (you need the tamari to substitute the flavours of the stock). Add salt and pepper.
Meanwhile, cook the sunchoke pieces in olive oil or coconut oil until tender, about 10 minutes (you can also par-boil them in the microwave). Add the coconut milk and let bubble until the milk reduces and the sunchokes seem velvety. Mash like potato mash and stir into the risotto.
Let the risotto simmer for a few more minutes, and add some more coconut milk and coconut oil for that creamy richness that we love about risotto.
If you thought fast food was unhealthy, think again! Sure, gulping down trans-fat laden chicken wings while you are running for the train is wrong on many levels, but healthy eating doesn’t mean having to skip the hairdresser’s appointment for lack of time. In fact, there are lots of recipes for microwave breads out there. Yes, you read that quite right. There is breads that you can prepare in the microwave in less than two minutes! If this sounds too good to be true in your ears, have a go at my 2-minute Paleo crumpets! This recipe is adapted from Louise Hendon’s Microwave Paleo Bread, and I don’t only enjoy that I can bake delicious gluten free, grain free “bread” and still have time to go for my pamper package at the local day spa, but I also love its nutty taste and subtle flavour as well as that it’s so versatile!
Next to the fact that you can satisfy any cravings for carbs and bread you might have in less two minutes and with virtually no net carbs, these crumpets come jam-packed with fibre, vitamin E, and healthy fats! And let me repeat that once more: They are absolutely and truly paleo, meaning they are grain free, sugar free, dairy free, soy free, and, in general, worry free. Whether you follow a gluten free or low carb diets, these little babies will fit your lifestyle! Lacking the pernicious sweetness of traditional crumpets, these tasty round slices don’t only pair up nicely with ricotta and homemade jam, but I actually love them with butter and gluten free AussieMite or dunked into a hearty soup! There is really no reason not to try this great recipe. Whether as a filling breakfast option, lunch or dinner component or hearty afternoon snack, just whip up a handful ingredients and get your microwave going!
Makes 2 crumpets
30 g almond meal 10 g flax meal pinch of sea salt pinch of baking soda 20 g butter (or oil of choice) 1 egg
Mix all ingredients in a large mug until thoroughly combined. Pat down into mug and smooth surface. Microwave on high for one and a half minutes. The crumpet should easily come out of the mug. Cut into desired thickness and enjoy with favourite topping whilst still warm.
I think we all agree that the ultimate achievement for any gluten free baker is gluten free bread. GOOD gluten free bread. Unlike gluten free biscuits, which – albeit unhealthy- are widely available and reasonably tasty, a delicious gluten free bread is something you will not find in any supermarket, well-stocked as it may be. Finding a HEALTHY gluten free bread is even more of a challenge.
After my attempts at gluten free and yeast free bread (here, here, and here), I decided it was time to have a go at “proper” bread, which also contains yeast. As stated before, I am not a fan of yeast and it might cause issues in some gluten-free folks, but a bread with yeast in is definitely a different animal than yeast-free bread, and I figured that the few times per year I have bread, a bit of yeast won’t kill me.
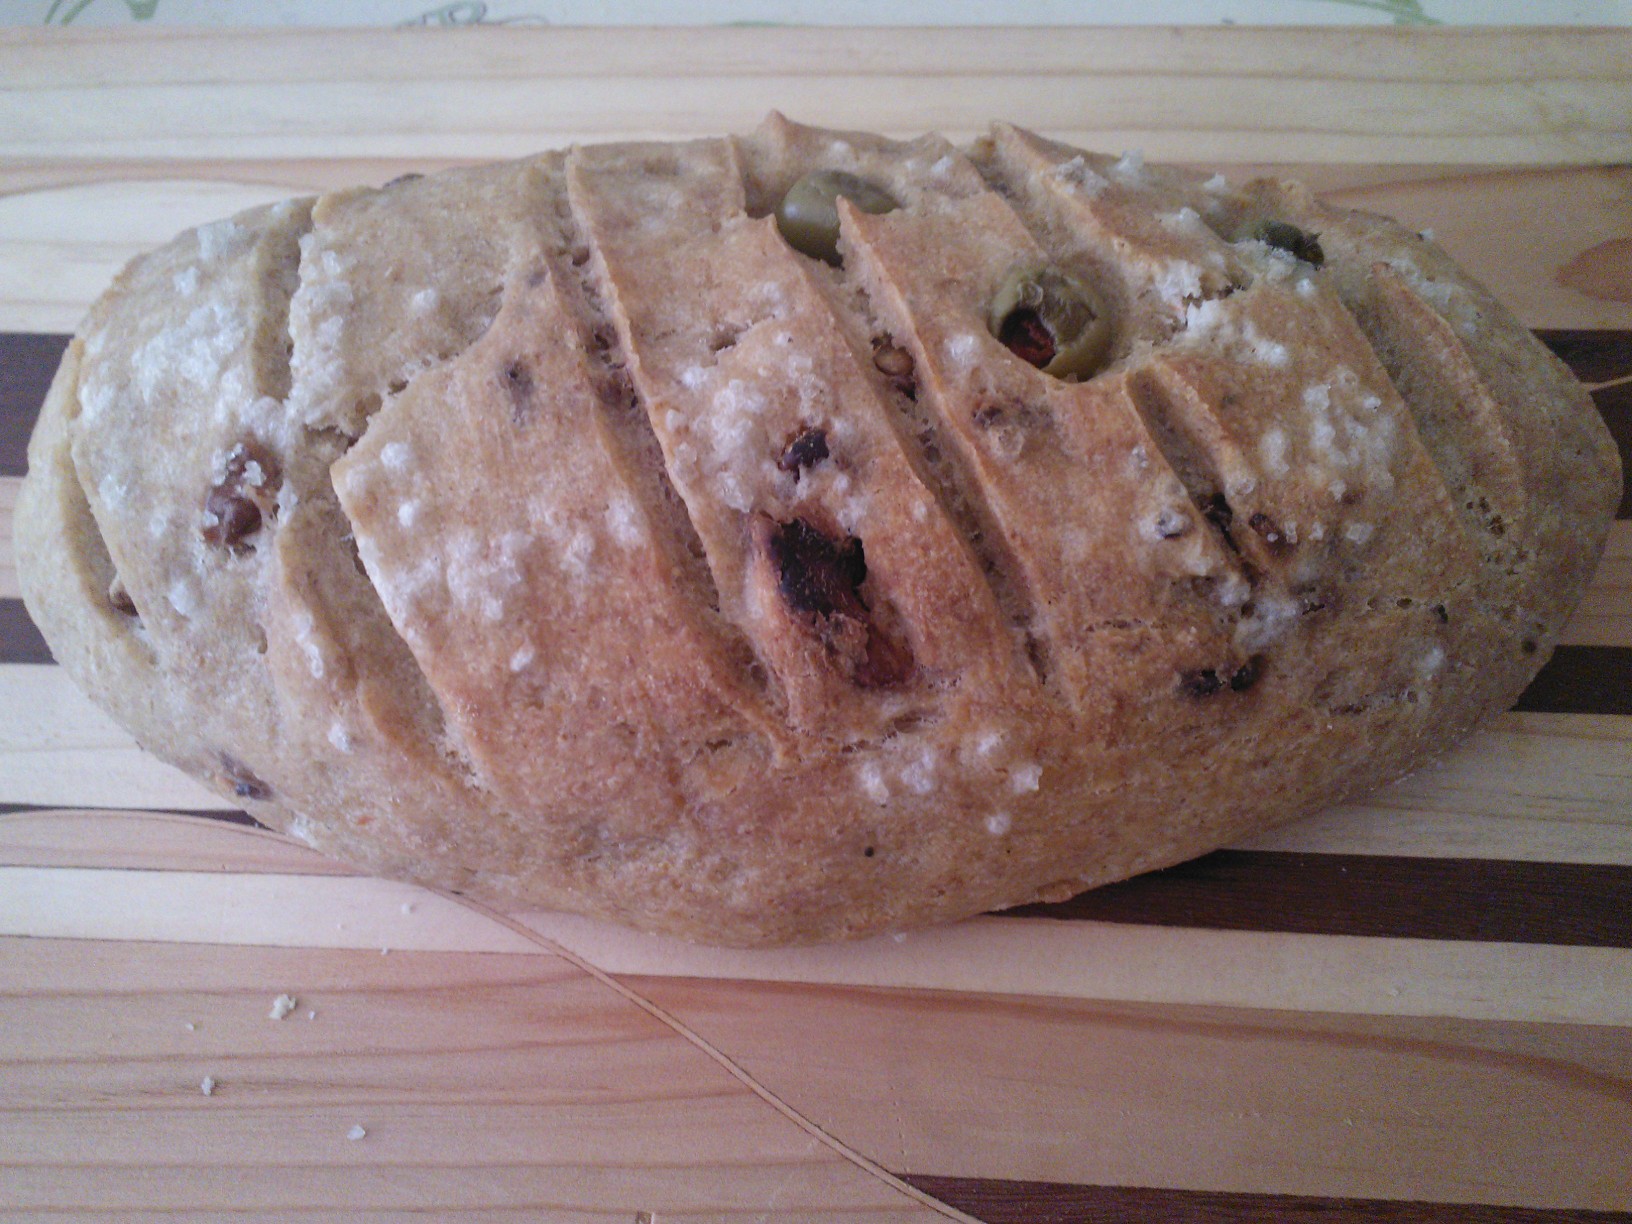
This bread, according to my hubby my “best one so far”, is roughly based on a recipe for crusty boule I found in Jeff Hertzberg and Zoe Francois‘ fabulous book, but I tweaked it quite a bit based on my own research about gluten free flours. I replaced the egg with flax to make a vegan version. I added fresh rosemary from the garden for a nice Mediterranean flavour that would go well with olive oil and sea salt, and walnuts for a nice crunch. The result is an insanely delicious bread.
I could write a novel about this bread, but this would lead too far, I think. Let me just tell you that for now, I am very proud of my achievement to bake a really delicious bread with a crust like I haven’t had anywhere outside Germany – something you won’t get from supermarket bread. A bread that a non-gluten free person would happily eat. A bread that consists of roughly 50 % wholegrains – another thing you won’t find in supermarkets!
Note that you need to follow my instructions closely and use the exact amounts (weigh them) as making gluten free bread is quite a bit more finicky than gluten free cakes or biscuits. Please also note that your dough might behave differently depending on your home’s altitude, humidity etc. You might need to play around a bit.
Makes two 1-pound loaves
450 g gluten free flour (I used 200 g arrowroot starch, 150 g brown rice flour, 100 g sorghum flour) 1 flax egg (i.e. 1 level tbsp ground flax seed, mixed with 1 tbsp water) 1 tbsp honey, melted, or other sugar (DO NOT OMIT OR CHANGE THIS AMOUNT, or otherwise the yeast won’t do its job) 2 tbsp extra virgin olive oil 2 tsp dry yeast 250-300 ml water, lukewarm (use less in humid climate, more in arid climate) 2 tsp sea salt any add-ons (rosemary and walnuts in this case; feel free to add any others)
First, mix the dough. All ingredients have to be at least room temperature. You need to do the mixing in an electric stand mixer, not in a hand mixer! A hand mixer is not powerful enough to whip in enough air to get fluffy bread, and you end up with dense and gummy bread, and we don’t want that. So use a stand mixer or large food processor. Mix the flours, yeast and salt first. Whip oil, honey, water and flax with a blender in a separate bowl and set aside. It is important that you use an electric hand mixer for the wet ingredients to whip air in them! Do not use a common whisk. Use less water first and only up the amount slightly if the bread seems too dry. You can always add more but not take away what’s already in! Too much moisture will cause your bread to become heavy and dense. While processing the dry ingredients, add one third of the wet ingredients through the feeder of the processor, then another third, and then another, blending after each addition. To avoid over-processing, add any add-ons such as herbs and nuts together with the last third of the oil-water-mixture. Stir just until smooth.
Now, give the bread a nice shape. Unlike gluten-full bread, we don’t rise the dough, then shape it, then rise it again, but only let it rise once, and shape it before that. Remember to go very easy on the dough as to not destroy the air bubbles! Do not knead the dough! I know you always walk past the pizzeria and see the guy torturing his dough, but we are talking gluten free here – and gluten free dough is a little bit different! After giving the bread a nice shape, let it rest on a warm counter covered with plastic wrap or a clean tea towel for 3,5 hours. You can now use your dough or store it in the fridge or up to a week! If taking out chilled, let it warm up before baking for 90 minutes.
30 minutes before baking, preheat your oven to 240 °C and slide a Dutch oven in it to heat up. After 30 minutes, serrate the loaf with a big knife, cautiously take out the Dutch oven and cautiously (!) place the loaf inside. Put the lid on the Dutch oven and place in the oven.
Bake for 20 minutes. Then turn the heat down to 230 ° C, lift the lid off the Dutch oven, take a tray and fill it with icecubes, and place beneath the Dutch oven. Quickly shut the oven door and bake for another 15 minutes. The steam caused by the ice will make the nice crust!
After 15 minutes, take out the Dutch oven and with a dairy or candy thermometer, check the temperature inside the bread, which should be between 93 and 98 ° C. If this is not the case, bake for a few minutes more, even if the top looks well done. In this case, cover the bread with foil to protect the crust from getting too burnt. As soon as the bread has reached this temperature, turn off the oven and let the bread cool completely. This is very important, as you will end up with a gummy centre if you attempt to cut the bread beforehand.
There you have it. Gluten Free Bread. The Holy Grail.
Yes, the title is correct – this is a vinaigrette with watermelon in it! And it works just beautifully! If you don’t believe that a watermelon vinaigrette works, you better see for yourself, as this is whipped up in a matter of minutes, with just a handful of ingredients! I have tried it on Greek Salad, Salade Nicoise, as well as chicken salad, and it is absolutely fabulous no matter what you put it on! Delightfully sweet and refreshing without a hint of any industrial sugars, this low-fat dressing is sure to jazz up your summer salads!
Serves 2
3 cups fresh watermelon, roughly chopped 1 tbsp apple cider vinegar 1 tbsp lemon juice 1 tbsp extra virgin olive oil salt and pepper fresh mint, basil, and parsley
Blitz all ingredients in a food processor until the desired consistency is reached and serve with freshly prepared salad. Lovely! Keeps in the fridge in an airtight container for up to five days.
Before Sushi took rank 1 as my favourite food in my late twenties, it was undeniably falafel – and still is, actually. Especially since it is a bit easier to replicate at home than sushi! I love, love, loooooove falafel! Have I mentioned that I am in love with falafel? It is just one of those dishes that makes you think “who the eff needs meat”? Don’t get me wrong, I love meat! But falafel makes lving without a lot easier since it is just so delicious! To me, it is the perfect summer dish with fresh salad, a crispy gluten free pita, homemade hummus, and a glass of dry and ice-cold white wine. Falafel is also very good for you! Chickpeas provide protein, fibre, manganese, iron, and complex carbs, making you feel full for a long time! Chickpeas are also naturally low in fat, so one more reason to dig into those falafels – provided you don’t eat the conventional deep-fried version, which nullifies all the health benefits of the falafels.
Since I adore falafel but don’t believe in deep-frying (especially not deep-fried in recycled trans-fats, yikes!), I wanted to come up with a way to have them oven-baked, not fried. I am happy to announce that it worked! Falafel is naturally meant to be a rather dry dish, so in my view, it doesn’t really matter that the baked falafels might be a little bit drier than the store-bought ones. I think they are just as yummy, and if them being low-fat means that I can have more, I don’t complain either! I prefer not to use any oils besides olive oil and coconut oil; however, olive oil is not suitable for deep-frying, and neither is coconut oil, plus its flavour simply doesn’t work in middle eastern cuisine. So that’s why my falafels are baked!
Another issue is that falafel in a snackbar are most of the time glutenated as they contain wheat flour – a big, big no-no! So that’s why my falafel has chickpea flour, which makes a whole lot more sense as it improves the flavour a lot and naturally enhances the chickpea aroma. One more thing, please do not waste your money on those ready falafel mixes – there is nothing wrong with them per se, but they are basically just chickpea flour with a bit of salt and spices in them. They are chickpea pancakes and have absolutely nothing to do with falafel, no matter what the package says, and they are far too overpriced for what you get. If you want quick and instant falafel-style patties, just mix some chickpea (besan, garbanzo) flour with hot water, lemon juice, salt, and parsley and fry it, which makes for a filling and quick dish, but is simply not falafel! Again, you can make “falafel” patties by buying your own chickpea flour instead of expensive “falafel” mixes!
Which takes me to the second point – even though falafel is relatively easy to make, you have to start one day before you eat them – that’s because you need to soak dried chickpeas over night. Yes, you read right, unlike hummus for which we use canned chickpeas, falafel requires the dried chickpeas, which are half the size of the canned ones. Believe me – don’t try this recipe with canned chickpeas. I don’t say that it’s not delicious, but it’s just not the same! You really need to use the dried chickpeas!
This recipe is adapted from the Shiksa in the Kitchen, but I obviously don’t deep-fry the falafels, since this is a recipe for baked falafel – duh! There is another superb recipe in Yotam Ottolenghi and Sami Tamimi’s book Jerusalem, which recommends using a meat grinder.
Makes 30 falafels
375 g dried chickpeas, soaked overnight in a big bowl, covered in water twice their volume (or so that 5 cm water are above the chickpeas in the bowl) 1 onion, chopped (omit if low FODMAP) 1 garlic clove (omit if low FODMAP) 3 tbsp coriander, chopped 2 tbsp parsley, fresh, chopped 2 tbsp chickpea flour 1 tsp cumin 1,5 tsp salt 1 tsp ground coriander generous grind of black pepper generous pinch of cayenne pepper pinch of ground cardamom 1/2 tsp baking soda (optional)
Drain and rinse chickpeas well. Process with all ingredients bar the baking soda to a coarse paste. Do not overprocess it! Scrape the sides down while you are processing it. It should more look like couscous than a paste, but it must still hold together! Place in a big bowl and fluff with a fork to smash any chickpeas that are not processed. Chill mix for 1 hour before using. If you are using baking soda, use it right before baking. You can omit it, but the falafels do get fluffier with the soda.
Preheat the oven to 210 °C and line a baking tray with baking paper (or use a silicon sheet). With wet hands, shape balls or patties out of 2 heaped tablespoons of the falafel mix. Bake for 30 minutes in total, turning around half way through until lightly golden. Serve with gluten free pita, salad, hummus, and tzatziki.
Tip: It’s great to toss the falafels in a bit of sesame before baking!
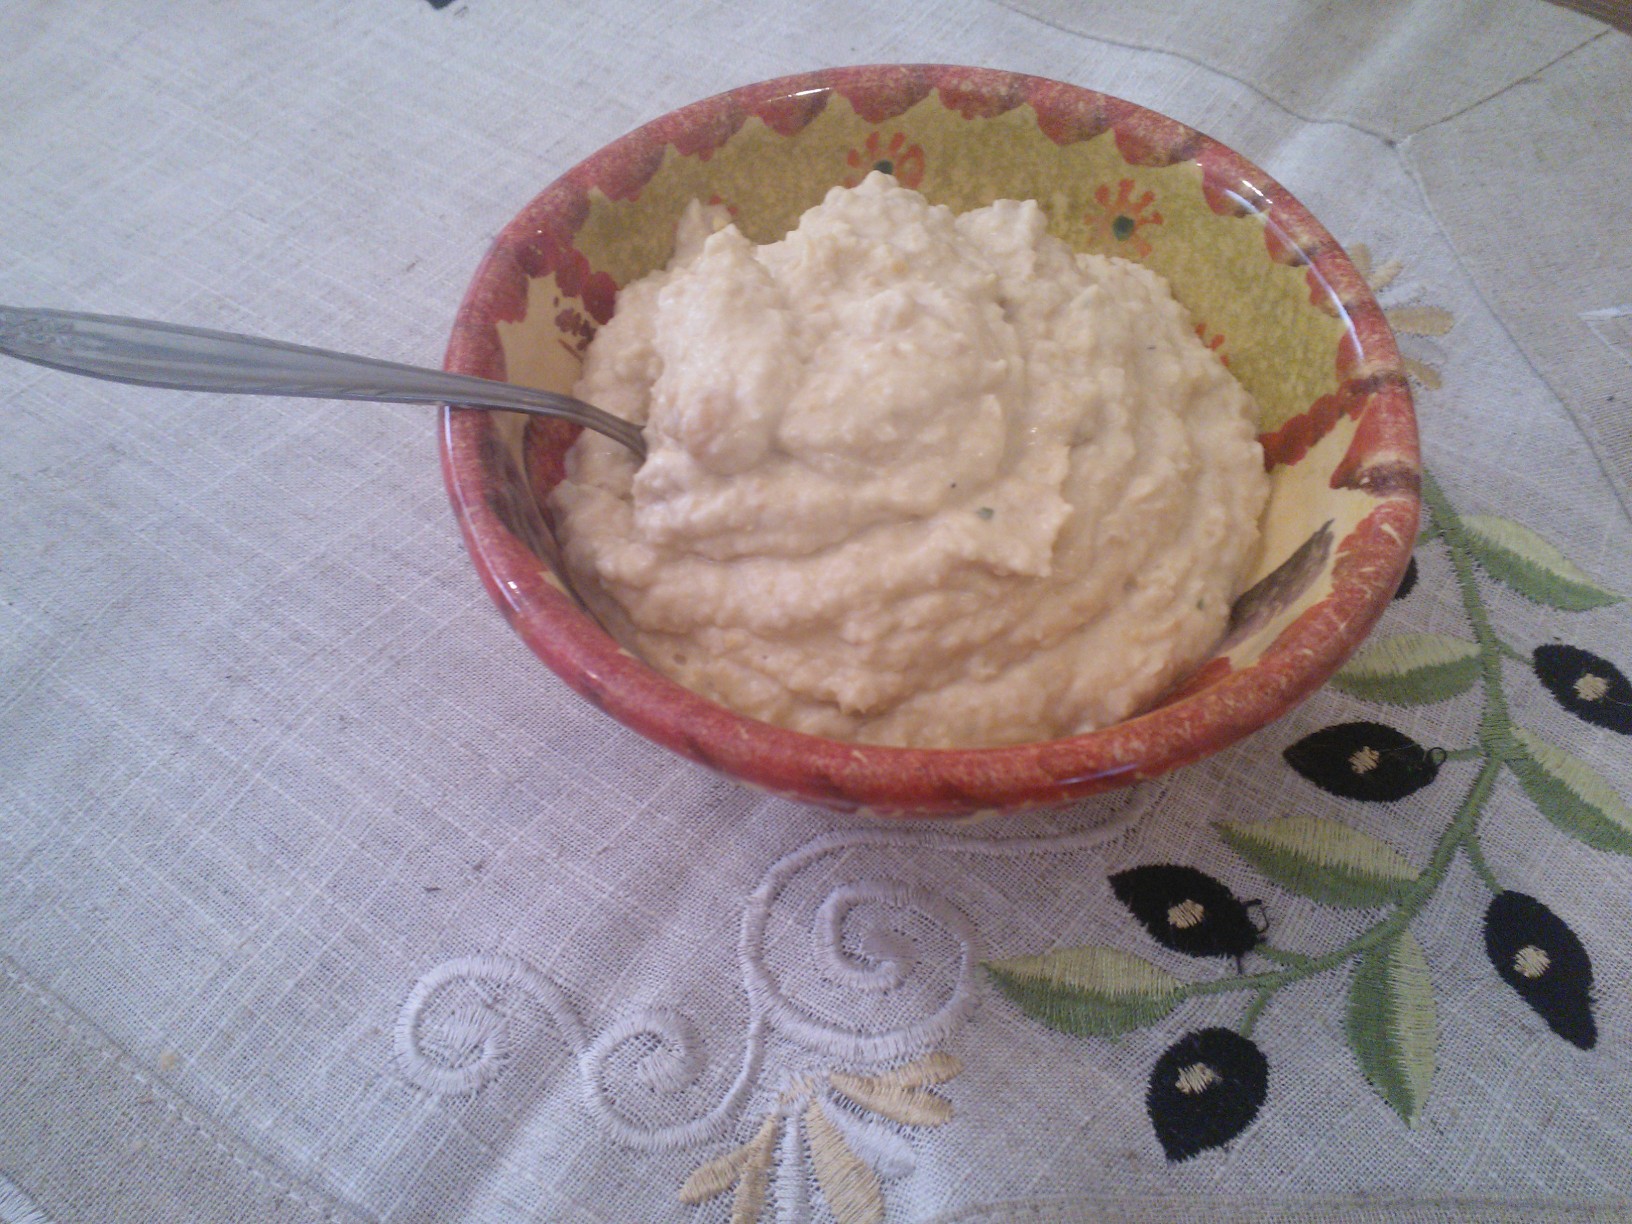
As you will know, store-bought hummus is brimming with things like canola oil and other creepies; what could be one of the healthiest foodstuffs around comes jam-packed with unhealthy fats, artificial flavours…and when you look at the so-called “skinny versions” – they are even worse! Not to mention, quite pricey too for a tiny tub! Actually, it is so easy and so quick to make hummus yourself there is absolutely no excuse not to make it yourself! Plus, you can control exactly what’s in it! And save some money on the side. I just use a dash of very good EVOO for a batch so my hummus is really quite low fat, but feel free to omit or use more olive oil than that! I wouldn’t recommend skipping the olive oil altogether, as it is essential for the flavour of this Middle Eastern dish.
1 can of chickpeas, drained and rinsed 5 tbsp lemon juice 1 tbsp extra virgin olive oil 1 tbsp tahini, hulled or unhulled depending on whether you like a more robust or more subtle flavour 1 tsp kosher sea salt spices to taste (a true hummus needs garlic, but you can omit if you are low FODMAP; I always do! Chilli is great if you like it hot!
Combine all ingredients bar the oil in a food processor while adding 40-50 ml of water. Process until smooth. Serve the hummus in a bowl, make a well in it and put 1 tbsp of oil in the well. Serve with toasted gluten free bread or crudités. Hummus keeps in the fridge for 3-5 days. I currently have a batch in the freezer, so will let you know if it turns out alright!
It’s been hot in Melbourne the last days – extremely hot. The mercury has climbed to up to 44 °C, and it doesn’t want to budge! Now, when I said I was ready for summer, I certainly wasn’t expecting this! Come back, rain, I didn’t mean the things I said to you! Luckily, days like these are still the exception for finicky Melbourne weather, at least for several days in a row. But how to stay nice and cool when outside is a furnace and inside doesn’t have air con?
While hot weather like this makes your New Year’s resolutions to eat lighter easy, it is not always easy to decide what to eat on such a day. You usually don’t feel like much, but still, you need to live and provide your body the nutrients it loses while sweating!
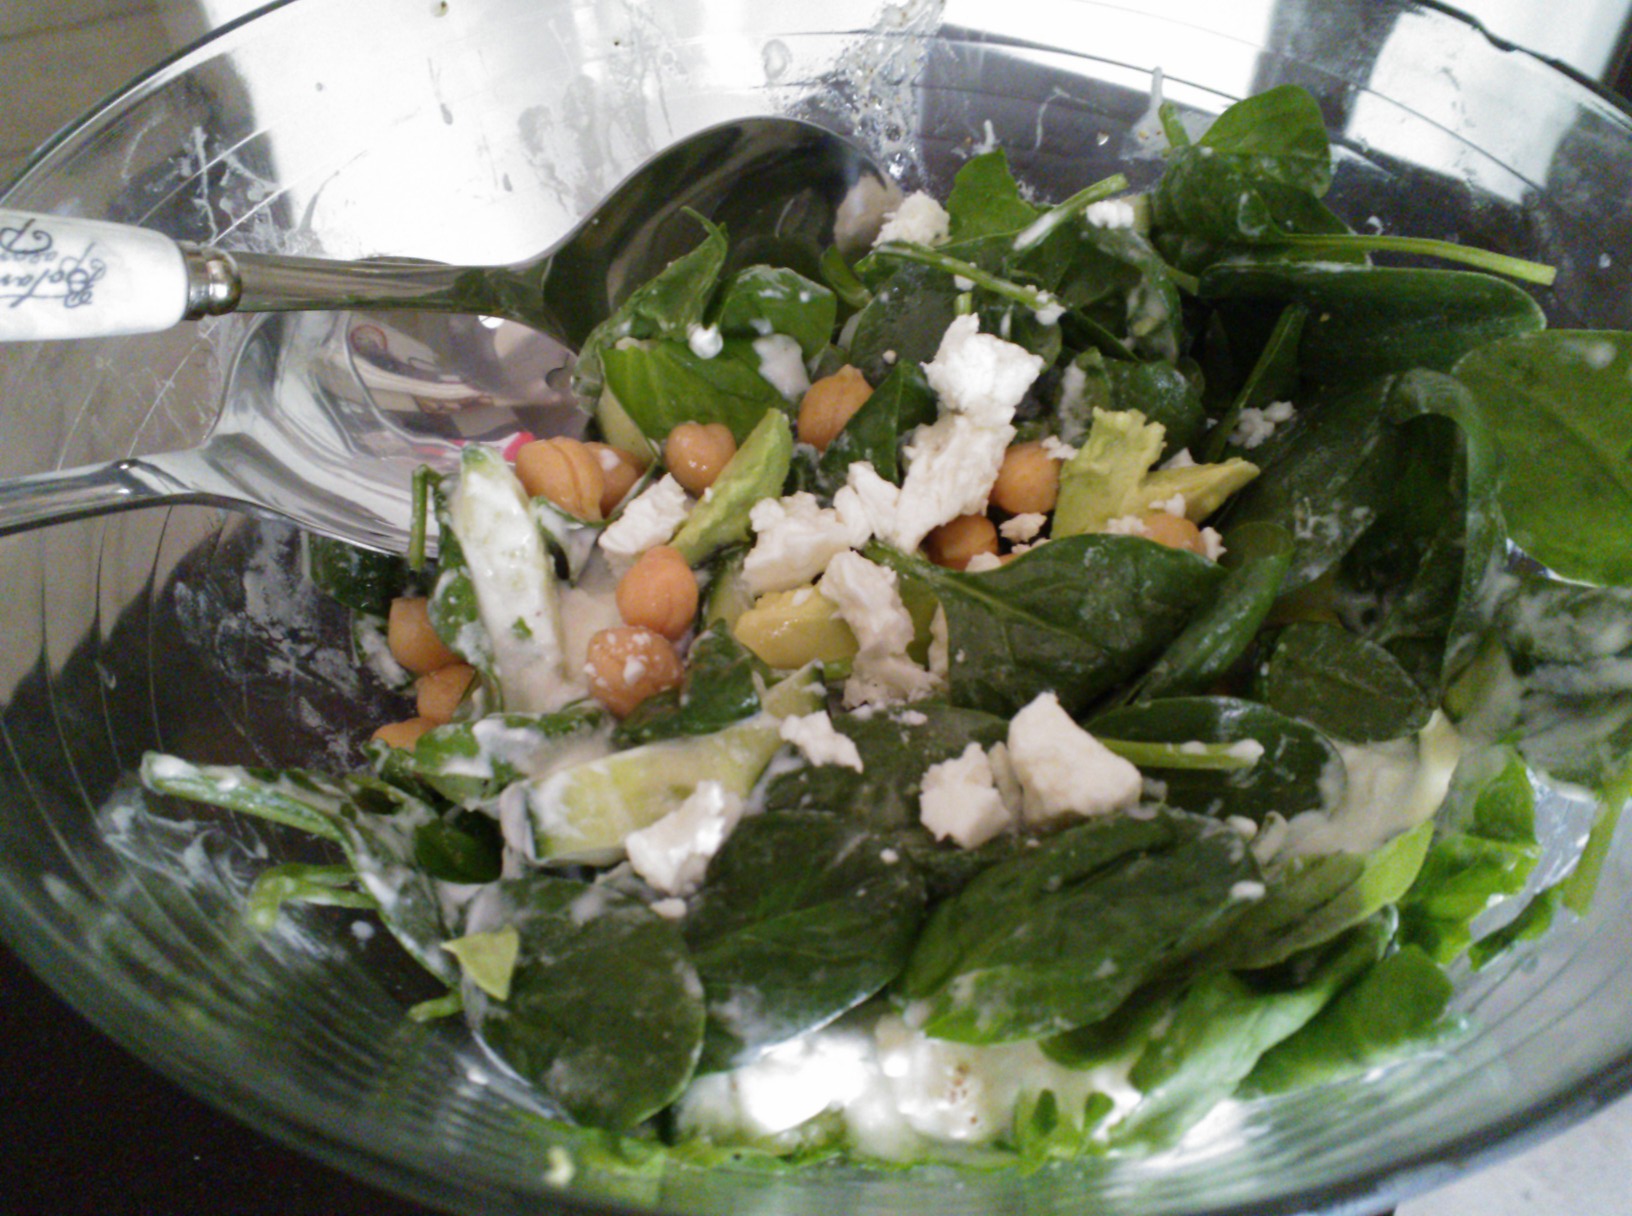
The solution to this dilemma? My perfect cool summer salad – just right on days like this (or even just about any time of the year)! It is light and refreshing while filling, nutritious and wholesome! Spinach, watercress and cucumber provide vital micronutrients and fluids, while there’s protein for satiety from goat yoghurt and sheep’s cheese, complex carbs from chickpeas to get you through the day, and healthy fats from olives and avocado – now, if that doesn’t sound like it’s great for you! Moreover, this is also one of the most delicious salads I have ever experimented with! While the combination of cucumber, yoghurt and lemon is great by itself, fresh herbs from the garden like mint, basil, and parsley just take the flavour to the top!
Serves 2
1 large cucumber, washed and cubed 100 g spinach, silverbeet or kale, washed and roughly chopped 2 handfulls of watercress, washed and roughly chopped 1/2 Hass avocado, cubed 10 olives 2 tbsp chickpeas 60 g fetta or chèvre 250 g goat or sheep yoghurt, strained 2 tbsp extra virgin olive oil 2 tbsp lemon juice salt and pepper parsley, basil and mint to taste
Prepare the dressing in a large bowl out of yoghurt, oil, lemon juice, herbs and spices. Add cucumber, spinach, cress, olives, chickpeas and mix well. Finally, add the avocado and crumble the cheese on top.
The good thing about experimenting is – even though it doesn’t always work, or, in fact, more often works NOT, you may stumble upon fantastic things you hadn’t imagined before. Take pita bread, for instance. I love falafel, just like anything else that belongs to Middle Eastern cuisine, and what is falafel without pita? So I tried to make pita – still working on it. My first tries were delicious enough, but they were not exactly pita, not enough pita to post a recipe on the web, anyway. However – my thought was “this would actually make quite a nice pizza”. Pita, pizza – the names are close enough, so I thought why not turn my pita experiment that didn’t work into a pizza experiment that works?
I must admit, pizza is one of the few things I genuinely miss being gluten free (having an Italian husband doesn’t help the cause!). Sometimes I would just like being lazy and grab one of these gluten-free pizza bases from the shop – a look at the ingredients (and nutrition facts) has so far been enough to deter me from wasting seven bucks on a processed gluten-free pizza base. Good on me!
It’s not that there is a lack of recipes for gluten free pizza out there, and I don’t doubt that they taste alright. But I just couldn’t find one that ticked all the boxes. Either they involved almond and/or coconut flour – and, as much as I like these two, almond and coconut just doesn’t belong on pizza! Or the recipes involved yeast and/or gums (a big no-no), or they seemed to be too complicated and involving too much time when you are hungry and impatient! I wanted a pizza recipe that doesn’t need proofing. I am not the biggest fan of a yeasty taste either, and I find it quite hard on the stomach which is not healthy.
This pizza is also WHOLEGRAIN – so it is really good for you. There is no complicated ingredients (you should have these when you have been baking gluten free), and if you get started right now, you could have a lovely healthy gluten free pizza that is delicious in less than 30 minutes. WTF? Exactly. My wholegrain pizza base ticks all the boxes. You can make this for your gluten-eating friends, and they won’t say “this is good for gluten free”, they will say “this is good”. In fact, I trust they will say “this is great”. Healthy? Tick. Easy? Tick. Yummy? You bet. And quicker than waiting for takeaway.
Gluten Free Vegan Pizza Base
Makes one baking sheet of pizza (probably makes sense to double or triple using several sheets and freeze leftovers)
50 g buckwheat flour 50 g brown rice flour 30 g millet or oat flour 30 g ground flax seeds 1,5 tsp sea salt 1 tsp baking soda 3 tsp vinegar 1 tbsp olive oil a pinch of sugar (or honey) 225 ml warm water garlic powder (optional) tomato paste (optional) oregano
olive oil to top (optional)
toppings to taste
Preheat oven to 220 ° C. As usual, mix the dry ingredients (flours, soda, salt, flax, sugar, garlic powder if using) until one colour. Add water, oil and vinegar and mix until you have a supple, uniform dough – a bit like a muffin batter, rather than the pizza doughs you might have made with gluten flour. Let the dough rest for 10 to 15 minutes before spreading it on a very well-greased or silicon baking sheet – the thinner you spread it the better. After all, we want a nice Italian-style thin crust pizza, not one of these American grease bombs which are as thick as a quilt! With a wet spatula or spoon (or using your wet/oiled hands), flatten the dough so that it becomes nice and even. We don’t want a pizza that is thin in one corner and thick and doughy in the other!
Bake the dough without toppings for roughly 15 minutes until dry and pizza-like. Now comes the fun part – the toppings. You will probably want to spread some tomato paste and oregano on the pizza as a classic, although this is not even necessary. For the pizza in the picture, I used a mix of different vegetables (kale, peas, fresh tomatoes, mushrooms, capers) and some tempeh as vegan “ham”. Olives, sundried tomatoes and vegan cheese would also be a great additionI Just try whatever you fancy! I recommend sprinkling the top with a dash of olive oil, which works wonders for the flavour!
Now bake the pizza base with the toppings until they have reached the consistency you desire – probably another 10, 15 minutes. Devour.
Gluten free bread sucks. Do you agree to this statement? I used to. No matter where in the world, and no matter whether from a breadmix, or a bakery – gluten free bread just sucked. And even if it tasted anywhere near something you would serve a human being, it was filled with crap. I know, I know what you are going to say – one doesn’t need bread, or any carbohydrates for that matter. There is absolutely nothing wrong with low-carb or paleo, ans, in fact, I believe many of the western world’s problems could be solved if people ate low(er) carb!
But, heck, I am German and married to an Italian – there is just no way I’m gonna give up bread forever, and even though I am gluten intolerant, there must be a way to make gluten free bread that doesn’t suck! Gluten free bread that doesn’t have a whole shelf of creepy ingredients in it. Gluten free bread that doesn’t have a dozen eggs in it (that’s not bread, that’s cake! And If I crave bread, I don’t want cake – sorry, Marie Antoinette!).
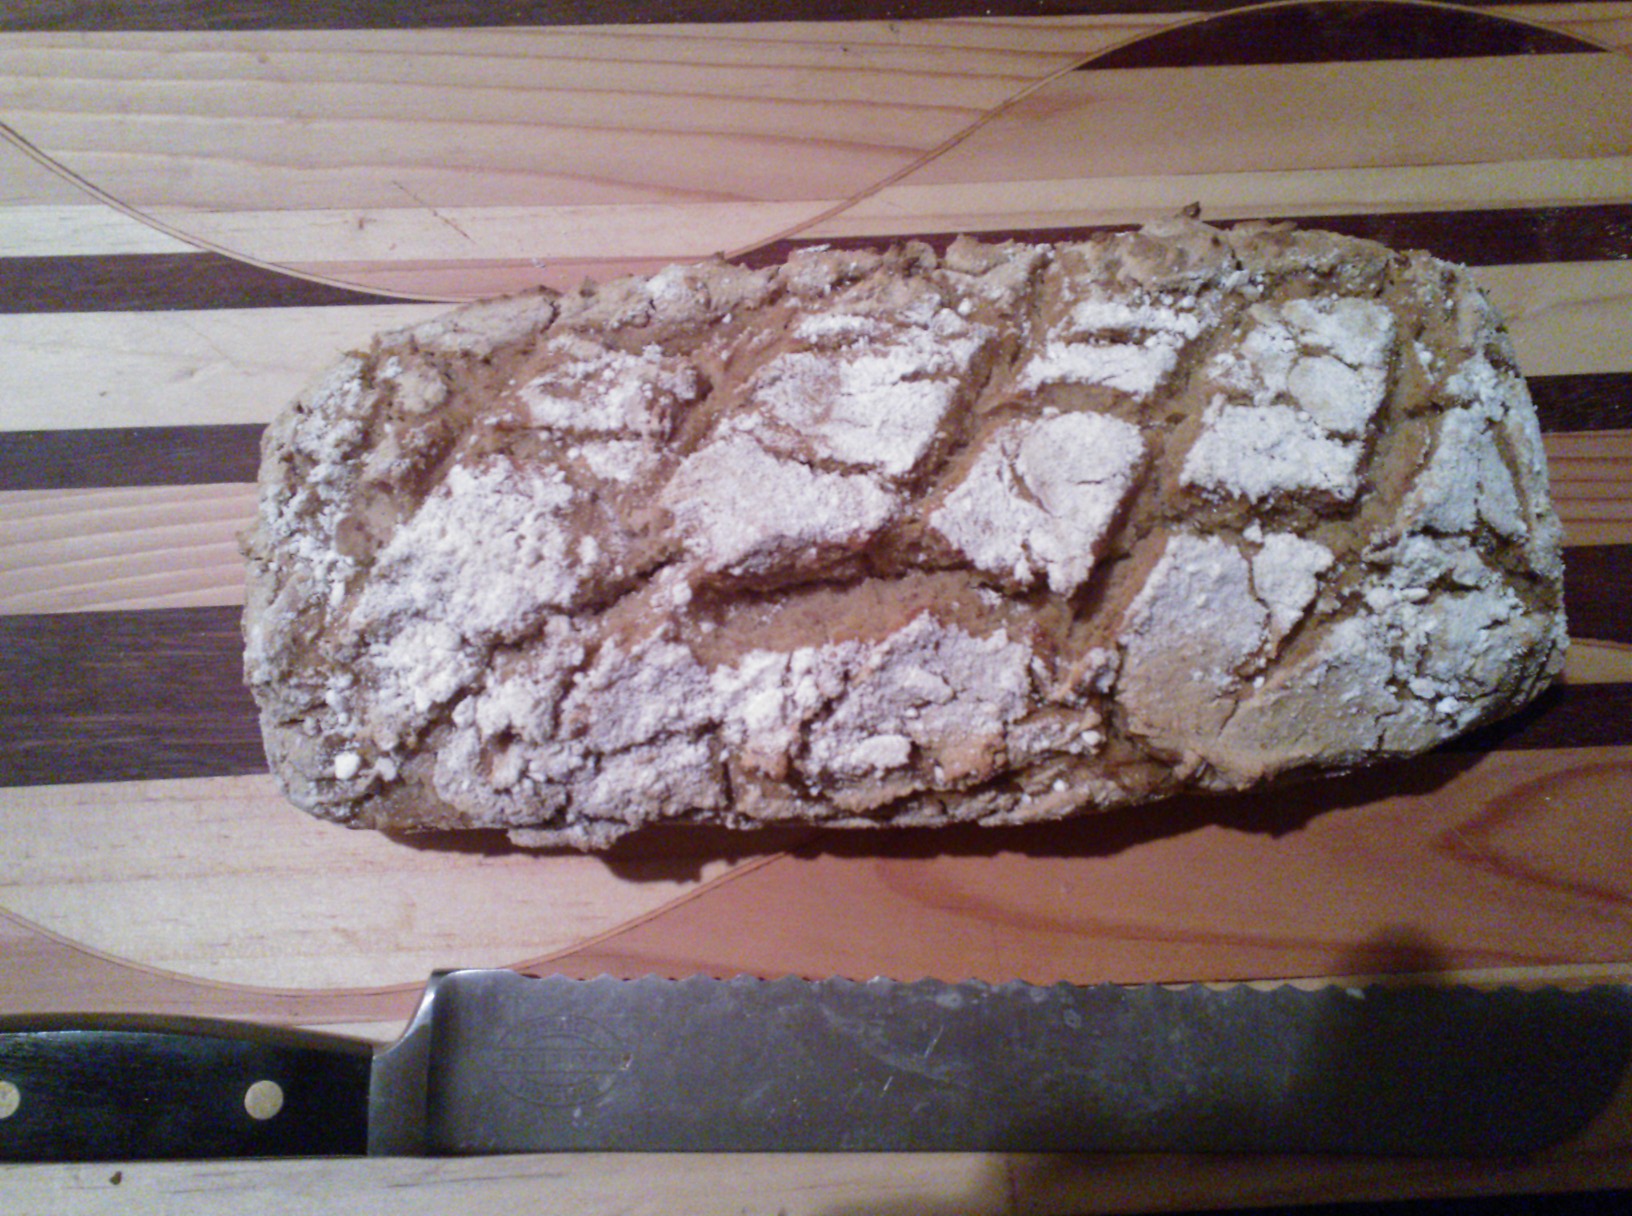
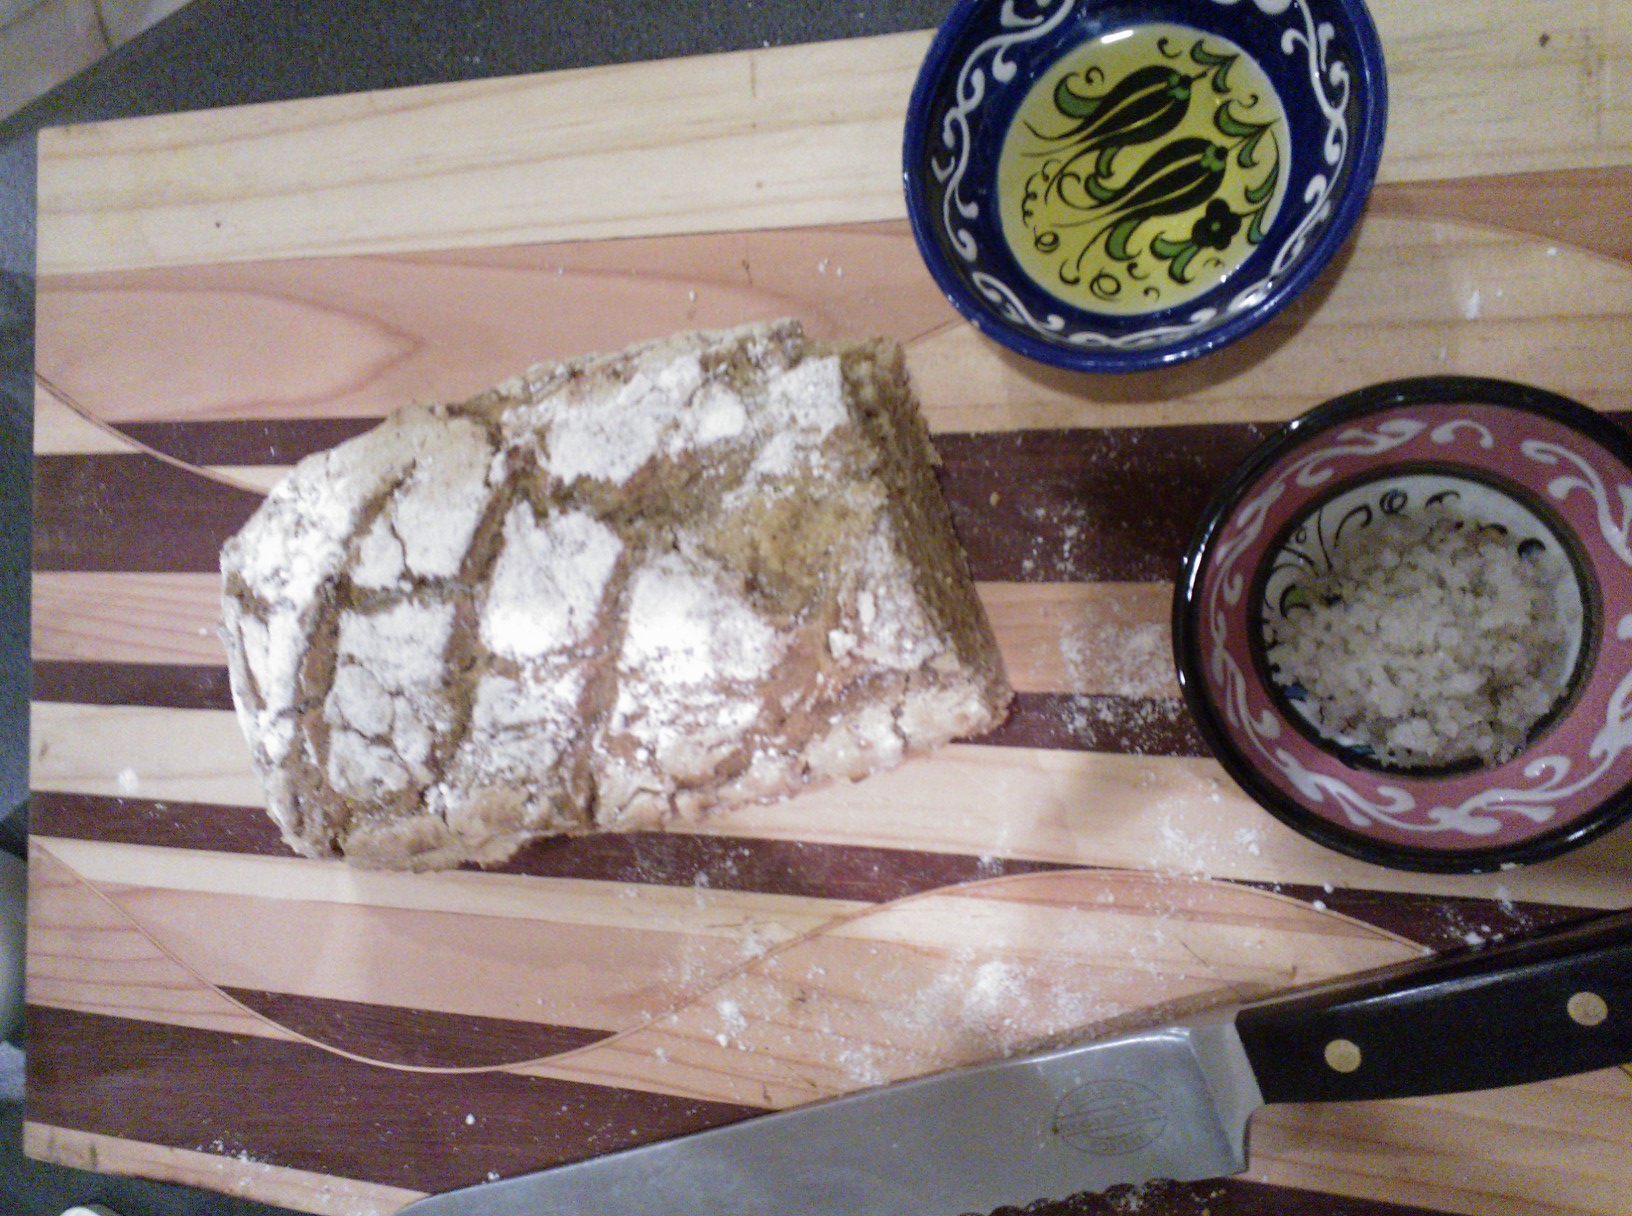
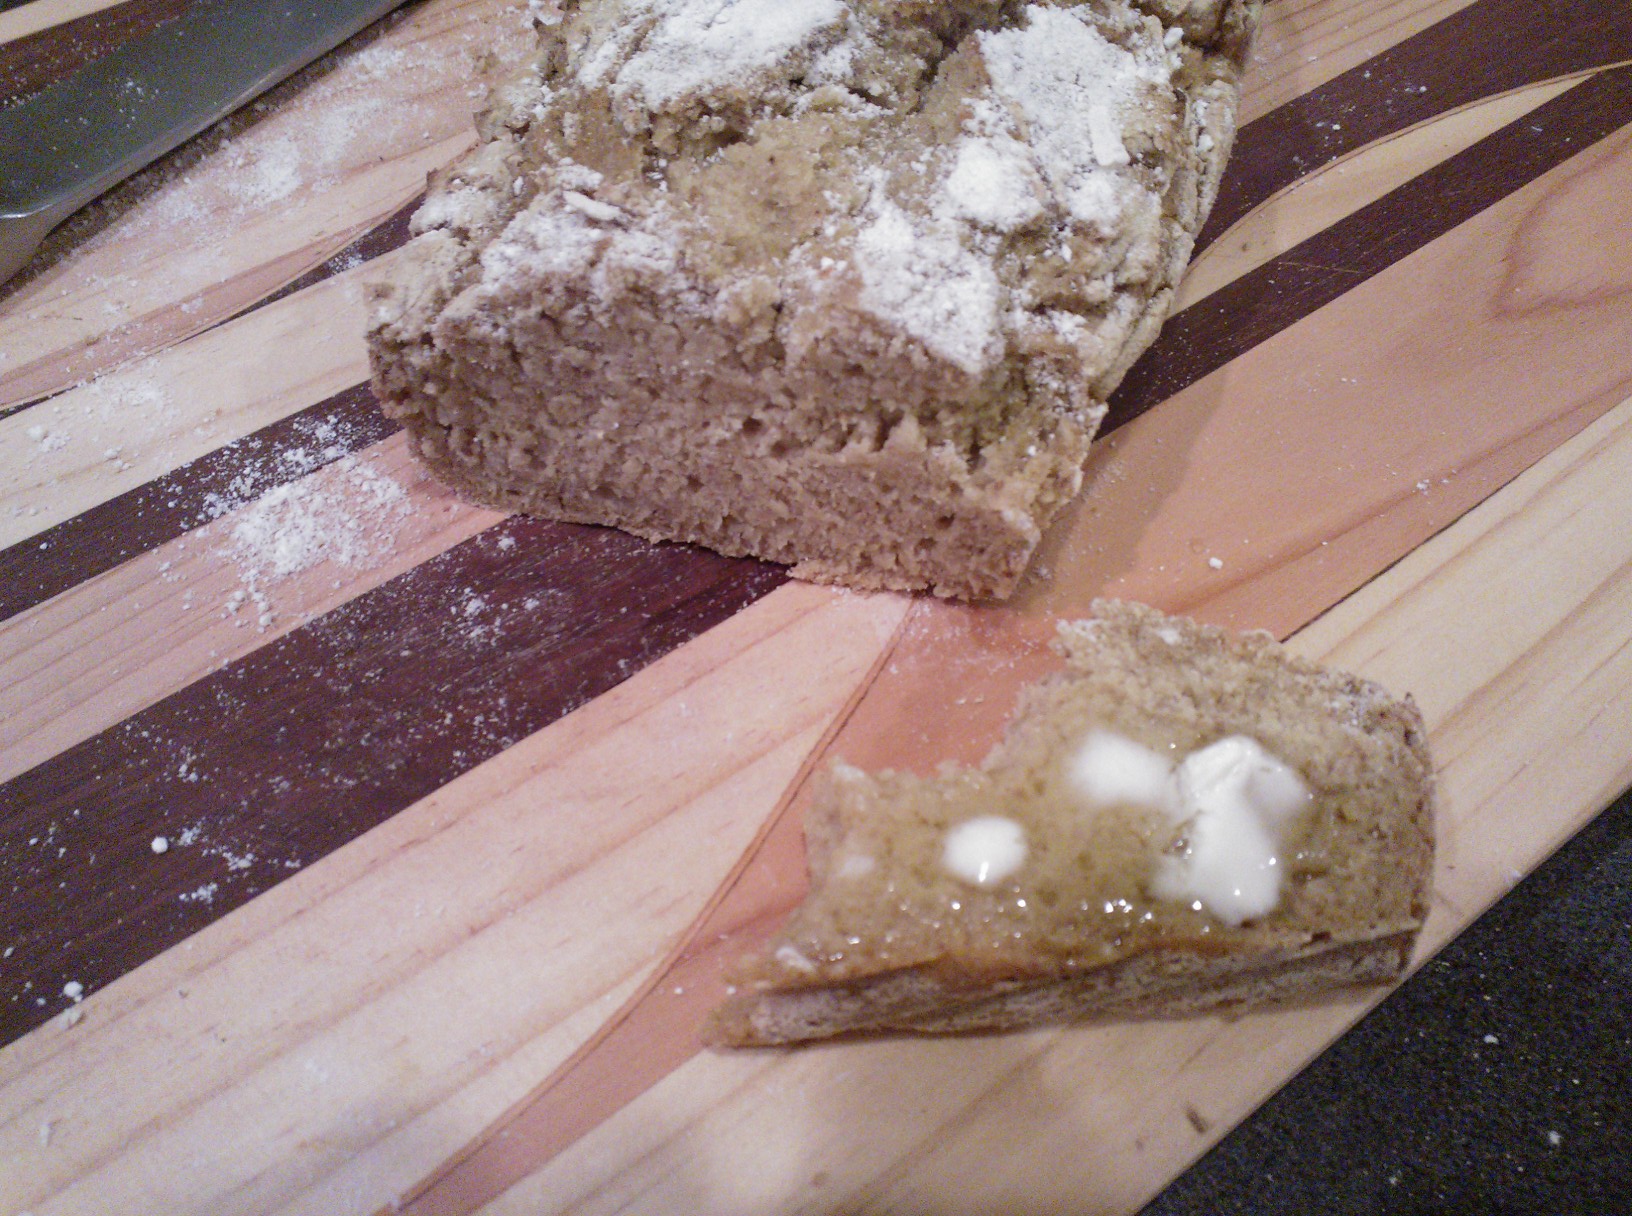
This was an experiment. One that turned out well. One that my (gluten eating) hubs couldn’t get enough of. One that reminded me very much of the texture of a good ol’ German sourdough – even though the taste is more in the tradition of the Irish soda bread. I didn’t have any dried yeast, so had to resort to soda. With an old trick I knew (putting a bowl of water in the oven), my bread got a lovely crust. And thanks to all-time favourite flax, this is egg free, but you won’t miss any eggs – the trick with the flax eggs worked! So this is not only gluten free, it is yeast free, gum free, egg free, and dairy free. And it doesn’t suck.
Gluten free? Check. Dairy free? Check. Yeast free? Check. Egg free? Check. Vegan? Check. Gum Free? Check. Soy free? Most naturally. Full of fibre and omega 3? Check. Sugar free? You have the option. Yummy? Check. Easy and quick to make? Check.
You can start now. You should have the ingredients. And it is really really easy. You don’t even need to preheat the oven – you really don’t!
Makes one loaf
150 g potato starch 100 g sorghum flour 50 g arrowroot 2 tbsp baking soda 2 tsp celtic sea salt 2 tsp sugar or honey 250 ml hot water (ca. 40 ° C) 3 tbsp ground flax seed, dissolved in 9 tbsp water (equals 3 flax eggs) 4 tbsp apple cider vinegar 1 tbsp olive oil
Mix the dry ingredients (potato starch, sorghum, arrowroot, soda, salt, sugar if using) in food processor with dough blade until one colour. Slowly add oil, flax eggs and honey, if using, with the blender running. Add vinegar and hot water and mix until you get a supple, uniform dough. There should not be any lumps in it whatsoever – it should be the smoothest thing ever. Turn off the processor, and with a silicon spatula, scoop dough into loaf pan. Sprinkle the loaf with sorghum or any other gluten free flour and notch several times with a sharp knife. Place on middle rack in an oven, and place another tray filled with water below the loaf pan. Turn the oven to 230 ° C and let bake for 35 minutes. Turn off the oven, and let the loaf cool on a wire rack.
Delicious Gluten Free bread with Olive Oil and Sea Salt or…