Low-Carb Vegan Vanilla Milkshake

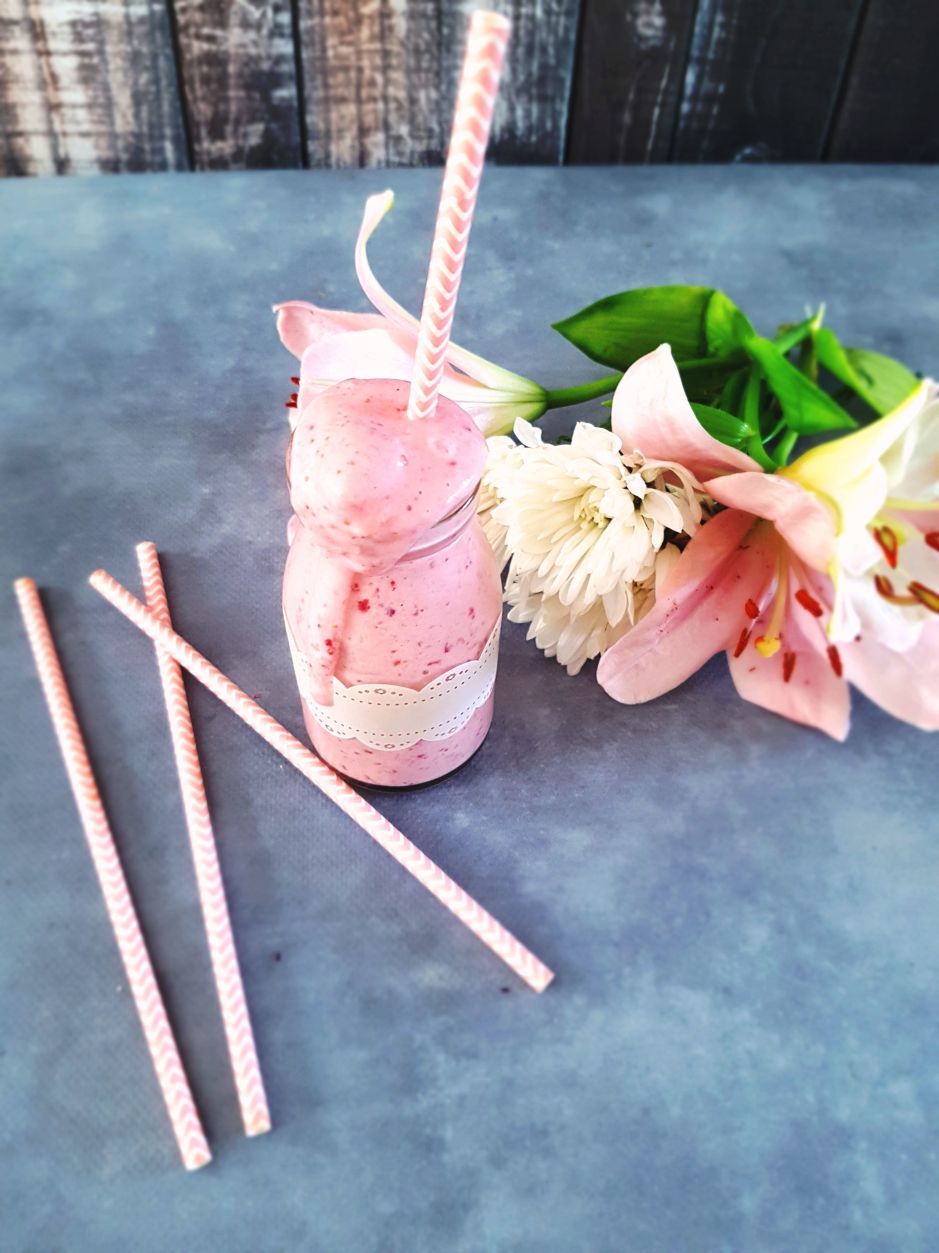
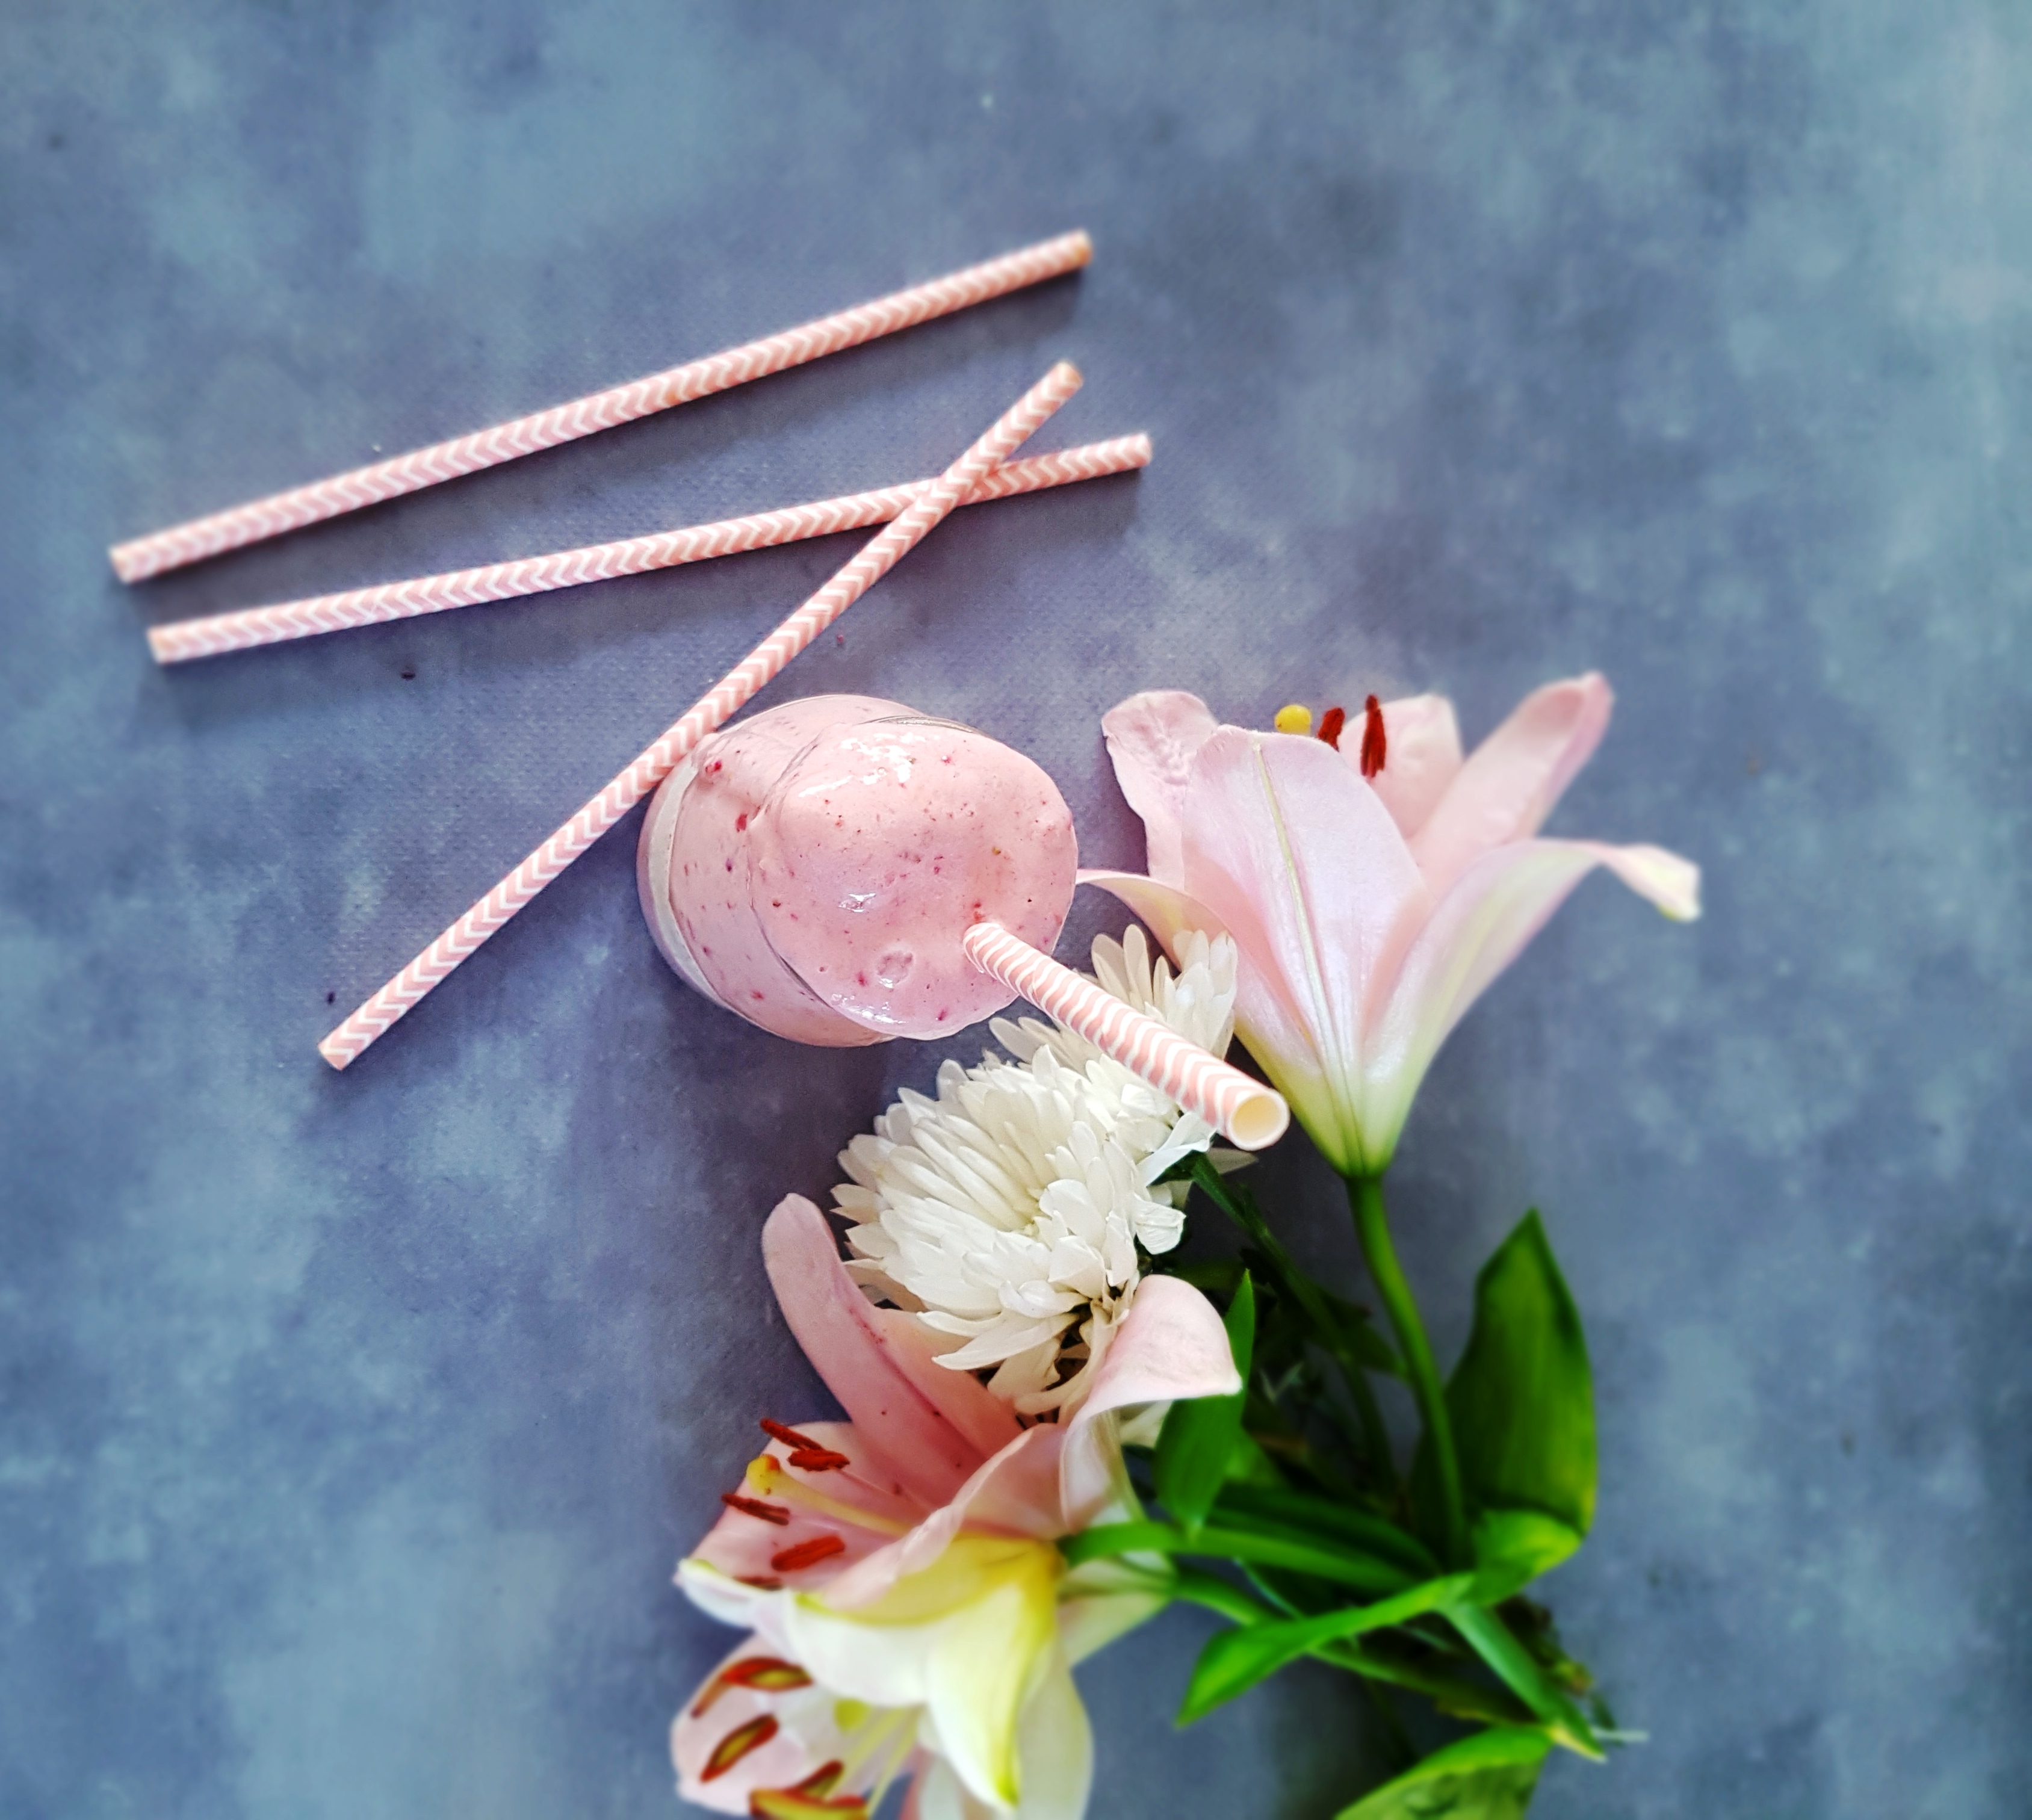
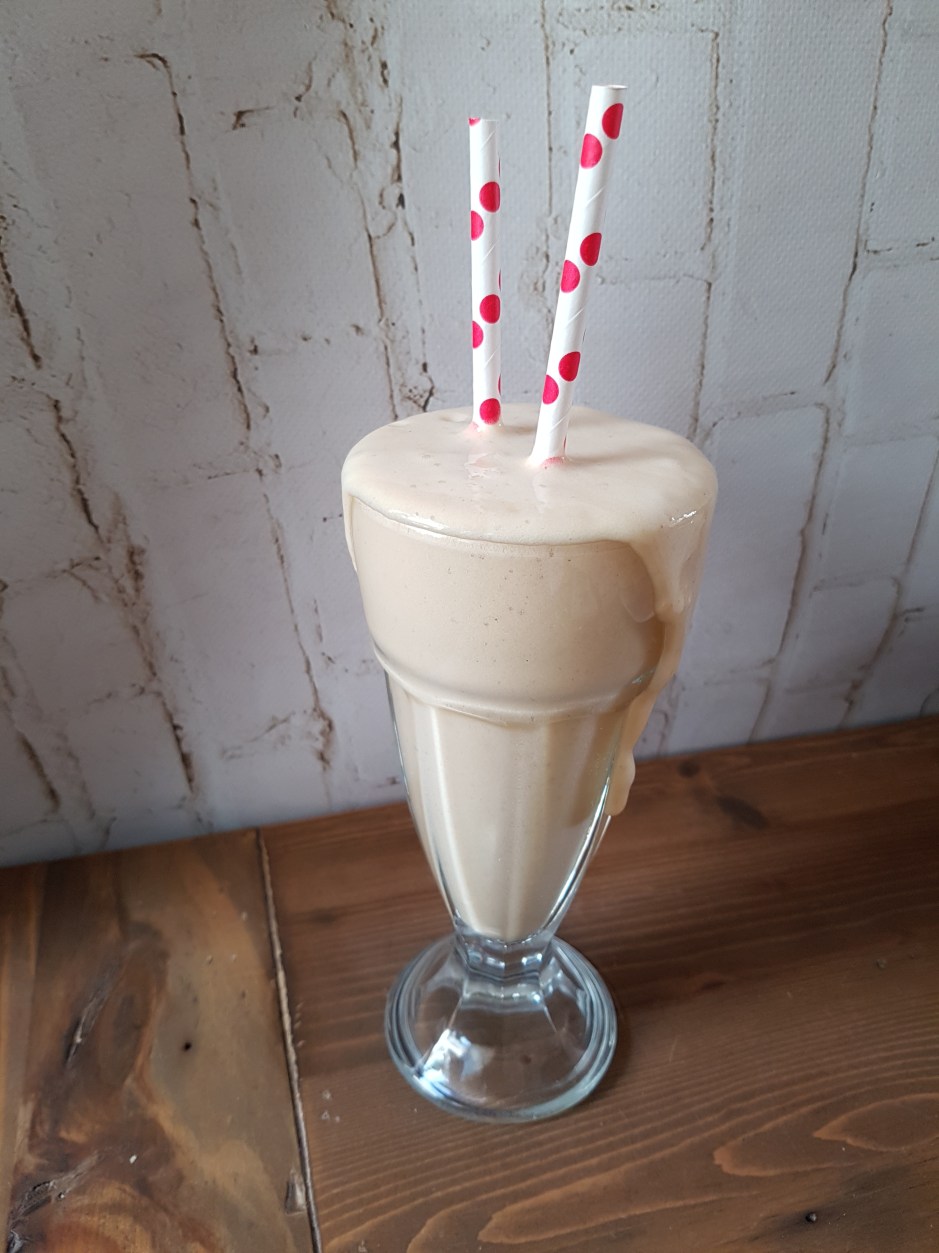
Vegan “milk” shakes and smoothies (which don’t contain dairy obviously) are all the rage these days. They usually rely heavily on frozen bananas and/or other fruit as well as dried fruit such as dates to achieve a sweet, creamy and thick consistency. While arguably delicious, this makes them heavy on the carbs and sugars, and if you follow a lowcarb diet, they can easily account for your daily allowance of carbohydrates. Enter my low-carb vegan vanilla milkshake – so thick and creamy you won’t miss anything. And it virtually doesn’t have any net carbs!

Low-Carb Vegan Vanilla Milkshake

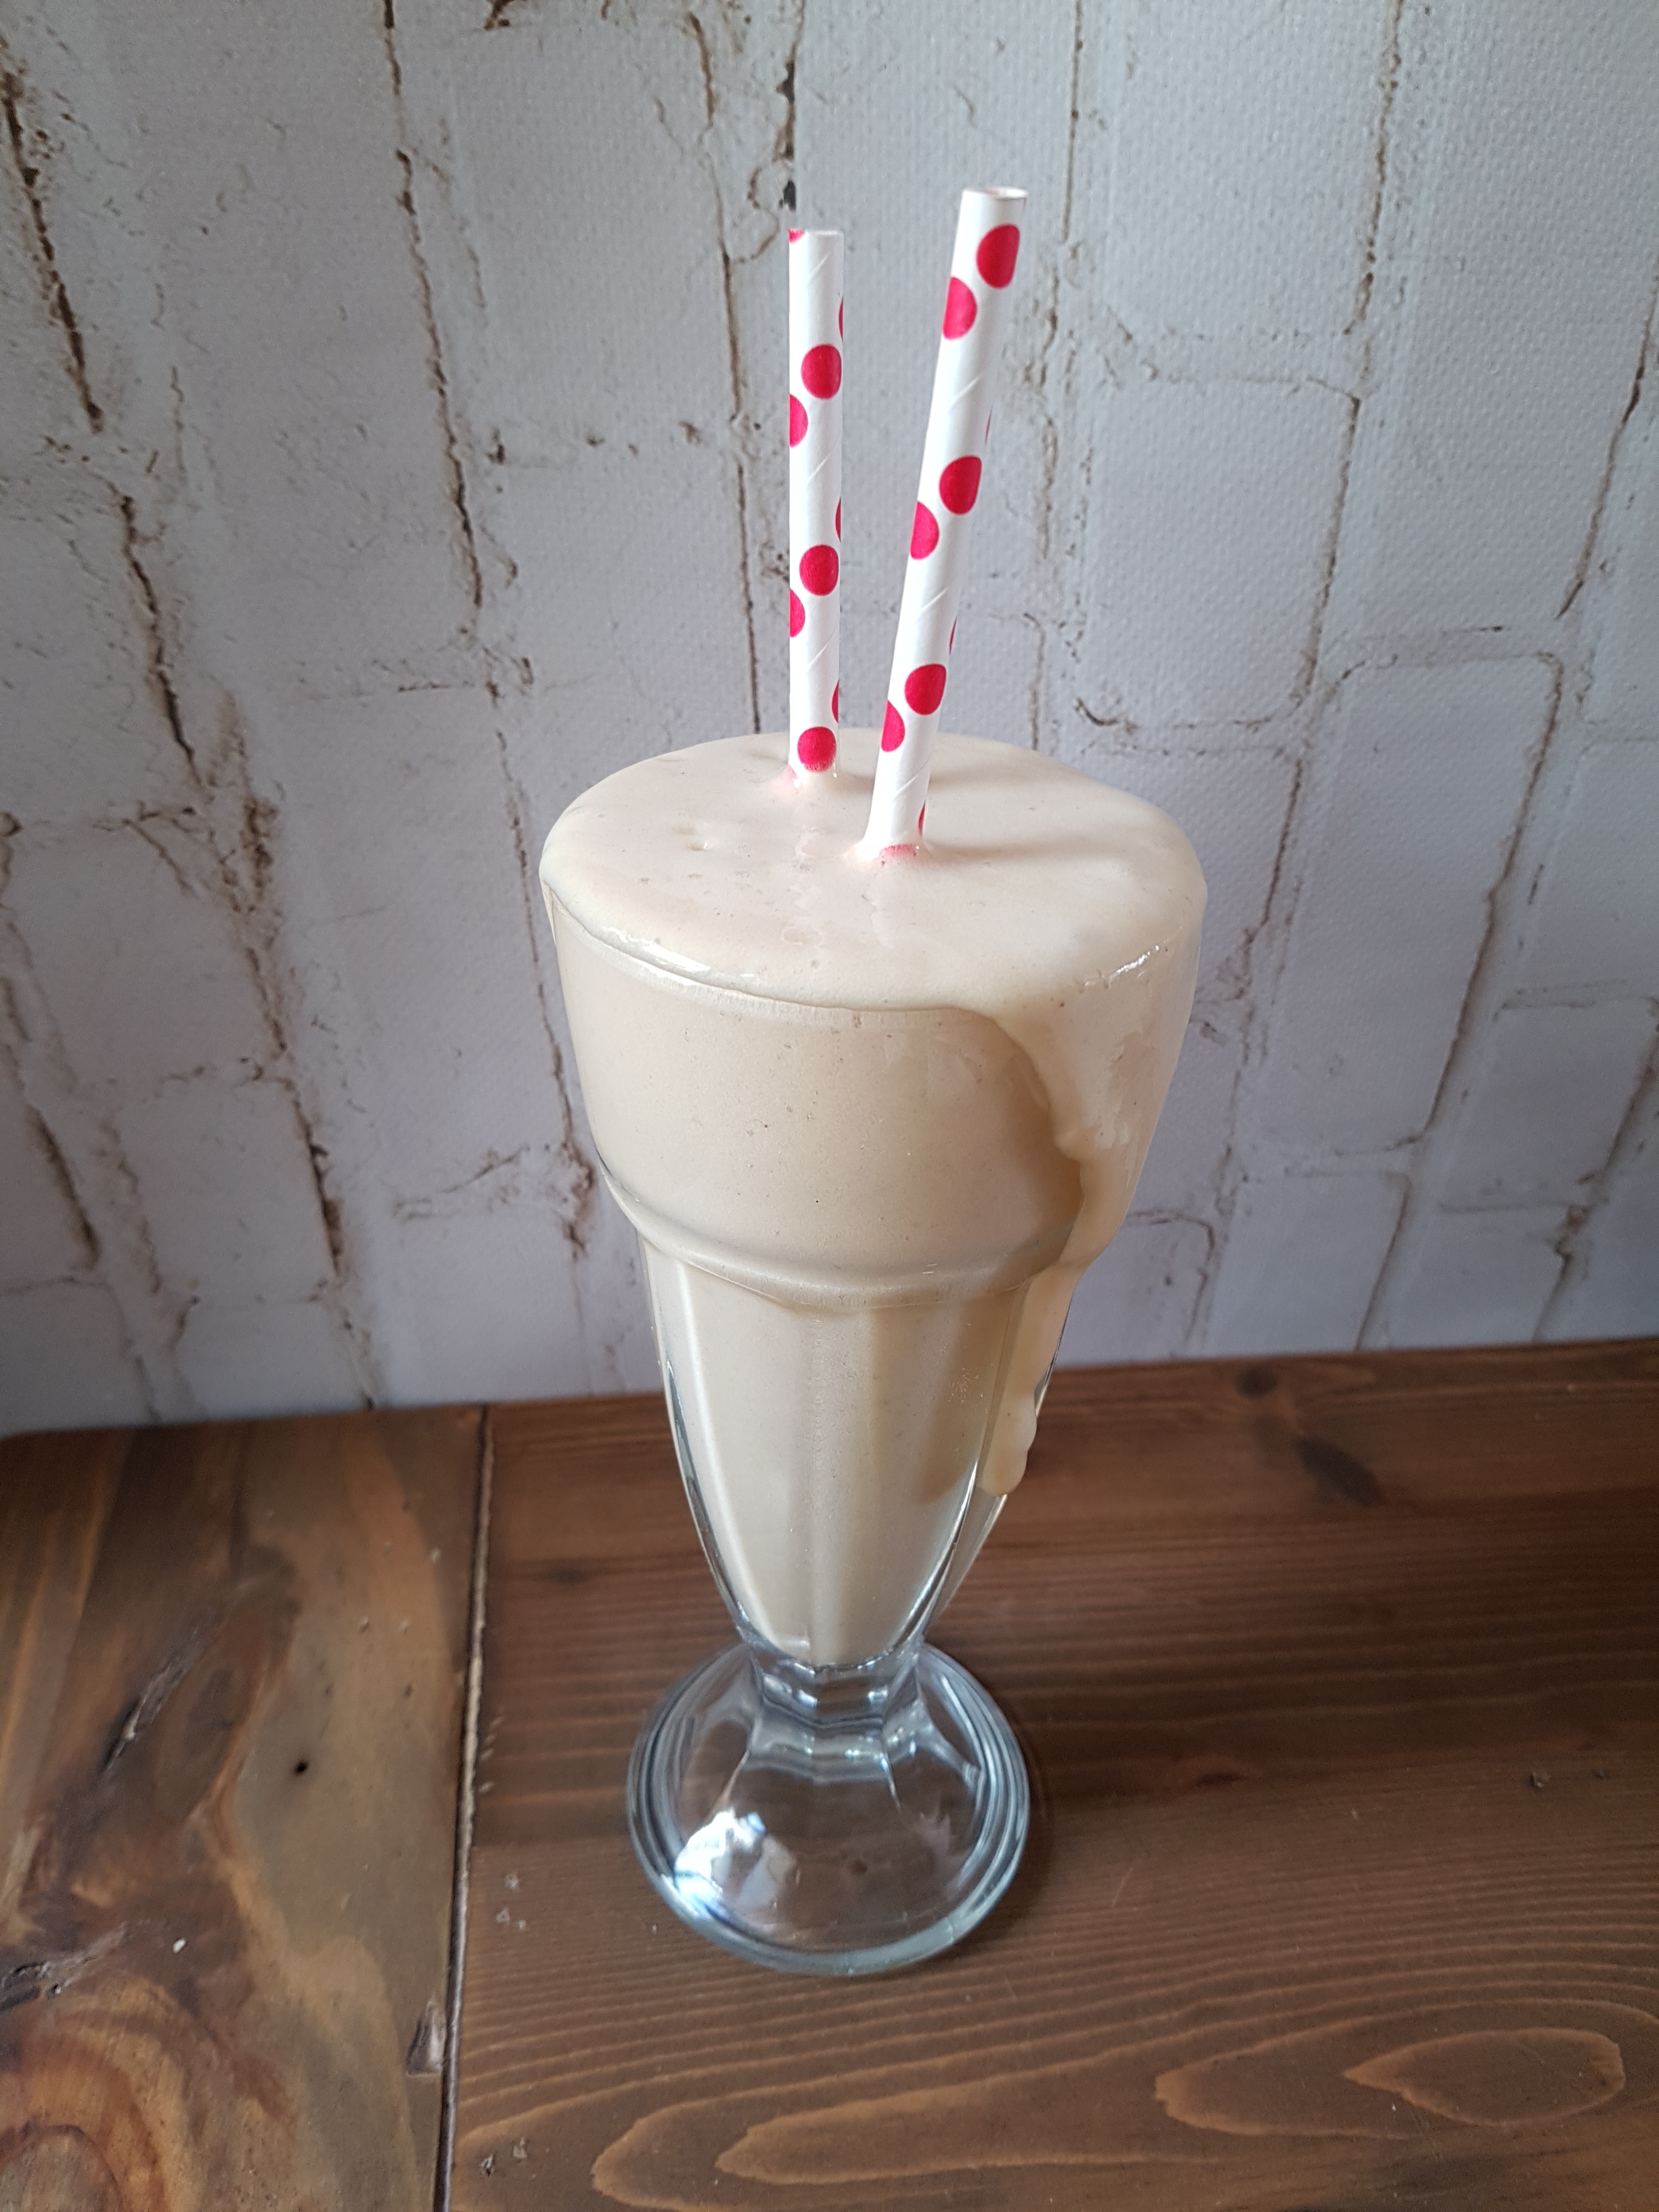
The secret ingredient is my newly found favourite ingredient – guar gum! It is a completely natural low-carb binder that provides a luscious and viscous texture to anything from smoothies, puddigs and oatmeal to soups, sauces, and homemade icecream. More recipes featuring guar gum will follow but it truly is a game changer if you like your smoothies thick! Plus, you don’t need frozen bananas, yogurt or icecream to get this a dreamy creamy milkshake-y texture.

While I don’t necessarily avoid carbs and sugar myself and don’t think they are the devil they are sometimes made out to be, there are a number of reasons you might want to go easy on carbohydrates. And with this milkshake, you are in for a treat! It is high in protein, low i carbs and low in fat and will keep you going for a while! It is the perfect afternoon treat or dessert that won’t blow your calorie budget. Moreover, it is easy as and only requires ingredients you are likely to have at hand. You won’t even need a milk alternative as it works perfectly fine with plain water. Your favourite nut milk will provide for a creamier texture though.

This milk shake is extremely customisable. You can add your favourite protein powder or any other superfood powder. Add some coffee or raw cacao for an extra boost against that arvo slump. Or dump in any veggies that are starting to look a bit sad. Not to mention, this beauty is ready in 30 seconds to beat that hangry feeling in no time. This milkshake is your lady!

Low-Carb Vegan Vanilla Milkshake

Serves 1-2

500 ml plant milk or filtered water
5-7 icecubes
1 scoop vegan vanilla protein powder
1 tsp organic guar gum
vanilla flavdrops or your favourite sweetener
vanilla extract (optional)
any extras (superfoods, coffee, maca…)

Blitz all ingredients in your high powered blender and –

Enjoy!

Healthy Chocolate Orange Truffle Bliss Balls {vg, gf}

When it comes to snacks (or food in general), efficiency is key for me. I like recipes that don’t take long to prepare but yield enough to be set up for a few days. Bliss balls is one such efficient way of snacking. They are ready in minutes and you have a healthy snack on the go for a few days, if not a week. So please excuse another bliss ball spam and let me introduce you to my healthy chocolate orange truffle bliss balls!

Chocolate Orange Truffle Bliss Balls

Chocolate and orange are a match made in heaven, and while I am generally not a huge fan of pairing fruit and chocolate, the combo chocolate-orange simply amazes me every time. The tangy zest of the orange is just a perfect match for the slight bitterness of dark chocolate. I added some poppy seeds for some additional crunch.

Containing just five ingredients – dates, oats, orange marmalade, cacao, and poppy seeds -, these bliss balls couldn’t be easier to throw together. Their rich taste and texture is incredibly satisfying, meaning they are the perfect afternoon pick-me-up or after dinner treat without the risk of going overboard or unhealthy cravings.

Dates and oats provide vitamins, minerals, fiber and healthy carbs, while the raw cacao is not only a mood booster, but provides more calcium than cow’s milk and more iron than some cuts of beef! Finally, poppy seeds for healthy fats. Hello, shiny hair!

Makes 18 bliss balls

1 cup (Medjool) dates (if not using Medjool, you might have to soak your dates for a bit)
1/2 cup gluten-free oats
2 tbsp raw organic cacao
1 tbsp (sugar-free) orange marmalade
1 tbsp of poppy seeds

Just mix all ingredients in your blender and roll in some additional poppy seeds if you like. These babies also make a cute gift and last at least a week in the fridge.

Enjoy!

Vegan Glutenfree Lowfat Pear Streusel Muffins

It’s my birthday and I brought you muffins! Not any old muffins, but the most delicious, moist, fruity, fudgy, crowd-pleasing vegan glutenfree lowfat pear streusel muffins! Yes, that’s right. While anything involving the word “streusel” would usually conjure the idea of either vegan, gluten free or lowfat, these babies are exactly that. No white flour, butter or refined sugar involved, and with fat only coming from the fat naturally occurring in oats. Who is in?

Vegan Glutenfree Lowfat Pear Streusel Muffins

These little delights were born out of the necessity to do something with a huge bag full of pears that our supermarket gave away for next to nothing as they were approaching their use-by date. Ever since my teenage years, I have enjoyed making muffins. It is such an easy way to use up whatever fruit you have on hand, it is quick, virtually fool-proof and the results never disappoint. Using fruit in muffins is also a great way to lower their fat content as the fruit keeps the nice and luscious.

Back to my bag full of pears and my obsession with muffins. So vegan glutenfree lowfat pear streusel muffins it was. I had never attempted streusel before so I am quite pleased how these babes turned out after the first attempt. As I said, they are ready in a jiffy and not complicated at all. Perfect if you just want to whip up something quickly for surprise guests or the 3pm munchies.

As my daughter and hubby (who are not into health food at all) devoured them, I can’t really say how long these will keep…:-)

Vegan Glutenfree Lowfat Pear Streusel Muffins

Makes 12 muffins

For the streusel:
1/4 cup oat flour
1/3 cup coconut sugar
2/3 cup oats
1/2 cup applesauce
cinnamon

For the muffins:
one cup soy milk or other plant milk
2 tbsp apple cider vinegarĀ 
1 tbsp vanilla extract
1/2 cup applesauce
2 cups oat flour
1/2 cup coconut sugar
4 tsp baking powder
1/2 tsp salt
cinnamon
4 pears, diced

Preheat oven to 180 °C and grease a muffin tin or line it with liners. In a large mixing bowl, mix the milk with the vinegar, vanilla and applesauce and set aside for 15 minutes.

Meanwhile, prepare the streusel by mixing all the streusel ingredients in a small bowl. Set aside.

After 15 minutes are up, add the oat flour, coconut sugar, baking powder, salt and cinnamon and gently stir with a wooden spoon until incorporated and you have a smooth batter. Fold in the diced pear. Scoop batter into prepared muffin tin, then divide the streusel on top of the muffins. Bake for 20-25 minutes and let cool in pan for another 10 minutes before taking them out. Best to store in the fridge in an airtight container.

Enjoy!

Creamy Strawberry & Tahin Smoothie {vg}

While it’s not really smoothie weather yet here in Melbourne, I would not want you to miss out on this absolutely divinely delicious smoothie that I whipped up back when the weather was more clement (and strawberries were in season) – tada! MyĀ creamy strawberry & tahin smoothie!

Creamy Strawberry & Tahin Smoothie
Creamy Strawberry and Tahin Smoothie

At first sight, you would not think the combination of strawberries and tahin to be a natural one, but trust me, it is mind-blowingly, seriously more-ish! This smoothie is more rich than the smoothies I usually make, but it is very satisfying and will certainly keep you fuller for much longer than lighter smoothies. It is therefore an ideal summery breakfast to keep you going until lunch time or also a great healthy way to finish a meal and avoid late-night munchies.

Tahini not only tastes delicious and yields a great texture when mixed into smoothies and nicecreams, it is alsoĀ rich in minerals such as phosphorus, lecithin, magnesium, potassium and iron (source)Ā – very important for vegetarians and vegans! The vitamin C in the strawberries and lemon juice actually makes the iron in the tahin more available in your body, so you get to reap the maximum benefits. Tahin is also a good source of methionine, which aids liver detoxification (hangover from last night’s barbecue, anyone?) and is one of the best sources of calcium out there – take that, dairy eaters!

Dates add even more iron and -along with the bananas- magnesium, which is great news. Did you know that magnesium might actually the mineral most people are deficient in? At the same time, magnesium is absolutely vital to keep up your energy levels in this fast-paced world. For athletes, magnesium will significantly contribute to avoiding cramps. Now that’s a winner! Dates also provide a hefty dose of fiber. This is important especially if you consume a lot of liquid meals such as smoothies.

Ready to dig in?

Creamy Strawberry & Tahin Smoothie {vg}

Serves 2

2 cups strawberries, fresh or frozen
1 banana, frozen
1 cup plant milk
half a cup dates
2 tsp lemon juice
1 tbsp tahin
1 tsp vanilla extract

Blend all ingredients in a high-powered blender, pour into two (cute) glasses and…

Enjoy!

Matcha Smoothie Bowl

Everyone’s having a matcha smoothie bowl at the moment. When I got a matcha sample as part of my organic box subscription, I knew I had to jump on the bandwagon! Not normally a fan of green tea (or any tea for that matter), I was absolutelyĀ blown away by that matcha flavour! No comparison to cheap green tea in tea bags (which tastes a bit like liquid tobacco to me). Matcha comes with an abundance of health benefits, and – especially important – gives you an energy lift without the heart palpitations you might experience from coffee. A matcha smoothie bowl is therefore the perfect way to get your ā€œget up and goā€ in the mornings while reapingĀ some of those antioxidants, minerals and vitamin C.

The reason why matcha is actually better for you than green tea is thatĀ you ingest the whole green tea leaf and not just the brewed water. There really is no easier way to quickly get nutrients into your body in the morning than a matcha smoothie. And if it tastes like icecream, that makes it all the better! Frozen banana and mango provide for sweet creaminess without dairy and fat. The great thing is that any smoothie is a fantastic vehicle for whatever good stuff you want to put in your body. Wheatgrass, barley grass, protein powder, you name it. Smoothie bowlsĀ are not only healthy, quick and satisfying, they are also extremely customisable.

Due to the slight bitterness, sweet fruits such as bananas and mango are best to use here. Especially bananas provide for an ultracreamy, icecream-like texture you won’t get from other fruit. If you are not used to matcha, you might want to start with a smaller amount than indicated and work you way up.

Matcha Smoothie Bowl

Matcha Smoothie Bowl

Serves one

halfĀ cup almond milkĀ (or other plant milk)
1 frozen banana
handfull of frozen mango
handfull of kale or spinach (preferably frozen)
2 tsp of matcha
1 tsp of barley grass or your favourite greens powderĀ (optional)
1 tbsp vanilla protein powderĀ (optional)
1 tsp maca powderĀ (optional)
1 tsp hempĀ (optional)
pinch of spirulinaĀ (optional)
toppings (optional): coconut flakes, granola, fresh fruit etc.

Just blend all the ingredients (without the toppings) in a high-powered blender, then pour into a cute bowl, go wild on the toppingsĀ and get your mojo back!

Enjoy!

Lemon Meringue Bliss Balls {vg, gf}

If you love bliss balls, there is no shortage of recipes on the internet, including my blog. Whether you feel like carrot cake, lamington, cookie dough, baklava or ginger bread, I have youĀ covered. Only missing are cheesecake blissballs and black forest bliss balls, and I can offer you a whole patisserie in bliss ball shape! So here is the latest creation…drumroll…Lemon Meringue Bliss Balls!

Have you tried any of my bliss ball recipes? All these lovelies – besides being healthy and super delish – have one thing in common: they are based on dates. I think making my bliss balls have severely increased our local supermarket’s turnover on dates! What, however, if you don’t love dates? I know, I know – it seems blasphemic to say this. Not loving dates? Who are you? But, ahem, tastes are different. So I am not going to judge you if you happen to be someone who doesn’t love dates. I just think you are weird, I mean, erh, did i just say weird? Okay. Sorry. I mean – we just have different tastes then. I still want to be friends with you. So I come to your rescue with some lemon meringue bliss balls, completely without dates. Are you in?

I love these babies as they are so featherlight and refreshing. They even smell a bit like a tangy lemon cheesecake. So if you are interested in a healthy snack on the go, but found my previous bliss ball recipes too sweet, I hope you’ll enjoy these ones. They come together just as easily as all my other bliss balls so they are a great stand-in for an emergency snack attack with a much lower carbohydrate and sugar content than “standard” bliss balls. They are also vegan, gluten free and refined sugar free, but I am repeating myself here…

Lemon Meringue Bliss Balls

Lemon Meringue Bliss Balls

Makes 15 bliss balls

1 cup oats
1 cup desiccated coconut
juice and zest of one organic lemon
5 tbsp maple syrup

Blitz the oats in a high-powered blender until they resemble fine crumbs. Add the remaining ingredients and process until you achieve a malleable dough. Chill the mix for 30 minutes to firm up, then shape 15 bliss balls and enjoy! Store in the fridge in an airtight container for up to a week.

Enjoy!

Healthy Anzac Biscuits {vg, gf, lf}

Today is Anzac Day. And without going into all the historical intricacies, for the purposes of this blog, this means Anzac biscuits! Traditional Anzac biscuits, albeit tasty, are far from healthy as they contain butter (or far worse – margarine), refined sugar and white flour.Ā Healthy Anzac biscuits?Ā It seems like an impossible quest, but you can totally do this. Enter my healthy Anzac biscuits!

Healthy Anzac Biscuits

Healthy Anzac biscuits that are gluten free, vegan, refined sugar free and much lower in fat than standard Anzac biscuits. The best bit is that taste-wise, they are so close to the “original” that nobody will believe they are healthy! And as I can attest, they are husband and toddler approved too! I am not a biscuit person myself, but I can hardly stay away from them! With only a handful of standard pantry ingredients and very little prep time, there is no reason to enjoy a healthy Anzac biscuit – not only on Anzac day!

Consisting of oats, desiccated coconut, coconut oil and maple syrup, they are a guilt-free treat with benefits. Oats are one of the most nutritious foods on the planet, a great source of fiber, and have been shown to lower bad cholesterol. Coconut provides an array of essential nutrients, with manganese, copper and selenium only to mention a few. Coconut oil is a medium chain fatty acid, which is not readily stored as fat, but converted to energy and moreover has antifungal and antimicrobial properties. Maple syrup boastsĀ calcium, iron, magnesium, phosphorus, potassium, and zinc as well as vitamins such as thiamin, riboflavin, niacin, and B6. Now that’s what I call healthy Anzac biscuits!

Healthy Anzac biscuits

Vegan, Gluten Free, Dairy Free, Refined Sugar Free, Low Fat

Makes 16 small biscuits

2 cups rolled oats
1/4 cup desiccated coconut
2 tbsp organic maple syrup
4 tsp melted coconut oil
1 tsp vanilla extract
2 tbsp water

Preheat your oven to 160 °C and line a baking sheet with baking paper. Give all ingredients in that order into a high-powered blender and blitz for 20 to 30 seconds, scraping down the sides as necessary, until the dough is combined and comes together. Form into 16 rather flat cookies and arrange evenly on your lined baking sheet. Bake for 20 minutes until lightly golden, let cool completely and store in an airtight container.

Enjoy!

Gingerbread Bliss Balls {vg, gf}

I am continuing my bliss balls obsession with a new flavour that is just perfect for the current season – autumn! While autumn here in the southern hemisphere doesn’t necessarily go hand in hand with gingerbread, the shops in Germany and other Northern and Central European countriesĀ start to fill up with all kinds of gingerbread-y goodies as soon as the leaves turn yellow. And because gingerbread is so delicious and comforting all year round – not just in the lead-up to Christmas – here’s my gingerbread bliss balls.

The idea for gingerbread bliss balls has been at the back of my mind for a while. After all, if you make carrot cake bliss balls and cookie dough bliss balls, why not turn other baked favourites into healthy snacks as well? I am pleased to say that these babies are utterly delicious! They are spicy, warming, comforting, full of flavour and just divine. I love all my bliss ball creations – if I do say so myself – but I think this is by far my new favourite. So make these now or bookmark this page if you are craving something really delicious and really healthy or frantically looking for Christmas presets (or any presents) in a few months’ time.

These gingerbread bliss balls are of course vegan and gluten free, but they are also nut free, which is great if you are watching your fat intake or struggle with nut allergies. My gingerbread bliss balls are therefore also great for kids’ parties and toddler snacks, in which case you might want to ease up on the spices a bit. Featuring dates, oats, maple syrup and an array of spices, these gingerbread bliss balls are refined sugar free, packed with fiber and magnesium, antioxidants, vitamins and minerals, while cinnamon helps to lower blood sugar, ginger has anti-inflammatory effects, and cardamom aids detoxification.

If that is not enough to convince you, these balls take just a few minutes to prepare!

Gingerbread Bliss Balls

Gingerbread Bliss Balls

Makes 12-15 bliss balls

2 cups rolled oats
6 Medjool dates
1.5 teaspoons ground ginger
1.5 tsp ground cinnamon
half a tsp nutmeg
half a tsp cardamom
2 tbsp maple syrup
half a tsp gingerbread spice

First, process the oats in a high powdered blender until a coarse meal forms. Add the other ingredients and blitz until you achieve a malleable consistency. Shape 12 to 15 balls and store in the fridge to firm up a little. They can last in the fridge in an airtight container for up to two weeks. But I doubt they will last that long. šŸ˜‰

Enjoy!

Gluten Free Vegan Baklava Bites

There are things like shortbread and brownies that are as easy as pie (excuse the pun) to make gluten free. Others such as crusty bread and pizza are a bit more tricky and rarely work. And then there is those that are downright impossible to make gluten free. One of these would be baklava, i.e. phyllo dough. I have never seen ready-made gluten free phyllo dough in the shops. And no, phyllo dough is NOT puff pastry. While there areĀ baklava recipes in which you could theoretically swap the wheat flour for gluten free flour, the process would be soĀ laborious that it would be hardly worth it. But as a long-standing lover of baklava, I have never given up on my quest for some gluten free baklava, and I am happy to present to you the one and only – gluten free vegan baklava bites! They are a healthy-ish version without all the butter and sugar of the original and they are done in five. Who is in?

The idea for these babies came to me when I had a bowl of gluten free weetbix topped with some nuts and maple syrup the other day. The crunch of the weetbix in combination with the nuts and syrup evoked a long-forgotten pleasure from the blissful days without gluten intolerance: baklava. So my brainĀ started rattling how to make it work and didn’t stop until it screamed: Bliss balls! I call them gluten free vegan baklava bitesĀ here just to provide for some linguistic variety. But the concept is much the same. Dates, nuts, cereals, and spices. Blitzed in a blender, then rolled into balls and chilled. It doesn’t get any easier than that!

Needless to say, they are gluten free, vegan, and refined sugar free – something that regular baklava cannot exactly boast with. They are also husband and toddler approved, and therefore a great little and nutritious snack for the whole family (if you are not allergic to nuts, of course). Due to the nuts, this treat is not as low in fat as most of my creations, but nut fat is super healthy for you and also very satisfying. I usedĀ a mix of walnuts, pistachios and almonds here. You can use other nuts, but I found that these yield the most trational “baklava” flavour, especially the pistachios.

Walnuts are high in flavonoids for a healthy heart and vitamin E for glowing skin and brain power. Pistachios contain most of the nutrients required for good health, such as vitamins, calcium, iron, magnesium, zinc and copper. Let’s tuck in!

Gluten Free Vegan Baklava Bites

Gluten Free Vegan Baklava Bites

Makes 12-15 baklava bites

3 gluten-free weetbix biscuits, crumbled
1 cup (ca. 12) medjool dates, pitted and roughly chopped
1 cup mixed chopped nuts (such as walnuts, pistachios, almonds)
1-2 tbsp rose water (optional, but provides authentic “baklava” flavour)
2 tbsp natural maple syrup

Just blitz everything in a high-powered blender, roll into balls and chill in the fridge until firmed up. Store in the fridge in an airtight container for up to a week.

Enjoy!

No-Bake Matcha Energy Balls {vg, gf}

My obsession with anything green continues. My love for matcha is not exactly a secret, and neither is my infatuation with these little no-bake babiesĀ that go by the name bliss balls or energy balls. Want proof that I am not a newbie to these things? See here, here, here, and here. So it was only a matter of time before matcha and energy balls would be happily married in my kitchen. Read: no-bake matcha energy balls.

Matcha Energy Balls
Matcha Energy Balls

Matcha does not only taste great – and coming from a green tea hater, this is saying something! – it is also much better for you than standard green tea. Matcha is brimming with antioxidants for that glow in your skin. It boosts memory and concentration – something we all need in our fast-paced lives – and increases energy levels without the coffee jitters. Whether you believe in detoxing or not, matcha green tea is a great way to purify your body and it strengthens your immune system, which is a great asset, especially in the shoulder seasons when the weather doesn’t really know what it wants. Matcha also greatly contributes to an improved mood, so with eight long Melbourne winter months ahead, it’s time to get your matcha in!

These balls are ridiculously easy and quick to make, so there’s absolutely no excuses to chomp down these matcha energy balls in 5 minutes! The only thing you might not have readily available in your pantry is the matcha powder. But I think I’ve offered enough reasons pro matcha, so: Get your hands on the matcha!

No-Bake Matcha Energy Balls


Makes 18 matcha energy balls (or less if you like them bigger)

One rounded, well-packed cup of dates (any kind) (approx. 200 g) (you might need to soak your dates in hot water for ten minutes if not using Medjool. Then drain well and use.)
One cup rolled oats
quarter cup desiccated coconut
2 tsp high-quality organic matcha powder, plus more for rolling

Soak and drain your dates as required. Blitz the oats up until they resemble a course meal. Add soaked and well-drained dates, coconut and matcha and mix on high until well combined. Shape 12 to 18 balls, roll in some more matcha powder if desired and store in the fridge.

Enjoy!