Happy St. Patrick’s Day: 3 Green Smoothies

Happy St. Patrick’s Day everyone! I hope you all have lovely plans for the weekend. Whether or not you are into St. Patrick’s Days festivities, green smoothies are a great way to get you off to a great way to get you off to a good start. You can cram pretty much any greens and other goodies into green smoothies and thus make sure you get a healthy dose of greens in before you start your day. Plus, they look lovely and are sure to brighten up your day in more way than one.

While I believe you should have green smoothies as often as possible, they are especially beneficial before and after a night out, be it for St. Patrick’s Day or not! Alcohol is a vitamin thief, so by having a green smoothie before and after drinking, you are replacing lost nutrients and hydrate your body as alcohol is dehydrating. A short sleep is also helped best by packing as much nutrients as you can into your morning drink. That way, you can dance the Saturday away and still enjoy Sunday lunch with your family.

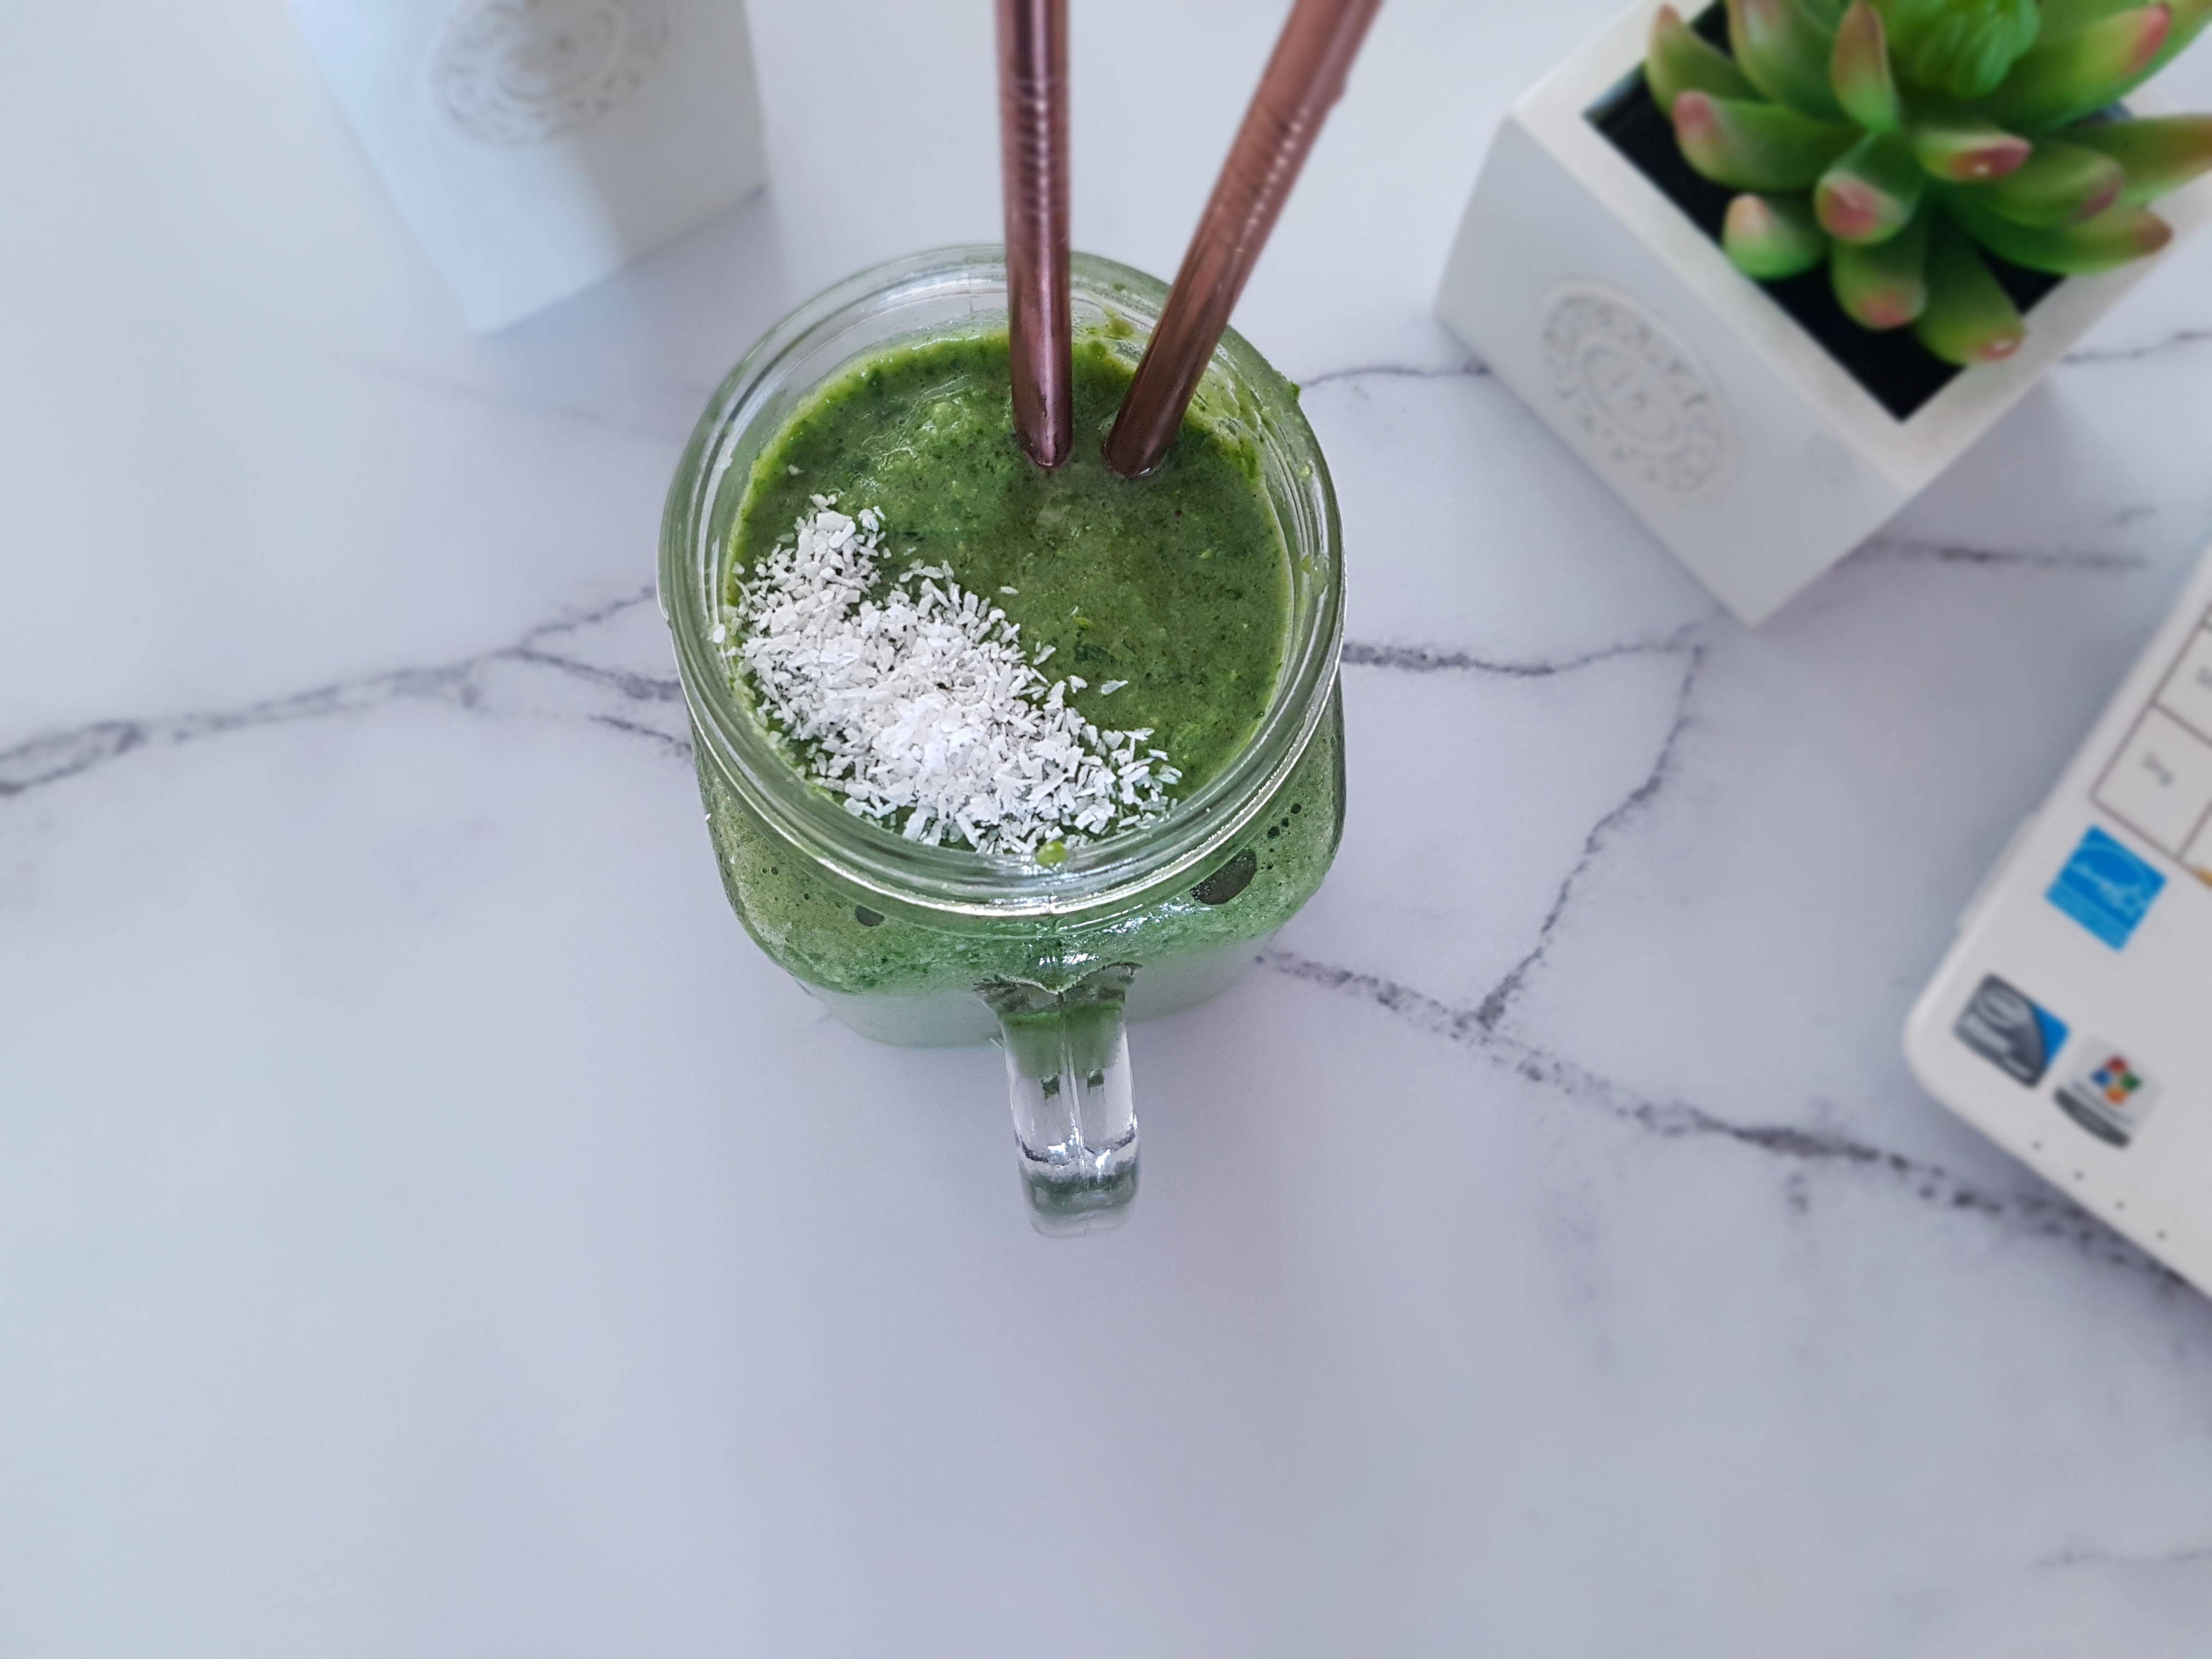
Below are my three favourite green smoothies. Enjoy!

Superfood Smash Green Smoothie

Superfood Smash Green Smoothies

Serves One

One handfull of kale
A handfull of spinach
Handfull of lettuce
One small zucchini, chopped
One stalk celery, chopped
Small apple, chopped
Half a frozen banana
Dash of coconut water or plant milk to blend
One scoop vegan vanilla protein poweder
5 icecubes
Any additions such as wheatgrass etc.

Blend all ingredients in a high-powered blender and enjoy.


Green Warrior Smoothie

Warrior Green Smoothies

Serves One

One kiwifruit
One handfull of spinach
Half a small avocado
1 tbs chia seeds
One scoop vegan vanilla protein powder
A dash of almond milk
1 tsp barley grass powder
5 icecubes

Blend all ingredients in a high-powered blender and enjoy.


Anti-Hangover Green Smoothie

Hangover Green Smoothies

Serves Two

One handfull of baby spinach or lamb’s lettuce
One cup of coconut water
One scoop vegan vanilla protein powder
One inch piece fresh ginger, grated
2 Medjool dates
1 small zucchini or cucumber
One frozen banana
1 tbsp tahin
Dash of lemon juice

Blend all ingredients in a high-powered blender and enjoy.


Clean Oatmeal & Raisin Cookies {vg, gf, nf, sf}

My toddler has a pronounced sweet tooth and it is almost impossible to walk her past the cookie and biscuit aisle unscathed. While Tim Tams, Anzacs and co. might be an effective temporary solution to placate a whingeing 2-year old and prevent a mortifying tantrum, they aren’t exactly what the doctor ordered. Needless to say, this doesn’t only apply to kids but to adults as well. Store-bought cookies and biscuits are loaded with processed ingredients, industrial oils and refined sugar. Moreover, white flour (and yes, this applies to “gluten free” items as well that are essentially all refined starch) is nutritionally deplete and its only benefit is the benefit for the manufacturer – by making you eat more than you want or need. Healthy cookies seem to be a contradiction in itself, but I am here to rescue you with my clean oatmeal & raisin cookies.

These babies have four ingredients and require five minutes prep time. Loaded with valuable plant-based protein, slow-burning natural sugars, fibre, minerals, and vitamins, they are incredibly tasty and just perfect for when you’re feeling sluggish (and even when you’re not!). They are completely vegan (hence dairy and egg free), gluten free, soy free and nut free and don’t contain any nasties whatsoever. So what’s their secret? Oats and bananas!

In fact, making healthy cookies out of rolled oats and ripe bananas is nothing new. Social media are literally swarming with this concept, so I didn’t exactly invent it myself. I just played around with the ratios and then added some raisins and cinnamon. I was absolutely blown away by the result so if you are interested in some truly clean oatmeal & raisin cookies, here’s my solution. And guess what – my kid loves them and I love them too! (They are husband approved, too.)

Clean Oatmeal & Raisin Cookies

Makes 12

1 (rounded) cup rolled oats (certified gf if required)
2 ripe bananas
a handfull of raisins or sultanas
1 tbsp cinnamon to taste

Preheat oven to 180 °C and line a cookie sheet with baking paper. Mix all ingredients until you reach a homogenic and malleable mass. You don’t need a blender for this, just your hands and some elbow grease. Shape 12 ping-pong ball sized balls and press them flat into a classic cookie shape. Place on the sheet and bake for roughly 15 minutes or until lightly golden on top. Let cool completely, store in an airtight container in the fridge for up to three days (if they last that long).

Enjoy!

Raw Vegan Paleo Lamington Truffles

I have a question for you. Are these guys bliss balls, energy balls, bites or truffles? Or something else entirely? I guess they are a bit of everything. But I used the words “bliss balls” and “energy balls” so often that these are truffles. Raw vegan paleo lamington truffles, just to make things clear.

If you love food and health blogs, like I do, you’d probably know that the raw vegan community and the paleo community don’t love each other. However, why not focus on the similarities rather than the differences? Sure, the paleo diet tends to be meat-heavy, but when it comes to cutting out crap from your diet, I think both vegans and paleo dudes agree! And if you ever happen to have a vegan and a paleo friend over for afternoon tea or if you just want a really delicious treat that’s good for you and won’t weigh you down, make these raw vegan paleo lamington truffles.

The lamington belongs to Australia like the barbecue and the pavlova. If you haven’t heard of a lamington, it’s a sponge cake square coated with chocolate and rolled in desiccated coconut. There’s usually also some cream and/or jam between layers. In short, it’s a delicious albeit sugary and unhealthy dessert that is neither gluten free nor vegan. But my raw vegan paleo lamington truffles are coming to your rescue. No refined sugar, no dairy, no wheat, just five super-healthy ingredients. All the taste of lamington with none of the guilt. And even if you’ve never had a lamington, you are more than welcome to tuck in. Either way, you’ll be pleasantly surprised!

Raw vegan paleo lamington truffles
Raw Vegan Paleo Lamington Truffles

Makes 12

175g dates (about 1 cup packed) (if not using Medjool, you will need to soak them in hot water for half an hour, then drain well)
2 tbsp raw cacao
2 tbsp desiccated coconut
4 tsp LSA or almond meal or flaxseed
3 tsp chia seeds

Blitz the well-drained dates until a paste forms. Add the other ingredients and process until the mix comes together. Shape into 12 balls and store in the fridge for up to a week (I doubt they last that long!)

Enjoy!

Cacao & Coconut Energy Balls {vg, gf}

You guessed it…time for some more energy balls! Who can’t do with some more energy? So I thought I’d come to your rescue with this ridiculously easy cacao & coconut energy balls! These babies look cute enough, but there are some serious superfoods hiding behind their humble appearance! And they are easy-peasy, requiring just a few minutes between meetings and a high-powered blender! Who is in?

While chocolate still suffers from a bad rap, cacao is actually one of the world’s superfoods par excellence. With 40 times the antioxidants of blueberries, raw organic cacao contributes to glowing skin and the prevention of disease. Everyone knows nowadays that a couple of squares of dark chocolate a day have heart-protecting properties. But cacao’s benefits don’t stop there. As the highest plant-based source of iron, it is the best antidote to that feared 3pm slump! Cacao is also sky-high in magnesium – the mineral modern nutritionists beleive we in the Western world are most deficient in! And with more calcium than cow’s milk it’s time we give cacao the green light! Dairy is so 2012. We have cacao & coconut energy balls!

Add to the mix Medjool dates, nature’s powerhouse chock-full of more magnesium, calcium, iron and other goodies, as well as oats (think healthy carbs and fiber) and flaxseed (omega 3s!), and it becomes clear why every bite of this deliciousness is pure goodness in a ball!

Happy rolling.

Cacao & Coconut Energy Balls

1 cup packed Medjool dates, soaked in hot water for an hour, well drained
1 cup oats, ground to a fine flour
1/3 cup raw cacao
1 tbsp flaxseed
half a cup shredded coconut for rolling

Process all ingredients except the coconut in a high-powered blender until the mixture comes together. Chill for 20 minutes, then roll into balls. Toss the coconut in a shallow bowl and roll the balls in it.

Enjoy! 

Vegan Watermelon & Peach Smoothie

I am on a quest to enjoy all my favourite summer fruits again before autumn definitely hits us. What a revelation to find some frozen watermelon in my freezer which I had wisely deposited there when they were in peak season. I love watermelon on a hot day and have found that frozen watermelon makes the most amazing and refreshing smoothies and shakes. Throw some fresh peaches into the mix and you got a super yummy, creamy, indulgent yet entirely vegan watermelon & peach smoothie!

Watermelon just screams “summer!” like no other fruit does and is one of my favourite breakfasts and snacks on a hot day. But watermelon also shines as a smoothie ingredient. Due to its natural sweetness there is no need to add a lot of other sweeteners to achieve delicious smoothies. Thanks to its high water content you do not have to add much liquid at all to get things blending. Besides its great taste and in spite of being mainly water, watermelon is also extremely good for you. It is an outstanding source of fibre, healthy carbs, antioxidants and electrolytes and hydrates you much better in the hot season or after a workout than just plain water.

This is a very simple smoothie with only four ingredients, requiring just a few minutes of your time, which will wow you with mind-blowing results. If you only have fresh watermelon at hand but want to get going with this recipe immediately, just add a few icecubes. I recommend freezing some watermelon though if you have the chance. Trust me!

Vegan Watermelon & Peach Smoothie

Serves one

1 cup frozen watermelon cubes (1 cup fresh watermelon cubes and a handful of ice cubes)
half a frozen banana or a handfull of frozen mango
dash of plant milk to mix
2 fresh peaches

Just blend all ingredients in a high-powered blender.

Enjoy!

Healthy Coco Pops Squares

Of all my unhealthy childhood favourites, sugary breakfast cereals definitely top the list. And of all breakfast cereals coco pops was always the winner. I mean, c’mon, a CHOCOLATE milkshake only CRUNCHY? The flavour of chocolate and the texture of crunch? Can it get any better than this? And don’t even get me started on the cute monkey and his catchy theme song. And coco pops squares…yum! Who needs muesli bars? Coco pops are the best! If you think so too (or have a kid who does), I can definitely help to create a healthier version of a childhood favourite: healthy coco pops squares! Who is in?

Rice bubbles with raw cacao and low GI brown rice syrup instead of all this high-fructose corn syrup provide for a delicacy that will satisfy your sweet tooth without sending your blood sugar soaring. These healthy coco pops squares are light and airy, crunchy with just the right amount of sweetness, and beautifully chocolatey. They are also very low in fat – perfect if you love chocolate but are concerned about the fat grams. This is an indulgence  that won’t weigh you down. And due to the rich taste and satisfying chewy texture of these healthy coco pops squares, a little goes a long way and you won’t need much to get you through the feared 3pm slump.

These healthy coco pops squares are some easy to make and affordable goodies, perfect for gatherings and kids parties, but also to indulge your sweet tooth after a meal without overindulging. Please note that while this is definitely a better-for-you version than traditional coco pops squares, it is still a treat that should be treated like a treat and enjoyed in moderation.

Healthy Coco Pops Squares

Makes 10 squares

3 cups (gluten-free) rice bubbles (I use Freedom foods)
half a cup brown rice syrup
1 tbsp coconut oil
dash of vanilla extract
3 tbsp raw cacao
pinch of sea salt

Line a 10x20cm baking pan with baking paper. Pour the rice bubbles into a large mixing bowl. Gently melt the brown rice syrup with the coconut oil, vanilla extract, cacao and salt until fully combined. Pour into the bowl with the rice bubbles and gently stir through until fully incorporated and all bubbles are coated with the mixture. Press into the prepared pan and press down very, very firmly until very firmly pressed down (and I mean firmly!). Freeze for one hour, then lift out of the pan and cut into ten squares with a very sharp knife. Store in the fridge for up to a week.

Enjoy!

Crispy Oil-Free Potato Wedges

I loooove potatoes. Seriously. They are so much more than a side dish. Not only do they taste delicious, they are so filling and satisfying that they make for a complete meal. I love them in any state – boiled, baked, roasted, mashed, fried…but they are at their best in the form of chips or wedges. Now, if this sounds greasy and unhealthy to you, dripping with trans fats and all sorts of nasties, hear me out. It is possible to achieve the perfect crispy oil-free potato wedges. No oil and no deep-frying required!

These are not the result of an air-fryer (if you are remotely familiar with instagram you would have come across the latest craze that is air-fryers). No fancy or expensive equipment required, just a good ol’ oven, a baking tray and 40 minutes of your time. That’s all!

While rice, noodles, pasta and (gluten-free) bread all have their merits, nothing will keep you full for as long as a good plate of spuds. Being much lower in carbohydrates and calories than other “side dishes” and with their favourable nutritional profile, potatoes are closer to vegetables than starchy sides. They are fat and cholesterol free and bursting with iron and vitamin C. Vitamin C actually improves the absorption of iron which is why potatoes are extremely valuable for vegans and vegetarians. They contain more potassium than a banana, are a good source of vitamin B6, fiber, magnesium and antioxidants as well as the so-called “resistant starch”. Resistant starch works like soluble fiber which contributes to improved insulin sensitivity, lower blood sugar levels, reduced appetite and improved digestion.

Enough said about the benefits of spuds, I bet you just want to know how to achieve the perfect crispy oil-free potato wedges! Crispy wedges without any oil? What’s the secret ingredient? Yes, there is actually a secret ingredient. And that is…water! I knew that in gluten-free bread baking, putting a tray of water into the oven helps the bread to form a proper crispy crust. I thought that this must also be possible with potatoes! While I have achieved good results dry-roasting potatoes before, adding some water to the tray definitely put these babies onto a new level. Unlike with bread where a separate water tray is put into the oven, the water is added directly to the tray with the potatoes on it.

Crispy Oil-Free Potato Wedges
Crispy oil-free potato wedges

Serves 4

1kg potatoes, washed and cut into wedges
1-2 tbsp coarse sea salt
1 tsp paprika
halt a cup plain water

Preheat the oven to 230 °C. Spread the prepared wedges onto a non-stick (or lined) baking tray. Mix the salt and paprika in a small bowl. Sprinkle the spice mix over the potatoes and rub into the wedges. Add the water to the tray. Bake for approx. 40 minutes, turning halfway.

Enjoy!

Mango Nectarine & Baobab Smoothie {vg}

Summer is clearly coming to a close in Australia. This, sadly, means saying farewell to some of my favorite fruits. Strawberries, raspberries, cherries, apricots, watermelons – oh, and mango and nectarines, of course. The flavour and texture of mango and nectarines complement each other so well, so why not throw them together. My newly found love for the fruity and tangy taste of baobab led to the idea for a mango nectarine & baobab smoothie!

This smoothie is thick, creamy, and refreshing, a bit like a mango lassi. It is, however, less sweet and has a slightly tangy, yogurt-like flavour which I absolutely love – without any dairy! You would never think that this creation is vegan, refined sugar free, low in fat and good for you. I have already raved about the health benefits of baobab in my recent blog post about lemon poppyseed & baobab bliss balls. Baobab is shock full of electrolytes (great to hydrate on a hot day!), has more antioxidants than goji and acai (hello glowing skin and healthy immune system), plus fiber, vitamin C, potassium, magnesium and calcium to boot!

While technically not mandatory for the purposes of this smoothie, the addition of baobab boosts the already amazing health benefits of mangoes and nectarines. Think fibre, vitamin C, vitamin A, antioxidants, vitamin E and much more. With its unique fruity and zesty taste, baobab with mangoes and nectarines makes for a winning summer flavour combination – not only in summer!

Mango Nectarine & Baobab Smoothie


Mango Nectarine & Baobab Smoothie

Serves 2

250 g frozen mango 
3-4 fresh nectarines
one cup soy milk or other plant milk
4 tbsp baobab powder
mint to serve (optional)

Blend fruit, milk and baobab until nice and smooth, divide between two glasses and serve with mint and fresh fruit.

Enjoy!

Lemon, Poppyseed & Baobab Bliss Balls {vg, gf}

I have a confession to make. I am addicted to bliss balls. /Have you checked out these, these, these and those beauties yet?) They are easy and quick to make, generally require only a few easy ingredients and are a great portable way to beat the mid-afternoon slump (and keep your toddler happy). They are also incredibly customisable. Generally speaking, as long as you got dates and either nuts and/or oats, you can make bliss balls. And you can make them your own. Add cocoa, vanilla, your favourite superfoods…the options are endless. That’s why I thought i come up with something different compared to the standard cacao-based bliss balls and offer you an old favourite: lemon and poppyseed. And because I am a health geek and like my superfoods, they are not only lemon & poppyseed bliss balls, but lemon, poppyseed & baobab bliss balls.

You might not have heard about baobab powder. Touted as the queen of superfoods, it is a highly nutritious fruit of the African Baobab tree. It is naturally raw, vegan and gluten-free and bursting with antioxidants, fiber, electrolytes, minerals and vitamins. Baobab has more fibre than chia seeds and almost 5 times as much vitamin C as goji berries. Please note that the use of baobab is not essential to make these bliss balls work, but I thought it would be nice to include a recipe for a superfood I recently discovered as you might be interested how to use it (I always try to extend the use of superfoods beyond adding to smoothies). Baobab also has a nice subtle fruity flavour that goes well with something lemony.

These bliss balls furthermore boast dates, oats, and coconut flour and are therefore packed with more fibre and minerals. Poppyseeds are a great source of iron, copper, calcium, magnesium and zinc and have been traditionally used in ayurveda for glowing skin. I love these lemon, poppyseed & baobab bliss balls so much. Their tangy taste has something cheesecake-y about them, and due to their high fibre content they keep me full and happy until the next meal. They are also refined sugar-free, with healthy, slow-burning carbs from dates and oats and only very little fat. I hope you enjoy them!

Lemon, Poppyseed & Baobab Bliss Balls

Makes 20 bliss balls

10 pitted dates (any dates will work, but if not using Medjool dates, you will have to soak your dates for a few minutes in hot water to soften them up, then drain well)
1 cup oats, ground to a fine meal
half a cup coconut flour
juice of one lemon (or less if you prefer it less lemony)
half a cup dessiccated coconut
2 tbsp poppy seeds
1 tbsp baobab powder

Blitz all ingredients in a high-powdered blender until well combined and starting to stick together. Leave the mixture in the fridge for ten minutes to firm up, then roll into 20 balls and store in the fridge. They will get more delicious over the coming days!

Enjoy!

Buckwheat & Lentil Burgers {vg, gf}

I did it. I created the perfect vegan (and gluten free) burger. This was preceded by one year of consistently trying to develop a recipe for a vegan gluten free burger that: a) would not fall apart when flipping, b) appeal even to the most ardent meat eater (my husband). I don’t want to spoil the ending for you guys, but: Everything sorted itself out in the end. I feel such a sense of achievement. Here they are…drumroll…my perfect buckwheat & lentil burgers.

If you are after a recipe for a vegan and gluten free burger, this buckwheat & lentil burger is the only one you’ll ever need! Both buckwheat groats and lentils are not only very cheap, but they are bursting with fiber and protein to make a meat burger pale in comparison. Far from just being another hipster food, buckwheat has traditionally been consumed for thousands of years, and for good reason! It is shock-full of antioxidants for a healthy heart and glowing skin and it boasts a unique amino acid combination compared to other grains. Buckwheat has been linked to lower cholesterol and blood pressure, and even the grain-phobic paleo community is in favour of buckwheat (which is actually not a grain, but a seed). Other benefits include an array of vitamins and minerals such as magnesium, manganese, phosphorus, and folate. And as buckwheat cooks a lot quicker than rice or quinoa, it is a great hassle-free addition to your pantry.

Lentils are a favourite among vegans and vegetarians. With a whopping 18 grams of protein per cup they keep you full and happy and are the perfect argument when you get asked: “Where do you get your protein?”. Lentils’ high level of soluble fiber has cholesterol-lowering benefits, improves digestion and keeps your arteries clean. Besides, its slow-burning carbs provide sustained energy and keep cravings at bay. All the more reason to include lentils in your diet more often – whether you are vegan or not!

Back to these burgers. So they are a nutrition bomb, easy to make, and – yes – they are indeed delicious. They are “meaty”, hearty, comforting, filling, satisfying, they don’t crumble, they are perfect. Bursting with high-value plant protein while boasting a moderate amount of healthy carbs and being low in fat, they make for a perfect main meal or snack. They are ready in 20-25 minutes – no chilling of the “batter” required – and freeze beautifully. So please add this recipe to your repertoire. You will know why!

Buckwheat & Lentil Burgers

Makes 12 burgers

1/2 onion, diced
2 cloves garlic, minced
One cup dried green lentils
One cup raw buckwheat groats
2 cups vegetable stock
2 cups water
3 tbsp spice blend of choice (I used turmeric, cumin,coriander, cardamon, black pepper, nutmeg, cayenne pepper and paprika)
1 tsp salt
1/3 cup LSA
2 tbsp chia seeds

Sauté the onion and garlic in a large stockpot until soft and the onion is translucent. Add the lentils, buckwheat, stock and water and simmer together until the lentils are soft and the liquid is absorbed (this will take around 15-20 minutes). Let the mixture cool down a bit, then transfer to a high-powered blender with the spices, salt, LSA and chia. Blend in increments until you achieve a malleable mass. Be careful as the mixture will still be hot. Once no longer hot to the touch form 12 patties. Heat a non-stick pan (you might need to slightly oil it). Once it is hot, fry the patties about three to four at a time, depending on the size of your pan. Fry for approx. 3-4 minutes, then check with a spatula if they are dry underneath. If they seem dry and move easily around the pan, flip. They should be browned on the fried side. Fry for 3-4 minutes on the other side. (Depending on your stove and pan, it may take up to 5 minutes.)

Enjoy!