Blueberry Muffin Smoothie Shake {vg, gf}

Unless you lived under a rock this past year, you would have probably tried a smoothie for breakfast. You might have had a smoothie on top or instead of your usual meal. Maybe you’ve read that it’s a great way to get nutrients in. After all, you can pretty much put anything in it. Or maybe you wanted to try this lowcarb double chocolate weightloss shake your co-workers are raving about. After all, it was half-price at the supermarket this week. Chances are, you were hungry again one hour later and reached for your colleague’s snack size mars bars or got some exercise by getting that enticing blueberry muffin in the café down the road. With a large full-cream latte and two sugars, of course). Bye bye, healthy goals for the new year! To avoid scenes like that from now on, here comes my blueberry muffin smoothie shake!

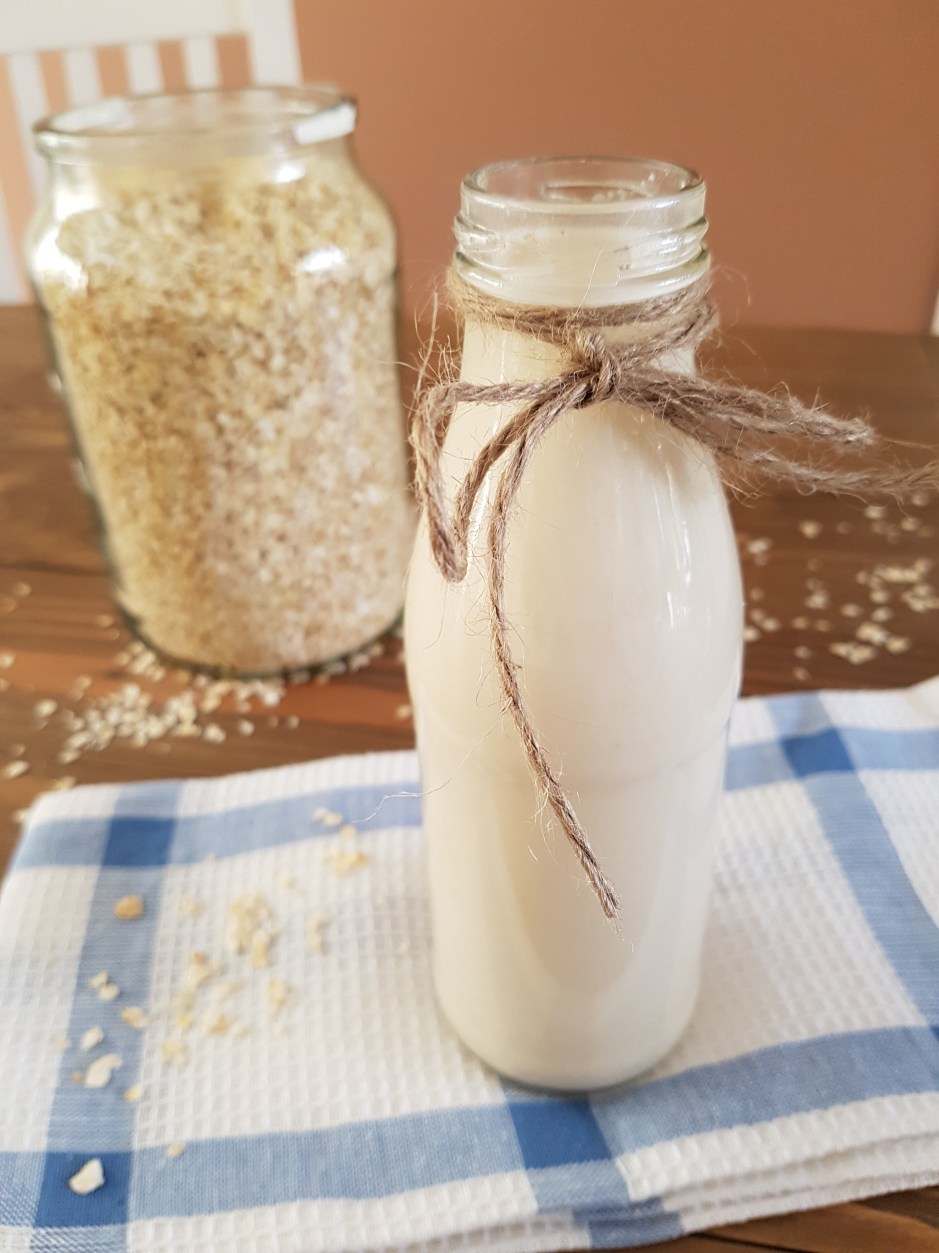
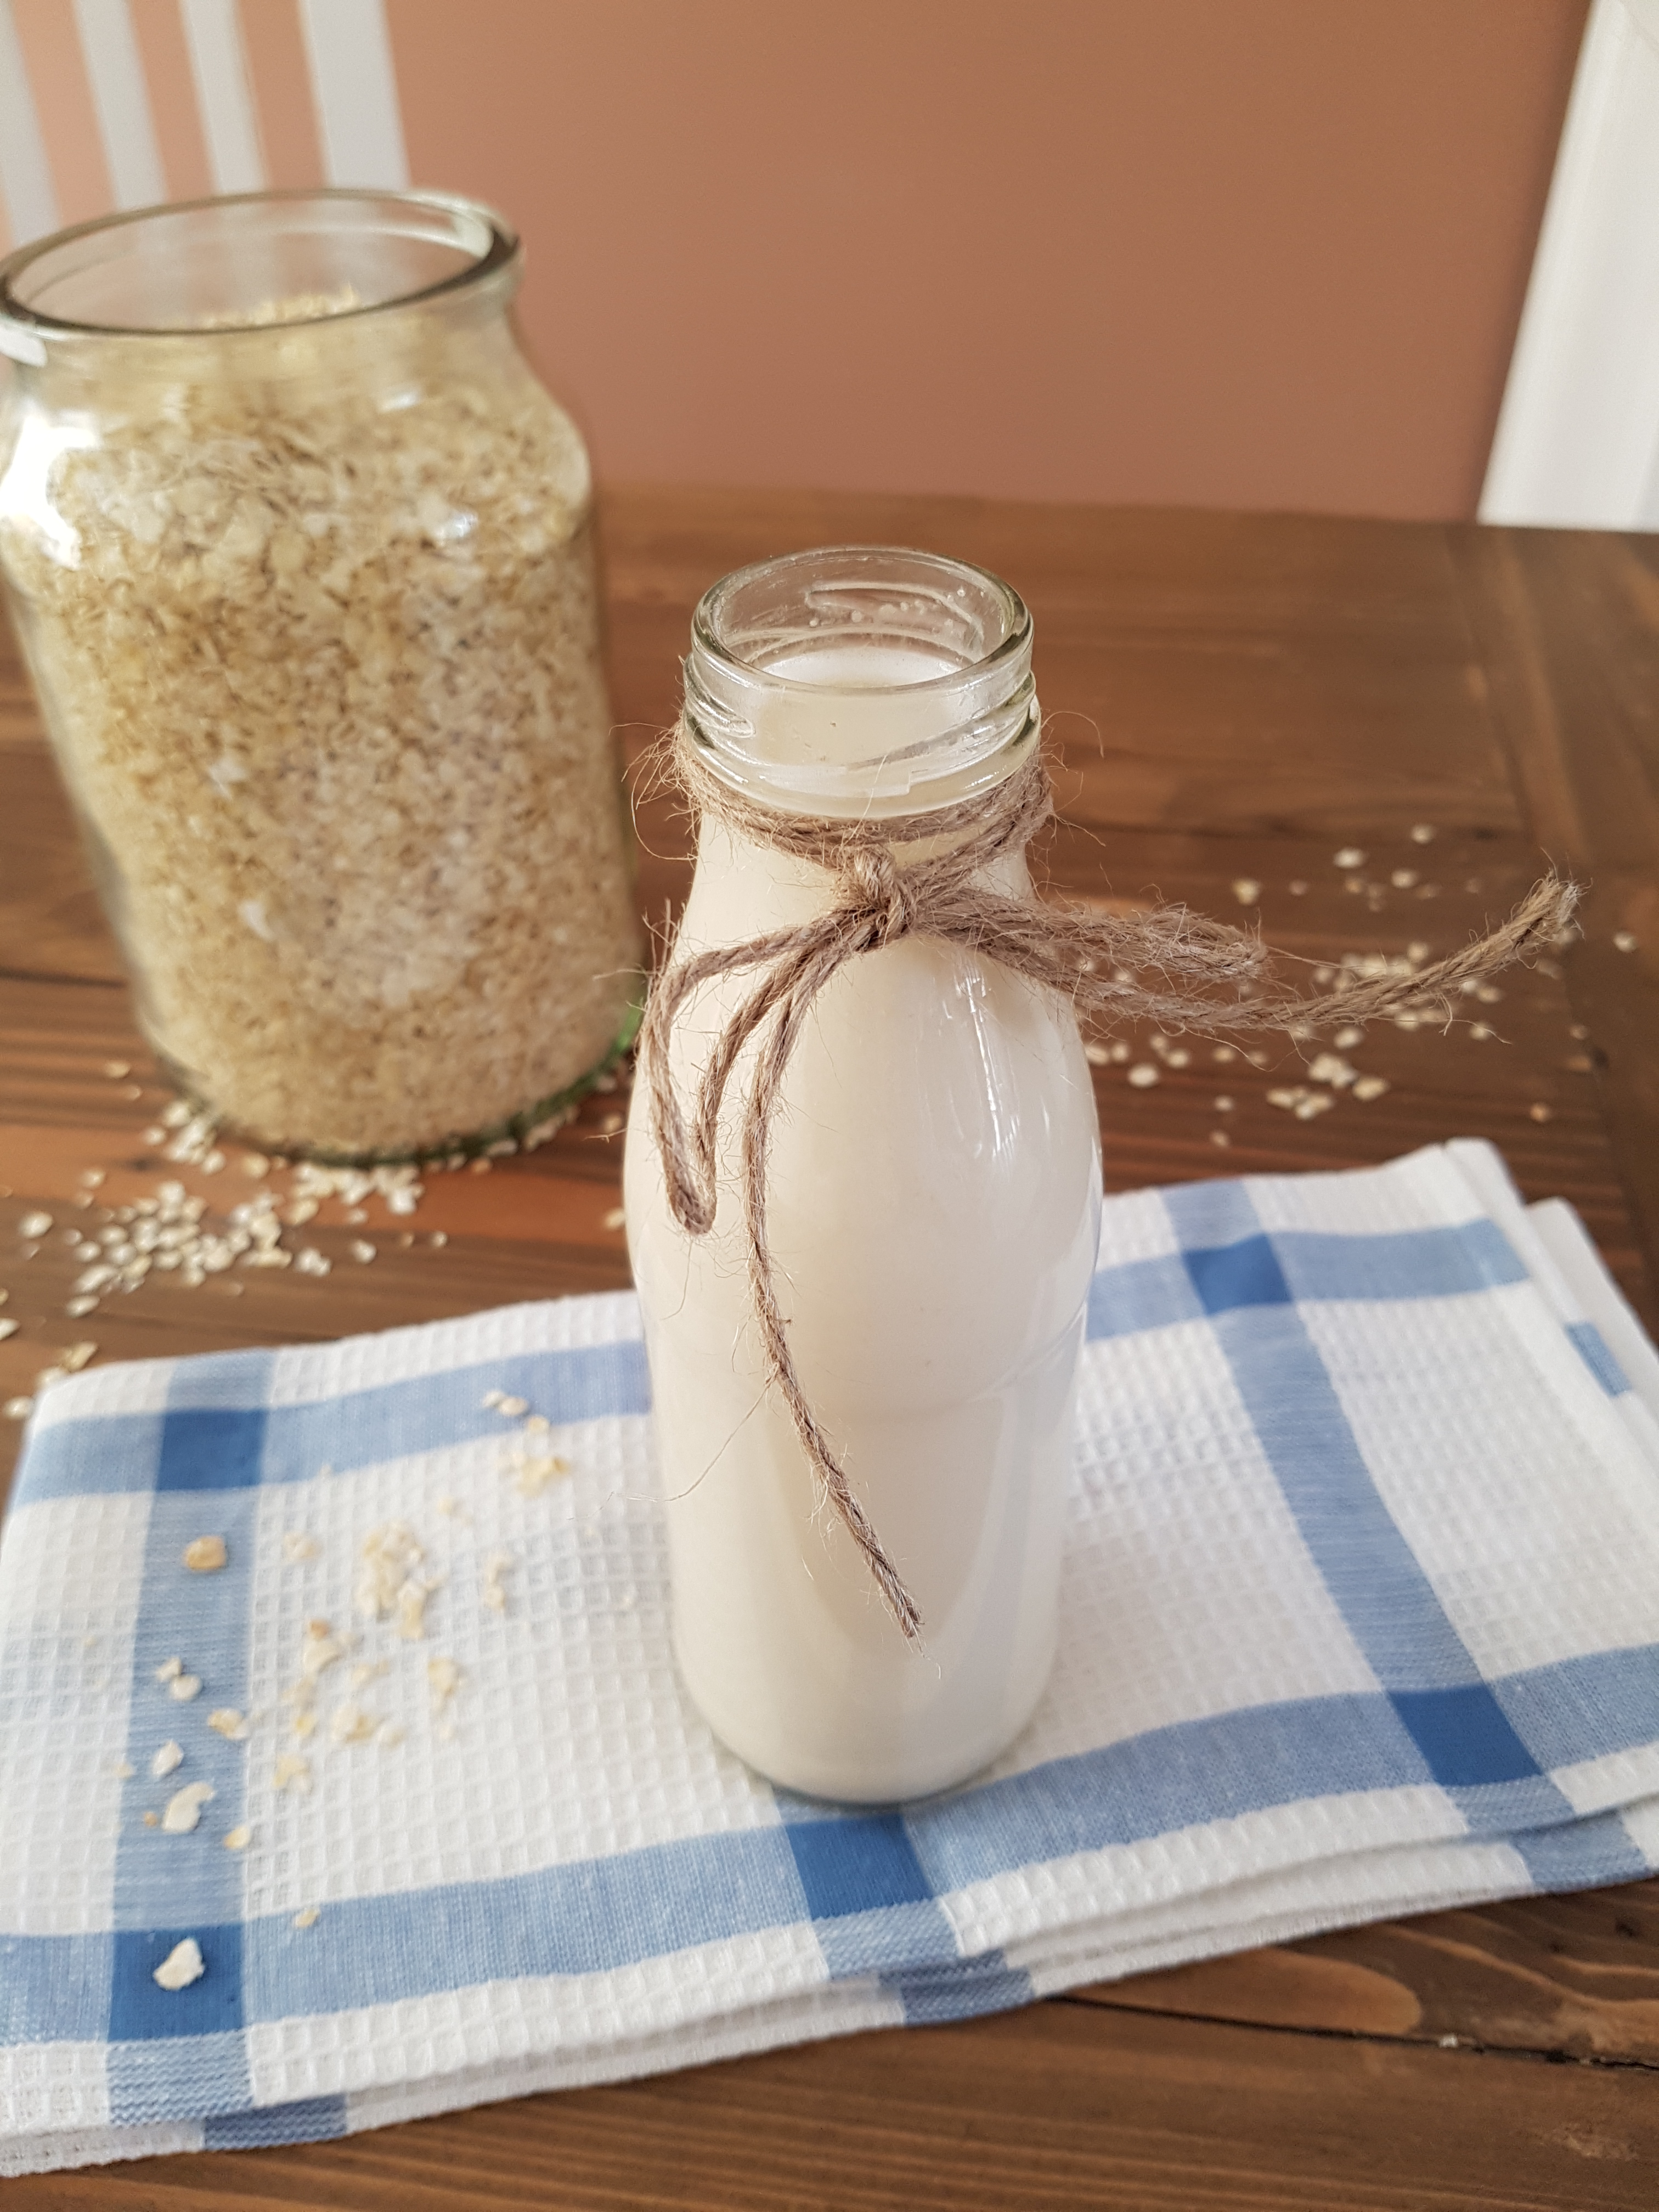
The truth is, while I am a big fan of smoothies for breakfast or any time of the day for various reasons (as demonstrated here, here, here and here), blended fruits and vegetables are not a complete meal, not even if you add protein powders. It’s healthy, slow-burning carbs from starchy wholefoods such as grains and legumes that keep you full until lunch (and away from the patisseries and vending machines). This blueberry muffin smoothie contains fruit, your favourite milk and favourite protein powder just like any other smoothie, but with the addition of oats (preferably soaked overnight for an ultracreamy texture). I can’t praise the benefits of oats highly enough, and one of their definite perks is that while they do contain carbs and fat, you get a lot of satisfaction per calorie so to speak as they keep your belly full and happy for many hours and are therefore a health geek’s BFF.

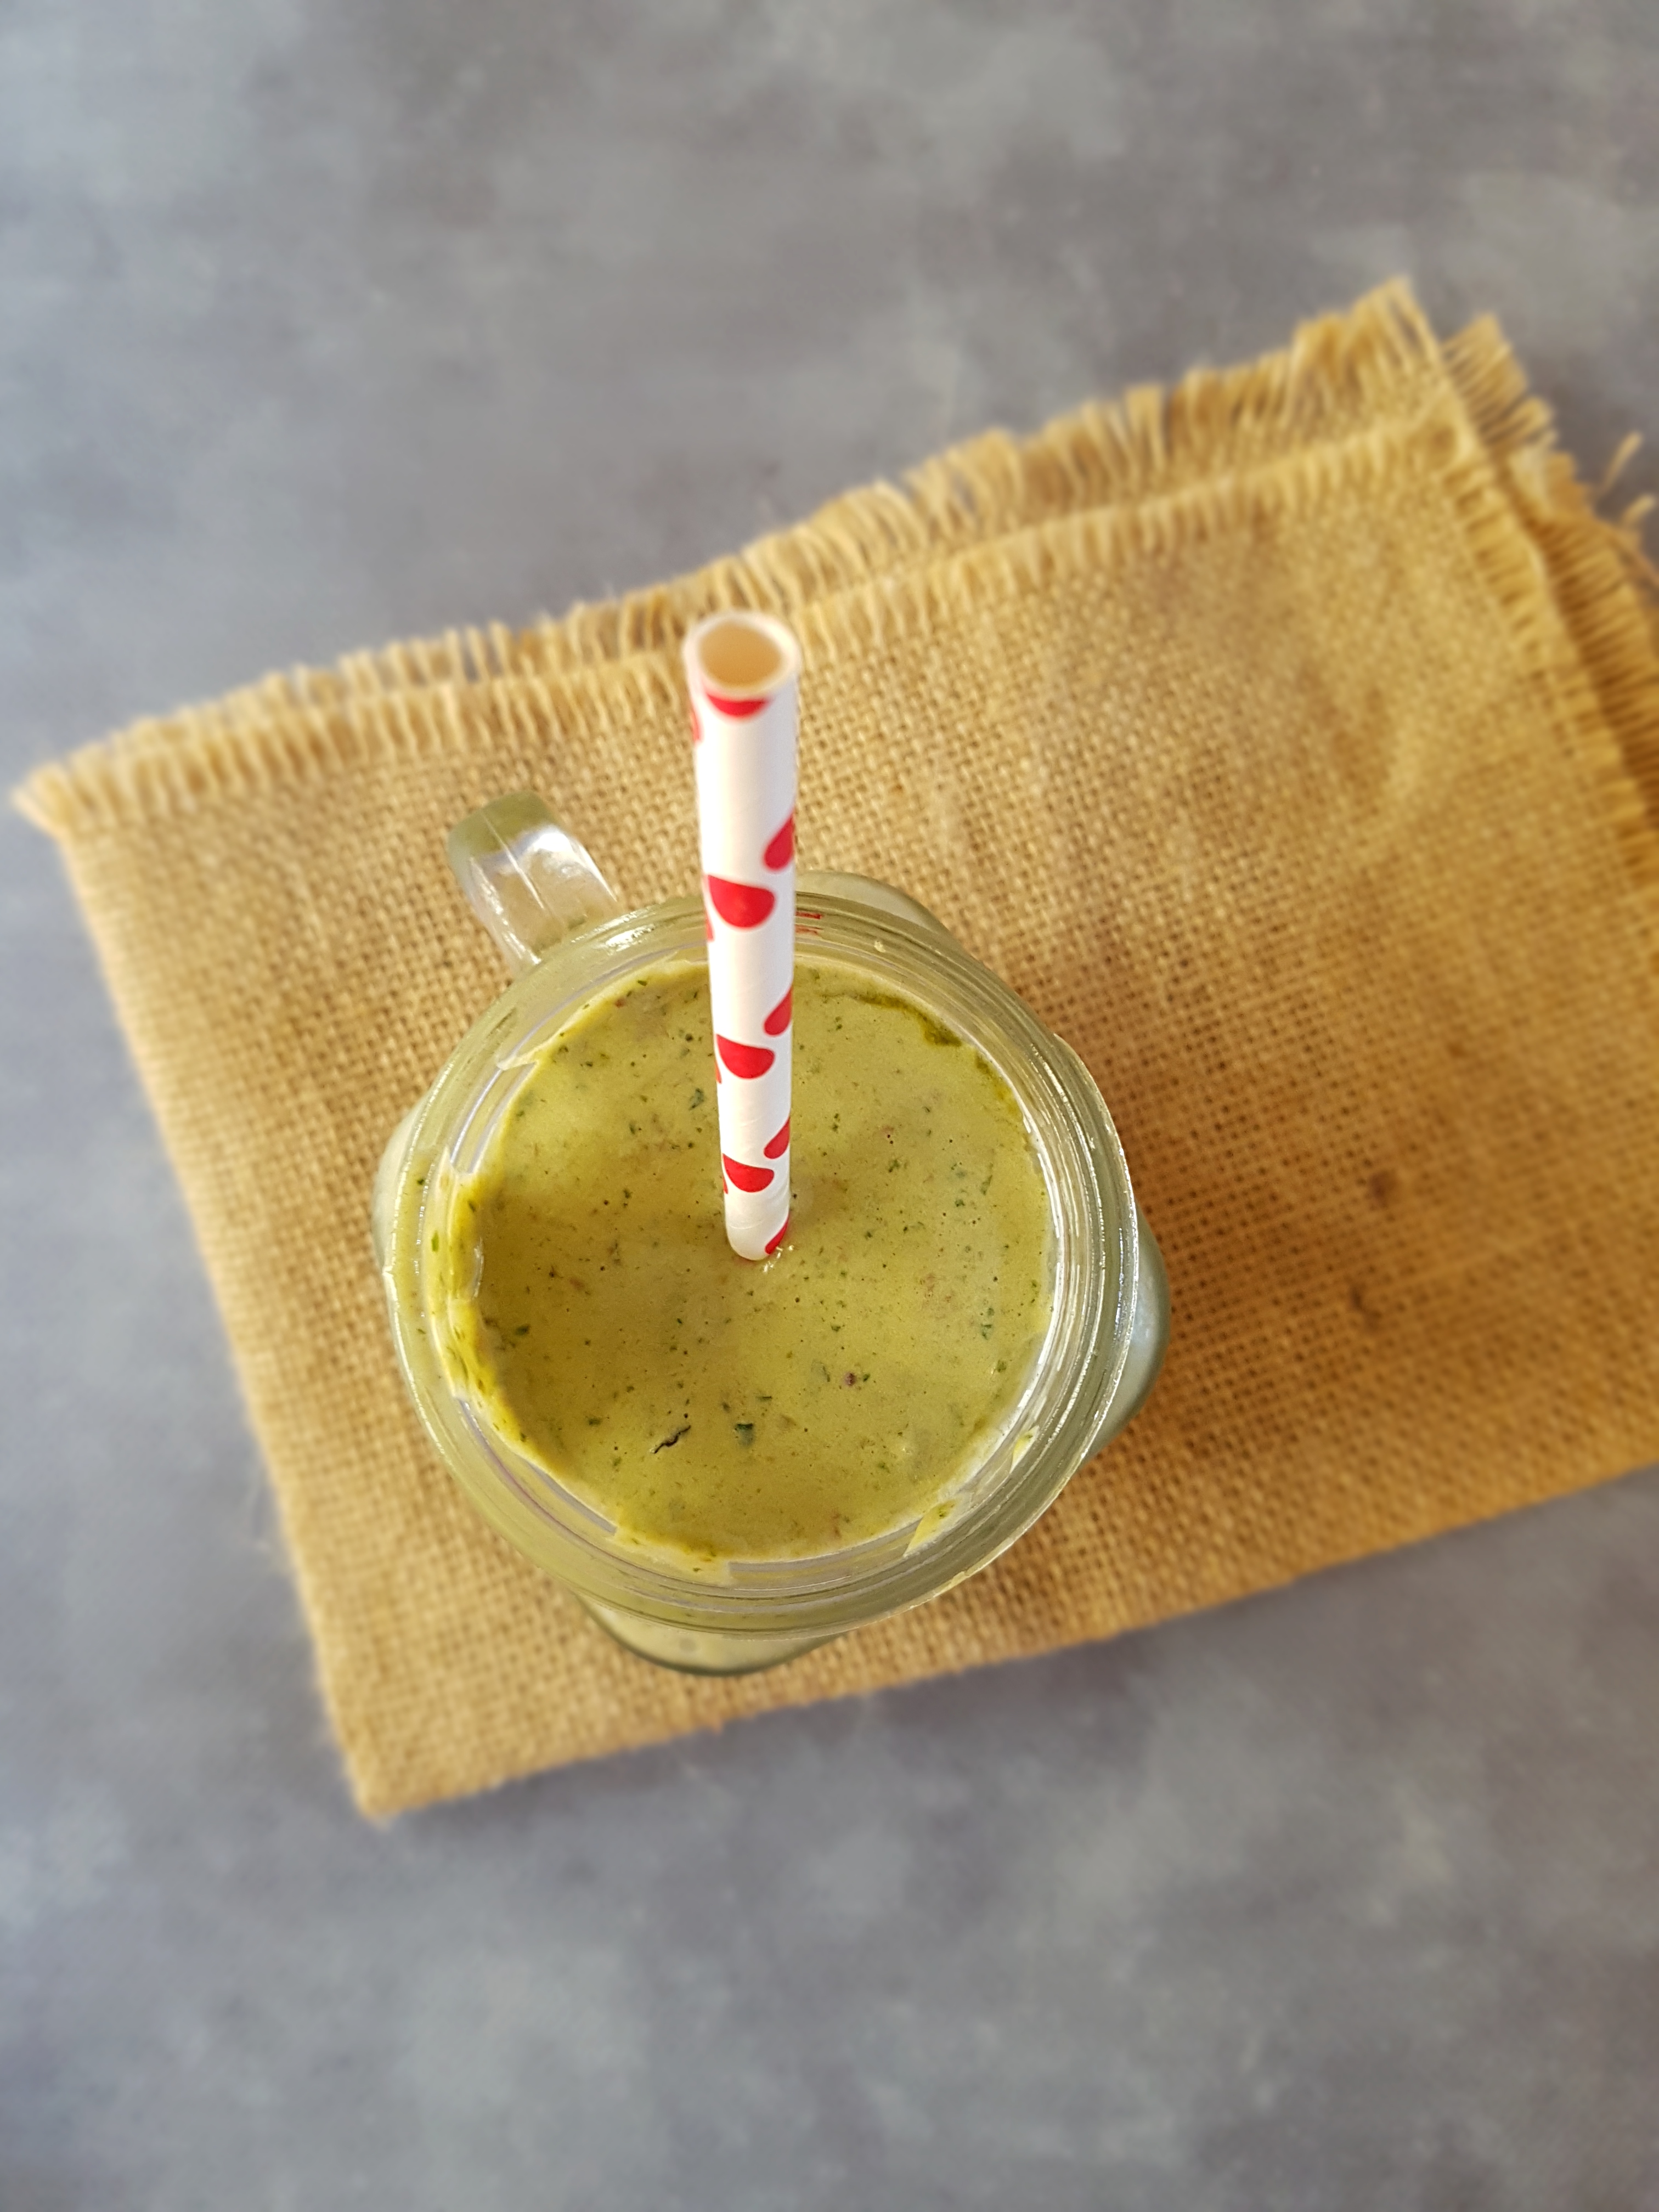
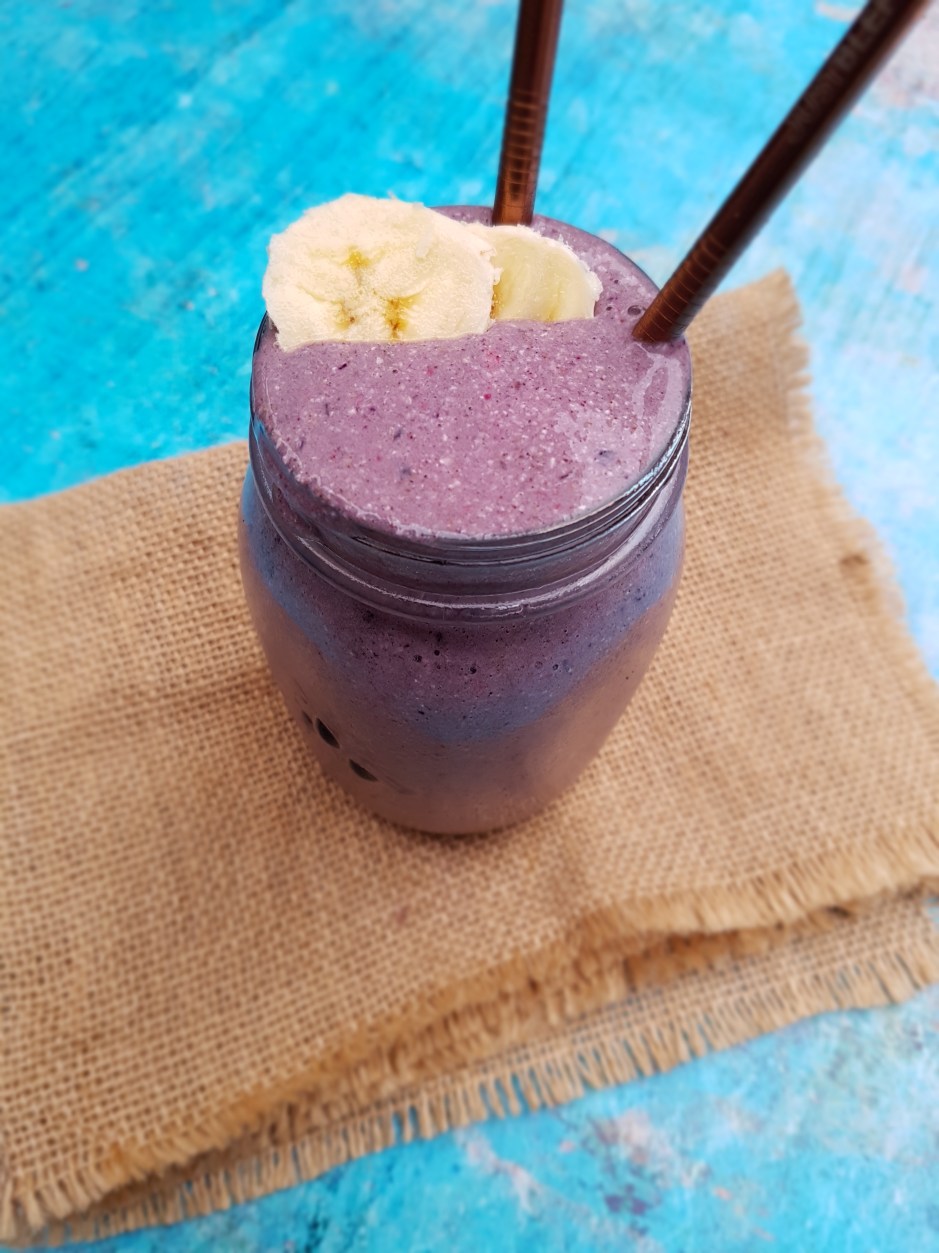
I called this a blueberry muffin smoothie shake as it tastes a bit like a blueberry muffin, though much much better for you. It is thick, creamy and immensely satisfying. Customise this according to your liking. Sub your favourite fruit, milk, sweetener or protein powder. Add your supplements and/or some greens to supercharge your breakfast or afternoon snack. If you want to take this a step further, you could use soaked buckwheat groats instead.

Blueberry Muffin Smoothie Shake

Serves 1

Half a cup rolled oats, soaked overnight in water or plant milk (use certified gluten free if required)
a handfull of frozen berries
one scoop of protein powder (if using plain protein powder, add some vanilla and stevia or your favourite sweetener to taste)
half a tsp of cinnamon
any supplements (maca, probiotics etc.)

Simply blitz all ingredients in a high-powered blender and enjoy! You probably don’t need any more liquid as the soaked oats will be liquidy, but feel free to add more plant milk to achieve the desired consistency.

Enjoy!

Ultracreamy Green Smoothie (with secret ingredient!)

No food blog – and no hipster café – is complete without a green smoothie nowadays. And that’s why I don’t want to hold back with my ultracreamy green smoothie.

Green smoothies can be a bit like cold vegetable soup. They are usually not creamy and indulgent unless they have lots of avocado and/or nut butters in. Now, dont get me wrong, avocado is definitely one of the healthiest foods under the sun and I love them (Avocado tarts or avocado brownies, anyone?). If you are trying to limit the fats in your diet, however, or have financial constraints (as avos can be rather exxy), they might not be your first choice. Thankfully, you can have an ultracreamy green smoothie without the fat – and we are not talking a chemical crap fest here like many things are that are labelled “low fat”, we are talking…beans.

Yes, you read that right. This smoothie contains beans. The protein and starch in the beans provides for ultimate creaminess, bulk and fluffiness as you would normally only achieve by putting LOTS of bananas and LOTS of avocado in. Just 2 tablespoons of any beans mean that you save a lot of avocado fats and banana sugar and still devour ultracreamy goodness! Not to mention that this sneaky addition costs you, like, between 10 and 20 cents, even if you buy organic. So how does that sound?

This smoothie is not only ultracreamy and ultradelicious, it is also ultragood for you. We all know the benefits of leafy greens which should be on our menu daily. The reality is, thinking of a fancy dinner involving several types of leafy greens is a nice idea for us that is hard to put into practice. I am a full-time working mum so I know how hard it can be to get your daily serves of veggies in! A green smoothie is the quickest, easiest and yummiest way to start the day on the right foot or get that mid-afternoon lift you are craving.

Adding beans does not only provide bulk and creaminess, with their protein and fibre this smoothie will keep you full for a long time!

Are you in?

Ultracreamy Green Smoothie

Serves one

2 handfulls of kale or lettuce
2 handfulls of spinach or silverbeet
1 frozen banana
2 tbsp tinned beans of choice
1/2 cup coconut water (or other liquid of choice)
1 scoop vegan protein powder
matcha powder or other greens powder (optional)
any other supplements such as probiotics, maca, ashwagandha… (optional)
a handfull of ice cubes

Blend all ingredients bar the ice cubes in a high-powered blender until smooth. Add the ice cubes and blitz in.

Enjoy!

Homemade Oat Milk

I know. Every man and their dog is making homemade almond milk these days. And hey, why not? It is easy enough if you have a high-powered blender. Store-bought plant milks are expensive and often have some fillers or other additives, so making your own plant or nut milk is better for your health and better for your wallet. So yeah homemade almond milk is all the buzz right now, but have you tried making your own homemade oat milk?

Like almost everything else I make, making homemade oat milk happened by chance. A while ago, I was making a vegan cashew panna cotta for my husband based on this recipe which calls for blending cashews in water until you achieve a creamy “milk”. I was absolutely blown away how delicious this cashew mylk was and how easy to create – especially given the astronomical prices they charge for nut mylks in the shop! So it has been at the back of my mind to make my own plant and nut mylks.

Then, a couple of days ago, I had tried a new brand of almond milk (not mentioning any names here) which I really did not like all that much. It was overly sweet, had a funny marzipan flavour and curdled horrendously in coffee. I remembered my goal to create my own plant milks. As oat milk has always been one of my favourite vegan milks and oats are also considerably cheaper than nuts, here was my project!

It dod not take much experimenting as this worked out quite well at the first shot. I blended 1 cup of quick oats with 3 cups of filtered water. This ratio produces a very thick and creamy milk which I love but you could also try a ration of 1:4 which would produce a slightly thinner milk. Just experiment! I don’t add any sweeteners but you could try adding a tablespoon or so of your favourite liquid sweetener (maple syrup, date syrup or coconut syrup would probably work best). You could also try adding some vanilla essence or cocoa powder or any other flavour you fancy. Then, just strain the milk in a bottle, chill and enjoy!

Note, there will be sediment so you need to shake your bottle well before every use. This is all natural, so it is not a 1:1 replacement for store-bought mylks which often have a lot of stabiliser and thickeners added. It is not perfect but I think it is a good and economical alternative to store-bought plant milks!

Homemade Oat Milk
Homemade Oat Milk
Homemade Oat Milk

Makes about a pint of oat milk

1 cup quick oats (use certified gluten-free of gluten free)
3-4 cups filtered water
optional: 1 tbsp liquid sweetener, pinch of salt, vanilla essence

Blitz all ingredients on a high powered blender until smooth, milky and the oats are completely broken up. Strain the milk into a bottle. The leftover oat pulp is delicious scooped out and also serves as a great thickener for smoothies and nicecreams! Store your homemade oat milk in the fridge for up to 5 days. Remember that there will be sediment so shake your milk bottle thoroughly before use.

Enjoy!

Salted Caramel Protein Bites {vg, gf}

I know it’s getting a bit much with all my energy/bliss ball-y things lately (see here, here and here). But one bite into these beauties and I knew I could not wait another day to share these with you. I know you guys love salted caramel. And I know you love protein bites. Enter…salted caramel protein bites!

These came about as I tried to recreate one of those crazy expensive and filled-to-the-brim with junk store-bought protein bars. The combination of dates and oats has never disappointed me and I figured that with the addition of my favourite vegan protein powder I’d be able to make the perfect protein bar. But then it just seemed easier to go down the bliss ball route again. So here we are. Unfortunately or fortunately, I tasted the “batter” while making these balls and got so addicted that I devoured a considerable part of the mix (so you might well be able to yield more than 30 balls out of this recipe). I could not get over how much these tasted like salted caramel!

I hate the word amazeballs, but it pretty much does them justice!

Salted Caramel Protein Bites

Makes 30 bites

2.5 cups rolled oats
3/4 cup packed pitted dates (any kind)
1/4 cup coconut syrup (you can try other liquid sweeteners, but I find the coconut syrup really gives it that deep malty, caramelly taste that we want)
1/4 cup filtered water
4 rounded tbsp (ca. 40-45 g) vegan vanilla protein powder (I use Amazonia Raw Fermented Paleo Protein)
dash of vanilla extract
healthy pinch of Maldon sea salt

First, blitz the oats in a high-powered blender until you reach a rough flour consistency. Add the remaining ingredients and blend until the mixture comes together and holds its shape but is not overly sticky. Shape into balls and store in the fridge.

Enjoy!

Raw Vegan Matcha and Coconut Tart {nut free}

I love oxymorons. Hello, healthy brownies, lowfat chocolate cake, vegan bolognese, oil-free muffins and dairy-free icecream. Just like it seems to be a given that brownies are unhealthy and spag bol involves meat, the labels “raw vegan” and “nut free” do not seem to go together. Raw vegan desserts generally contain a lot of raw nuts to replace grains which you cannot consume in a raw state. Not so this raw vegan matcha and coconut tart. I used desiccated coconut instead of nut meal. Coconut is botanically not a nut so many people with a nut allergy are able to consume coconuts. Great news if you have a littlie with a nut allergy! If you are not a fan of matcha or can’t get your hands on some you can omit it (in which case this would be just a raw vegan coconut tart) or use for example some lime zest to make raw vegan lime and coconut tart.

I am usually not a huge fan of raw vegan desserts. Nothing against nuts in moderation, but raw desserts contain such high amounts of nuts that I find them really heavy in the stomach. Also, a dessert or snack should not contain the calories of a full meal which raw desserts often do, so that is why I have not ventured down this path yet. But as I found myself in a situation where I had some avocados to use up, I was thinking of this raw dessert as I have used avocado in icecream before.

Raw Vegan Matcha and Coconut Tart

This is a delightfully creamy, dreamy and comforting dessert that will satisfy any naughty cravings you might have. It is quite a bit higher in fat than I’d prefer but the fat from this tart is super healthy fat from coconut and avocado – the two healthiest fats you can consume! Add to this magnesium, fibre and slow-releasing energy from the dates and it’s clear to see that this indulgence is a healthy treat. Just don’t go overboard – the recipe below yielded 3 small tarts with 10 cm diameter. I’d suggest quartering every tart so that you get 12 individual portions put of this. A little goes a long way!

As I mentioned, I don’t make too many raw desserts, so I hope you enjoy this one!

Raw Vegan Matcha and Coconut Tart

Serves 12

Base:
1 packed cup pitted dates (Medjool or Deglet Noor)
3/4 cup desiccated coconut
2 tbsp raw cacao
pinch of Himalyan sea salt

Filling:
1 large ripe avovado (ca. 200 g)
1 large ripe banana
1/4 cup desiccated coconut
3 tbsp coconut or maple syrup
juice of half a lemon

Blend the ingredients for the base in a high-powered blender, then press evenly into a greased and/or lined baking pan. You can use a 20 cm diameter round pan or three small pans of 10 cam diameter each. Put into freezer. Clean out the blender and blend the ingredients for the filling. Pour on top of the frozen base and let freeze for at least another hour. Store in the freezer.

Enjoy!

Maca Espresso Energy Balls {gf, vg, nut free}

I hope you love all my recipes, but you gotta love these maca espresso energy balls. If you don’t – seriously, what’s wrong with you? Just kidding, I mean, no kidding. These energy balls are so crazy insanely delicious it is actually a sin I haven’t put them on the blog sooner. They are buttery, scrumptious, decadent…I am lost for words. And they pack a serious nutritional punch. All this requires five super-healthy ingredients and five minutes of your time. Yes, that’s right.

Maca Espresso Energy Balls

Want to know what’s in them? Five superfoods that will get you out of your afternoon slump before you have time to yawn:

Medjool dates – chock-full of fibre, aminoacids, potassium, zinc, magnesium, calcium, iron, B vitamins and lots of other goodies.
Oats – one of the healthiest foods on the planet, they contain a type of fiber called beta-glucan, which helps lower levels of bad cholesterol. Plus, manganese, selenium, magnesium, vitamin E and zinc to boot.
Carob or Cacao – carob contains gallic acid which has antibacterial, antiviral and antiseptic properties. Carob also contains vitamins A, B1, B2, B3, D and E. It is a lower fat and naturally sweet alternative to cacao. However, you can totally use cacao instead, which has 40 times the antioxidants of blueberries and is the highest plant-based source of iron.
Maca – rich in vitamin B vitamins, C, and E. It provides plenty of calcium, zinc, iron, magnesium, phosphorous and amino acids and is known to balance hormones and mood. It is also a caffeine-free source of energy.
Espresso coffee – loaded with antioxidants and may even protect against diabetes. Improves cognitive function, mood and fat burning

If that wasn’t a reason alone to get rollin’ – these will also be the easiest energy balls you’ll ever make. Just pulse the ingredients in a high-powered blender and after 15 seconds (!) you will have a malleable dough. No mess, no fuss. Just what you want when you need an energy kick. You can eat them straight away but they will firm up and improve texture in the fridge. They would last a while, at least a week – though I highly doubt that you’ll leave them for that long!

I have mentioned before that I am in love with Medjool dates. The feeling that you are eating something naughty and indulgent when it’s a gem of nature can only be topped by eating bananas! And it’s not only the taste, the texture is just so exquisite, it’s like a buttery caramel fudge made with butter, cream and lots of sugar! None of those nasties in these little babies, however. They are gluten free, dairy free, vegan, nut free, soy free, refined sugar free, and – unlike most recipes for energy balls or bliss balls – very low in fat.

The oats will make sure to fill you up so you don’t need to reach for the bag of Skittles on your co-worker’s desk, while the dates proved slow-releasing carbs without the sugar crash that would normally lead you to yet anouther trip to the vending machine. Carob, maca and just a little bit of coffee (that can of course be caffeine-free if you want) provide a gentle energy kick without the jitters. Maca espresso energy balls for the win!

Maca Espresso Energy Balls

Makes 12 balls

115 g Medjool dates
60 g rolled oats
2 tsp carob (or cacao)
1 tsp maca
1 tsp instant espresso powder


Just blitz all ingredients in a high-powered blender until a doughy ball forms. Shape into 12 balls and store in the fridge.

Enjoy!

Vegan Clafoutis {lc, lf, gf}

Note: This is an updated – veganised – version of a vegan clafoutis to my previous recipe for paleo clafoutis! I hope you enjoy it!

It seems I have a thing for French desserts at the moment – or rather, my take on them. While I love the timeless finesse that French desserts exude, a little makeover never goes astray, especially if it’s as delicious as this one! My previous paleo version of clafoutis already hit the spot, but when I embarked on a vegan diet, I knew I had to make this a vegan clafoutis as well. And I have to say, the result was pretty successful! So here is my vegan clafoutis. I use aquafaba (chickpea brine) instead of eggs (more about aquafaba here), so technically this is not paleo anymore. However, there is absolutely no nasties in here, no wheat, dairy, soy, refined sugar or oils, and also no eggs. I hope you enjoy this truly cruelty-free but no less delicious version of clafoutis.

Vegan Clafoutis
Vegan Clafoutis

The thought about making clafoutis has been at the back of my mind for a while – actually, ever since I saw a recipe for cherry clafoutis in my French text book at high school. (Which, sadly, is a long time ago now. Very long.) Ever since then, clafoutis recipes have been popping up in magazines. and, naturellement, on the internet. This recipe is my own little invention. There is low-carb, fibre-rich coconut flour instead of conventional flours and starches, coconut sugar and maple syrup instead of sugar, plant mylk instead of milk, and no fat, oil or butter (I did grease the mould but dare I say that the amount of fat used is rather negligible).

I like my clafoutis so much that I will never go back to any other recipe. It is also very versatile – you can use any fruit, any milk and any sweetener you like. This little delight is as good as impressive dessert to impress guests as it is as for afternoon tea or even a satisfying breakfast – all this knowing that you are devouring a treat that is not going to blow your calorie budget (something you can’t say about French desserts), and that is a winner on the health front. Plus, it looks pretty.

Vegan Clafoutis
Vegan Clafoutis
Vegan Clafoutis

Serves 8

4 tbsp coconut flour
4 tbsp LSA or ground chia seeds
4 tbsp coconut sugar
4 tbsp maple syrup

healthy pinch of Maldon sea salt
aquafaba from one 425g tin of chickpeas (approx. 3/4 cup)
2 cups plant milk (I used cashew)
fruit of choice (approx. 1-2 cups, red fruit are a great option)

Preheat oven to 180 °C and prepare a tart pan by lining it. Mix coconut flour, LSA, sugar, syrup, salt in a bowl. Make a well in the centre and carefully fold in the aquafaba until mixed in. Beat in milk until you reach a homogenic consistency. Divide fruit between the four dishes and spread batter over the fruit. Bake for about 60 minutes or until lightly golden on top. Let cool completely and preferably store in the fridge before serving to firm up.

Enjoy!

Apple & Cherry Bread {vg, gf, lf}

Update: I have updated and veganised this recipe which is now even more delicious and completely vegan! I hope you enjoy it!

I love healthy and satisfying treat that are a cinch to make, especially since having a toddler, and this delicious, fudgy and moist apple & cherry bread just fits the bill. It’s so good that I just had to share it with you! My husband and kid love it, and it’s vegan, dairy free, egg free, gluten free, soy free and low in fat.

This crossover between a cake and bread can be done with whatever fruit you like/have available, and you could even include nuts in it (which wouldn’t make it lowfat but nonetheless delicious). It is very addictive, comes in handy as a quick snack or breakfast on the go, is very kid friendly, not overly sweet and still super yummy, and it’s a great companion with your afternoon cuppa – in short, go baking now!

The base is actually porridge – yes, oats soaked in water! So if you ever find yourself with leftover porridge, here is a great way to make us of it! No need to first mix the dry ingredients and then the wet – just throw everything together. Doesn’t get easier than that!

Apple & Cherry Bread

Apple and Cherry Bread {vg, gf, lf}

Makes 1 loaf/12-15 slices

1 cup almond milk
1 tsp apple cider vinegar
1 cup quick oats, soaked in cup water (porridge)
1 cup gluten free all-purpose flour
half cup brown rice flour

1/3 cup coconut sugar or raw sugar
1 tbsp gluten free baking powder
half a cup unsweetened apple sauce
dash of vanilla extract
2 apples, cubed, or other fruit
2 handfuls of frozen cherries or other fruit

Preheat oven to 180 °C. Line a loaf tin with baking paper (if using a silicone mold, you don’t need to line it). Pour the almond milk into a large mixing bowl, add the vinegar and set aside to let it react for a couple of minutes. Add the porridge, flours, sugar, baking powder, apple sauce and vanilla and mix until you achieve a homogenic consistency. Carefully fold in the fruit.

Pour the dough into the prepared tin and bake for 50 minutes until the top is golden brown and the bread passes the “toothpick” test. Turn off the heat and let the bread cool in the oven to firm it up. Once the tin is no longer hot to the touch, take out the bread and let cool completely. Serve as slices and store at room temperature, wrapped in aluminium foil.

Enjoy!

Vegan Ginger Snap Biscuits {vg, gf, lf}

As you might know, I am a big fan of legumes. From falafel to hummus to stews, it would be easier to list my recipes without lentils, beans, chickpeas and co. than the one with them as there are so many! And the reason for that is simple – they are delicious, filling, cheap, and prepared in a jiffy. They are full of fiber and a very good plant-based source of protein. Together with grains, any legumes form a complete protein. Take that, omnivore! But if you think, grains and legumes are only for soups and salads, you haven’t tried my vegan ginger snap biscuits yet!

Vegan Ginger Snap Biscuits

You are probably wondering what on earth is going on here. A post about vegan ginger snap biscuits and then all the carry-on about legumes? Makes no sense? Not so fast! With recipes floating around for cookies and biscuits containing beans (yes, you read that right), the idea to give your afternoon snack a protein and fiber boost while lowering the fat content isn’t exactly new, but I thought I’d update my old ginger snap biscuit recipe and bring you a sparkling new, vegan, gluten free and lowfat version!

These babies are not only a cinch to make, they are also a guilt-free treat, and a very satisfying at that. Even my hubby was excited and he usually doesn’t like healthified snacks at all, so take that as one more reason to get the cannellini bean tins out!

Vegan Ginger Snap Biscuits {vg, gf, lf}

Makes 25

1.5 cups rolled oats
1.5 cups besan (chickpea) flour
1/2 tbsp glutenfree baking powder

1 tsp ground cinnamon
1 tsp (or more) ground ginger
1/2 tsp ground cloves
1/2 tsp freshly ground sea salt
pinch of cayenne pepper
1 tin cannellini beans (reserve 6 tbsp of the liquid from the can, see next row!)
6 tbsp aquafaba (cannellini bean “brine”, i.e. the liquid from the can)
3/4 cup brown sugar

Combine dry ingredients (oats, besan, baking powder, spices and sugar) in a medium-sized mixing bowl. Process the beans with the aquafaba in a high-powered blender and add the resulting mush to the dry ingredients. Heap a teaspoonfull each on a prepared baking sheet and bake in a preheated oven at 180 °C for 15 minutes until lightly golden at the edges. Taste best on the same day but can be kept in an airtight container for up to a week.

Vegan Ginger Snap Biscuits

Enjoy!