Almost Fat Free Vegan Gluten Free Chocolate Cake

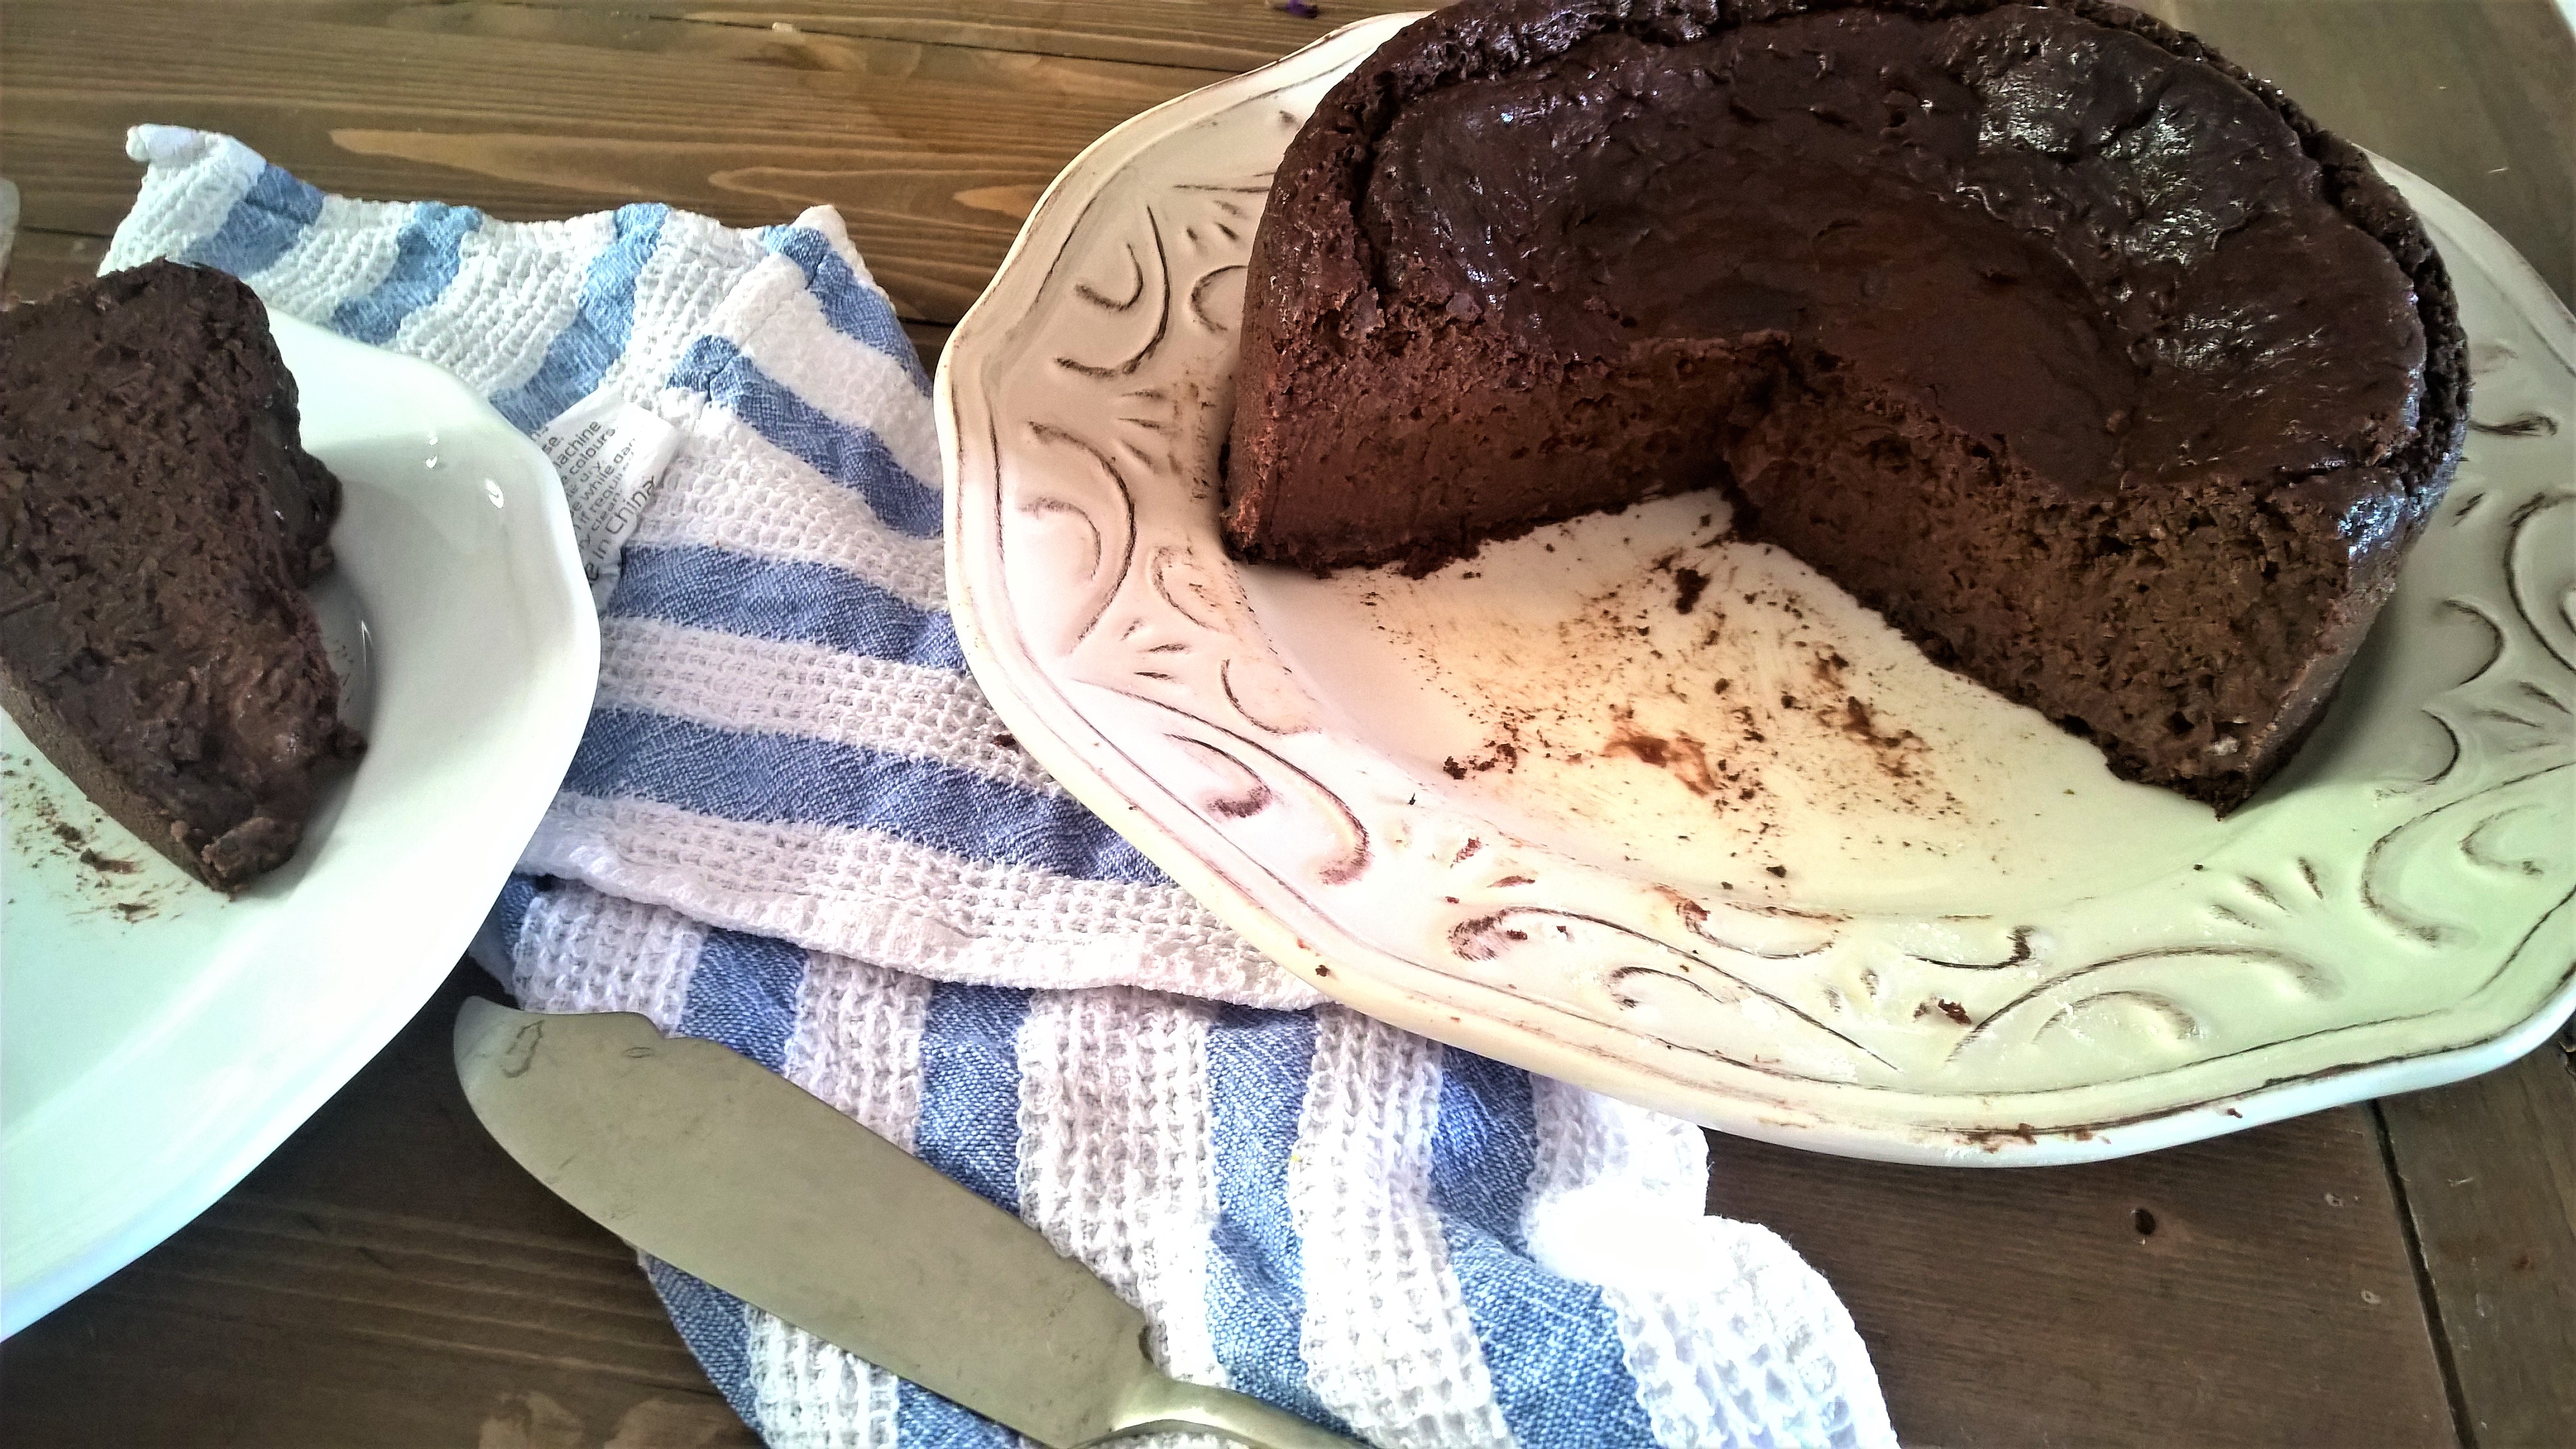
I apologise for that very lengthy title, but I just couldn’t NOT share all the attributes of this marvellous creation of mine. In fact, I should have added moist, fudgy, scrumptious, dreamy, chocolatey, rich, moreish, delightful, satisfying, luxurious, decadent, silky…

I wanted to make a cake for my daughter’s birthday, and in my research about healthy baking I repeatedly stumbled across the tip to use black beans instead of oil/butter and flour. Wut? Yes, that’s right. If you have been following me for some time, you know that I am crazy about legumes. I use them to replace meat (try my lentil bolognese and vegan pâté), cheese and dairy (hello vegan garlic sauce! Or how about some vegan cream cheese? Recipes coming soon so stay tuned!). They are cheap, satisfying, healthy, can be stored almost indefinitely and are incredibly yummy and versatile. But if you thought that the use of legumes is limited to savoury goodies, it’s time to tap into new bean realms.

Almost Fat Free Vegan Gluten Free Chocolate Cake

So I conquered my pantry, kidnapped two beautiful tins of black beans and this is what I did with it. To be honest, I wasn’t so sure how this experiment would turn out. When it comes to baking, I tend to throw the baby out with the bathwater. Just gluten free like back in the day when I started my new journey of no worries baking simply doesn’t cut it anymore these days. I want vegan, oil-free and possible also refined sugar free. Speaking of which, I wish I could say that this cake was sugar free. Unfortunately it isn’t. I am going to try a version with dates soon as I think they might go well in here, but I wanted to take it two steps at a time, not three steps, so for the moment, this uses plain old cane sugar. I’d love for you to try this with alternative sugars so if you do, let me know if it works! So this is not low-sugar or low-carb, but I hope that the lack of oil, butter, gluten, dairy and eggs makes up for it. Plus, beans = fibre and protein FTW.

Oh, and have I mentioned that this is a really easy one? No separating of eggs (it’s vegan – duh!), only one bowl, no first-mix-the-wet-ingredients-then-mix-the-dry-ingredients-then-sift-the-flour-crap that ain’t nobody got time for. The baking time is a little longer than I prefer (45 minutes), but the actual active hands-on time is less than 15. So no excuses!

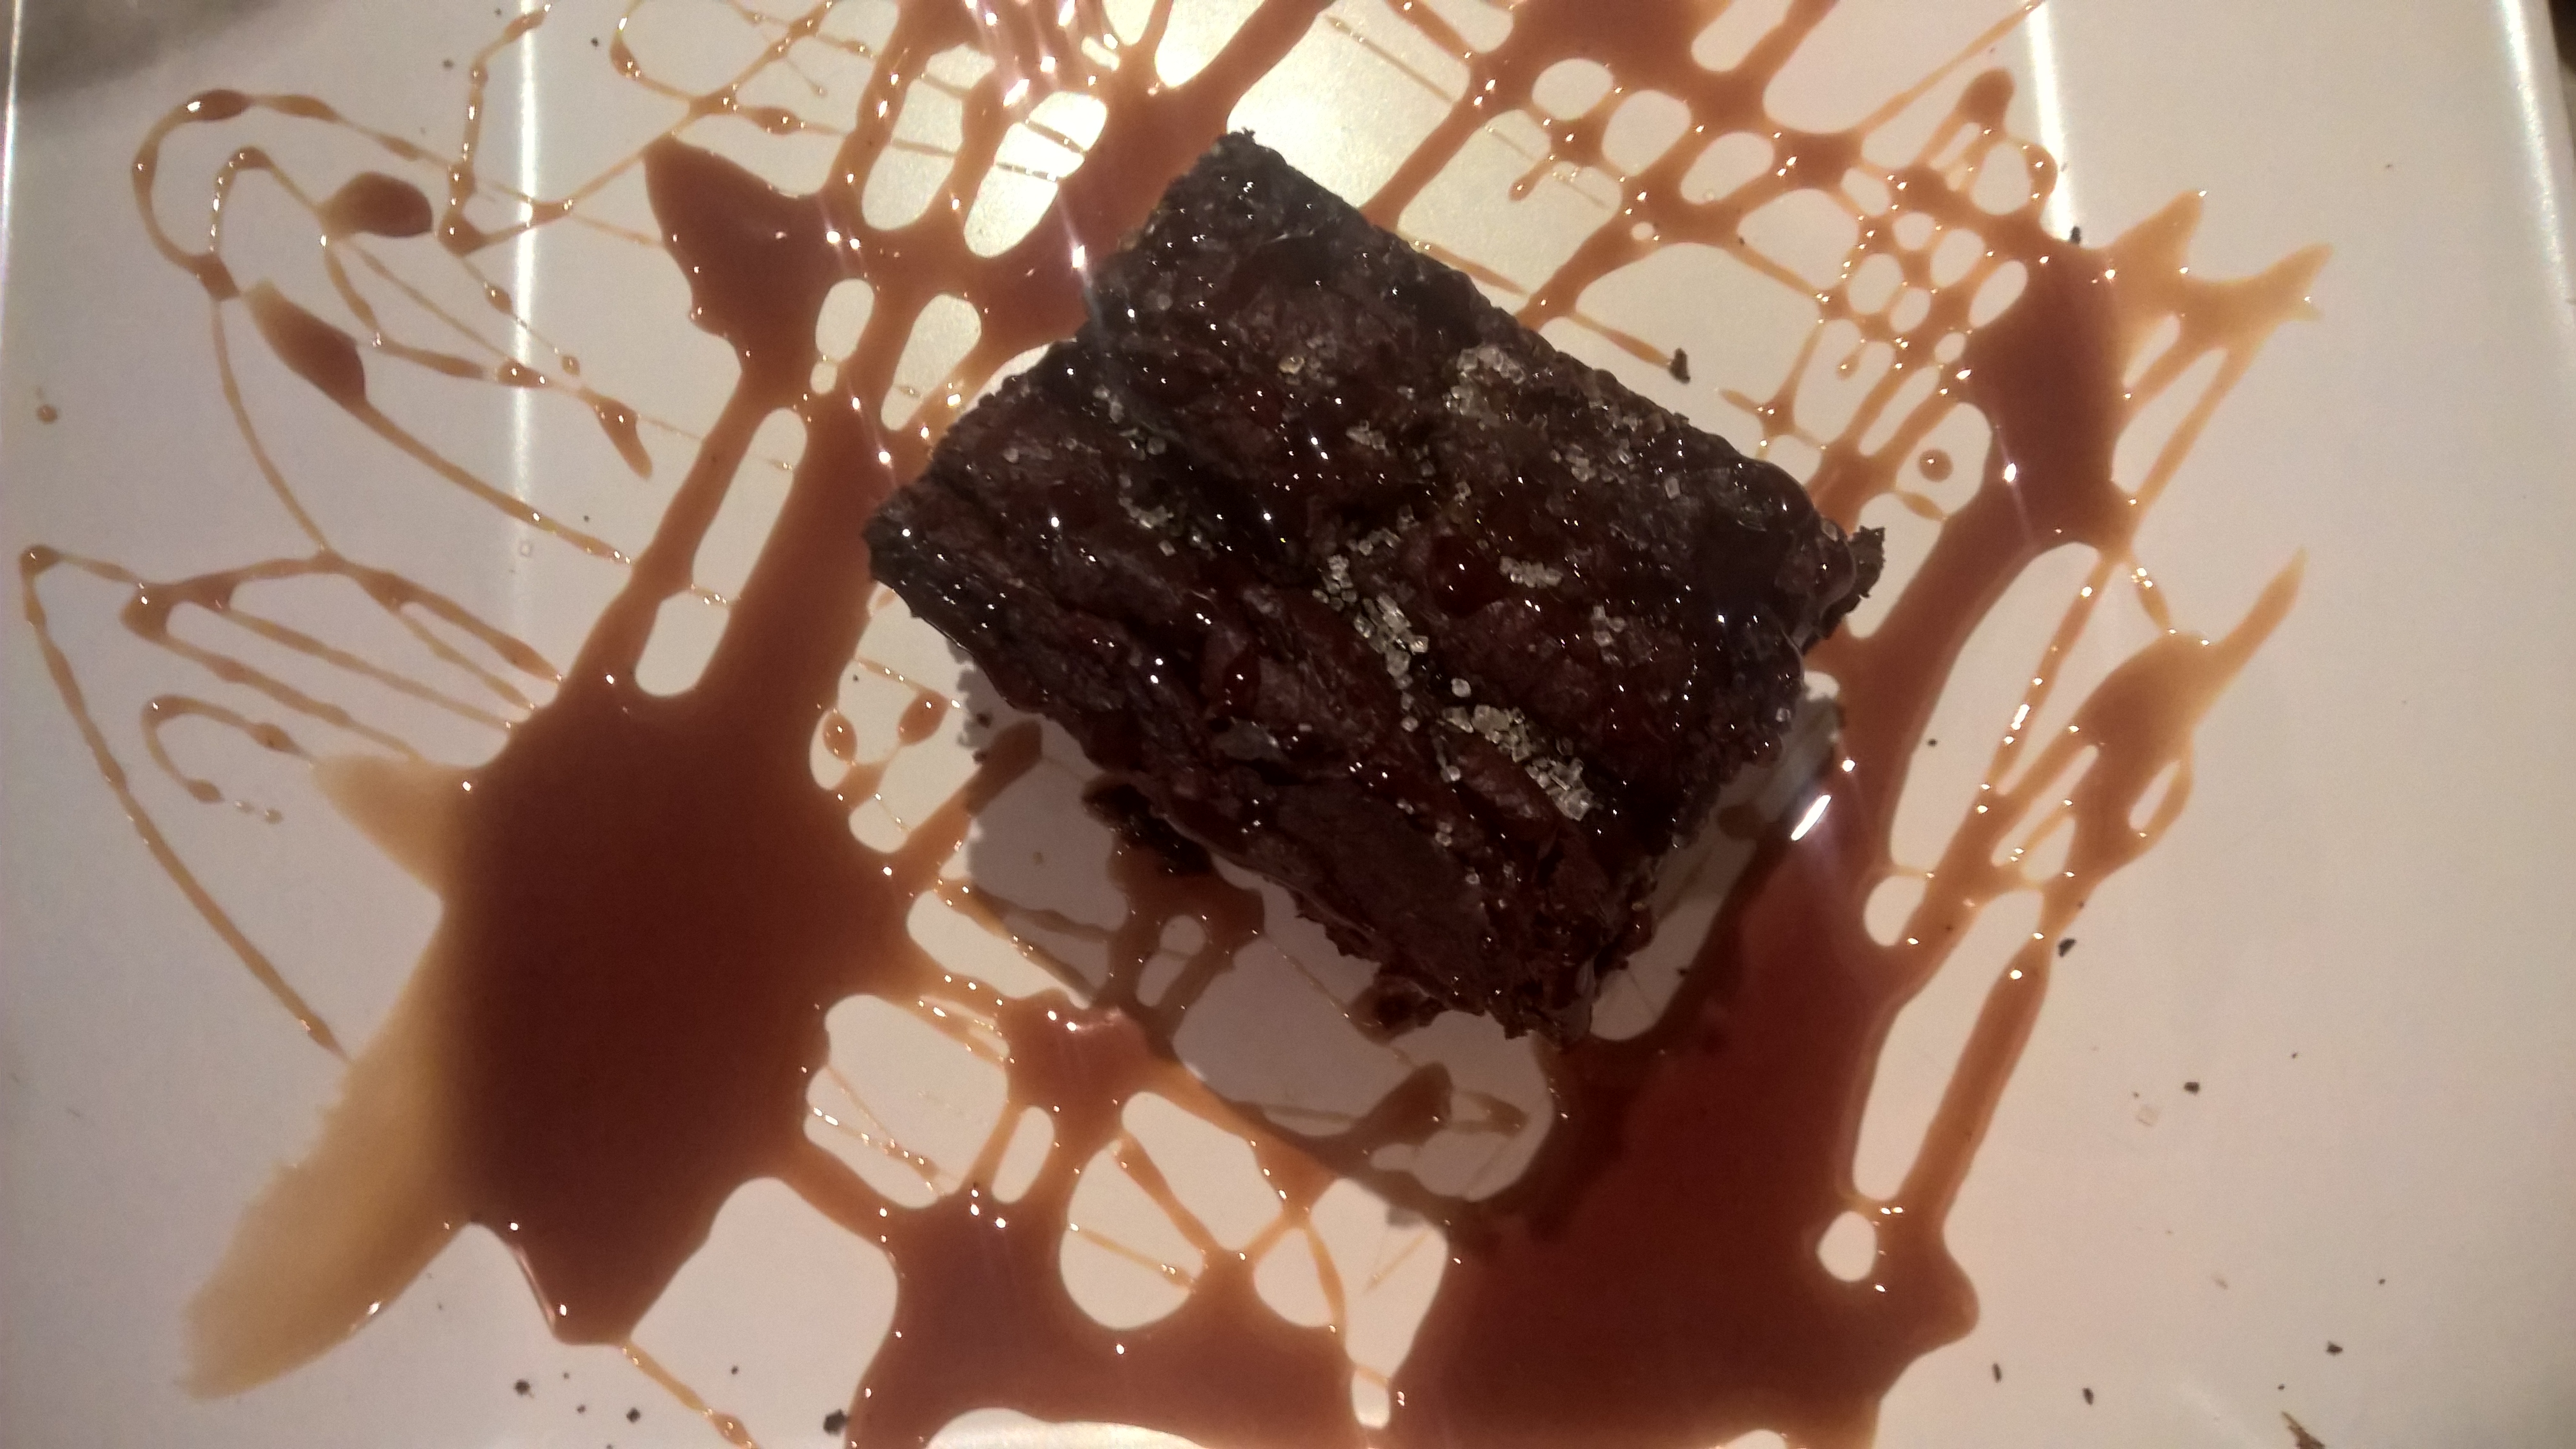
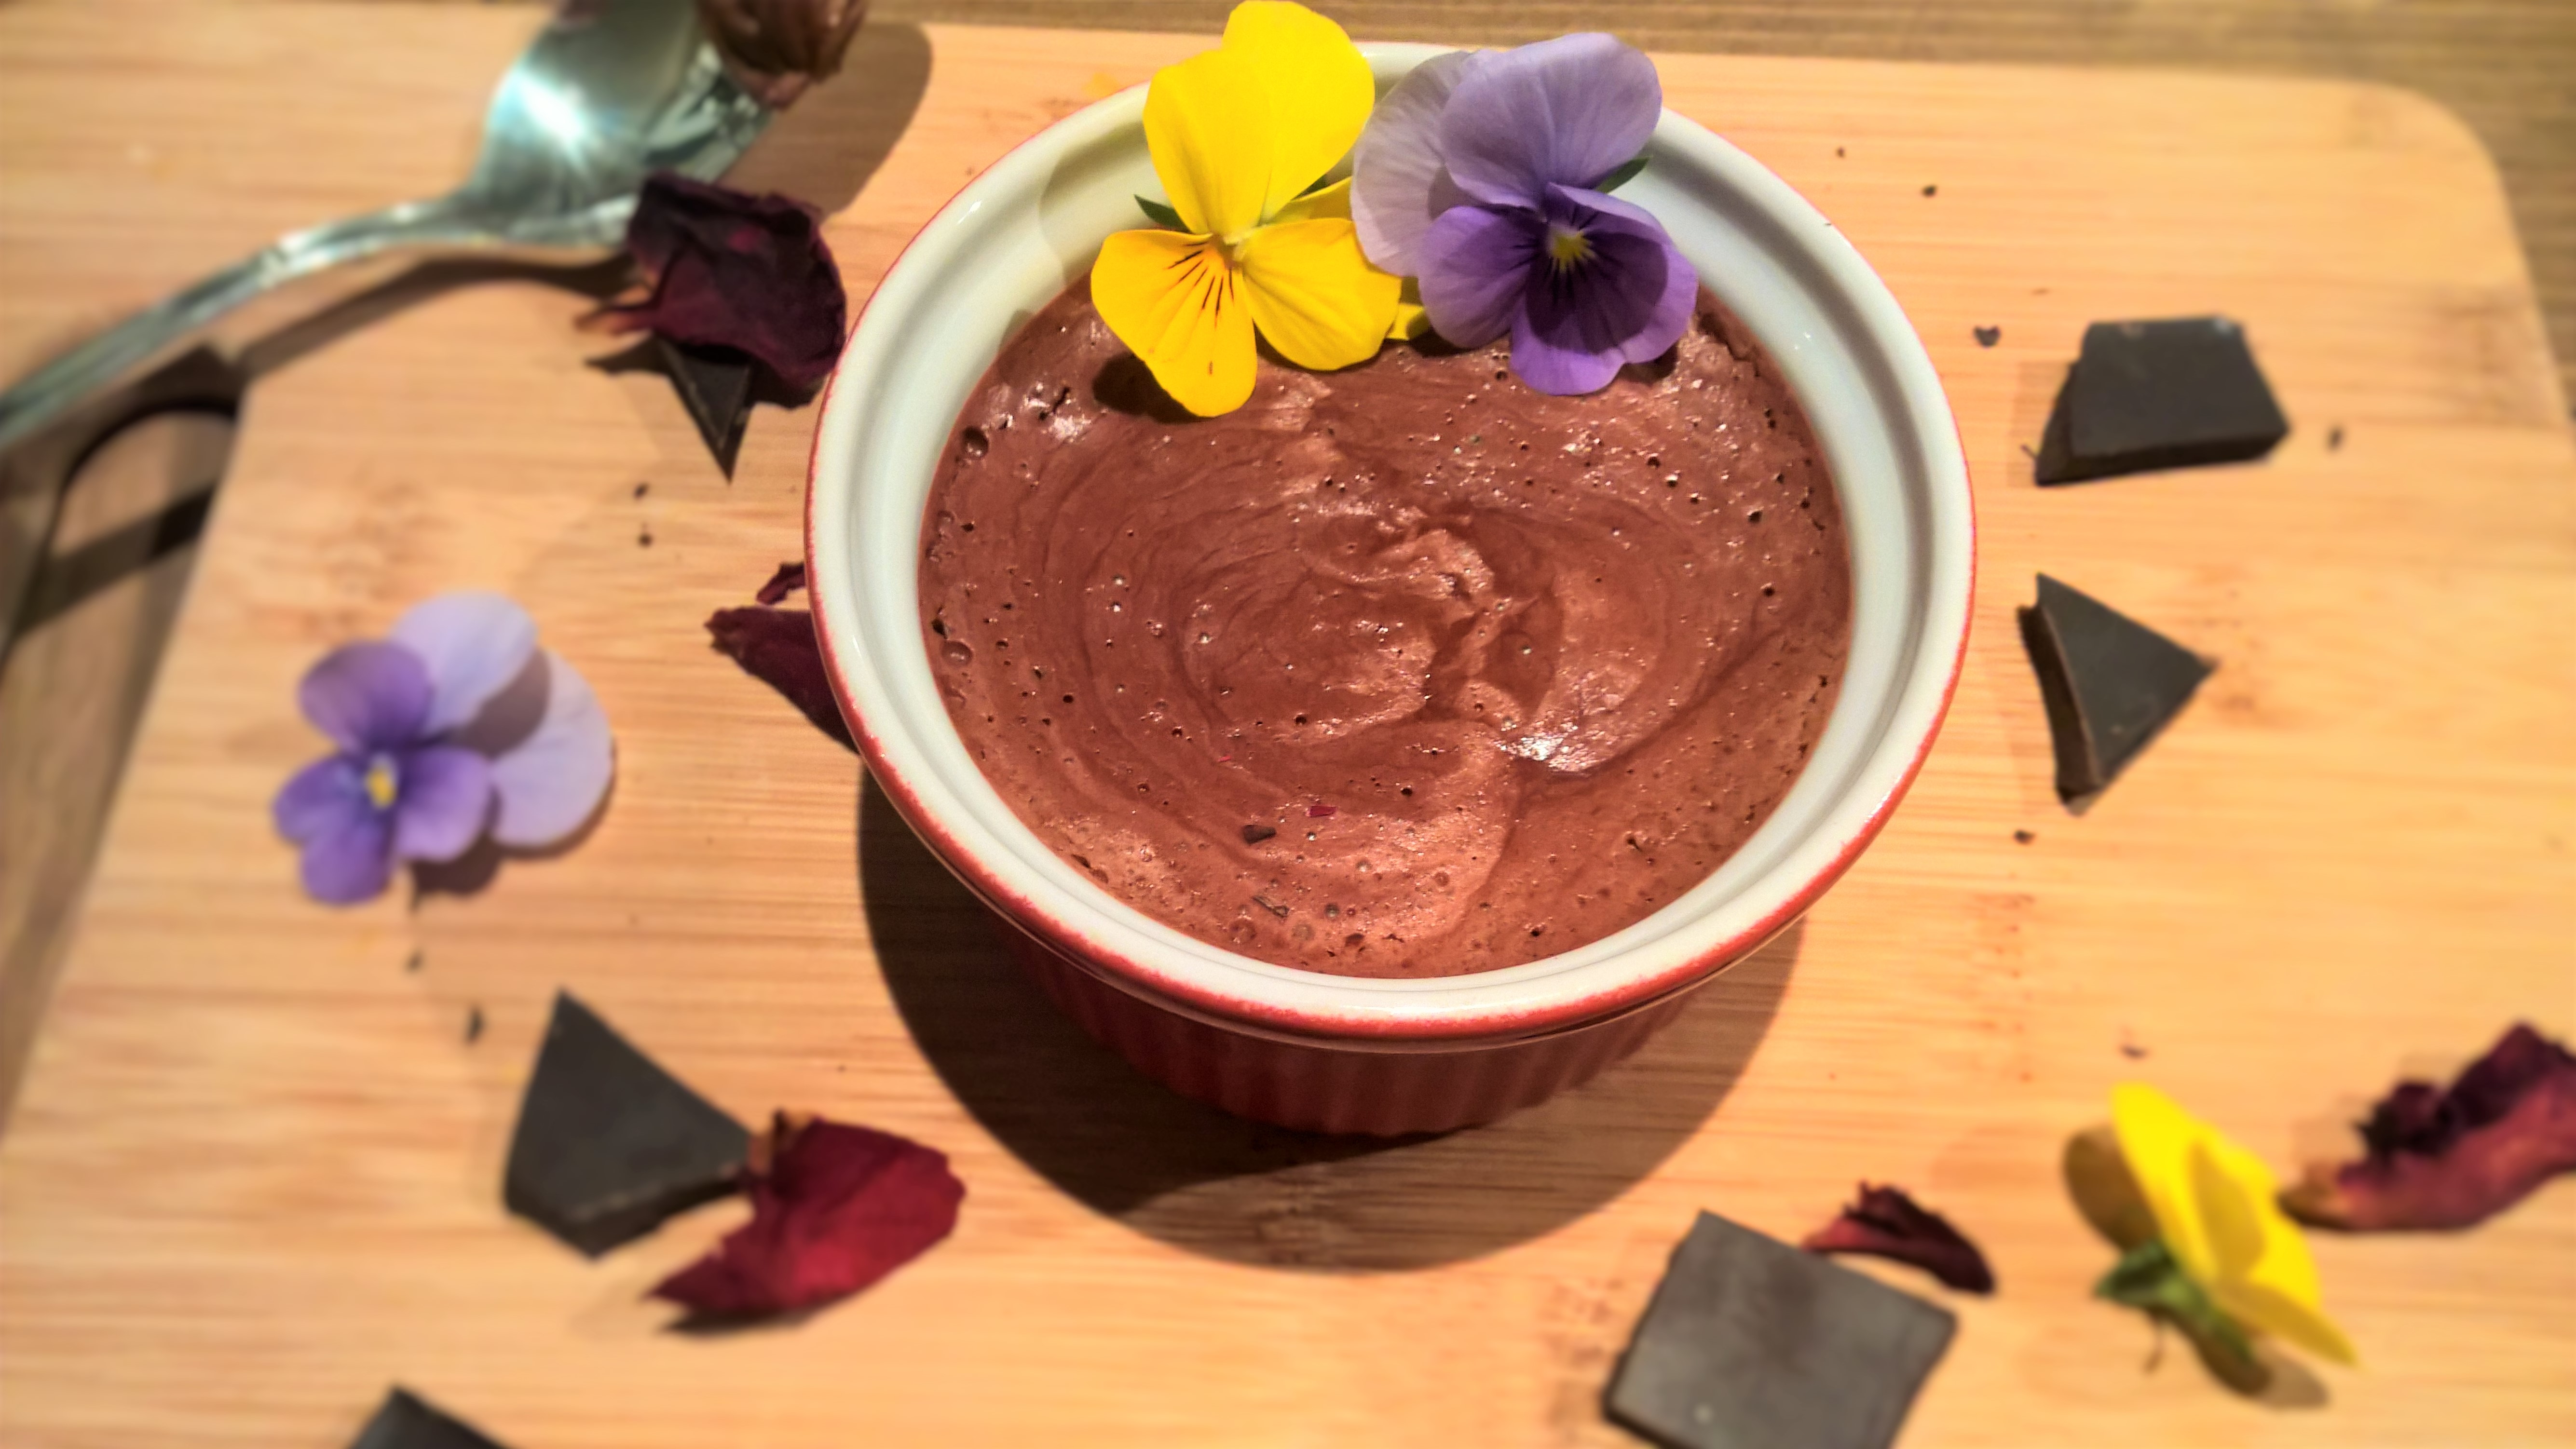
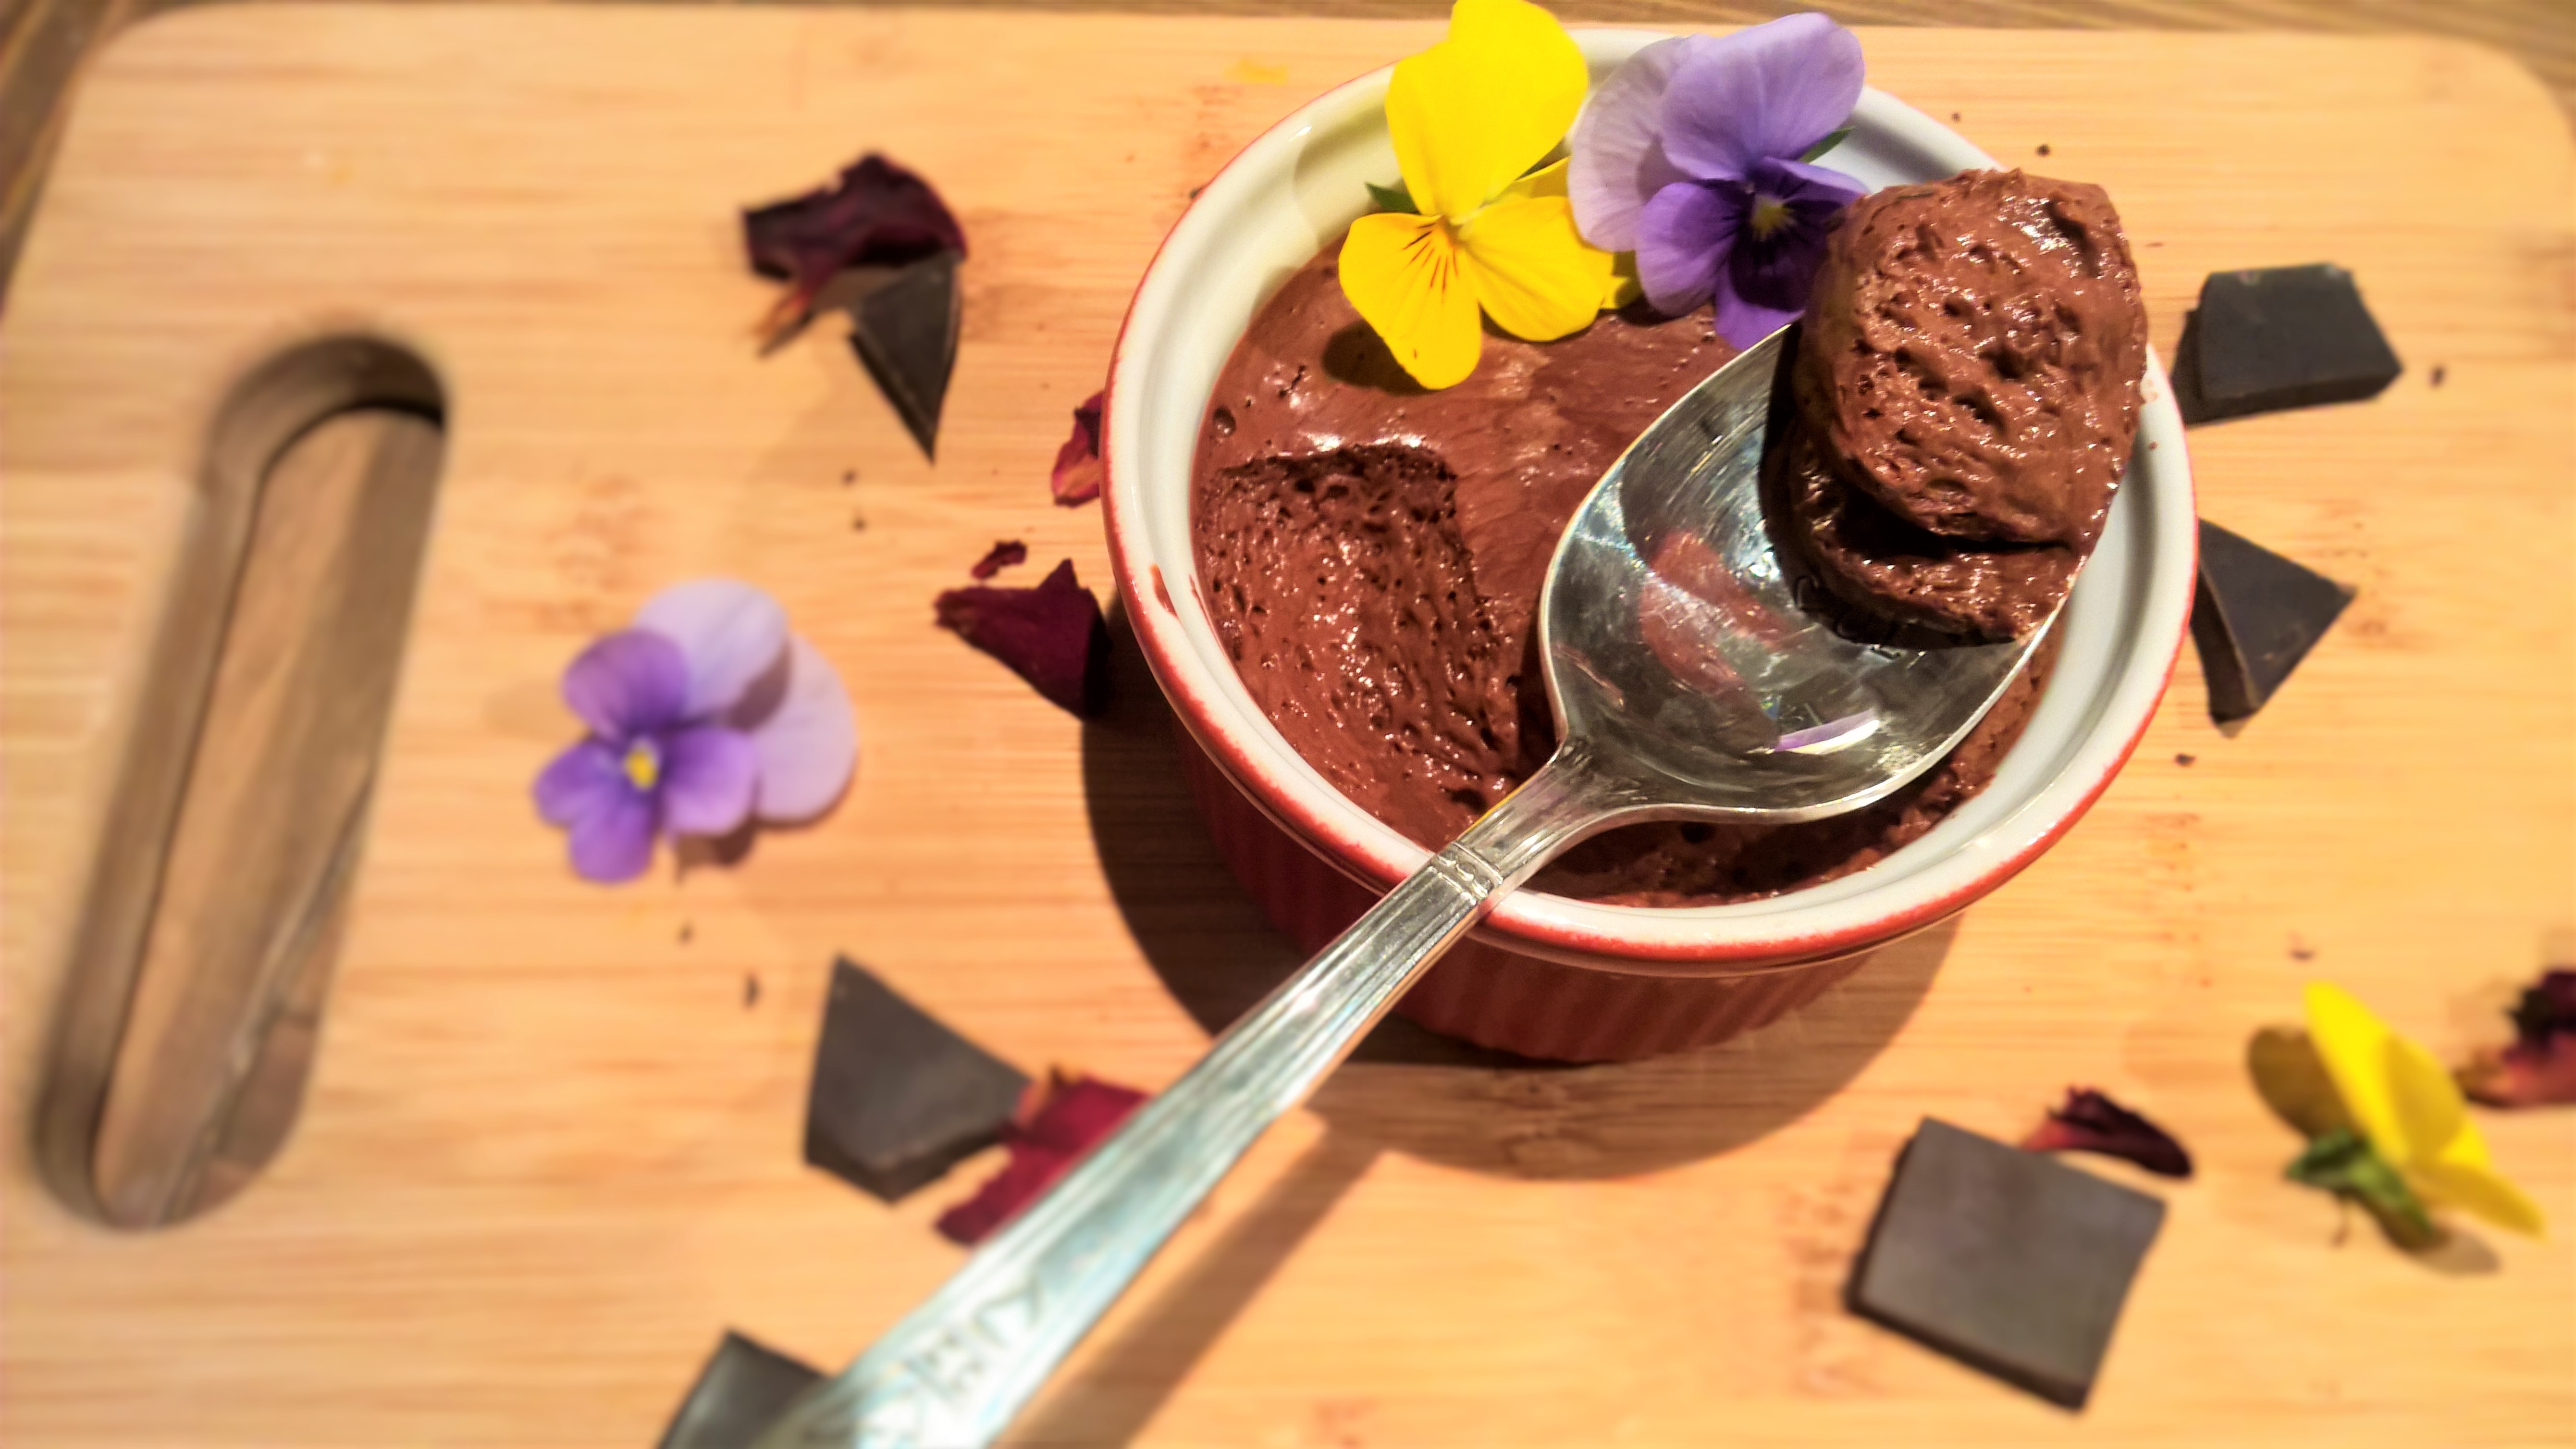
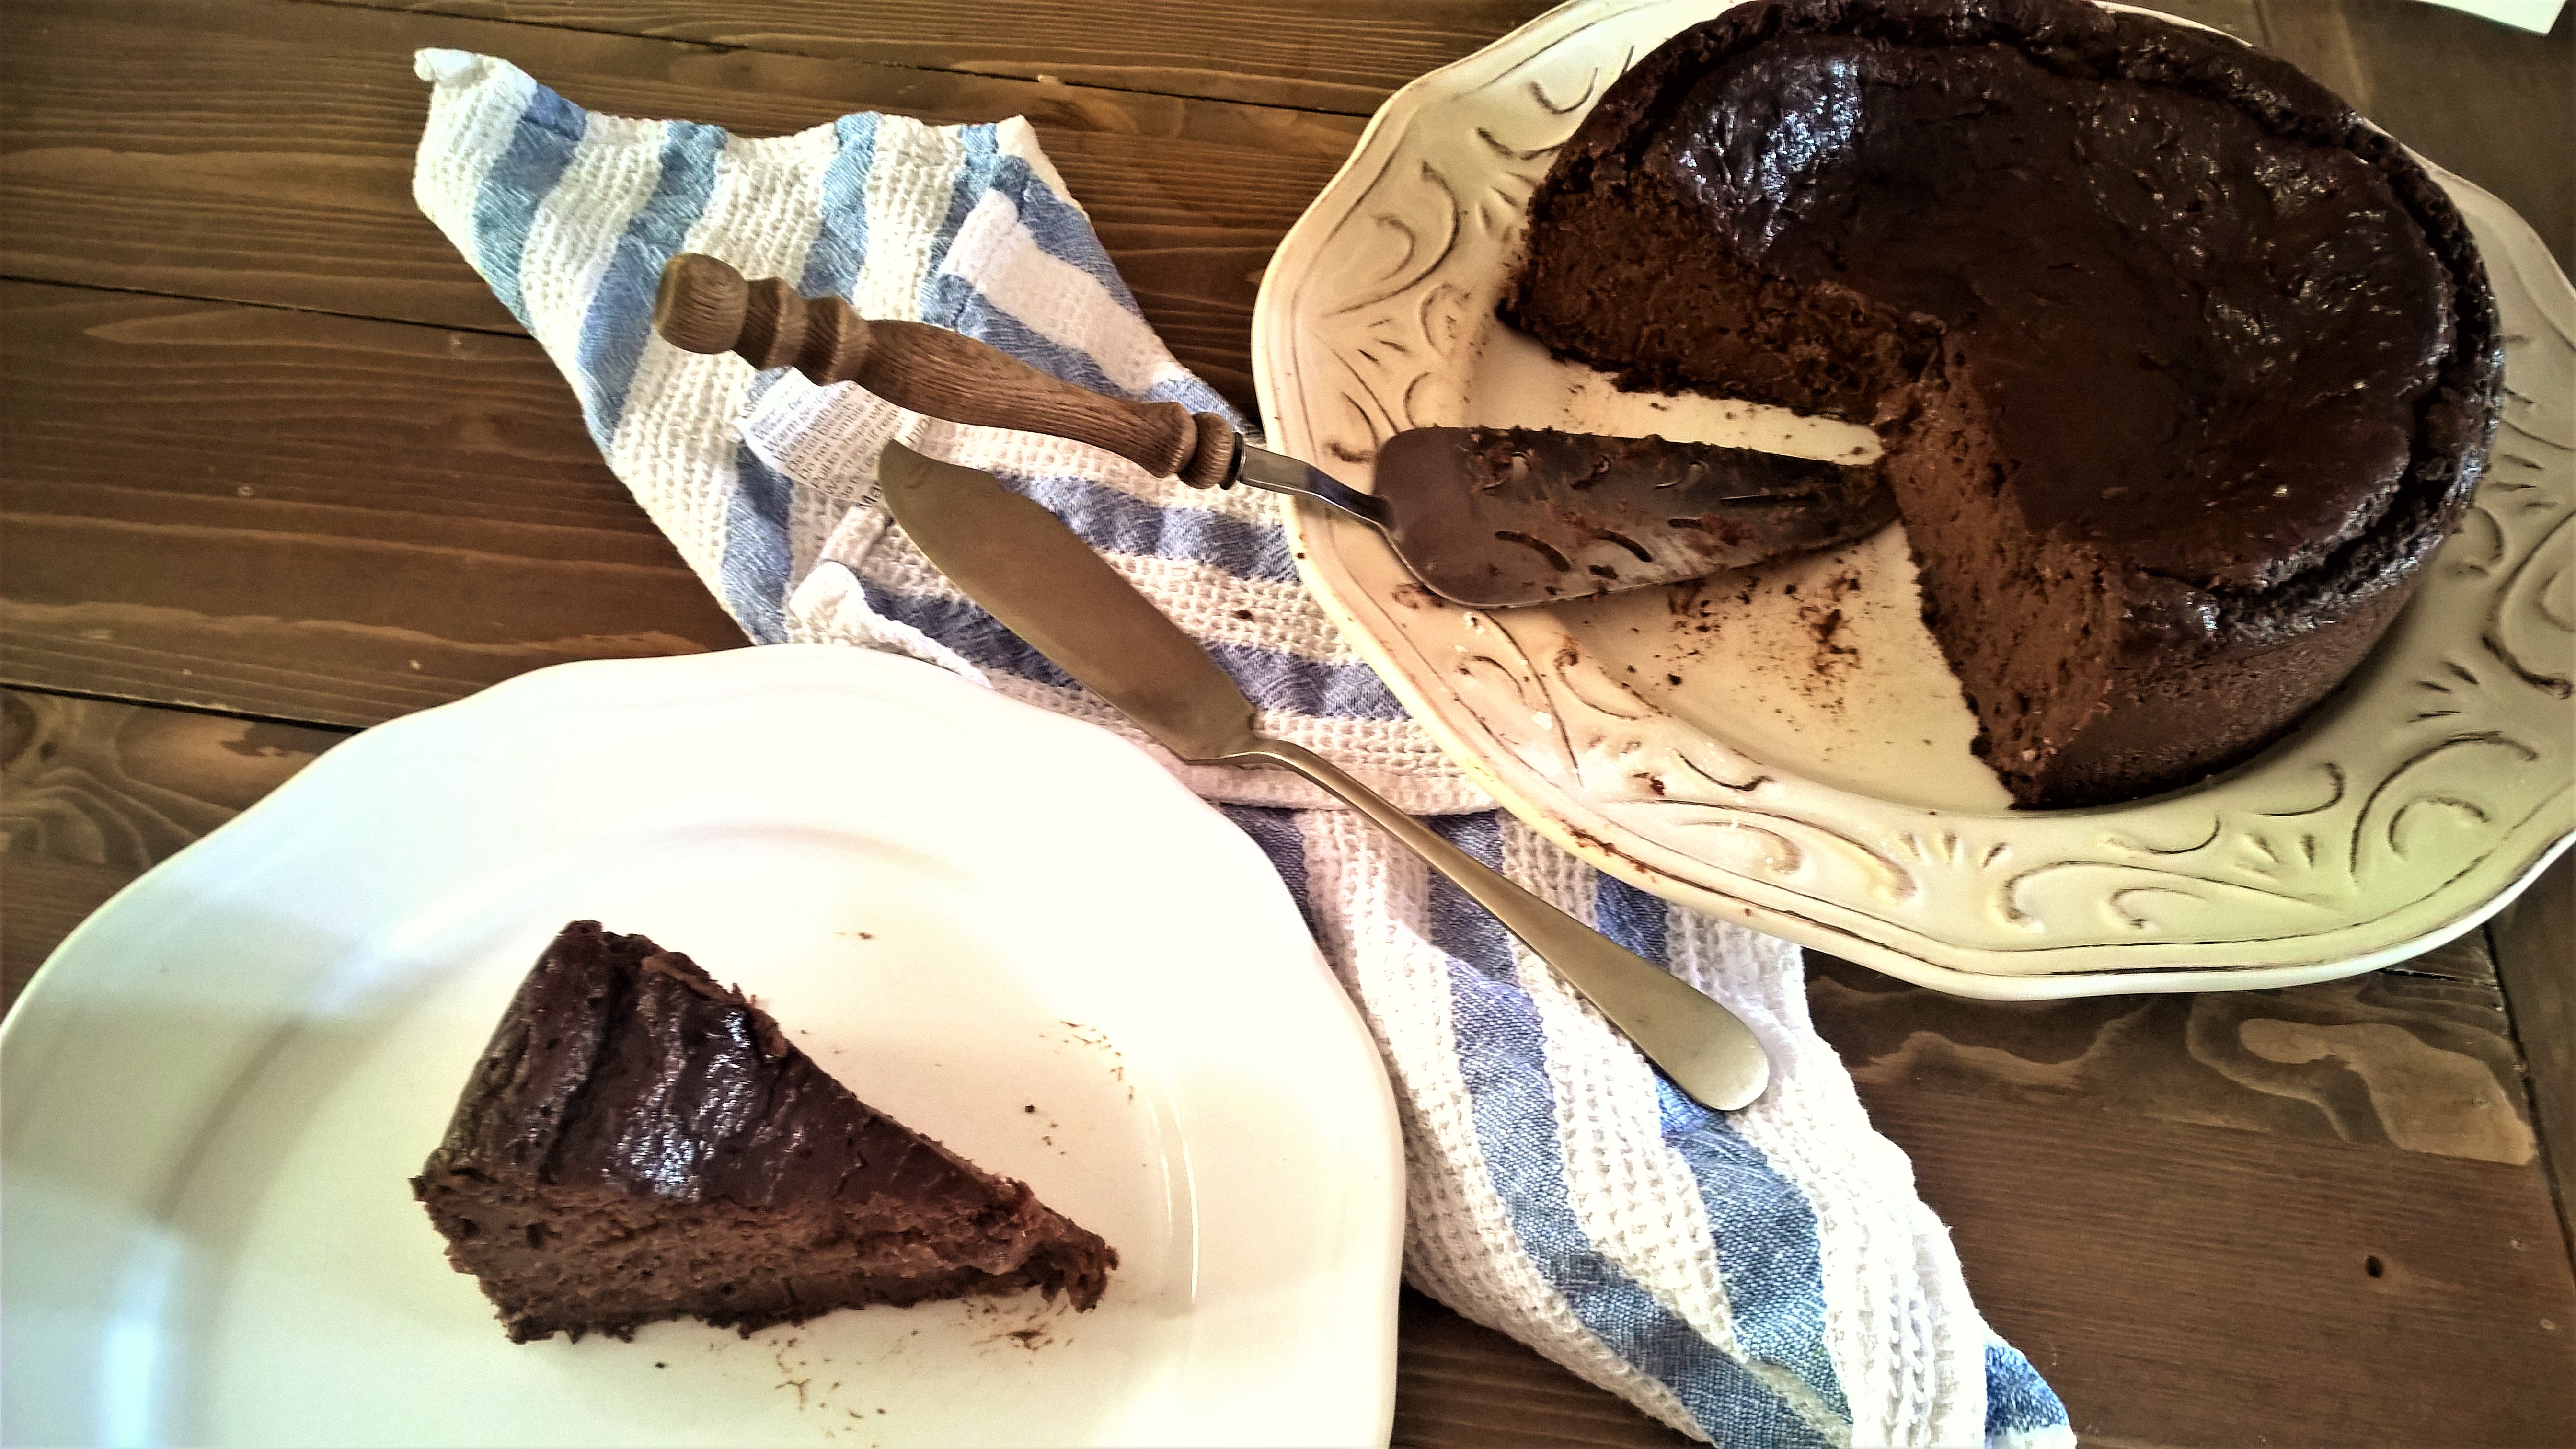
So what does a cake made of black beans look, smell and taste like? The answer is: nothing short of divine.

Almost Fat Free Vegan Gluten Free Chocolate Cake

Makes 1 8-inch (20cm) round cake

2 cups almond milk, divided
1 tbsp apple cider vinegar
2 tins black beans, drained and rinsed
1 cup apple sauce
2 tsp vanilla

1 cup+ gluten-free flour
3 tsp gluten-free baking powder
1 cup organic cane sugar
1 cup raw organic cacao

Preheat oven to 180 °C and lightly grease an 8-inch or 20-cm bake tin with coconut oil. Mix 1.5 cups of the almond milk with the vinegar in a large mixing bowl and let sit for a minute to let the two ingredients react with each other. Blitz the drained and rinsed black beans together with the remaining half cup almond milk until a paste forms. A coarse texture is okay, but there should not be any large lumps.

Add the bean paste together with the apple sauce and vanilla to the almond milk-vinegar mix and beat until combined and a bit frothy. Add the flour, baking powder, cane sugar and cocoa and beat on high until very smooth. There will probably still be some bean skins, but that will resolve during baking. The texture of the batter should be that of a very thick custard. If in doubt, add a couple more tablespoons of flour. Taste the raw batter (no risk of salmonella) and add a bit more sugar if you have a sweet tooth (some of the sweetness will go away during baking).

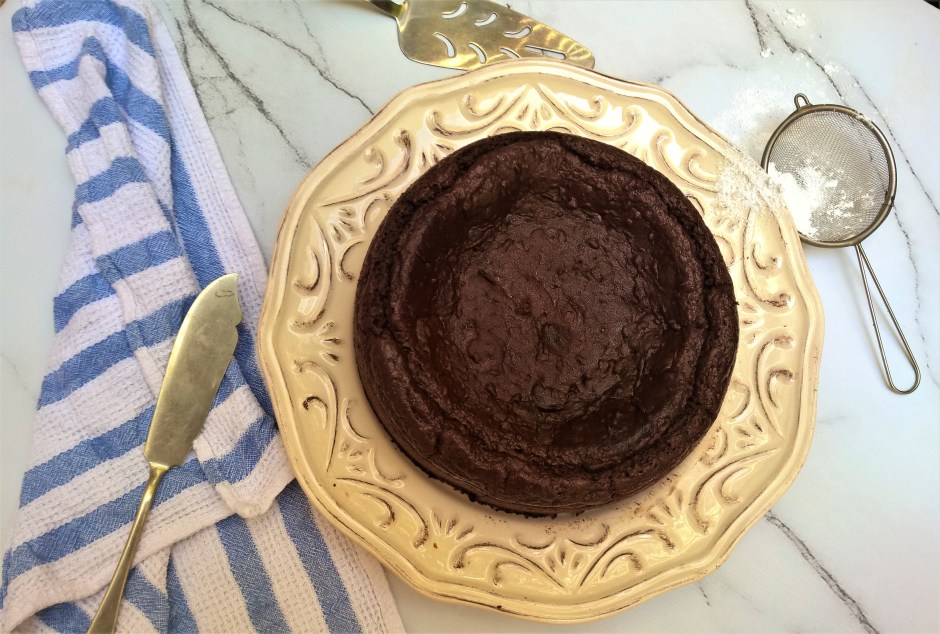
Pour the batter into the prepared tin and bake on the middle rack for 40-45 minutes or until it passes the toothpick test. Let the cake cool completely before serving.

Enjoy!

Lowfat Lentil Carrot Hummus {vg, gf}

Have you ever considered making hummus with lentils? If you haven’t noticed already, I love all things legumes with their only downside being a little hard on the ol’ stomach at times. Which is why lentils are great. i have mentioned before that lentils might be easier to digest for some and with their hearty, meaty flavour are a nice alternative to chick peas and other beans. With lots of garlic, carrots and red peppers and only very little fat coming from healthy tahini paste, this hummus is infinitely better for you and tastes – in my humble opinion – better than any store-bought hummus! It is also incredibly quick to make with ingredients you likely have in your pantry. I’d consider this an allround win.

This lowfat lentil carrot hummus has been tried and tested by friends and family. It never fails to hit the spot, so give it a go! Tasty with just the right amount of spice, much lower in fat than store-bought hummus and very filling. I doubt you’ll be in a hurry to buy hummus from the shop again! It is also vegan, gluten free, soy free, refined sugar free, and nut free – a great recipe to have in your repertoire for entertaining as you’ll tick most dietary requirements! Tip: Try it with my 5-minute vegan gluten free naan bread!

Lowfat Lentil Carrot Hummus
Lowfat Lentil and Carrot Hummus (pictured with falafel, naan bread and garlic sauce)

1 tin lentils, drained and rinsed
½ cup grated carrots
½ cup roasted red peppers (can be from the jar)
2 garlic cloves, minced
1 tbsp dukkah (optional)
3 tsp souk spice mix or blend your own with a pinch each of black pepper, allspice, cumin, coriander, turmeric, cinnamon, paprika, cardamom, cayenne, and nutmeg
2 tsp lemon juice
2 tsp tahin (omit if you want to make it fat free)
pinch of salt

Just blitz everything in a high-powered blender and –

Enjoy!

Cookie Dough Bliss Balls {vg, gf}

Do you like polishing off raw cookie dough from a mixing bowl? I know you do. Would you like it even more without butter, sugar, white flour, eggs and salmonella? Then you’re in for a treat.

These were a bit of a lucky dip for me. As you know, I love all things legumes. They are a great meat replacement, make hummus (one of my favourite foods) and you can use the liquid from tinned chickpeas and white beans to create healthy egg-free desserts (it’s true!). Beans, chickpeas and co. are also a great replacer for eggs and oil in baked goods and sweet treats, which sounds right up my alley!

I am admittedly a bit late to jump on the bliss ball bandwagon. I like substantial meals – even in between meals! – and bliss balls always seemed a lot of effort for not much benefit! Well – my stance has changed with these little beauts!! Which is even more surprising as I just shoved everything together that I thought might or might not belong in bliss balls: cannellini beans (I know…), oats, dates, seeds, protein powder, tahini and all the other good stuff. Gave it a good blitz, rolled it in balls and stored it in the fridge – and there was bliss! Minimal effort, minimal mess, maximal bliss. Legumes for the win!

I love it how these taste like raw cookie dough, and I think you’ll love it too! And you can tell your mum that you are officially allowed to have these – no more secretly guiltily licking off spoons. These goodies are loaded with omega-3s, fibre, antioxidants, magnesium, protein, iron and much more for a happy mood, glowing skin, brain power and healthy digestion. Let’s tuck in!

Cookie Dough Bliss Balls {vegan, gluten free, refined sugar free}
Healthy Cookie Dough Bliss Balls

Makes 25 bliss balls

1 425 ml tin of cannellini beans, drained and rinsed (reserve the liquid and make mousse au chocolat!)
1/2 cup hemp seeds
1/4 cup LSA or flax seeds
1/2 cup rolled oats
1/2 cup pitted dates
3 tbsp vegan vanilla protein powder
2 tbsp coconut syrup or maple syrup
2 tbsp tahini
1 tsp vanilla extract
pinch of sea salt
optional: cocoa powder, coconut flakes etc. for rolling

Start by pulsing the beans together with the dry ingredients (hemp seeds, LSA, oats, protein powder, sea salt) in a high-powered blender until well blended. Add the wet ingredients (dates, coconut syrup, tahini, vanilla extract) and blitz in 15 second increments until well incorporated. You will probably need to add a bit )1-2 tbsp) of filtered water or plant milk to achieve a dough-like consistency. The dough should be easily malleable. Shape 25 little balls, roll in optional toppings if desired and store in the fridge.

Enjoy!


Healthy Vegan Iced Coffee

Now this is a big deal! Are you guilty of spending too much money on iced coffees and frappés from a certain coffee shop with nine letters? Frozen drinks with lots of sugar, fat, artificial ingredients and other nasties? I used to when I was in my twenties. I was lucky enough that the only damage they did back then was the damage they did to my wallet. But why would you want to put crap in your body and spend top dollar? Seriously, even if you order the “light” version of these commercial frozen coffee drinks, do you know all the ingredients that are in it? Do you even want to know?

Wouldn’t it be nice if you could make yourself a healthy iced coffee that tastes better than anything you get in the shops, is good for you, ready in a minute (I dare say you queue much longer if you buy an iced coffee) and costs a fraction? This one has been a bit of a lucky find. One afternoon (yes, afternoons are when this stuff happens), I was hungry and thirsty at the same time and needed caffeine. Sounds familiar? I also craved my daily protein boost, so I quickly threw together everything I could think of to help me with this: almond milk, water, coffee, cacao, maca and protein powder. An ice cold drink was in order so I added some ice to this concoction. A quick blitz and while I expected something like a smoothie, the result was very similar to the iced coffees I binged on a good ten years ago. Success!

A drink that is surprisingly close to a store-bought iced coffee, but much, much healthier and not overly sweet! I actually did not add any sugar at all, with the sweetness coming from my vegan vanilla protein powder. If you don’t want to use a flavoured protein powder, then dates would be a great natural sweetener with an additional magnesium boost. The maca gives an additional energy boost, and you could add any other supplements or superfoods you are normally using to give you that morning or afternoon lift. If you are worried about the jitters but still love the taste of coffee you can of course use decaf coffee!

Healthy Iced Coffee {vegan, gluten free, refined sugar free}
Healthy Iced Coffee
Healthy Iced Coffee

Serves 1
½ cup plant milk
½ cup filtered water
1-2 tsp (decaf) instant coffee
2 tsp raw cacao
1 tsp maca
1 tbsp vegan vanilla protein (I use Amazonia Raw Fermented Paleo Protein)
2 handfulls of ice

Just blitz all ingredients in a high-powered blender and…

Enjoy!

10-minute Lowfat Vegan Mushroom Alfredo gf, df, soyfree, nutfree)

As promised on my Instagram account, here comes the easiest, healthiest and best 10-minute lowfat vegan mushroom alfredo you’ll ever make.

I don’t say this lightly. This is serious stuff. I am aware that there is no lack of vegan Alfredo recipes, a lot of which involve tofu (which can be an issue for some) or cashew nuts and/or coconut cream, therefore being very heavy. In short, alfredos, whether vegan or not, are not exactly lowfat. I have made alfredo sauces using cauliflower which is a better option to achieve that creamy consistency that we crave but the flavour of the cauliflower (and the smell of your kitchen when cooking it) can be a bit overwhelming when all you are after is mushrooms, creams and garlic. What I wanted was an Alfredo sauce which fulfilled the following criteria:

-relatively low in fat
-takes 10 minutes to make from start to finish
-requires about 5 ingredients
-is economical
-tastes divine

I’m so excited because my mushroom Alfredo does all that! With only coconut oil, garlic, plant milk, mushrooms (duh!), cornstarch and plenty of herbs and spices, there are no obscure or hard-to-get ingredients, no nasties and you don’t need to set aside your precious weekend for meal prepping – all you need is the commercial TV break on a weeknight. Sounds good? Sure does!

You can use any plant milk you like or have on hand. If you are not worried about the soy/nut issue, then soy or nut milk is perfectly fine to use. I like oat milk as it makes the sauce really unctuous, however, it is quite a bit higher in carbs than other non.dairy mylks and also sweeter, so you might want to keep that in mind. I have tried this recipe with both almond and oat milk and love them both! So it’s completely up to you. What’s not up to you is the spice part. There is garlic, sea salt, fresh black pepper and fresh parsley, which is not a lot of spices. They are therefore not negotiable. If you don’t like or can’t have garlic, pepper and/or parsley (seriously???), then you can try to omit them, but it really won’t be the same.

Lowfat Vegan Mushroom Alfredo

Serves 2

1/2 to 1 tbsp refined coconut oil
3 garlic cloves, minced
250 g button/cup mushrooms
250-350 ml unsweetened plant milk (depending how much water is sweat out by your mushrooms)
1 tbsp cornstarch, mixed with equal amounts water to form a paste
sea salt and fresh black pepper
parsley
any other herbs of choice

Melt the coconut oil in a large saucepan and fry the garlic until aromatic. Add the mushrooms and fry until they start to wither. Add the plant milk, starting with a cup (ca. 250 ml). Whisk in the dissolved cornstarch and keep whisking until no lumps are left and the sauce starts to thicken. Add salt, pepper and spices and some more plant milk until the sauce has your desired consistency. Serve with pasta of choice.

Enjoy!


Oil-free Blueberry Muffins {vg, gf}

Back in the days when I ate wheat and dairy and generally all things processed and sugary I had a staple recipe for blueberry muffins, which – on the rare occasions that I baked – I always fell back to. I loved it as it was lower in fat than other muffin recipes, replacing most of the fat with buttermilk. It was also dirt-easy to make, requiring just one bowl – perfect for a fast food-addicted 20-something university student without a dishwasher! The muffins were always a success and the recipe was customisable meaning you could use any fruit you wanted in place of the blueberries.

A solid muffin recipe is the first and most basic thing in a baker’s repertoire so once I got into this whole gluten free baking thing, I knew I had to tweak my old go-to. My new gluten-free version of this was just as popular but still relied on refined gluten-free flour and dairy. So after the first step – creating a gluten-free muffin recipe – I needed to come up with a way to make it wholesome and not rely on conventional gluten free flour mixes that with their less than ideal nutritional profile literally make you hungry while you eat! However, not only did I want to create a gluten free and oil free muffin, but also a vegan muffin. Yogurt and buttermilk are great in gluten-free muffins as they really provide that texture that we love and miss about conventional baked goods. The acid in the milk combines with the baking soda to yield moist and tender products. Using yoghurt or buttermilk also means you can nix most of the oil, butter and eggs! So how to replace dairy?

After a bit of research I decided to recreate the sourness from the yogurt/buttermilk with some apple cider vinegar in almond milk. Instead of conventional gluten free flour I used a mix of freshly ground oat flour, almond meal and flax meal (with the flax also replacing the need for eggs). Apple sauce and blueberries keep these muffins nice and moist, so there is no need for eggs or oil. I will probably still tweak the flour part a bit, as the flax gives a somewhat coarse texture but for the time being this is a great recipe if you want a tasty and filling muffin that is gluten free, vegan, refined sugar free, oil free, low in fat and refined grain free and is easy and quick to make with some simple ingredients you likely have in your pantry!

Oil-free Blueberry Muffins {vg, gf}
Oil-free Blueberry Muffins (vg, gf)

Yields 16 mini muffins

½ cup almond milk
1 tb apple cider vinegar
2 cups oat flour

1/3 cup almond meal
1/3 cup flax meal
½ cup coconut sugar
½ cup apple sauce
Pinch of salt

pinch of cinnamon
2 tsp of baking powder
dash of vanilla
1 cup of fresh or frozen blueberries

Preheat oven to 180 °C and lightly grease a muffin pan or use paper muffin cups. Mix the almond milk with the apple cider vinegar in a medium bowl and set aside for the two ingredients to react. Then add oat flour, almond meal, flax meal, coconut sugar, apple sauce, salt, cinnamon, vanilla and baking powder and whisk just until combined. Fold in the blueberries and pour the batter into the prepared muffin tray. Bake for 15-20 minutes until a toothpick comes out clean.

Enjoy!

Healthy Madras Curry with Chickpea Tofu

Please, can you please all make this curry? Seriously, it’s soooo good! Like, I-want-to-eat-all-servings-by-myself type good. And guess what? Because this curry is really light and healthy, you can! If you are organised and disciplined (I am neither), you double or triple this recipe and freeze leftovers as it freezes really well and makes for a great stand-by on busy weeknights (I already see you dialling that takeaway number, but you will never again after you have tried this recipe). If you are looking for an alternative to Indian takeaway, enter my healthy Madras curry with chickpea tofu!

What I love about our local Indian takeaway is how you can customise the protein and the degree of spiciness in the dishes. What I am less keen on is the amount of cheap oils, butter and cream in Indian takeaway curries and the feeling that you have swallowed a whale (or turned into one). So I’ve been looking to come up with a good alternative that is healthy, easy, quick, inexpensive and, most of all, tasty. It seems like I nailed all these briefs at the first time! This stuff is hearty, satisfying, exotic, just the right amount of spicy, filling without sitting like a rock in your stomach, nourishing and comforting!

Using light coconut/almond milk, this dish is a lot less heavy than traditional Indian dishes and very low in fat, with the fat mainly coming from healthy coconut oil. If you like things extra creamy, you could use full-fat coconut milk or cashew cream although I really prefer the lightness of my recipe. I love my carbs so I tend to serve brown rice on the side with also lends this meal a nice crunch, but if you limit your carbs, you could try cauliflower rice. As a protein, I used Burmese chickpea tofu to create a soy-free vegan meal. I don’t mind soy anymore but I try to not go overboard with it. You can of course use “normal” tofu, tempeh, paneer or whatever protein suits your taste buds and dietary requirements.

If you aren’t familiar with chickpea tofu though, I’d definitely recommend trying it. I made mine using the recipe by the incredibly talented vegan Richa. I looked at several recipes for no-soy tofu, and hers was by far the most straightforward one. It literally comes together in ten minutes and is set in the fridge in under an hour. I was so pleased to have found a cheap, easy, healthy and lowfat alternative to regular tofu! The texture is almost the same as tofu and it has a subtle, not overwhelming earthy chickpea flavour which I love. I actually make a big batch and munch on it as a snack. With its gooey, slightly rubbery consistency, it feels like having naughty cheese, only that due to the chickpea flour, chickpea tofu is low in fat while boasting fiber, iron, potassium, manganese, copper, zinc, phosphorus, magnesium, folate, vitamin B-6 and thiamine!

Sounds too good to be true? Then get cooking!

Healthy Madras Curry with Chickpea Tofu

Makes 3 servings

1 tbsp coconut oil
1 onion, peeled and finely chopped (optional, leave out for low FODMAP)
3 garlic cloves, peeled and minced
1 tbsp ginger powder
2 tsp cumin
2 tsp dried coriander
1 tsp curry powder or garam masala
a pinch of turmeric
chili powder or fresh chilis, to taste
1 recipe chickpea tofu, chopped
1 tin (400g) tinned tomatoes

sea salt and pepper to taste
dash of lemon juice
dash of light coconut milk or almond milk

500 g steamed vegetables such as broccoli, cauliflower, green beans, peas
brown rice or cauliflower rice, to serve

Heat the coconut oil in a deep saucepan and add garlic, onion if using, ginger, cumin, coriander, curry powder, turmeric and chili powder. Fry the spices until they are aromatic. Add the chopped chickpea tofu and fry until lightly browned, then add the tomatoes. Season with salt and pepper. Leave to simmer for 15 minutes, adding a little bit of water as necessary. Stir in lemon juice, coconut milk and vegetables and serve immediately with rice.


Enjoy!

Gluten Free Vegan Avocado Brownies

Luscious chocolate brownies that are vegan, oil-free and gluten free sounds like an oxymoron, but if you have avocados, you can make the impossible a reality. With their neutral taste and creamy texture, avocados are the perfect replacement for nasty processed oils and antibiotics-laden eggs. Avocados are also a perfect complement to dark chocolate and cacao, so using avocados to make brownies was a no-brainer for me.

Now, every man and his dog seems to make chocolate cake with avocado as a “secret” ingredient these days, so I am probably not going to shock anyone anymore by saying that these yummy gooey brownies have avocado in them. Both my husband and daughter love avocado, and they are in season right now, so needless to say, we are going through quite a few at the moment. As they ripen very quickly, this recipe doesn’t only make sure that you get your dose of healthy monounsaturated fats in one super-fudgy yet good-for-you brownie, it is also a great way to rescue any avocados you might have lying around that are past their prime! I hate wasting food so if you can create something nutritious to fix your chocolate cravings while being good to your wallet and the planet too, then why not?

Honestly folks, if you don’t try this, you are really missing out! These brownies are seriously rich and chocolatey and so fudgey it’s ridiculous. Your junk-loving friends, relatives and kids will never be able to tell that they pack a punch: Besides superfoods avocado and raw cacao, there is oatmeal for healthy carbs, protein and fibre, vegan protein powder to keep you full and satisfied as well as coconut flour, psyllium and flaxmeal for some more protein, fibre and nutrition! Needless to say, they are gluten free, vegan, dairy free, soy free, refined sugar free and oil free! How about that? Like most of my recipes, this is a fuss-free affair – melt chocolate, mix everything together and bake for 20 minutes. Easy as that!

Shall we get baking?

Gluten Free Vegan Avocado Brownies

60 g vegan dark chocolate
150 g brown rice syrup, divided
flesh of 1 large ripe avocado, mashed
1 large ripe banana, mashed
50 g ground rolled oats
2 tbsp rice or pea protein powder
2 tbsp raw cacao
1 tbsp flaxmeal, almond meal or LSA
2 tsp coconut flour
1 tsp psyllium husks, flaxmeal or chia seeds
1 tsp gluten free baking powder

Preheat oven to 180 °C or 350 °F and grease a 20x20cm baking pan. Melt chocolate and 100 g brown rice syrup in a double boiler until melted and smooth. Let cool slightly. In a different bowl, mix avocado, banana and 50 g brown rice syrup until smooth. Stir in melted chocolate mix until smooth, add all remaining ingredients and blend until smooth. Spoon into baking pan and bake for 20 minutes.

Enjoy!

Vegan Chocolate Mousse with Aquafaba

I used to have a go-to chocolate mousse recipe which I always fell back to. It only contained fresh eggs, dark chocolate and very little sugar – no dairy at all. It was the absolute hit at every dinner party or family gathering, even with chocolate mousse snobs. I have never been a fan of cream and dairy so was quite pleased with myself of creating a decadent chocolate mousse that was completely dairy free. However, since going plant-based, eggs are obviously off-limits as well, so what was I to do if I wanted to create an easy but still impressive vegan chocolate mousse?

Of course, you literally find millions of recipes for paleo and vegan chocolate mousse on the web, most of which contain avocado, coconut milk, nuts or the like. While these all certainly have their merits, I really wanted to recreate my old favourite chocolate mousse which contained 5 egg yolks and 8 egg whites (which also meant there were always three leftover yolks which is kind of annoying as there is only so much you can do with a yolk) and was therefore light and fluffy, with more whites than yolks. I find those avocado- and coconut-based desserts always very heavy and I wanted something in my repertoire that you could still serve after a rich meal and impress even chocolate mousse purists. So – aquafaba to the rescue! Aqua-what?

If you have been active in the health food blogging community over the past year, you would have likely come across aquafaba. It is the liquid in a tin of legumes, such as (preferably) chickpeas or any white beans. Someone discovered that this liquid is a pretty amazing replacement for eggs and ever since, it’s been all the rage with pictures of vegan meringues, sponge cakes and marshmallows popping up everywhere, all made with aquafaba! There is even a whole Facebook page devoted to this liquid gold so if you haven’t tried aquafaba yet, it might be time to jump on the bandwagon! It will also give you an excuse to use the chickpeas for falafel and hummus! (Can you ever have too much falafel and hummus?)

I only recently heard about aquafaba for the first time. It’s unbelievable how often I just tipped chickpea juice down the drain when I could have made pavlovas and macarons for a whole army! What a great discovery! It means you can simply stock up on tins of chickpeas and use them when you’re ready. You don’t have to worry about salmonella, antibiotics, cholesterol, cruel farming methods or separating the eggs. And it’s better for your wallet as well! Yay for aquafaba!

I have been wanting to share my chocolate mousse recipe with you for years, and I am now all the happier to be able to present you with a veganised version of this heavenly dessert. Have I mentioned, it literally takes minutes to come together. It is perfect to prepare the night before a dinner party or just if you fancy a treat to yourself. You deserve it! Note: This is not a fat-free or low-fat dessert, but it is still sooo much lighter and healthier than egg- and dairy-based chocolate mousse. Our friends and family are in love with this vegan chocolate mousse, and I hope you will be, too!

Healthy Vegan Chocolate Mousse with Aquafaba
Just look how fluffy and airy it is!

Note: Jazz it up with some mint oil, rosewater or orange oil!

Makes 6

Liquid from 2 cans of chickpeas (aquafaba) (approx. 1-1.5 cups or 300ml; use the chickpeas for hummus, falafel or throw into your Buddha bowl!)
200 g dairy-free dark chocolate (at least 80% cocoa)
1/3 cup sugar or stevia (I recommend sugar as the stevia taste can be very pronounced)
dash of vanilla (optional)

Melt the chocolate in a double boiler while constantly strirring until almost completely melted. Turn off the heat and stir until completely melted. Pour chocolate into a bowl and leave to cool for a couple of minutes. Pour the aquafaba into a large bowl and whip with the sugar and vanilla until it resembles marshmallow cream. Now slowly pour the melted chocolate into the aqafaba while constantly stirring until fully combined. Pour into six ramekins and chill in the fridge for a few hours.

Enjoy!

Oil-free Beetroot Hummus

No, this is not a raspberry mousse, much as I’d like one! It’s beetroot hummus – and an oil-free, vegan, gluten free and soy free one no less! The colour, you ask? Tinned beetroot for the win! If you can boost the nutrition of your snack with a multitude of vitamins, minerals and antioxidants all while turning it the most stunning colour ever, why wouldn’t you? And with eight simple ingredients you possible have sitting in your pantry right now (or can easily enough pick up from the store), there is just no reason not to make this hummus and impress your guests and your family (and yourself) with this beauty. This is pretty much an instant affair, so a good candidate if you have friends dropping in unexpectedly.

I am not exaggerating if I say that it tastes absolutely a-maaazing. I love any version of hummus, but the sweetness of the beetroot just works perfectly to offset the earthiness of the chickpeas and the pungent garlic. My toddler is in love with this hummus which is the biggest compliment ever as at the moment she seems to be the pickiest eater ever! So I’m happy that I’ve got something for her that’s pink and still good for her. 🙂

One word of warning – this hummus may be “oil-free”, but due to the lovely tahini it is not “fat-free”, so moderation – if you can! – is key.

Oil-free Beetroot Hummus
Healthy oil-free beetroot hummus

1 tin chickpeas, drained and rinsed
1/3 tin tinned beetroot, drained (not rinsed)
2 tbsp tahini (sesame paste)
1-2 tbsp plant milk (depending on how you like the consistency)
1-2 cloves garlic, minced (depending on your taste)
dash of lemon juice
1 tsp smooth mustard
1 healthy pinch of Maldon Sea Salt

Simply blitz all the ingredients in a high-powered blender until completely smooth, then transfer to a bowl and chill until using. Lasts about one week in the fridge.

Enjoy!