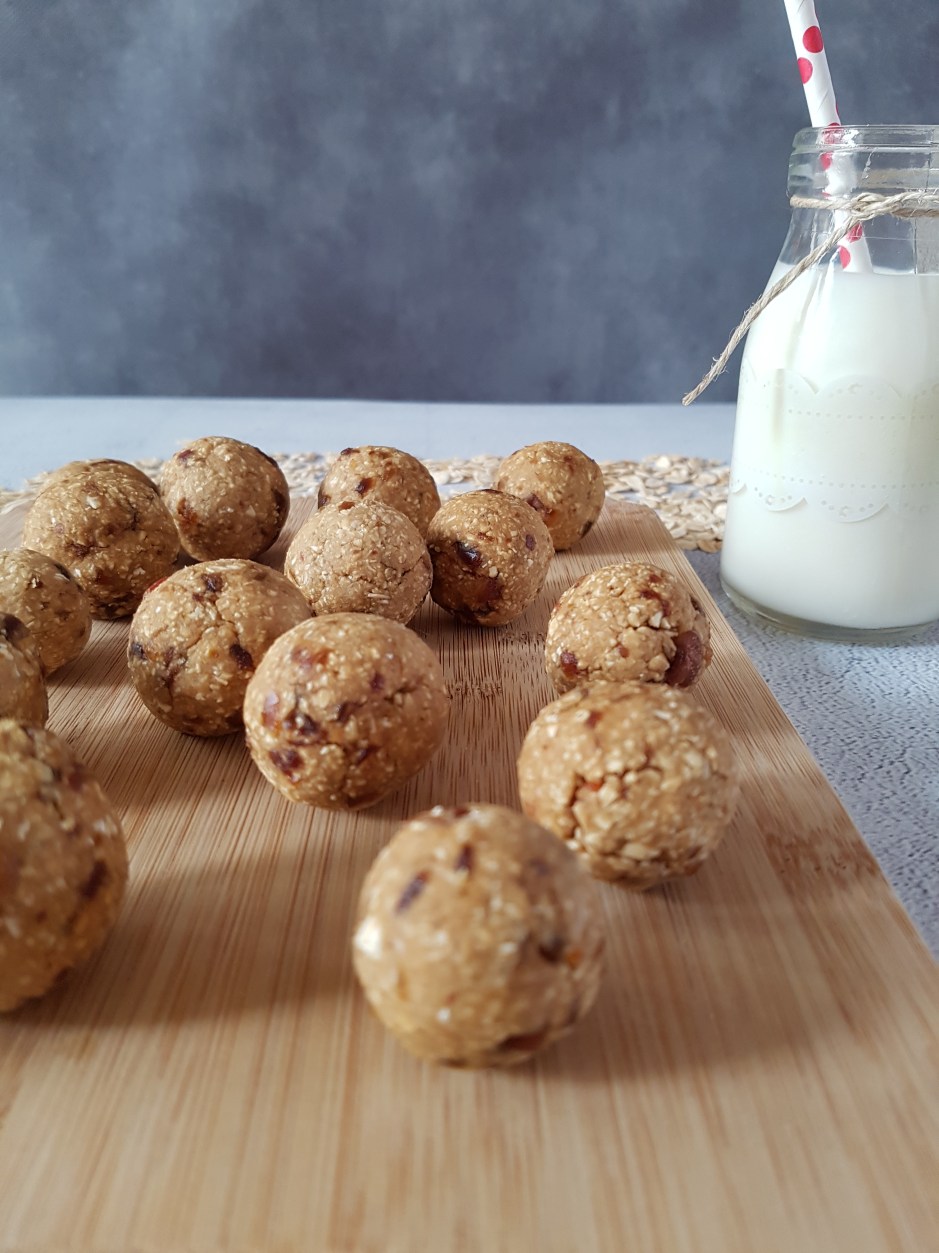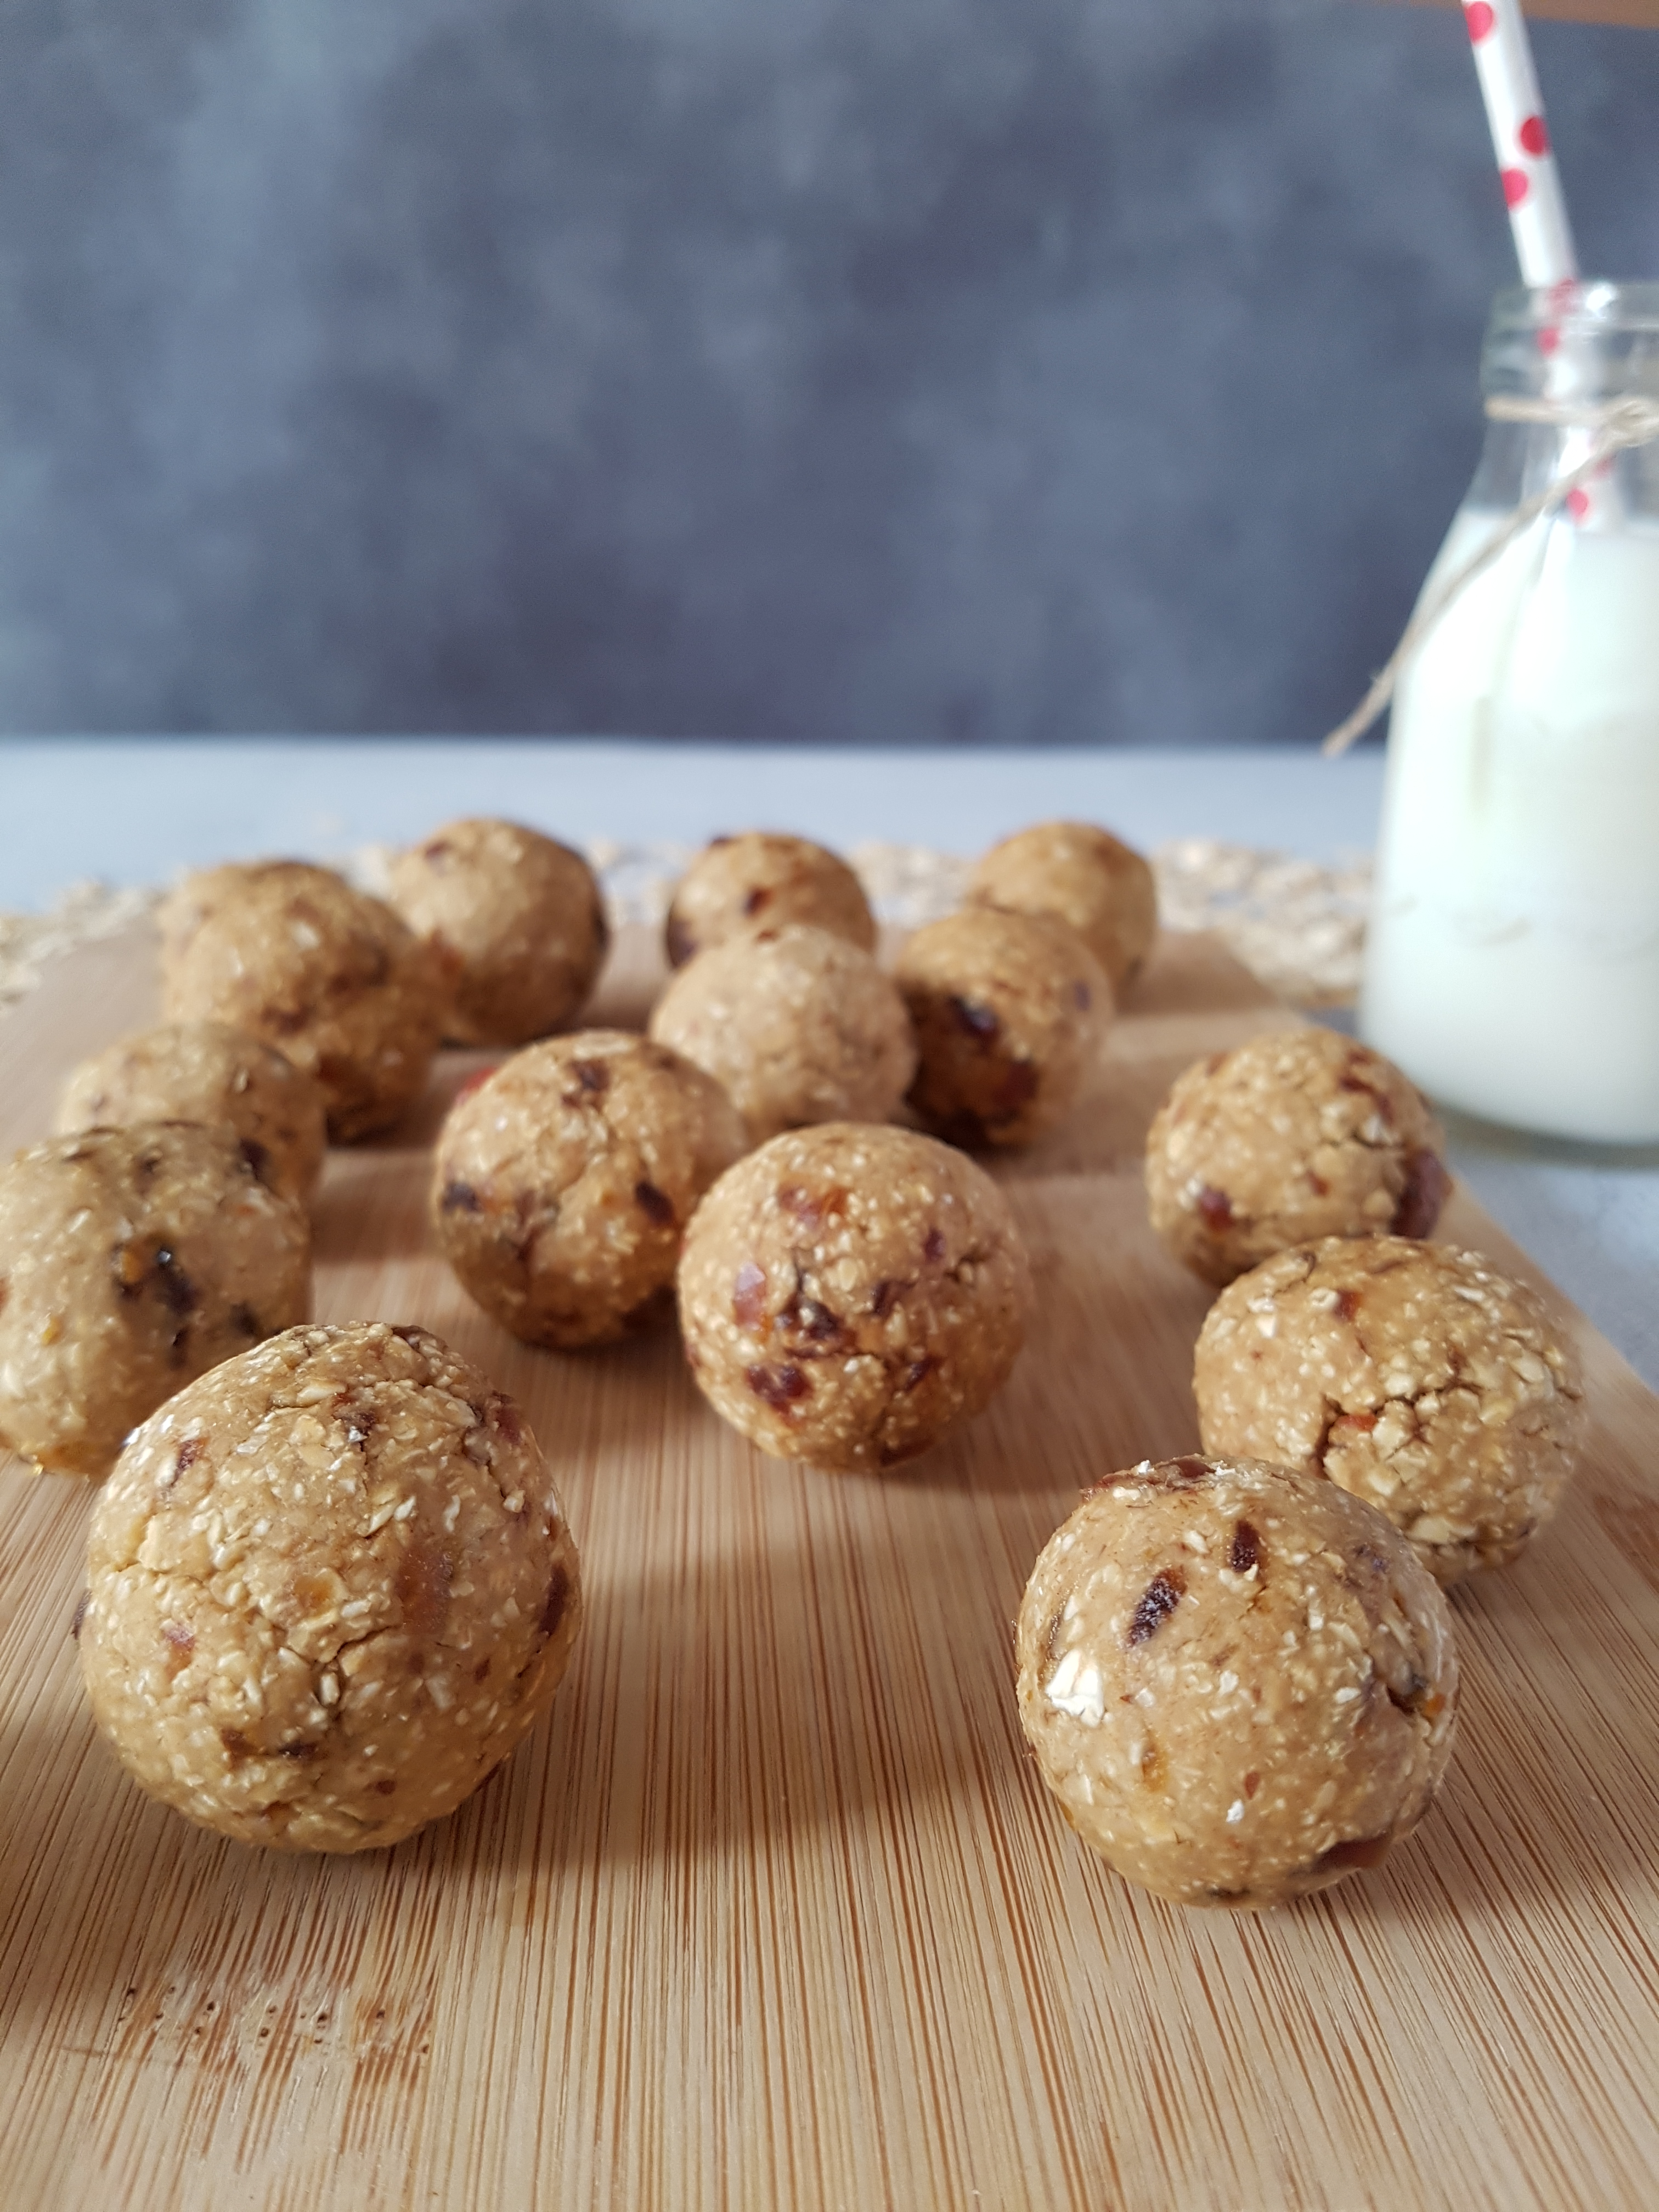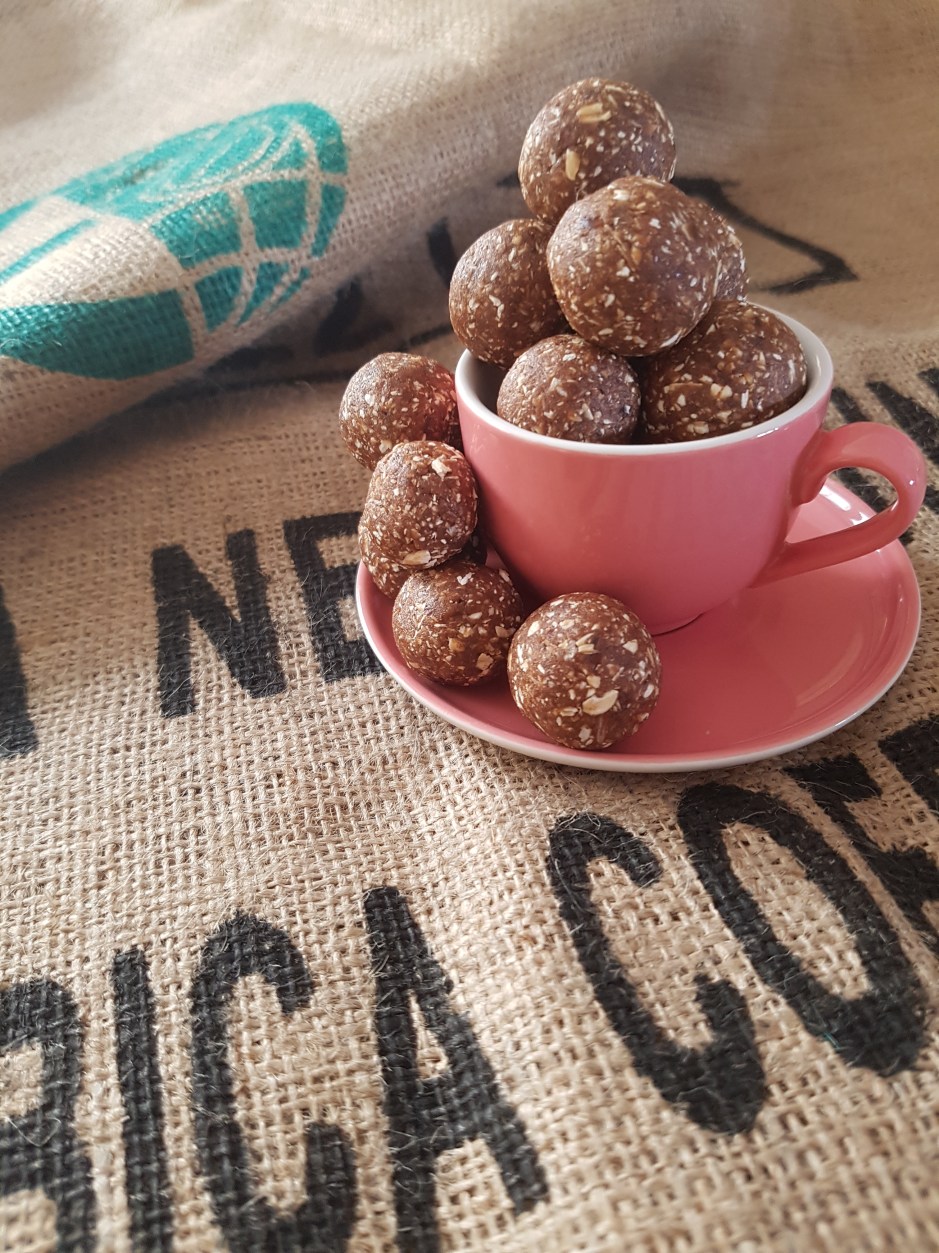
I have a confession to make. I am addicted to bliss balls. /Have you checked out these, these, these and those beauties yet?) They are easy and quick to make, generally require only a few easy ingredients and are a great portable way to beat the mid-afternoon slump (and keep your toddler happy). They are also incredibly customisable. Generally speaking, as long as you got dates and either nuts and/or oats, you can make bliss balls. And you can make them your own. Add cocoa, vanilla, your favourite superfoods…the options are endless. That’s why I thought i come up with something different compared to the standard cacao-based bliss balls and offer you an old favourite: lemon and poppyseed. And because I am a health geek and like my superfoods, they are not only lemon & poppyseed bliss balls, but lemon, poppyseed & baobab bliss balls.
You might not have heard about baobab powder. Touted as the queen of superfoods, it is a highly nutritious fruit of the African Baobab tree. It is naturally raw, vegan and gluten-free and bursting with antioxidants, fiber, electrolytes, minerals and vitamins. Baobab has more fibre than chia seeds and almost 5 times as much vitamin C as goji berries. Please note that the use of baobab is not essential to make these bliss balls work, but I thought it would be nice to include a recipe for a superfood I recently discovered as you might be interested how to use it (I always try to extend the use of superfoods beyond adding to smoothies). Baobab also has a nice subtle fruity flavour that goes well with something lemony.
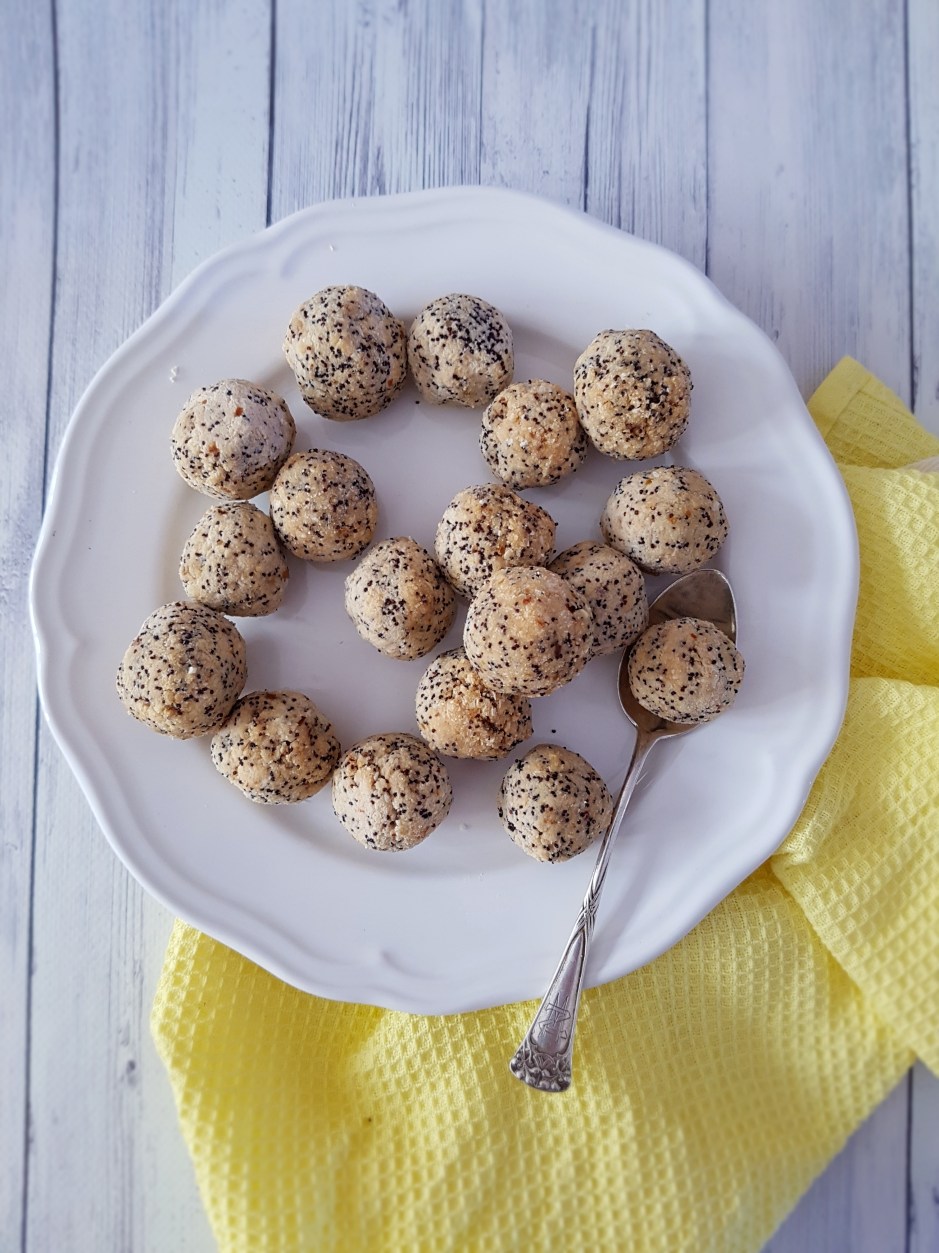
These bliss balls furthermore boast dates, oats, and coconut flour and are therefore packed with more fibre and minerals. Poppyseeds are a great source of iron, copper, calcium, magnesium and zinc and have been traditionally used in ayurveda for glowing skin. I love these lemon, poppyseed & baobab bliss balls so much. Their tangy taste has something cheesecake-y about them, and due to their high fibre content they keep me full and happy until the next meal. They are also refined sugar-free, with healthy, slow-burning carbs from dates and oats and only very little fat. I hope you enjoy them!
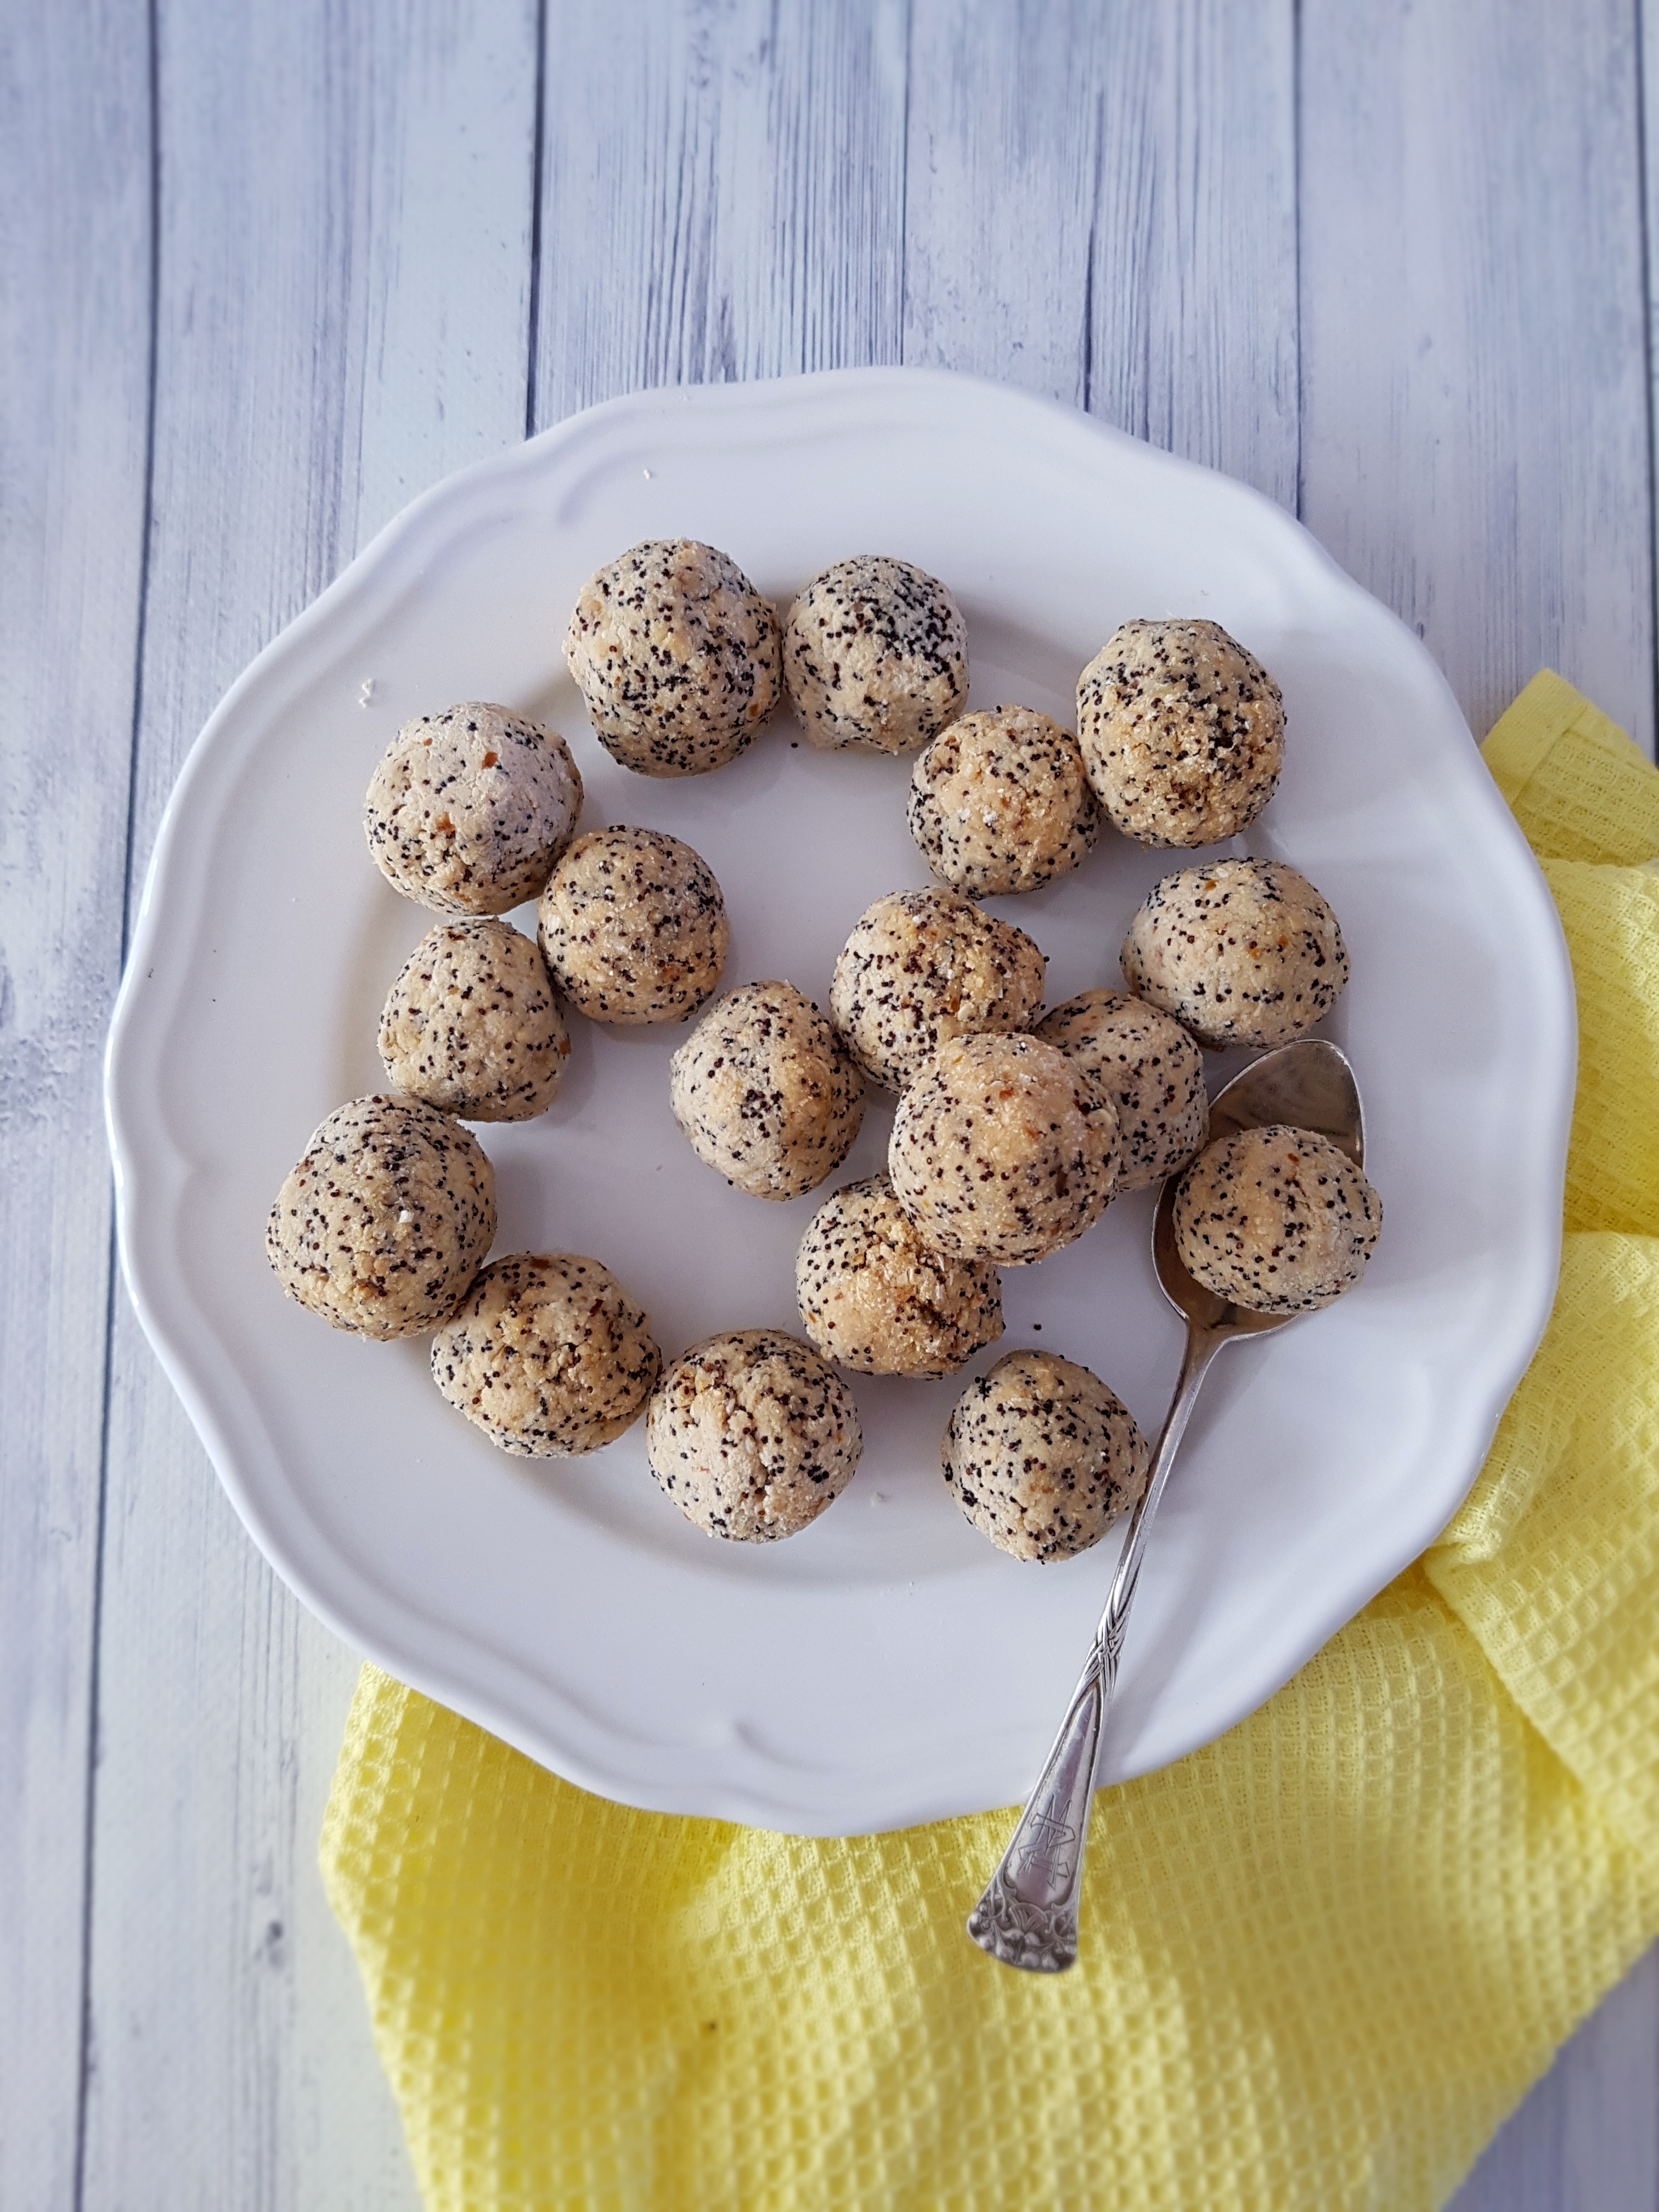
Lemon, Poppyseed & Baobab Bliss Balls
Makes 20 bliss balls
10 pitted dates (any dates will work, but if not using Medjool dates, you will have to soak your dates for a few minutes in hot water to soften them up, then drain well)
1 cup oats, ground to a fine meal
half a cup coconut flour
juice of one lemon (or less if you prefer it less lemony)
half a cup dessiccated coconut
2 tbsp poppy seeds
1 tbsp baobab powder
Blitz all ingredients in a high-powdered blender until well combined and starting to stick together. Leave the mixture in the fridge for ten minutes to firm up, then roll into 20 balls and store in the fridge. They will get more delicious over the coming days!
Enjoy!