People usually think that gluten free versions of all-time-favourites suck. And indeed, most store-bought gluten free cakes, biscuits, and breads suck, and chances are, your first attempts at gluten free baking will too. Mine did, anyway. But it is possible to produce gluten free and even completely grain free versions of your old favourites without sacrificing taste, texture, and experience.
These brownie cookies don’t suck. And I dare say, they taste better than the glutenated versions from the coffeeshop. They won’t send you into a slump, either. Just the best that nature has to offer, organic nut butter, unprocessed cocoa powder, high-quality fats, natural honey. Absolutely no grain, no sugar, and no hydrogenated or trans fats! These are a bit crumblier than normal brownies, more like cookies, which I like, and have an intense chocolate flavour. Are they brownies? Are they cookies? Decide for yourself! Fact is, they are full of chocolatey awesomeness – enough to bust any cravings you might have.
These brownie cookies are not only everything you were looking for in a chocolatey treat, they are also simple and highly customisable. If you are strictly paleo (or allergic to peanuts for that matter), sub any other nut butter for peanut butter and other nuts for peanuts. If you are vegan, use coconut oil instead of butter, maple syrup or erythritol instead of honey, and egg replacer or a chia egg instead of egg. It’s really that simple!
See – there is no reason to give up your favourite treats when going paleo or gluten free! Be warned though, as these are pretty kickass – think Lindt, not Cadbury. So if you are a Cadbury eater, you might have to reconsider – or add (a lot) more sugar!
Makes 12 brownie cookies
200 g crunchy natural peanut butter (or any other nut butter) 100 g roasted, unsalted peanuts 100 g honey 1 egg or flax egg 30 g coconut oil, melted 30 g cocoa powder dash of vanilla pinch of sea salt pinch of baking soda
Preheat the oven to 175 °C. Prepare a 20 x 20 cm baking pan by greasing and/or lining with parchment paper to easily remove the brownie cookies later. Stir all ingredients together in a medium-size bowl and pour batter into prepared pan. Bake on middle rack for about 20 minutes (the brownie batter should still be a little bit wobbly in the middle). Let cool on a plate and cut into 12 pieces. Store in the fridge in an airtight container.
Healthy doesn’t mean boring – scrumptious vegan coffee and chocolate chip muffins
Even if you are a carnivore like me, you will sooner or later stumble upon vegan desserts if you need/want/try to avoid dairy. The label “vegan” on any restaurant or supermarket item per definitionem means free of animal products and therefore free of dairy – a safe bet for those with a casein allergy, lactose intolerance, or who simply want to avoid dairy for other health and/or lifestyle reasons. I do love my goat’s and sheep’s milk, the occasional cheese platter and, of course, my eggies, but I wanted to create something nice and scrumptious for all you vegan and/or dairy intolerant out there – and what would be better than a luscious, naughty little muffin?
In baking, you have heaps of options to replace animal products with plant products – there are flax or chia seeds you can use instead of eggs, almond milk, rice milk, oat milk instead of cow’s milk…the list goes on! And if you can’t have butter, there is always coconut oil! If you thought “vegan” is synonymous with boring and chaste, think again – these wouldn’t be my muffins if they weren’t a bit naughty! And do you really think my hubs would survive a day at work with boring snacks? These muffins are made in a jiffy, fill the house with a lovely smell, and taste so-not-gluten free! In fact, they are moist and luscious and have the soft, fluffy crumb we all love and miss about glutenated muffins! And -unlike baking with gluten flours- there is no danger of overmixing the batter, as there is no gluten that can get activated! Yay!
Don’t let the labels “healthy”, “vegan” and “gluten free” deter you – these muffins boast LOTS of coffee and LOTS of chocolate! What better way to make it through a working day on your desk? Not only do they look good, smell even better and taste divine, they are the perfect nutritious breakfast and/or afternoon snack: Fibre and omega 3 from chia seeds; iron, zinc, calcium, potassium,polyphenols and antioxidants from coconut sugar (which is so much better for your blood sugar than regular sugar and won’t send you into a carb-induced stupor); anti-viral lauric acid from coconut oil; vitamin E from almond milk; antioxidants and minerals from dark chocolate; magnesium and copper from sorghum – maybe they are not that naughty after all?
Makes 18 small muffins
100 g organic coconut oil, very soft 70 g organic coconut sugar 2 “chia eggs” (i.e. 2 level tablespoons of black chia seeds dissolved in equal amounts of filtered water) 1 teaspoon organic vanilla extract 125 g sorghum flour 75 g millet flour 80 g of any starch (i.e. any mix of tapioca, potato starch, rice starch, maize starch) 1/2 teaspoon freshly ground sea salt 1 level teaspoon aluminium-free baking soda 1 cup almond milk 1 cup freshly brewed filter coffee, very strong 200 g vegan dark chocolate chips (from the health food store; alternatively, try very high-quality dark chocolate such as Lindt Excellence 90%)
Preheat oven to 170 °C and line or grease your muffin pan/s. Beat the coconut oil with the coconut sugar until creamy and fluffy. Add vanilla and chia eggs, mix in. In a separate bowl with a spout, mix together the coffee and almond milk. In another, bigger, bowl with spout mix the flours, starches, salt, and baking soda. Alternatingly, add almond coffee mix and flour mix to the coconut mix while beating until you get a homogenous, pancake-like, rather liquid batter. Stir in the chocolate chips. Fill muffin pan and bake for 18 minutes.
Healthy, Easy and Yummy Granola Bars with Chocolate, Chia, and Almonds!
My man loves muesli bars. He used to get 24-packs of those hideous store-bought, highly processed, toxic, and also expensive “muesli bars”, and no, they didn’t even taste good in my opinion! Having finally used up our stock of processed junk “muesli bars”, it was high time to swing the kitchen knife again and come up with my own healthy granola bar recipe!
Given that I still had rolled oats and sultanas in my pantry which I wanted to use up (I am not a huge fan of sultanas tbh, but I cannot stand throwing things out), the opportunity seemed perfect. I was on the prowl for a good granola bar recipe online and I got my inspiration mainly from The Minimalist Baker, but I tweaked it a bit to make it “husband friendly”, i.e. I added dark chocolate chips for a bit of naughtiness, cornflakes for some added “crunch”, chia for extra goodness, and I changed the ratios a bit. I used ABC butter instead of peanut butter for its more favourable health benefits and its subtler taste. Oh, and yes, I used sultanas instead of dates, as this is what I had and I didn’t want to go shopping again. It worked just as well. Pretty cool if you can just start a recipe and everything ready, ay? The result is an almost perfect muesli bar that my hubby would choose over store-bought concoctions anytime. They are not 5-ingredient ones, but they are still surprisingly easy to make. Are they messy? Yes, but that’s part of the fun!
For one 20×20 cm baking pan
140 g rolled oats 60 g cornflakes 20 g chia seeds 150 g almonds 200 g sultanas 100 g dark chocolate chips 130 g nut butter (I used almond, brazil and cashew nut butter) 50 g honey or maple syrup pinch of salt
Line the baking pan with parchment paper to easily remove the granola later and preheat oven to 180 °C. Line a baking sheet also with parchment paper and spread the oats, chia seeds, and almonds. Toast in the oven for 12-15 minutes, occasionally stirring, or until slightly browned. This step is actually not necessary, but it improves the taste a lot, and the chocolate chips will melt and incorporate nicely later.
While the oat mixture is toasting away, knead the sultanas with a tiny little bit of hot water so as to get a sticky, dough-like consistency. The sultanas should come together as a ball. Then, heat the nut butter, honey, and salt on very small heat while constantly stirring – don’t let it catch! – until honey is incorporated.
Take oat mixture out of the oven, add cornflakes, chocolate chips, sultanas, and warm honey-nut-mix, and incorporate. Beware, you will get your hands sticky, veeeery sticky, but you have my official permission to lick your fingers! (Just leave a little bit for the actual granola bars!) Make sure that the granola mass actually IS really sticky or else it will become messy and crumbly later!
Pour the mix into the prepared baking pan and pat it down REALLY HARD! Yes, you can use violence here; in fact, I’d advise to do so! I used another sheet of parchment and another baking pan which I pressed onto the granola mass. You could also use a book and stand on it – I have heard of people doing that! Now it’s time for 30 minutes in the freezer – do not attempt to cut the bars before you have frozen them! After 30 minutes, remove from freezer and very cautiously start to cut into how many bars you like. Store in refrigerator. Note: Collect any crumbs, toast them and enjoy with almond milk as a nutritious start to the day!
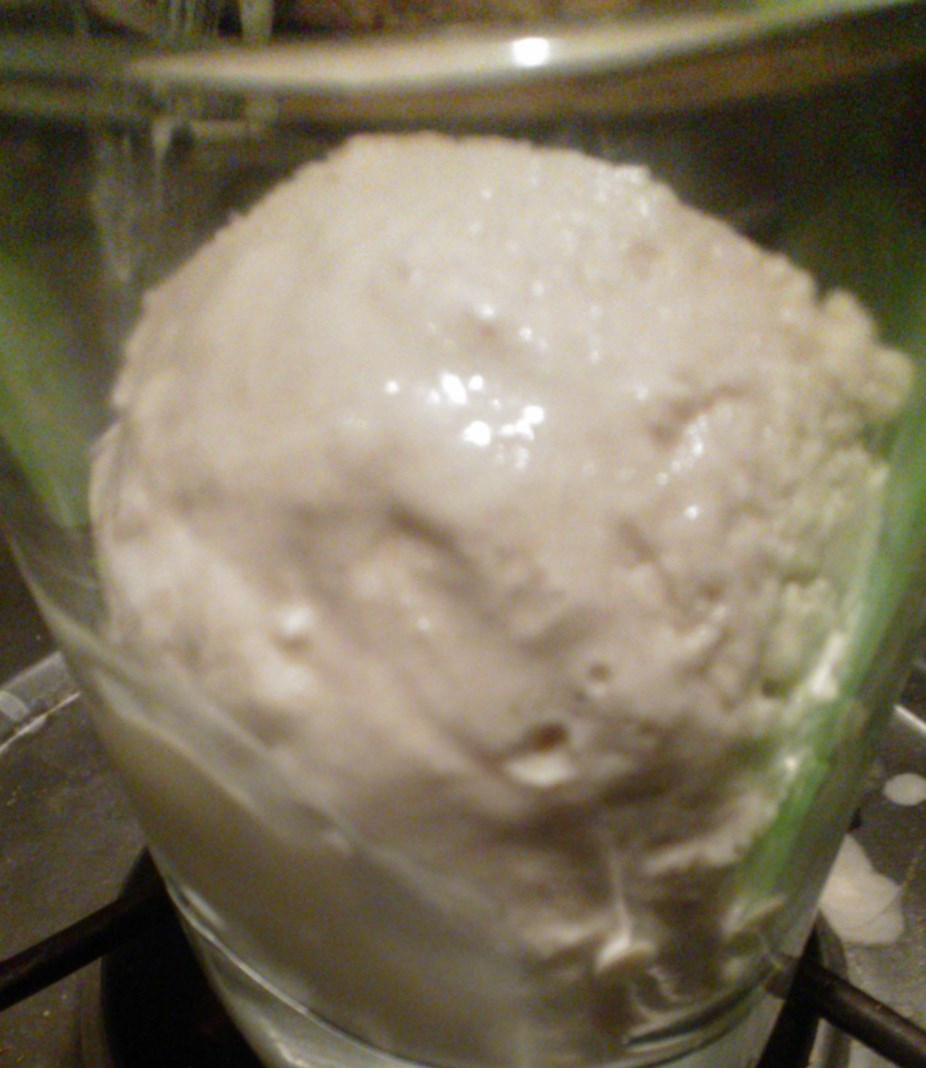
I have mentioned before that I am an absolute icecream addict. And yes, you can be dairy intolerant and an icecream addict! See here, here, and here. And now HERE. My husband is a great whisky and bourbon lover, and on the occasion of his recent birthday, I wanted to create a dessert we could both thoroughly enjoy. Born was my vegan maple bourbon infused icecream based on coconut milk! For all you sceptics out there, the end product doesn’t taste anything like coconut, but everything like decadence and creamy deliciousness! This icecream goes extraordinarily well with my decadent flourless chocolate mud cake and actually tastes like Bailey’s, only better! Pretty cool, ay?
You could replace the maple syrup with honey, and that would work just as well, but I reckon the maple syrup in combination with the Bourbon is sublime and takes the whole thing to a new level. Put some “Tiger Rag” on, and you are right in New Orleans! I mean, seriously. I am already thinking of adding maple glazed chipotle pecans, but let’s take it easy this time and start churning this three-ingredient icecream! Okay okay, it’s six ingredients, but the vanilla, molasses, and sea salt are totally optional – albeit highly recommended! By the way, you don’t need an icecream maker for this. If you don’t have one or forgot to chill the churner, you can pour the coconut-bourbon-mass into a shallow container, freeze it, and stir every hour or so until the desired consistency is reached. Thanks to the coconut milk, the booze, and the liquid maple syrup, this icecream gets nice and creamy, just as it should be. You don’t need to cook anything here, all you need to do is to chill the tins of coconut milk in the fridge over night before you get started.
2 420 ml tins of full-cream coconut milk, chilled over night 1 tsp vanilla extrace 1/2 cup maple syrup 2 Tbsp Bourbon whisky 1 Tbsp molases 1/2 tsp kosher salt
Whisk the creamy part of the coconut milk, vanilla, maple syrup, bourbon, molasses, and salt until homogenic. Pour into a glass on ice and enjoy your homemade Bailey’s! Get your icecream maker going and pour the mixture in while churning. Then let your favourite kitchen device do its work according to manufacturer’s instructions. After 20 to 25 minutes, the icecream has a soft serve consistency. Pour into a container and freeze a bit more until firm. Enjoy on its own or serve alongside a rich chocolate dessert.
It’s autumn! (For all the ones who think “WTF? It’s April!”, we are talking southern hemisphere here!) Although we still get sunny days in the low 20s, the evenings have that certain something about them that reminds me of the dusky, hazy, and utterly magical October evenings I remember from Europe. Autumn is my favourite season, featuring colourful trees, the smell of leaves and fresh chestnuts, a mellow light, cool-but-not-too-cool days, and a long dusk – and not least some of my favourite foods to eat, which all start with p – potatoes, pumpkin, pears, and -yup- plums!
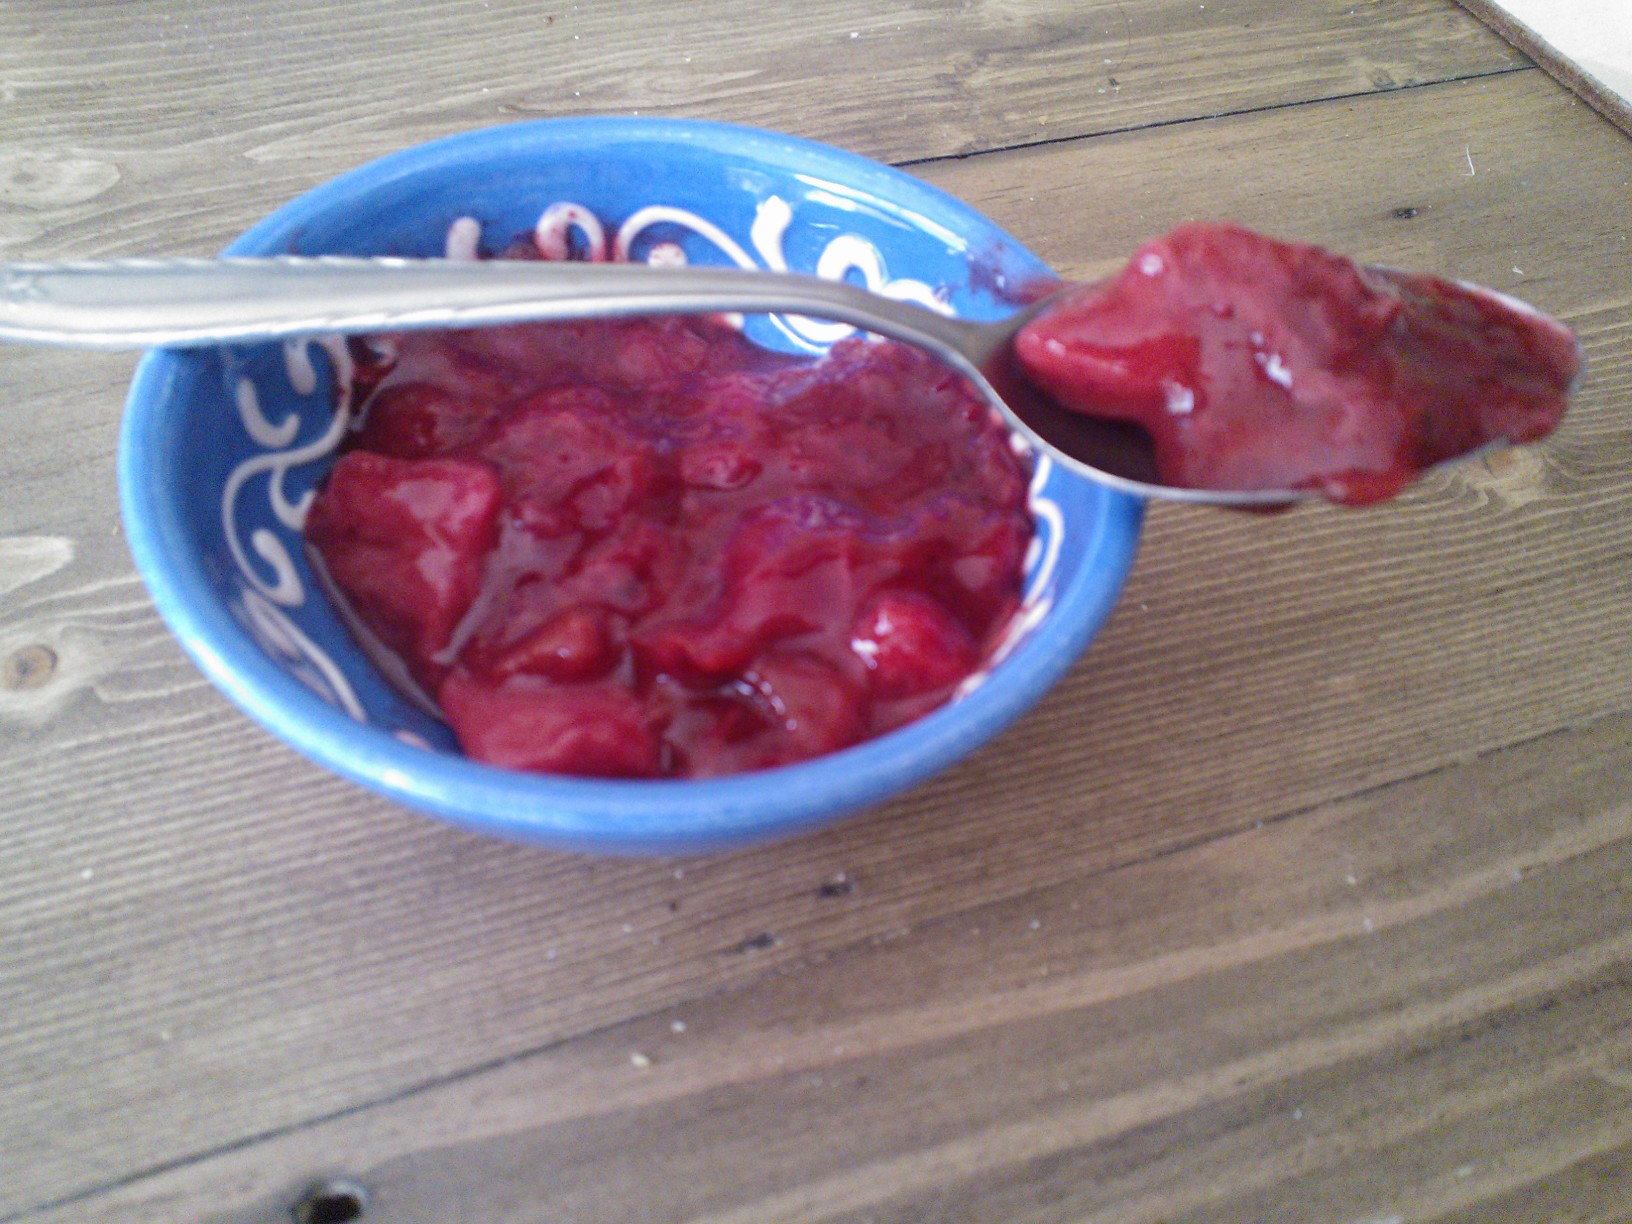
Even though we started harvesting our lovely plums already a couple of months ago, these yummy purple and yellow fruits are still ubiquitous. As I am still in the phase of perfecting my gluten free bread making skills but want to go a bit more easy on nut butters (think anti-metabolic PUFAs…), I needed to come up with a good jam. Unlike my home country, the selection of jams here in Australia leaves a lot to be desired. It’s hard to find a jam with a fruit content of more than 30% (when in Germany, you can only get 50% +!), and even the ones with a supposed fruit content of 50% taste like sugary mush. Any wonder when sugar and glucose syrup are the main ingredients! I usually prefer going without any sweetener at all as fruit has a natural sweetness to it that doesn’t need tampering with. However, plums are a bit of a different animal, as they are quite sour, so I opted to use a bit of Xylitol. Xylitol (just like erythritol) is a safe natural sweetener that has actually been shown to be beneficial for teeth and even to reverse cavities! I have no issues with Xylitol in terms of digestive distress, but if you are extra sensitive, you might want to opt for eryhtritol instead, which is also an excellent sweetener. Of course, you can use “real” sugar or stevia although I don’t think that stevia gives jam the nicest taste.
I know what you think, that (white) sugar is needed to preserve the jam – and you are absolutely right. However, I am not a preserve-maker (yet), and I like my jam being ready instantly, and I like it fresh! This jam should last a couple weeks in the fridge – it’s so delicious though that you will get through it quicker! The great thing about plums is that they have enough natural pectin, meaning that unlike with other jams, you don’t need to add pectin during the jam-making process and will still get that “jamminess”. Yes, you really can make this jam spontaneously as it takes less than 5 minutes to make! It is really as easy as! Tip: By adding some wintery spices (cinnamon, ginger, cardamom etc.) you will get that perfect autumn feeling!
500 g plums, washed, cored, and roughly chopped (leave skin on) 1 tbsp apple juice 1 tbsp lemon juice 1 tbsp xylitol (or alternative sweetener) 2 tsp arrowroot starch cinnamon, cloves, cardamom, ginger, nutmeg (optional)
Combine plums, apple juice, and lemon juice in a saucepan over moderate heat and bring to the boil, stirring constantly. Whisk the arroworoot starch with 2 tsp water until a pasty consistency is achieved. Add the arrowroot paste, stirring vigorously. The plums should instantly start to thicken up. Now add the sweetener and the spices and stir until the desired consistency is reached. Let cool completely and transfer to mason jar. Lasts a couple of weeks in the fridge. This jam is great on gluten free bread, in yoghurt and quark, or straight from the spoon.
Super Nutritious Smoothie without Nasties – not only for Breakfast!
I know, I know…I have neglected you badly during the last weeks, dear friends…I was very busy with work and other things that life throws at you, and although my workload wasn’t necessarily much higher than usual, I just didn’t have the nerve for blogging or experimenting. I was also lacking a bit of inspiration and didn’t come up with anything worth publishing. But the wait is finally over, and I promise you to not let you down and blog regularly from now on! I was also studying a lot about nutrition during my recent quiet weeks – not only about food intolerances per se, but about stress, metabolism, and how to heal your metabolism with nutritious (and plenty of) foods and lots of rest. I hope that I can incorporate my ongoing findings into my blog work in the future. Let’s just say for now that wholesome, “real”, nutrient-dense foods are the key for healing your body and mind and can potentially even reverse food intolerances. Wouldn’t it be nice?
And for those times that life is throwing a bunch of things at you and you don’t know where to start, how about a super-nutritious smoothie to boost your mind and body? No, it’s not one of your fat-free, sugar-free, chemical-laden “health smoothies”, but real food turned into a luscious milk shake! One of these for breaky really sets you up for the day, but it is not reserved for breakfast alone. Let me tell you about all the goodies you get in one glass:
tropical fruit for valuable micronutrients and a delicious taste of sun and holiday
avocado for healthy mono-unsaturated fats, needed for cell repair, hormones, satiety, texture, and taste
chia seeds for protein and omega 3’s
maca for an extra energy boost and stamina
coconut sugar, a low GI sweetening option with great taste and nutrients
rice protein powder for tummy-friendly protein
sea salt to replace electrolytes lost during sleep, boost your metabolism, facilitate the assimilation of nutrients, and make the flavour pop!
Oh yes, and it tastes great! The healthy fats from chia and avocado make sure to keep you full for a long time – did you know that your body cannot use nutrients like vitamins and minerals such as calcium without an adequate amount of fat? It’s time to reconsider whether that “healthy low-fat smoothie” they offer you at a juice bar is really that healthy…I’d like to argue that my version is far superior and really gives your body the fuel it needs!
Makes 1 large smoothie
1 large frozen banana 1 cup frozen mango a quarter avocado 1 tbsp chia seeds, dissolved in water or milk (“chia gel”) (or try flaxseed) 3/4 cup plant milk 1 scoop protein powder of choice (I use rice protein) generous pinch of sea salt 1 tsp coconut sugar or other sweetener half a cup soy or coconut yoghurt (optional, to make it thicker= maca powder (optional)
I recommend chopping the banana, mango, and avo together in a powerful food processor first. Then add all the other ingredients and blitz away! Yum!
Refreshing watermelon slushie – healthy, easy and yummy!
The blazing hot days are getting fewer and fewer in the Southern hemisphere now, but – we still get the occasional day when the mercury climbs above 30 degrees. Our latest gadget – yes, we bought an air condition – still gets to be used, yay! Don’t want to see our electricity bill later…
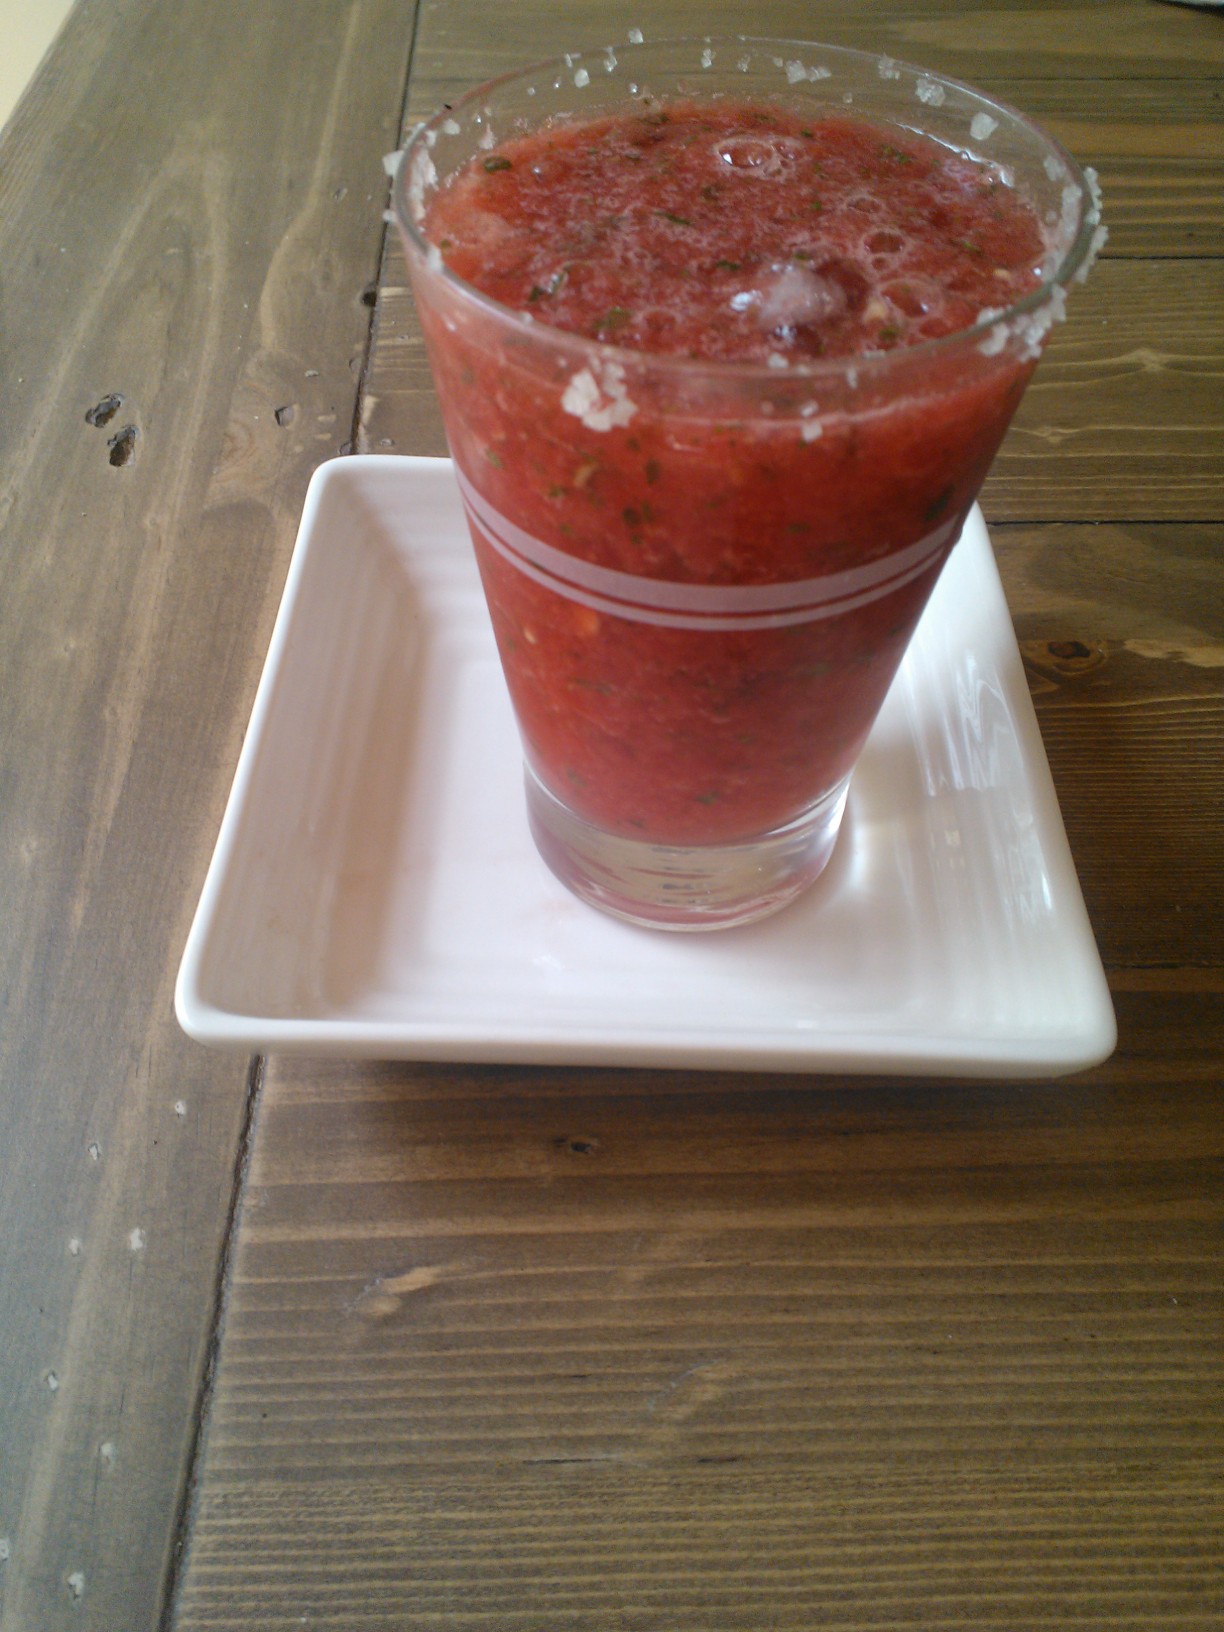
Anyways, I was in a dilemma the other day, as I needed to cool down, but couldn’t be bothered making icecream, and store-bought sugar laden icecream or sorbet is not an option for me, as you know. So, I got creative again, and whipped up the world’s easiest and mega delicious watermelon slushie! You know, not those chemical-laden slushies you get at the convenience store or petrol station, but a slushie that loves you back! Not only is it yummy and extreeeeemely refreshing, it’s also a great way to stay hydrated when the sun does not have mercy! And if you have a good processor, you can whip this up in a jiffy – 15 seconds, to be precise!
Makes 1 large slushie (or 2 small ones!)
3 cups watermelon, roughly diced 1 tbsp lemon juice fresh mint to taste 5 icecubes
Blitz everything in a food processor and enjoy! Tip: Sugar or salt rim your glass before for an impressive alcohol free party cocktail!
Do you feel guilty after a big slab of chocolate cake? Does one bite of chocolate cake make you want to devour the whole thing? Have you tried “low-fat” chocolate cakes from the shop, finding them dry, tough and unpalatable and/or featuring a plethora of ingredients you really shouldn’t put into your body?
Yes?
Well, then I have the solution!
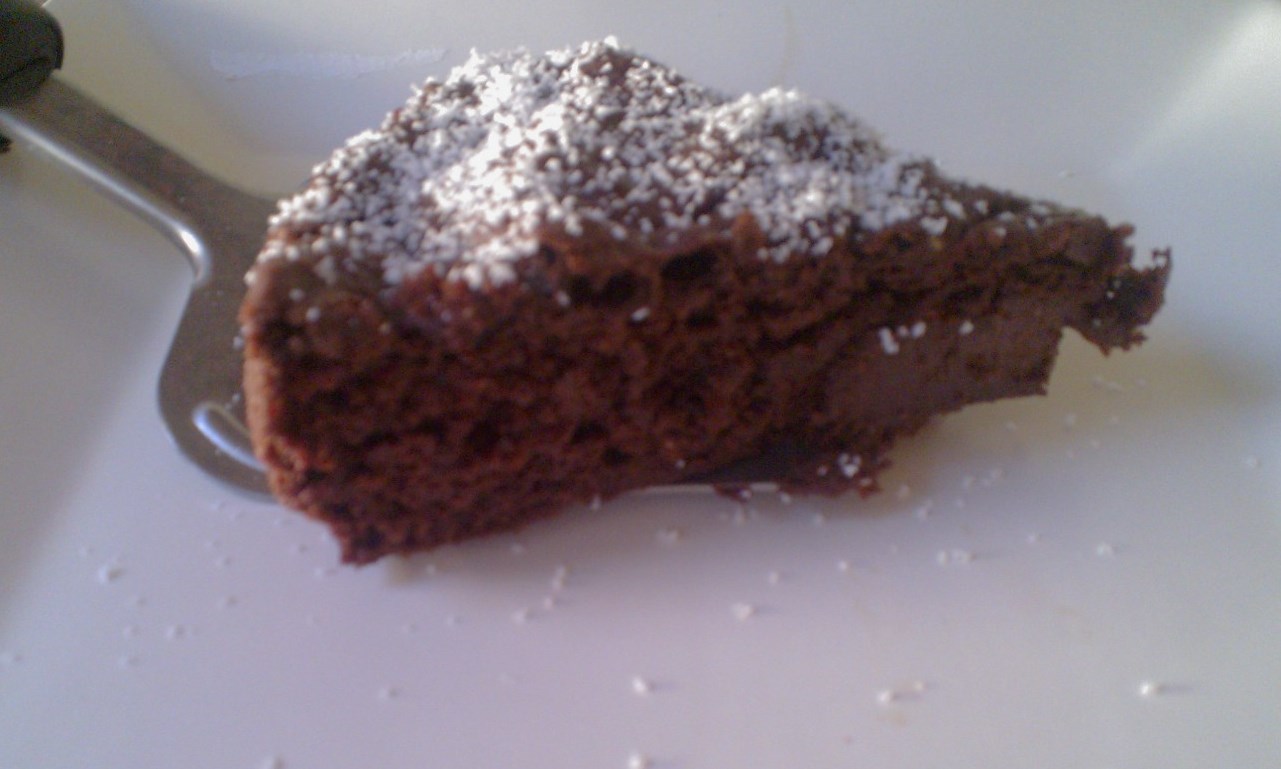
The solution? My ultra low fat, ultra fluffy, ultra gooey, ultra chocolatey chocolate cake! With only 2 or 3 g of healthy fat, mainly omega 3, (depending what yogurt you use and how big your slabs are ;-)), and still reasonable 17 g of carbs per slice, this moist and fluffy yummyness beats any store-bought cake by a mile – in terms of nutritional facts AND taste! And that without any processed ingredients! The secret to this wizardry? Chia seeds and (vegan) yogurt, which replace both the oil/butter and the eggs in this cake.
So don’t think that I sacrifice nutritious whole foods for the sake of going low fat – chia seeds are one of nature’s most nutrient dense food sources and, in fact, the highest plant based source of omega 3, fibre, and protein. With as much protein per 100 g as a steak, almost 20 g of omega 3, and a whopping 37,5 g of fibre (this is 150 % your RDA), chia seeds are one of those superfoods that shouldn’t be left behind in no worries cooking and baking! As they are hydrophilic, they can be ground and mixed with water before baking to replace eggs and even oil – a bit like flax seeds, albeit kinder to your tummy!
I used conventional gluten free all-purpose flour for this cake and am currently devising a “whole grain” version with healthier flours to lower the carb content. Meanwhile, bake this cake and grab a slice, as it is seriously good and seriously healthy, even with the conventional flour!
Makes one round 24 cm spring pan or twelce slices
160 g gluten free all purpose flour 50 g unsweetened natural cocoa powder 1 1/2 tsp baking soda 1 tsp salt 1/4 cup sugar 1/4 cup stevia 4 tbsp chia seeds, ground and mixed with 12 tbsp water to a paste 1 tbsp vanilla 500 g yogurt of choice (fat-free is okay!)
Preheat the oven to 180 ° C. In a medium bowl, sift the flour, cocoa, soda, and salt. In another medium bowl, beat the sugar, stevia, “chia eggs”, and vanilla. Fold in yogurt until well combined. Now stir the wet ingredients into the dry ingredients and mix on low just until combined. Do not overbeat. Scoop into greased or silicone sringpan and bake for 20-25 minutes or until it passes the toothpick test. Make sure not to overbake the cake, or else the centre will not be nice and gooey!
I think we all agree that the ultimate achievement for any gluten free baker is gluten free bread. GOOD gluten free bread. Unlike gluten free biscuits, which – albeit unhealthy- are widely available and reasonably tasty, a delicious gluten free bread is something you will not find in any supermarket, well-stocked as it may be. Finding a HEALTHY gluten free bread is even more of a challenge.
After my attempts at gluten free and yeast free bread (here, here, and here), I decided it was time to have a go at “proper” bread, which also contains yeast. As stated before, I am not a fan of yeast and it might cause issues in some gluten-free folks, but a bread with yeast in is definitely a different animal than yeast-free bread, and I figured that the few times per year I have bread, a bit of yeast won’t kill me.
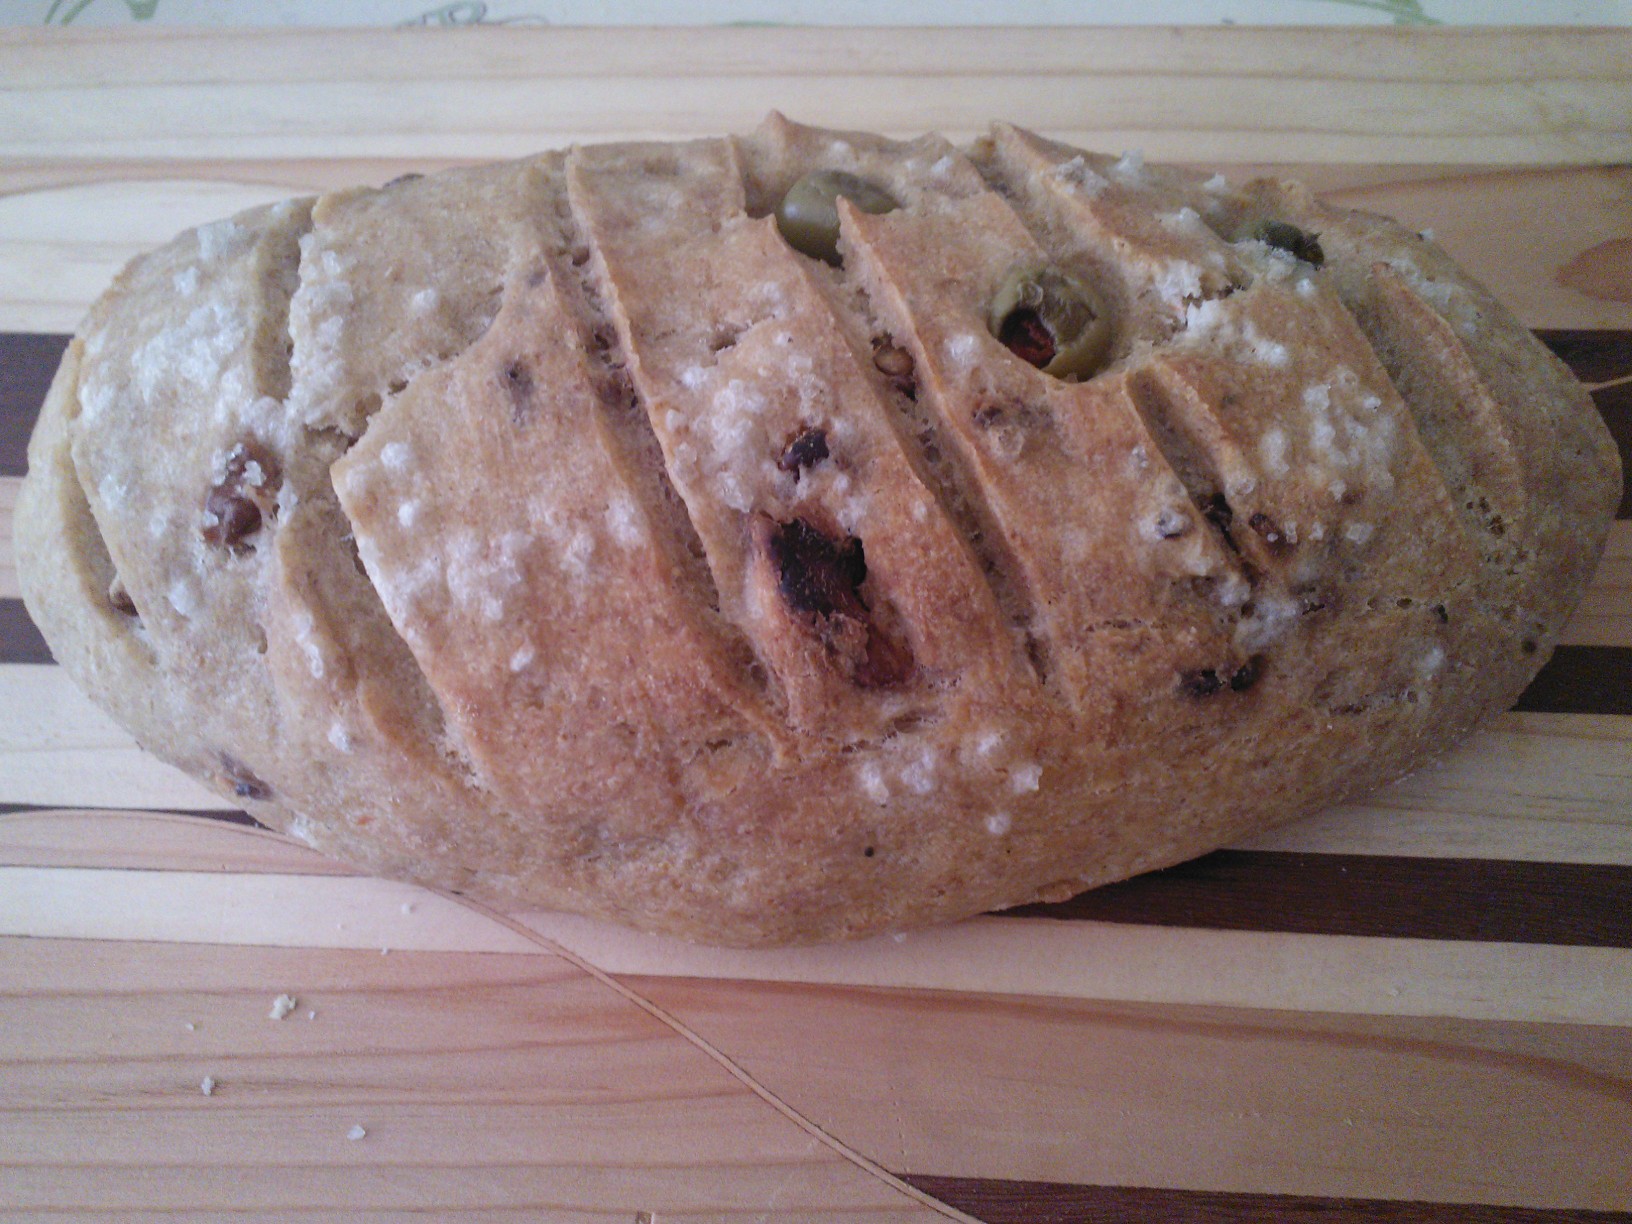
This bread, according to my hubby my “best one so far”, is roughly based on a recipe for crusty boule I found in Jeff Hertzberg and Zoe Francois‘ fabulous book, but I tweaked it quite a bit based on my own research about gluten free flours. I replaced the egg with flax to make a vegan version. I added fresh rosemary from the garden for a nice Mediterranean flavour that would go well with olive oil and sea salt, and walnuts for a nice crunch. The result is an insanely delicious bread.
I could write a novel about this bread, but this would lead too far, I think. Let me just tell you that for now, I am very proud of my achievement to bake a really delicious bread with a crust like I haven’t had anywhere outside Germany – something you won’t get from supermarket bread. A bread that a non-gluten free person would happily eat. A bread that consists of roughly 50 % wholegrains – another thing you won’t find in supermarkets!
Note that you need to follow my instructions closely and use the exact amounts (weigh them) as making gluten free bread is quite a bit more finicky than gluten free cakes or biscuits. Please also note that your dough might behave differently depending on your home’s altitude, humidity etc. You might need to play around a bit.
Makes two 1-pound loaves
450 g gluten free flour (I used 200 g arrowroot starch, 150 g brown rice flour, 100 g sorghum flour) 1 flax egg (i.e. 1 level tbsp ground flax seed, mixed with 1 tbsp water) 1 tbsp honey, melted, or other sugar (DO NOT OMIT OR CHANGE THIS AMOUNT, or otherwise the yeast won’t do its job) 2 tbsp extra virgin olive oil 2 tsp dry yeast 250-300 ml water, lukewarm (use less in humid climate, more in arid climate) 2 tsp sea salt any add-ons (rosemary and walnuts in this case; feel free to add any others)
First, mix the dough. All ingredients have to be at least room temperature. You need to do the mixing in an electric stand mixer, not in a hand mixer! A hand mixer is not powerful enough to whip in enough air to get fluffy bread, and you end up with dense and gummy bread, and we don’t want that. So use a stand mixer or large food processor. Mix the flours, yeast and salt first. Whip oil, honey, water and flax with a blender in a separate bowl and set aside. It is important that you use an electric hand mixer for the wet ingredients to whip air in them! Do not use a common whisk. Use less water first and only up the amount slightly if the bread seems too dry. You can always add more but not take away what’s already in! Too much moisture will cause your bread to become heavy and dense. While processing the dry ingredients, add one third of the wet ingredients through the feeder of the processor, then another third, and then another, blending after each addition. To avoid over-processing, add any add-ons such as herbs and nuts together with the last third of the oil-water-mixture. Stir just until smooth.
Now, give the bread a nice shape. Unlike gluten-full bread, we don’t rise the dough, then shape it, then rise it again, but only let it rise once, and shape it before that. Remember to go very easy on the dough as to not destroy the air bubbles! Do not knead the dough! I know you always walk past the pizzeria and see the guy torturing his dough, but we are talking gluten free here – and gluten free dough is a little bit different! After giving the bread a nice shape, let it rest on a warm counter covered with plastic wrap or a clean tea towel for 3,5 hours. You can now use your dough or store it in the fridge or up to a week! If taking out chilled, let it warm up before baking for 90 minutes.
30 minutes before baking, preheat your oven to 240 °C and slide a Dutch oven in it to heat up. After 30 minutes, serrate the loaf with a big knife, cautiously take out the Dutch oven and cautiously (!) place the loaf inside. Put the lid on the Dutch oven and place in the oven.
Bake for 20 minutes. Then turn the heat down to 230 ° C, lift the lid off the Dutch oven, take a tray and fill it with icecubes, and place beneath the Dutch oven. Quickly shut the oven door and bake for another 15 minutes. The steam caused by the ice will make the nice crust!
After 15 minutes, take out the Dutch oven and with a dairy or candy thermometer, check the temperature inside the bread, which should be between 93 and 98 ° C. If this is not the case, bake for a few minutes more, even if the top looks well done. In this case, cover the bread with foil to protect the crust from getting too burnt. As soon as the bread has reached this temperature, turn off the oven and let the bread cool completely. This is very important, as you will end up with a gummy centre if you attempt to cut the bread beforehand.
There you have it. Gluten Free Bread. The Holy Grail.
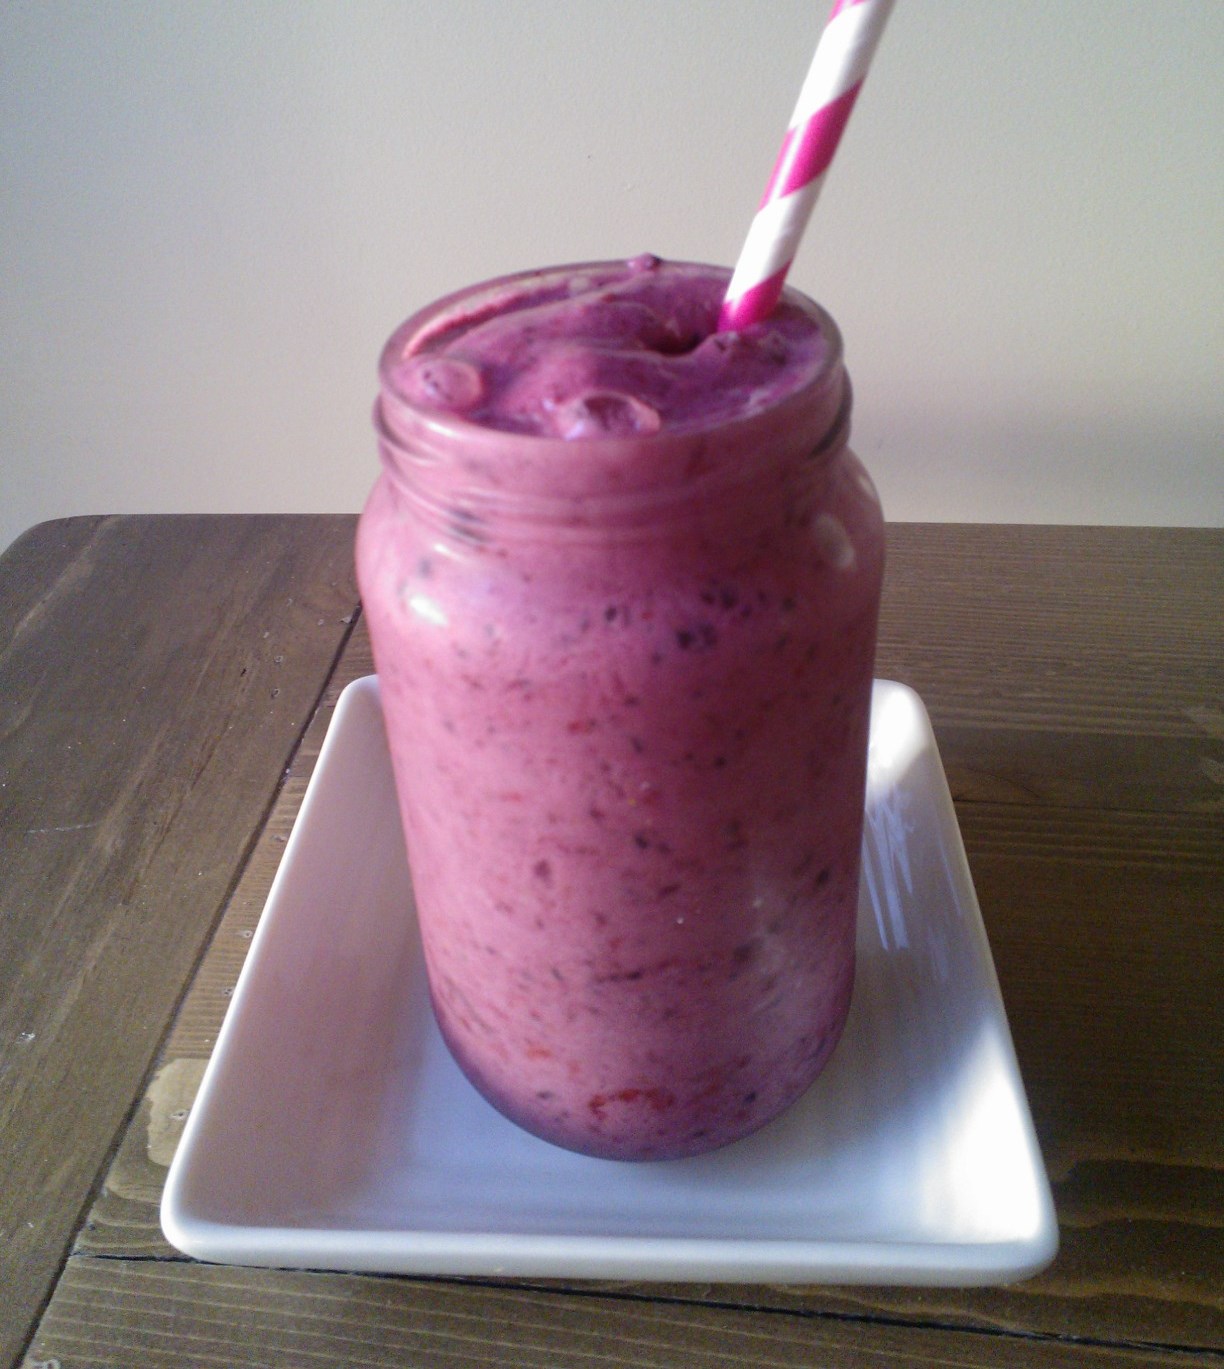
Berry and Rosewater Smoothie – no fat, but a lot of protein!
If you like Turkish Delight and berry smoothies, you are gonna love this. If you don’t like Turkish Delight, but like berry smoothies, you can leave out the rosewater and have a berry smoothie. Not just any old berry smoothie, but one that is very low carb, very low fat and jam packed with protein! One that doesn’t only taste great, but which keeps you going for hours. And you are gonna love it.
200 g non-dairy yogurt or non-dairy milk or a combination of the two 100 g berries of choice (I used mixed) 1 cup of icecubes 1 scoop rice protein powder stevia to taste (I used approx. 1 tbsp) a few drops of rosewater essence (can use other essence such as peppermint or vanilla or omit)
Blitz all ingredients in a blender or mini food processor and serve.