Healthy Peanut Butter Biscuits (Vegan, Gluten Free, Starch Free, Grain Free, Low Carb)

Healthy Grain Free Biscuits

My husband loves biscuits. I mean, he LOVES LOVES LOVES biscuits. There used to be times when not a day went by without him buying a colourful packet full of concentrated bombs made of wheat, sugar, processed and hydrogenated oils, emulsifiers, thickeners, and preservatives. And for him, those bombs served as a perfect substitute for breakfast, not to mention that no cup of tea was complete without them. Luckily for me, my gluten intolerance has prevented me from following suit for some time, but even I admit that I DO long for a nice, crunchy bickie along the way – and I don’t even have a sweet tooth!

As probably everyone is aware, the plethora of “gluten free” biscuits lining the supermarket shelves at exorbitant prices might be gluten free – and some of them might even be quite tasty – but they are a far cry from healthy. What I wanted was tasty biscuits that even though they cannot quite replace broccoli are healthy-ish, without creepy ingredients, don’t break the bank, are quick and easy to make, and that even my junk addicted husband would eat. And that happen to be gluten free.

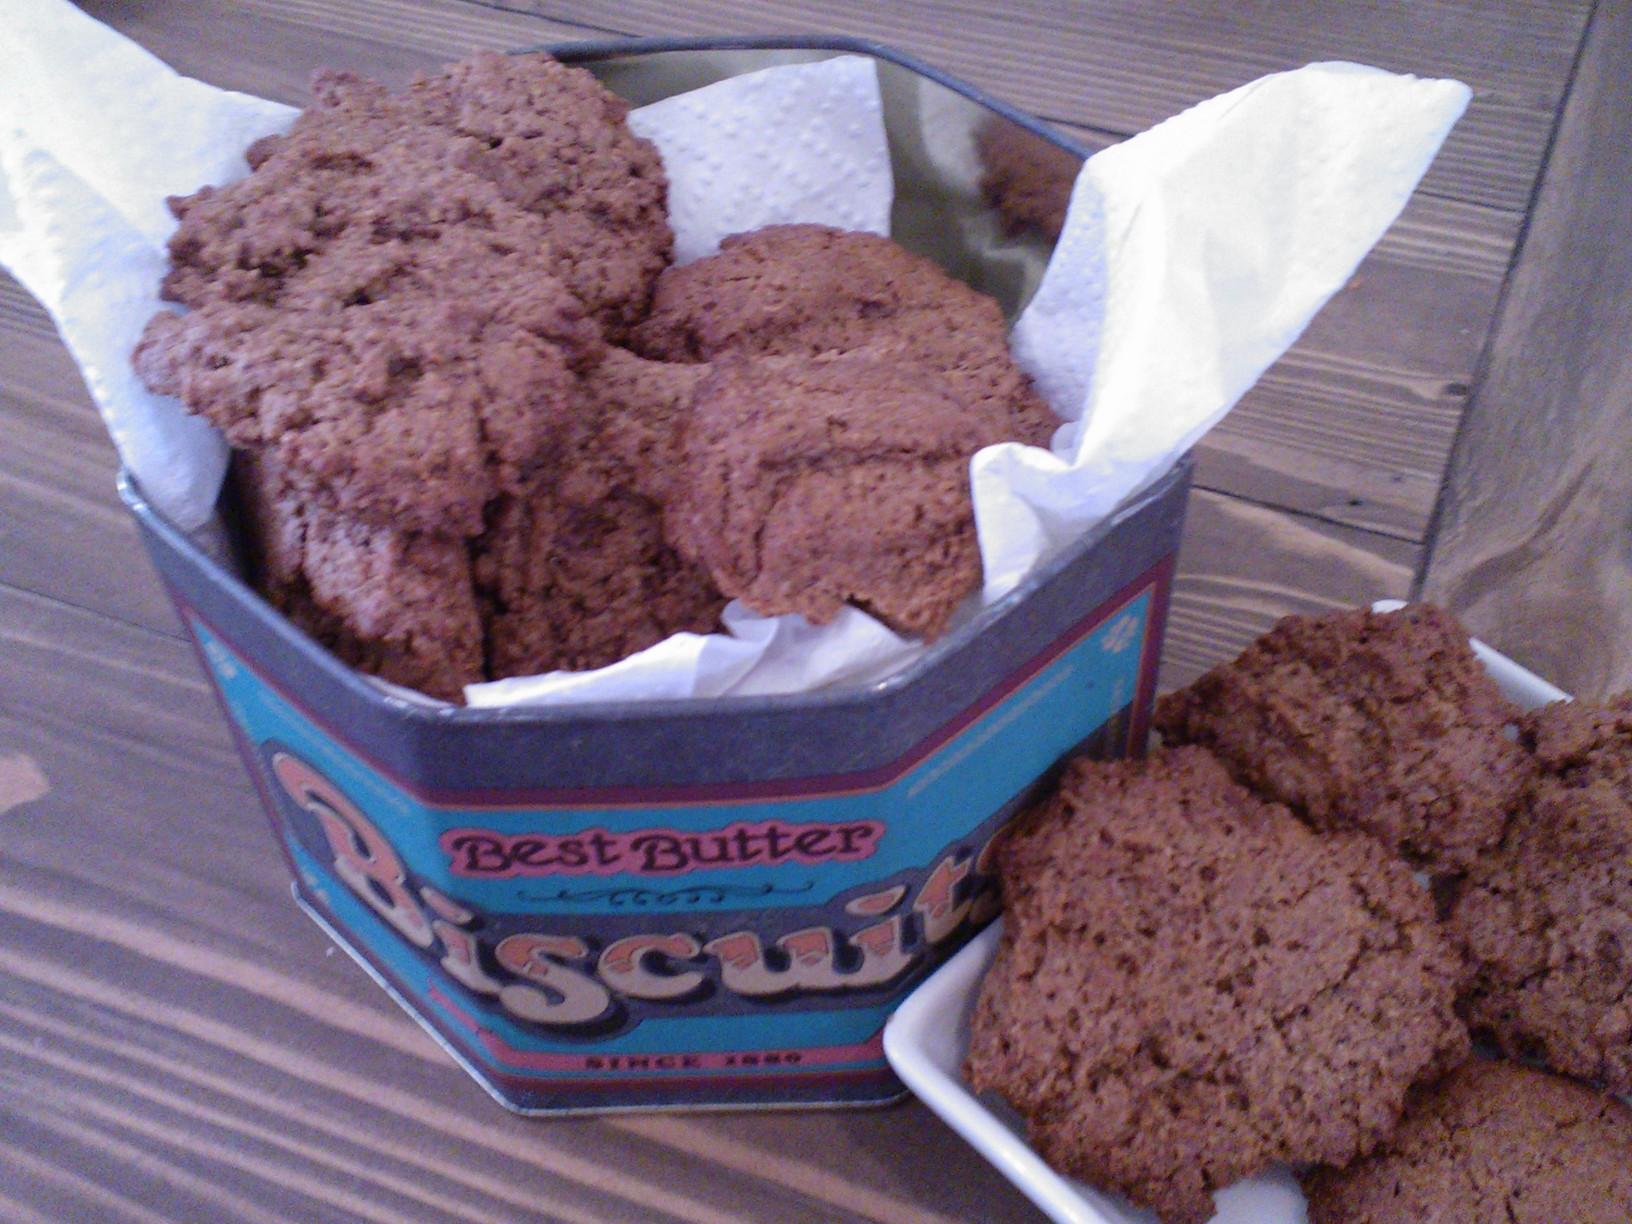
What I came up with was not only gluten free, but also dairy free, soy free, egg free, vegan, and almost sugar free. With just the right amount of almond flour left to produce two dozen of yummy cuties, some ideas, and a healthy dose of curiosity, I set out to create one of my most successful experiments, the result of which hubbs happily gobbles down – and asks for more. Him snooping around the biscuit tin and devouring a handful of these biscuits at work is probably the most convincing argument that these biscuits are good. Very good.

My husband never bought biscuits from the shop again.

They actually don’t taste overly peanut-buttery, so if you really fancy peanut butter, you might want to replace all the vegan spread with the peanut butter and even add some peanuts to the dough. This is a great base for an all-time favourite biscuit recipe, as it is so versatile. You can use other nut butters, giving it a different flavour each time, or you can add cocoa powder and chocolate chips for chocolate biscuits, or dried fruit and oats for muesli biscuits. The choice is yours. They are whipped up in a jiffy and take only 12 minutes to bake. So whether you fancy a morning or afternoon snack right now or need something sweet to conclude a nice meal, head to the kitchen now! These babies are so healthy you can even have them for breakfast!

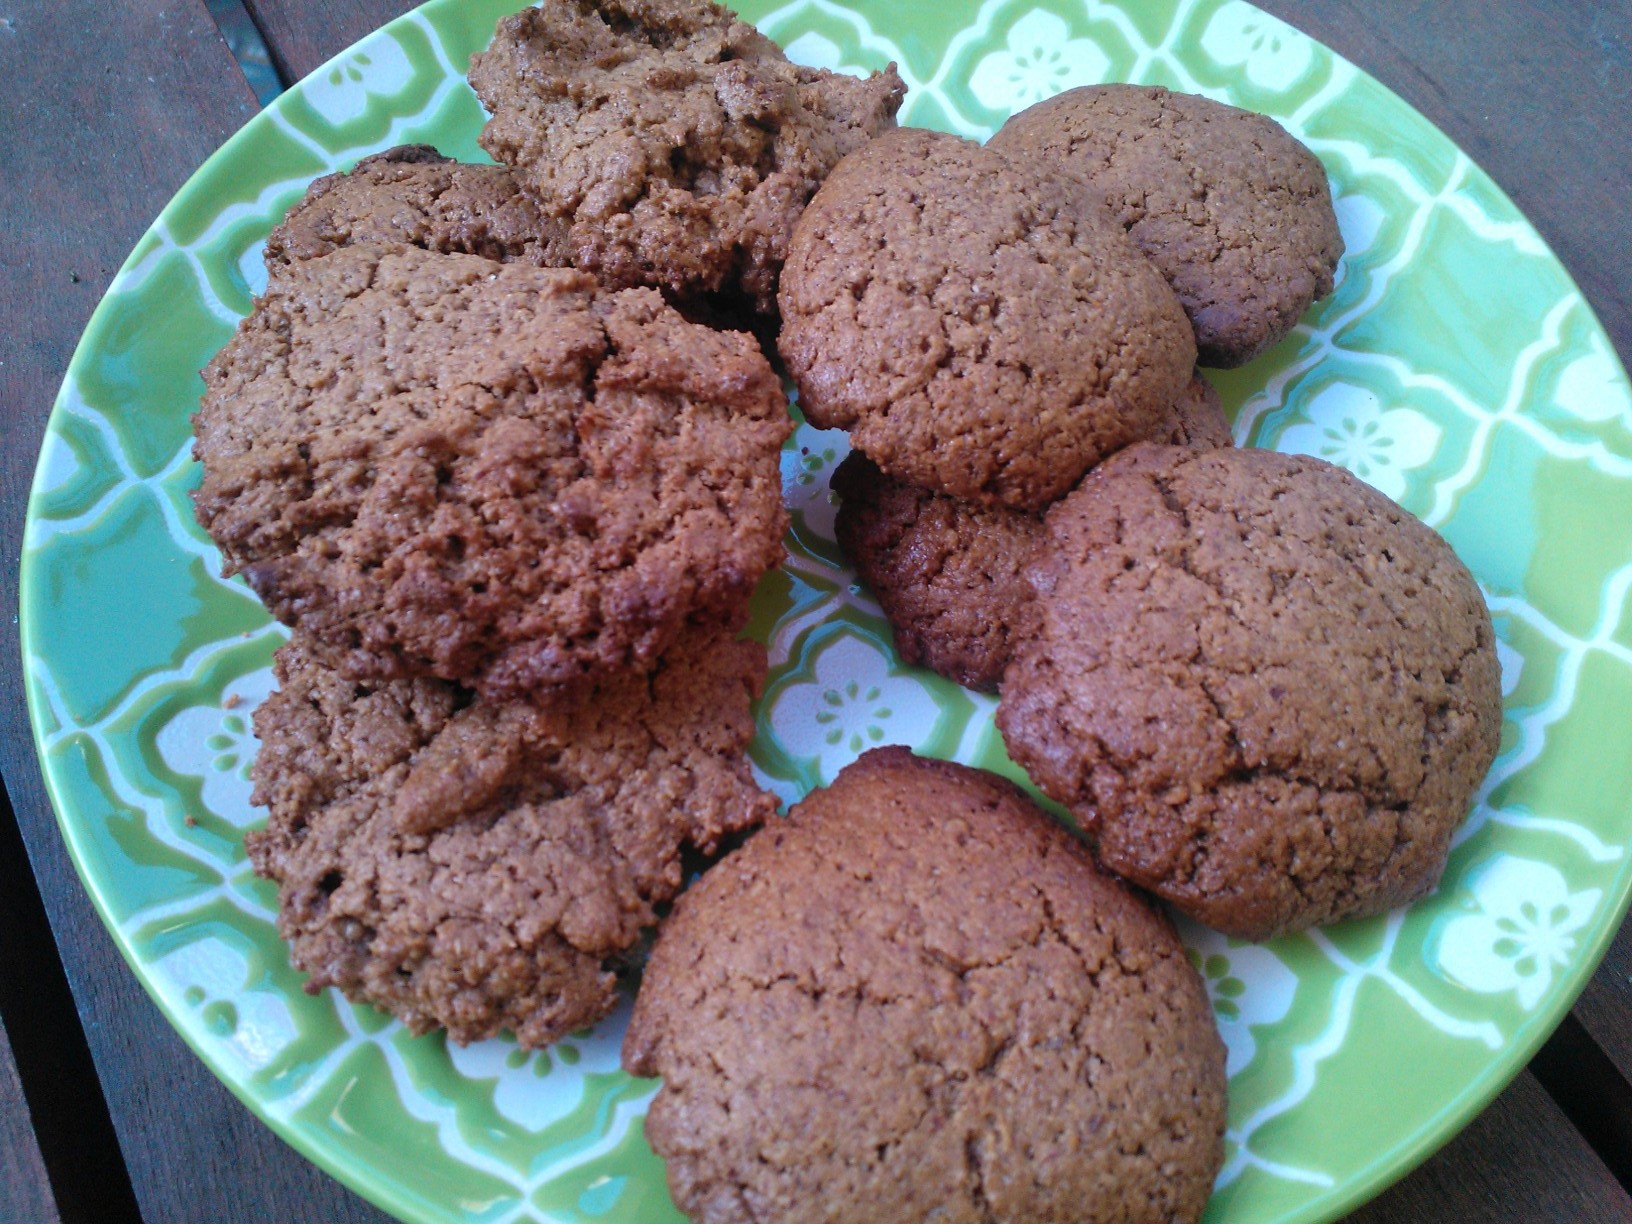
As the title reveals, my biscuits are not only gluten free, but completely grain free and starch free, thanks to lovely almond flour and my favourite ingredient flax, both of which come with a healthy dose of satisfying protein and fiber, as well as healthy fats, including omega 3! I would recommend using some sort of “real” sugar for a nice texture and colour, but you can probably use stevia throughout if you follow a strictly non-sugar diet. I used half brown sugar and half stevia for the biscuits displayed in the picture, and with 7 g of carbs per large biscuits, they are still fairly low-carb even if you use some regular sugar. I used vegan spread and flax as egg replacer to make a truly vegan biscuit, but feel free to use real butter or beat an egg in the dough – both of which improve the flavour even further. Note that I used reduced-fat spread, as the almond flour already contains a lot of fat. Feel free to use full-fat margarine if fat is not your worry, or butter as mentioned above.

Chilling the dough for 30 minutes before baking improves flavour and texture slightly, but is not a must. If you don’t chill the dough, the biscuits’ appearance is a bit “rougher”, but they are yummy nonetheless!

Makes 24 biscuits
Inspired by Erin

250 g almond meal (blanched for lighter biscuits or natural as in the pictures)
7 tbsp brown sugar or other sugar
7 tbsp stevia or other sweetener
20 g ground flax seed
1/2 tsp baking soda
1/2 tsp sea salt
80 g peanut butter, smooth or crunchy
40 g reduced fat vegan spread
2 tsp vanilla

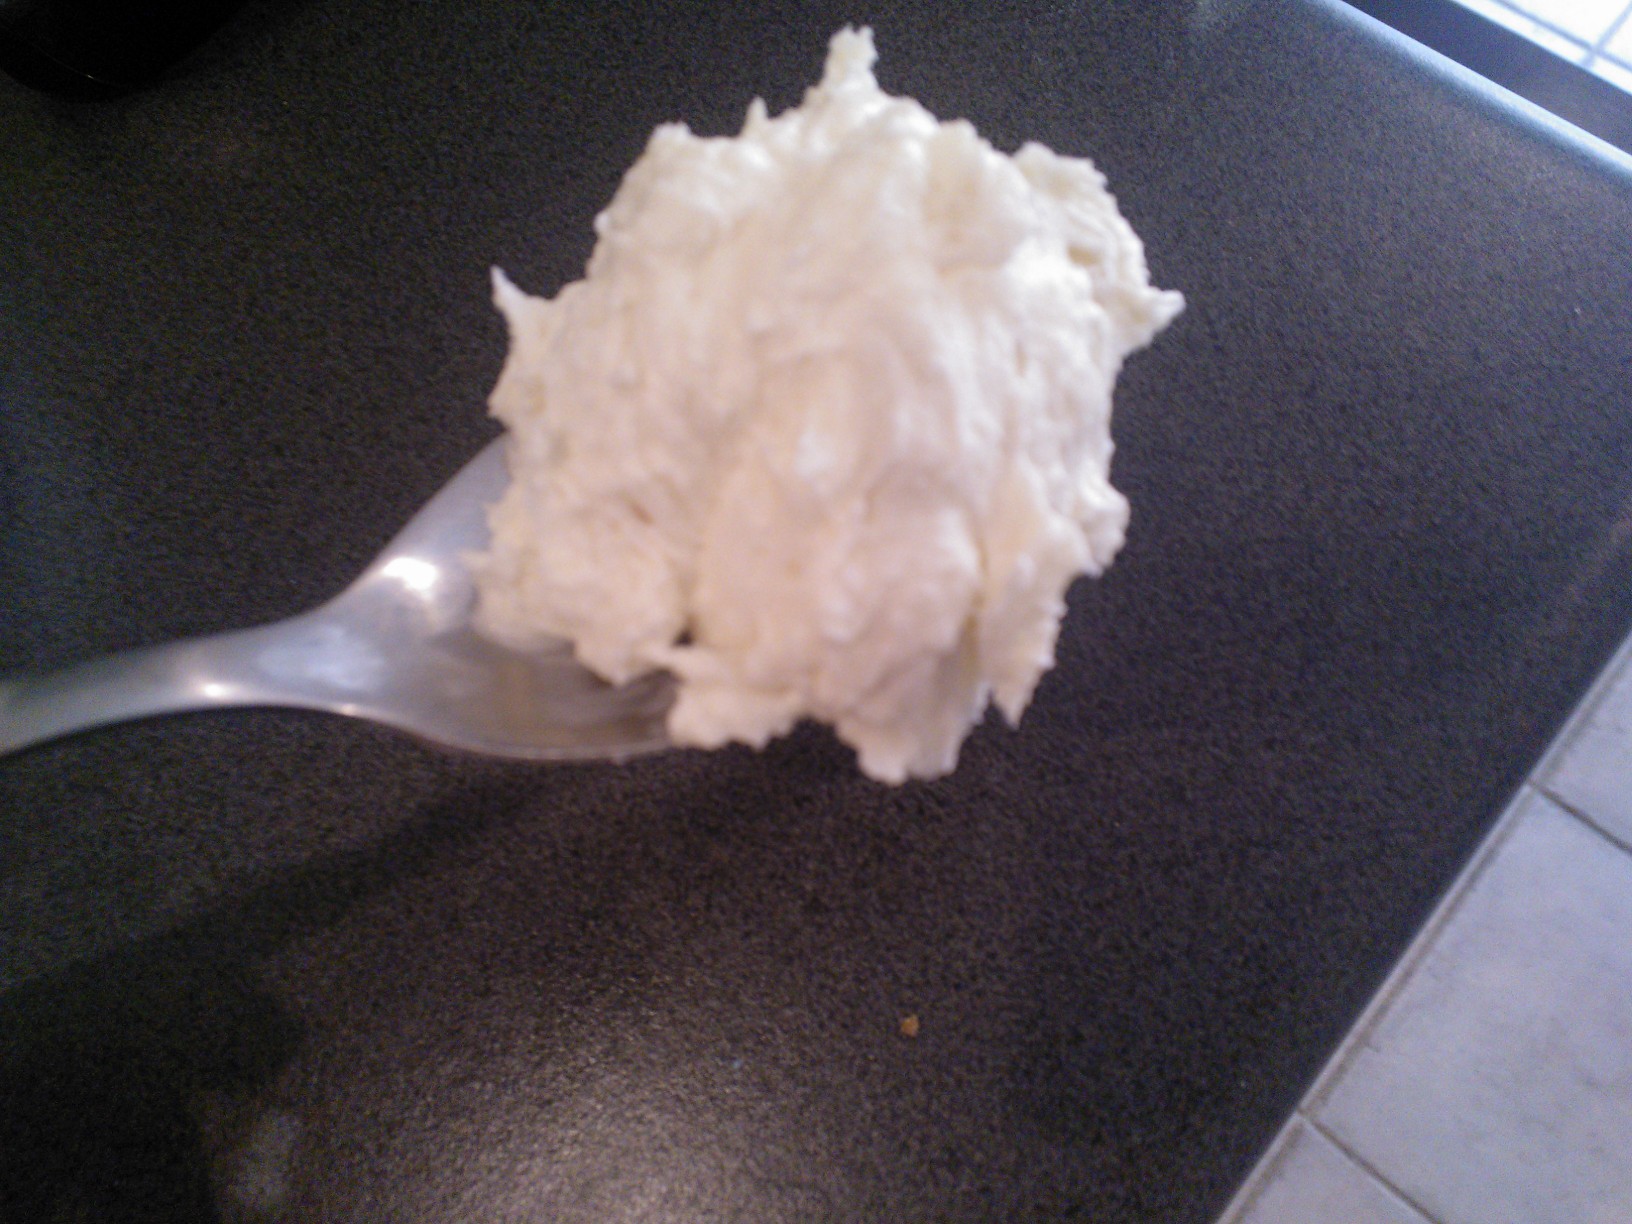
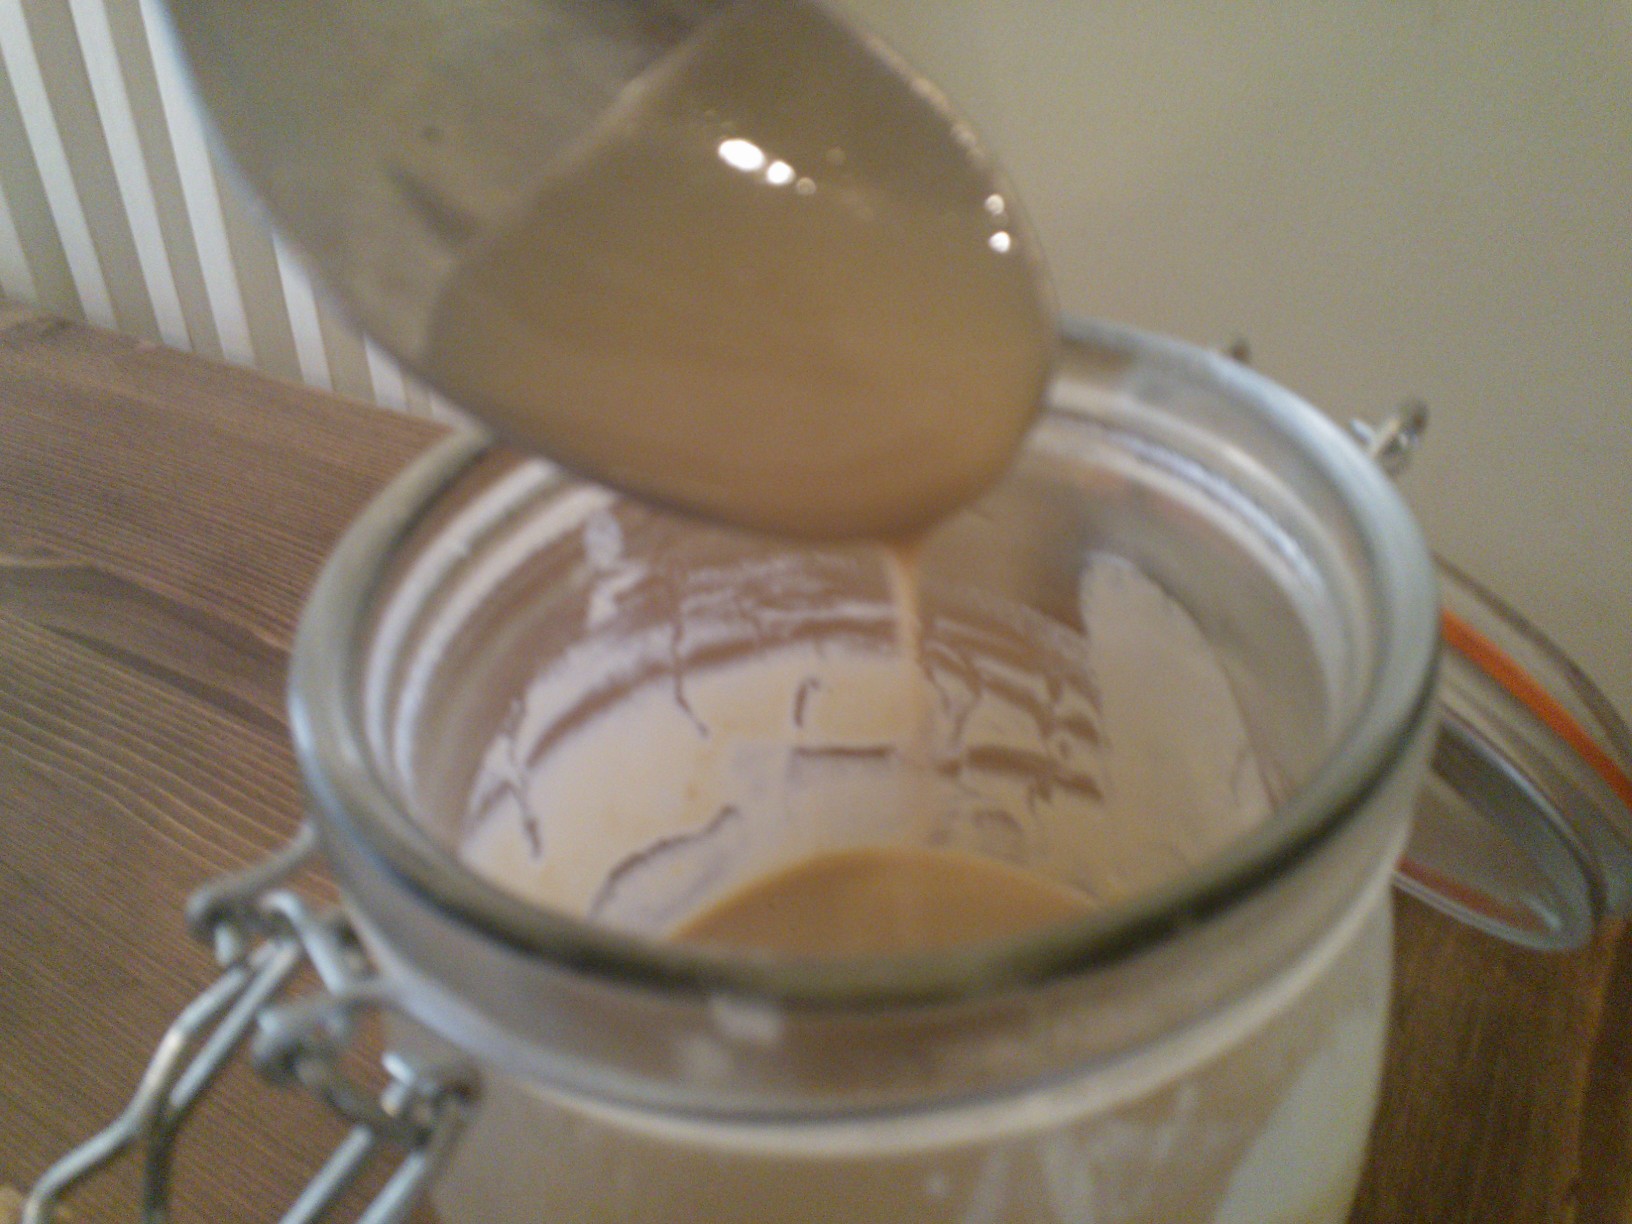
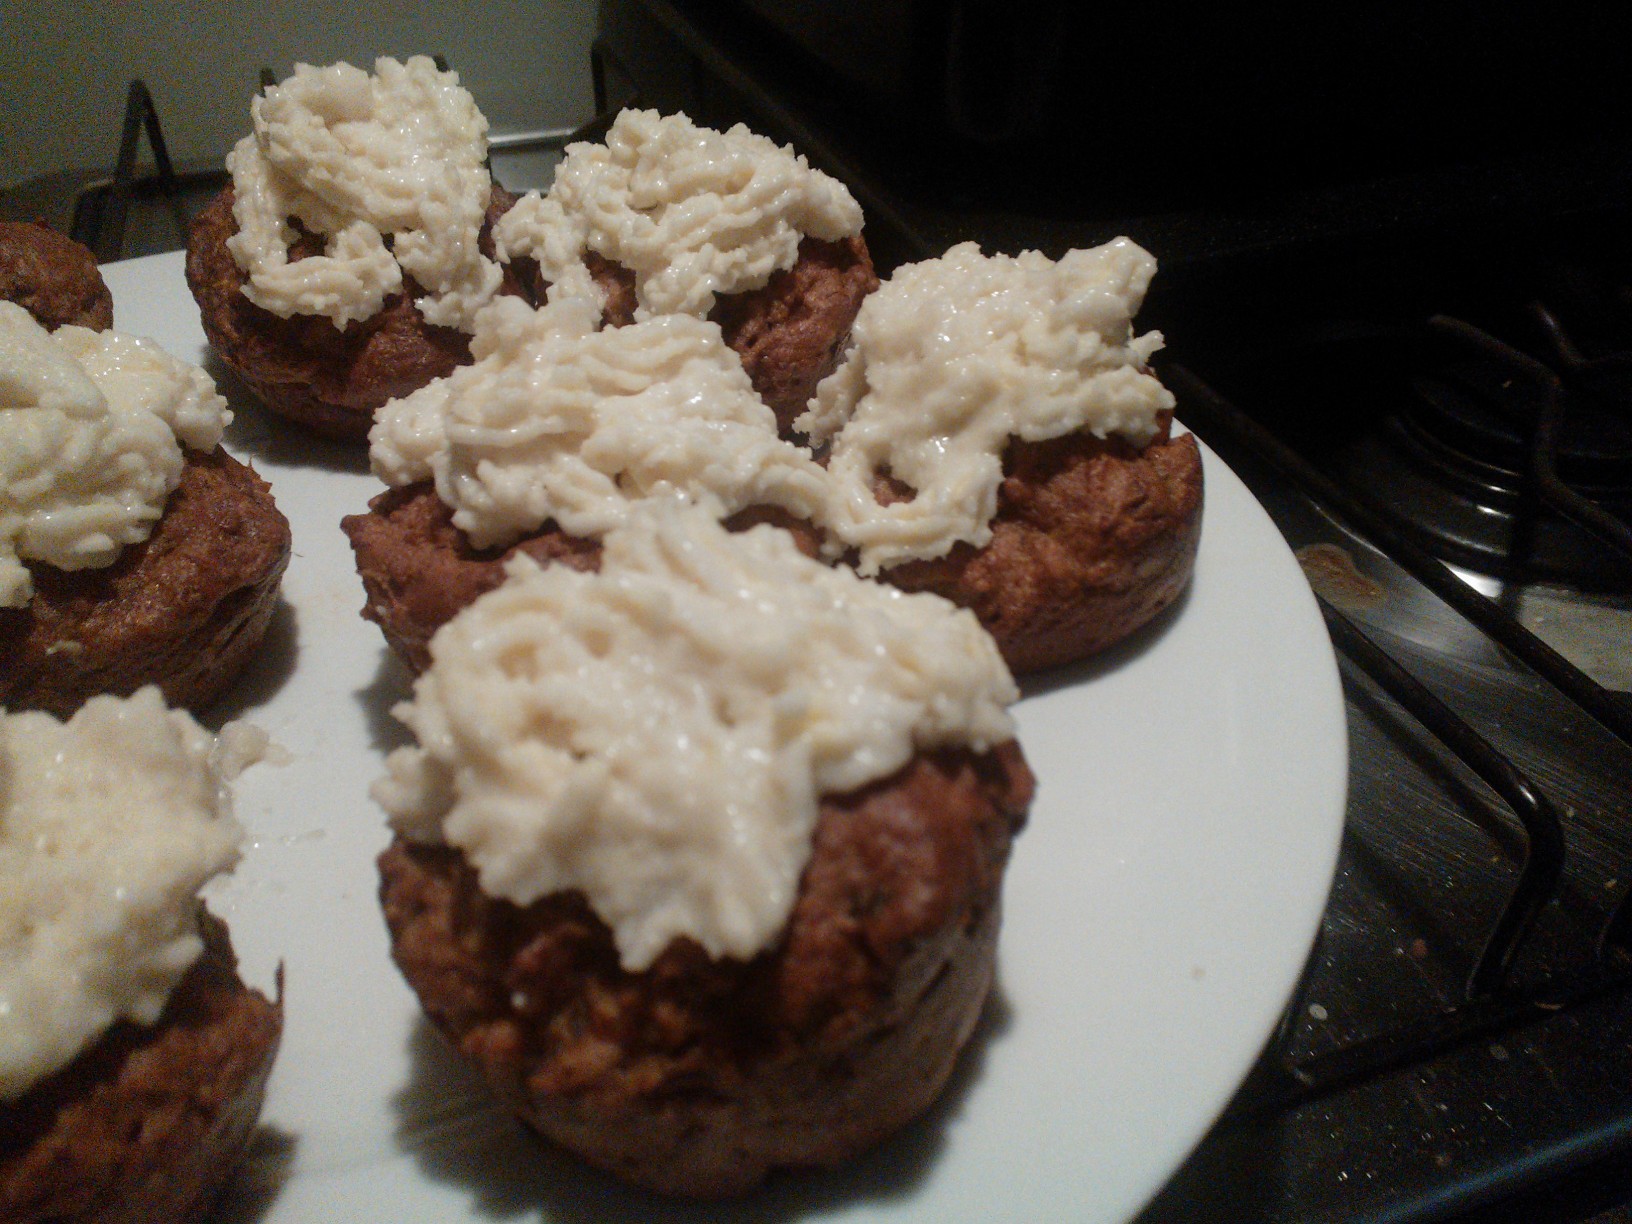
Preheat oven to 180 ° C and prepare two baking sheet. Cream peanut butter, spread, sugar, vanilla and stevia until light and fluffy. Mix the almond flour with the soda and salt and carefully fold into the wet ingredients. The dough should be sticky and wet. If it appears to dry, add 2 tbsp of water. Once blended well, you can chill the dough for 30 minutes to achieve smoother looking biscuits (see picture below the cookies on the right hand side). If you are in a hurry or very hungry, just skip this step and put up with coarser looking biscuits.

right: cookies with dough being chilled before baking, left: cookies with the dough not being chilled

Take 1 tbsp, form into a round shape and place onto baking sheet. Repeat with the rest of the dough until you have 24 biscuits. You will probably need two sheets as there needs to be space between the biscuits (they will spread out during the baking process).

Bake for 12 minutes – they might still appear slightly raw, but you must switch off the oven now, otherwise you risk them getting too hard as they will continue too harden. Let them rest in the hot oven for a few minutes, then take out and let cool (if you have the patience).

Store in an airtight (preferably metal) container where they will keep for up to five days.

Enjoy!

Vegan Frosting II

Dairy Free Frosting on spoon

I experimented a bit more with my dairy and soy free frostings, as I found that Xanthan does not only get lumpy, but is also a bit hard on the stomach for some folks!

This coconut frosting is relatively easy and quick and tastes great! It also has a better texture than my previous frosting and uses arrowroot instead of Xanthan.

1/2 tin of coconut milk
a bit of erythritol to taste
pinch of salt
teaspoon of arrowroot, dissolved in a teaspoon of water
a drop of vanilla
100 g coconut oil
20 g Nuttelex or other dairy free spread (you can use butter if not strictly vegan or dairy intolerant)

Simmer coconut milk, sweetener and salt and simmer for 10 minutes. Remove from heat and add the arrowroot paste and vanilla, bring back to the boil and swiftly whisk out any lumps. The mix becomes shiny and of goopy texture. Remove saucepan from the heat source and quickly stir in coconut oil. Let cool, transfer to container and chill for 2 hours. Once nice and cool, remove from fridge and beat with the spread until it looks like frosting. Voilà! Your vegan frosting is ready to use! Great on my carrot cake! Be careful: This frosting gets very firm in the fridge, but will melt very quickly when outside the fridge.

Enjoy!

Funneled frosting
Funneled frosting

Sweetened Condensed Milk – Dairy free and sugar free!

Condensed Almond Milk

Who doesn’t like puddings, custards, fudge or millionaire’s shortbread (aka caramel slice)? And who wouldn’t want to have these treats sugar-free, dairy free and low-carb? Who of you vegans, low-carbers and dairy intolerant folks has not pondered old favourite recipes calling for condensed milk – only to resign yourself to the fact that no dairy and no sugar means saying good bye to your favourite treat?

Don’t fret! Rescue is nigh! Would you have thought that you can create a sugar free dairy free worry free version of this yummy ingredient (I prefer it straight from the spoon!) all by yourself? All you need is yummy-tummy almond milk – which you should have in your fridge at all times anyway, some erythritol, stevia, honey or other sweetener of your choice, a pinch of salt, and a drop of vanilla, as well as an hour or so of your precious time – so if you are like me, you don’t even need to leave the house! The great thing about almond milk (and other non-dairy milks) is that the risk of burning is considerably reduced.

Makes approx. 400 g sweetened condensed milk (equivalent to 1 tin from the shop)

1 l unsweetened almond milk
2 tbsp erythritol or other sweetener (I have used honey and agave before, which also works well, it just gets a bit more runny than with sugar crystals, so if you make condensed milk for fudge or millionaire’s shortbread, I would use a solid sweetener like erythritol, stevia or palm sugar.)
pinch of salt
drop of vanilla

Place all ingredients in a saucepan (the bigger it is, the quicker you will have your condensed milk!), bring to the boil, then simmer uncovered on low heat, stirring every few minutes until the mixture has reduced by about half and has turned a slight amber colour (this takes between one and up to two hours). At this stage, it will still be slightly runny, but that is okay – it will firm up, promise! Let cool in the pot for a few minutes, covered by a clean teatowel, then transfer to a glass jar and refrigerate. Enjoy straight from the spoon or in your favourite recipes. Lasts about one week in the fridge.

Enjoy!

Dairy free frosting

WP_000396
Who would think it’s vegan?

For all frosting addicts out there who cannot or don’t want to have milk, yes, I created a dairy free frosting that tastes like a cream cheese frosting! And no, it does NOT contain Tofutti or any other GMO-laden soy crap. It is made with coconut milk – however, you won’t taste the coconut much in the final product so don’t fret if you are not the biggest coconut fan in the world – you will still like it, I promise. You can find the recipe below.

1/2 can of coconut cream (full fat or light – both work fine)
1 teaspoon of honey
pinch of salt
80 g coconut oil
80 g vegan margarine (Nuttelex) or butter
1/8 teaspoon xanthan to thicken

-Heat coconut milk, honey and salt, bring to the boil and let simmer for 10 minutes
-add xanthan, stirring continuously, bring to the boil and remove from heat – the mix should have a shiny surface
-stir in coconut oil, whisking or using a blender
-set to cool for 15 minutes and transfer to fridge for another 2 hours (the longer, the better), until mix has firmed up
-when it is thoroughly chilled, transfer coconut mix to a mixing bowl (you might need to blend it again with a stick blender to make it really smooth), add the margarine or butter and mix with hand blender for 2 minutes until thick and fluffy
-decorate muffins with the frosting using a cake decorator or silicon spatula

Vegan, dairy free and soy free whipped cream

WP_000398
Carrot cake muffins with vegan whipped cream filling
WP_000397
Vegan whipped cream in bowl

What do strawberries, applestrudel and icecream sundaes have in common? – They are nothing without whipped cream! What do whipped cream, cheesecake and frosting have in common? It is a challenge to make them dairy free! However, after much experimenting, I have come up with a recipe for a dairy free (and soy free!) whipped cream which comes very close to the original without the saturated fats and the cholesterol! Living in Australia, I based this yummy and versatile cream on the delicious macadamia nut, which is packed with vitamin, minerals, antioxidants, fiber, phytosterols and heart-friendly mono-unsaturated fatty acids.

Update: If you don’t want/can’t have nuts, please have a look at my new, much easier, quicker, faster vegan whipped cream recipe, which is also lower in fat!

To add to these health benefits, there is plenty of coconut oil – according to experts one of the healthiest foods on the planet – please have a look at this or this article if you are interested in reading up on coconut oil.

This cream gets very firm, making it ideal for decorating and layer cakes. It can be served with any cake, dessert or fresh fruits – or just spooned straight from the bowl into your mouth! It is not difficult to make; however, you will need some time for soaking the nuts and a good food processor.

Ready? Here we go:

Ingredients

1 cup of macadamia nuts (raw, unsalted, unprocessed)
30 g coconut oil
30 g vegan margarine (Nuttelex)
1 teaspoon of stevia
pinch of salt
1 teaspoon of vanilla

-Process the nuts in your food processor, using the pulse function, until they have a become powder – it doesn’t matter if there are still some bigger chunks
-let the “nut powder” soak in 1 cup of filtered water for 2 to 4 hours until thick and white
-with a stick blender or your food processor process nut paste until smooth
-heat the nut paste with the coconut oil, stevia and salt, bring to the boil and simmer for 10 minutes, whisking constantly
-chill mixture in fridge overnight
-transfer chilled mixture in a bowl, add margarine and vanilla and mix with hand blender until thick and fluffy

Gluten free, low carb, vegan carrot cake muffins

WP_000398
Carrot Cake with whipped cream filling
WP_000396
Carrot Cake with vegan frosting

Those who think that gluten free cooking is complicated and tasteless hasn’t tried these fantastic carrot cake muffins – they are ready in a jiffy, packed with fibre (they really are satisfying!) and beta-carotene, low carb and low GI, and of course completely gluten free, dairy free, soy free, and sugar free! Have I mentioned that they are extremely yummy, too?

For all frosting addicts out there who cannot or don’t want to have milk, yes, I created a dairy free frosting that tastes like a cream cheese frosting! And no, it does NOT contain Tofutti or any other GMO-laden soy crap. It is made with coconut milk – however, you won’t taste the coconut much in the final product so don’t fret if you are not the biggest coconut fan in the world – you will still like it, I promise. You can find the recipe here and below. Update: I created a new vegan and sugar-free frosting without any nuts. Recipe here.

Alternatively, these muffins are even better filled with my vegan whipped cream! Highly recommended! (see left-hand picture above)

Watch out, these delicious little cakes will be gobbled up before you know it – so better make a bigger batch if you need them for a party! You can easily double or triple this recipe. They last well in the fridge (in fact, they taste even better the next day) and you can freeze them without any worries.

Makes 12 muffins

For the muffin batter
2 eggs or egg replacer to make it vegan
100 g of honey (can be substituted with organic maple syrup or agave nectar)
40 ml olive oil
100 g plain gluten free flour
30 g flax seed
1 teaspoon gluten free baking soda
50 g nuts (almonds and/or walnuts are best, but you can use any nuts) – more nuts improve the flavour even further
1 1/2 cups of freshly grated carrots – the more carrots, the more moist and delicious your muffins will be
1/2 teaspoon xanthan (if your gf flour mix doesn’t contain it already)
1 teaspoon cinnamon
1/2 teaspoon kosher salt (or Celtic sea salt)
1 teaspoon vanilla
10 dates (optional, but adds taste and texture – could be replaced with raisins and/or sultanas)

For the frosting
1/2 can of coconut cream (full fat or light – both work fine)
1 teaspoon of honey
pinch of salt
80 g coconut oil
80 g vegan margarine (Nuttelex) or butter
1/8 teaspoon xanthan to thicken

Muffins:
-Preheat oven to 180° C
-Beat honey, eggs, oil, vanilla in a large mixing bowl until smooth
-In a separate bowl, combine the dry ingredients: flour, flax, soda, xanthan, salt and cinnamon
-Add to wet ingredients and beat until smooth
-Mix in carrots, nuts and dates and transfer batter to muffin pan
-Bake for 30 min or until a toothpick comes out clean

Frosting:
-Heat coconut milk, honey and salt, bring to the boil and let simmer for 10 minutes
-add xanthan, stirring continuously, bring to the boil and remove from heat – the mix should have a shiny surface
-stir in coconut oil, whisking or using a blender
-set to cool for 15 minutes and transfer to fridge for another 2 hours (the longer, the better), until mix has firmed up
-when it is thoroughly chilled, transfer coconut mix to a mixing bowl (you might need to blend it again with a stick blender to make it really smooth), add the margarine or butter and mix with hand blender for 2 minutes until thick and fluffy
-decorate muffins with the frosting using a cake decorator or silicon spatula

Enjoy!

Tips
– use sugar free orange marmalade instead of honey, to get a more tangy and zesty taste
– add some ginger to the dough for some exotic spiciness
– mix some gingerbread or pumpkin pie spice in the frosting for a delish Halloween or Xmas treat
– replace the carrots with cooked pumpkin or sweet potato for an extra luscious treat
– you can of course make this a cake instead of muffins. This recipe is enough for one round 20 cm baking pan. Double this recipe for a bigger cake.