Whether you want/need to balance upcoming indulgences (yes that’s right), need to cool down in Australia’s summer heat, or are just after a delicious, filling, easy, and, yes, healthy breakfast and/or afternoon snack, a smoothie bowl always hits the right spot – and yes, they are not only for summer. This one is made with banana and mango – hence the reference to “tropical”. But a smoothie bowl wouldn*t be a smoothie bowl if you couldn’t adapt it to your needs.
I just love their versatility – hate mango but love berries? Bingo, enjoy your banana and berry smoothie! Can have dairy – use Greek yogurt. Can’t have dairy? Use avocado or tahin instead. Need a protein boost after your workout? Add a scoop of your favourite protein powder. Got some almond milk leftover? Overripe bananas? You get the picture. You can even add a bit more liquid and have it as a beautiful shake on the run.
Serves one
1 cup lite coconut milk, almond milk, or any other milk of choice a handful of frozen chopped bananas a handful of frozen chopped mangoes a handful of spinach (optional) a scoop of Greek yogurt, avocado and/or nut butter a scoop of protein powder (optional) a tbsp of chia seeds (optional) any add-ons (e.g. cacao, maca, spices, fruit, seeds…)
Blend all ingredients in a high-powered blender until desired consistency is achieved. Spoon or sip away!
Millionaire’s shortbread was my childhood heaven like brownies for other people. I fell in love the minute my mum brought a tray from a business trip to Scotland – a crunchy shortbread base + decadent caramel + chocolate = bliss! When a Marks & Spencer’s opened in Frankfurt, we travelled all the way from Berlin just to bite into one of these moreish delights (that Marks & Spencer’s did not last long in spite of their heavenly baked goods, but that is another story).
Making a gluten free version of Millionaire’s shortbread has been on my to-do-list for a couple of years now. In fact, this is a gluten, dairy and soy free blog, so creating a Millionaire’s shortbread fit for No Worries Cooking was a bit like squaring the circle. There were many failed attempts – either the shortbread was ruined (I had heated the butter a couple of times – never do that!), or the caramel was NQR, or the chocolate burned while melting. But now I can finally tick it off the list: Here is a vegan, grain free, dairy free, sugar free, soy free, and, in fact, paleo-ish version of Millionaire’s shortbread! I love ticking off items from my to-do lists, so this was a success on so many levels!
The shortbread base I have slightly adapted from a recipe for paleo all-purpose flour I found here. I am keen to try it in some other recipes as well, but it worked a treat in this shortbread. The caramel is a super quick vegan caramel sauce (of which I will post the recipe separately later), and the chocolate is my favourite, Lindt Excellence 90%. So it is really a lot easier to whip up this treat than I had antcipated, probably less than 30 minutes preparation, which should be the maximum amount of time you wait before trying this great recipe!
For a 20 cm square baking pan
For the shortbread base: 120 g coconut flour 100g almond meal 60g tapioca flour pinch of salt 1 “flax egg” (1 tbsp milled flaxseed dissolved in 4 tbsp filtered water) 150g coconut oil or vegan butter, softened 50g rice malt syrup or other liquid sweetener
For the caramel: 1 tin full-fat coconut cream, chilled overnight
1 tbs molasses
dash of vanilla extract
generous pinch of sea salt
150g rice malt syrup or other liquid sweetener
dollop of coconut oil or vegan butter
For the chocolate topping: 200g vegan dark chocolate (at least 80% cocoa)
Preheat oven to 180 °C. Prepare one 20 cm square baking pan by lining with baking paper. Mix all ingredients for the shortbread in a large mixing bowl and mix with your hands until everything comes together and the mass resembles crumble. Note: it will take a while to come together, but you should really use your hands as the warmth of your hands will soften the butter, thus helping to combine the fat molecules of the butter with the dry ingredients. (And you get to lick your fingers, yum!) Once the dough resembles a crumbly mass, pack firmly to build a “ball” and chill for up to 30 minutes (though you can skip this step). Press firmly and evenly down the baking pan and pierce holes into the fough with a fork. Bake for approx. 20 minutes until the edges start to lightly golden.
Meanwhile, prepare the caramel. The solid part of the coconut cream should be on top of the tin. Scoop it out and into a small saucepan. The leftover coconut water can be used for smoothies. Add the remaining caramel ingredients bar the butter and slowly heat over medium heat. Bring to the boil, then turn the heat down and simmer until the caramel starts to bubbly and thicken up. Stir, stir, stir! Once the caramel has the desired consistency, turn off the heat and stir in the butter. Pour into the tin on top of the baked shortbread and refrigerate for one or two hours.
Once set, melt the chocolate in a double boiler while constantly stirring until completely melted. Pour on top of the shortbread and caramel and refrigerate again for another hour or so.
Once everything is firm and set, lift out of the tin and cut into squares with a very sharp knife.
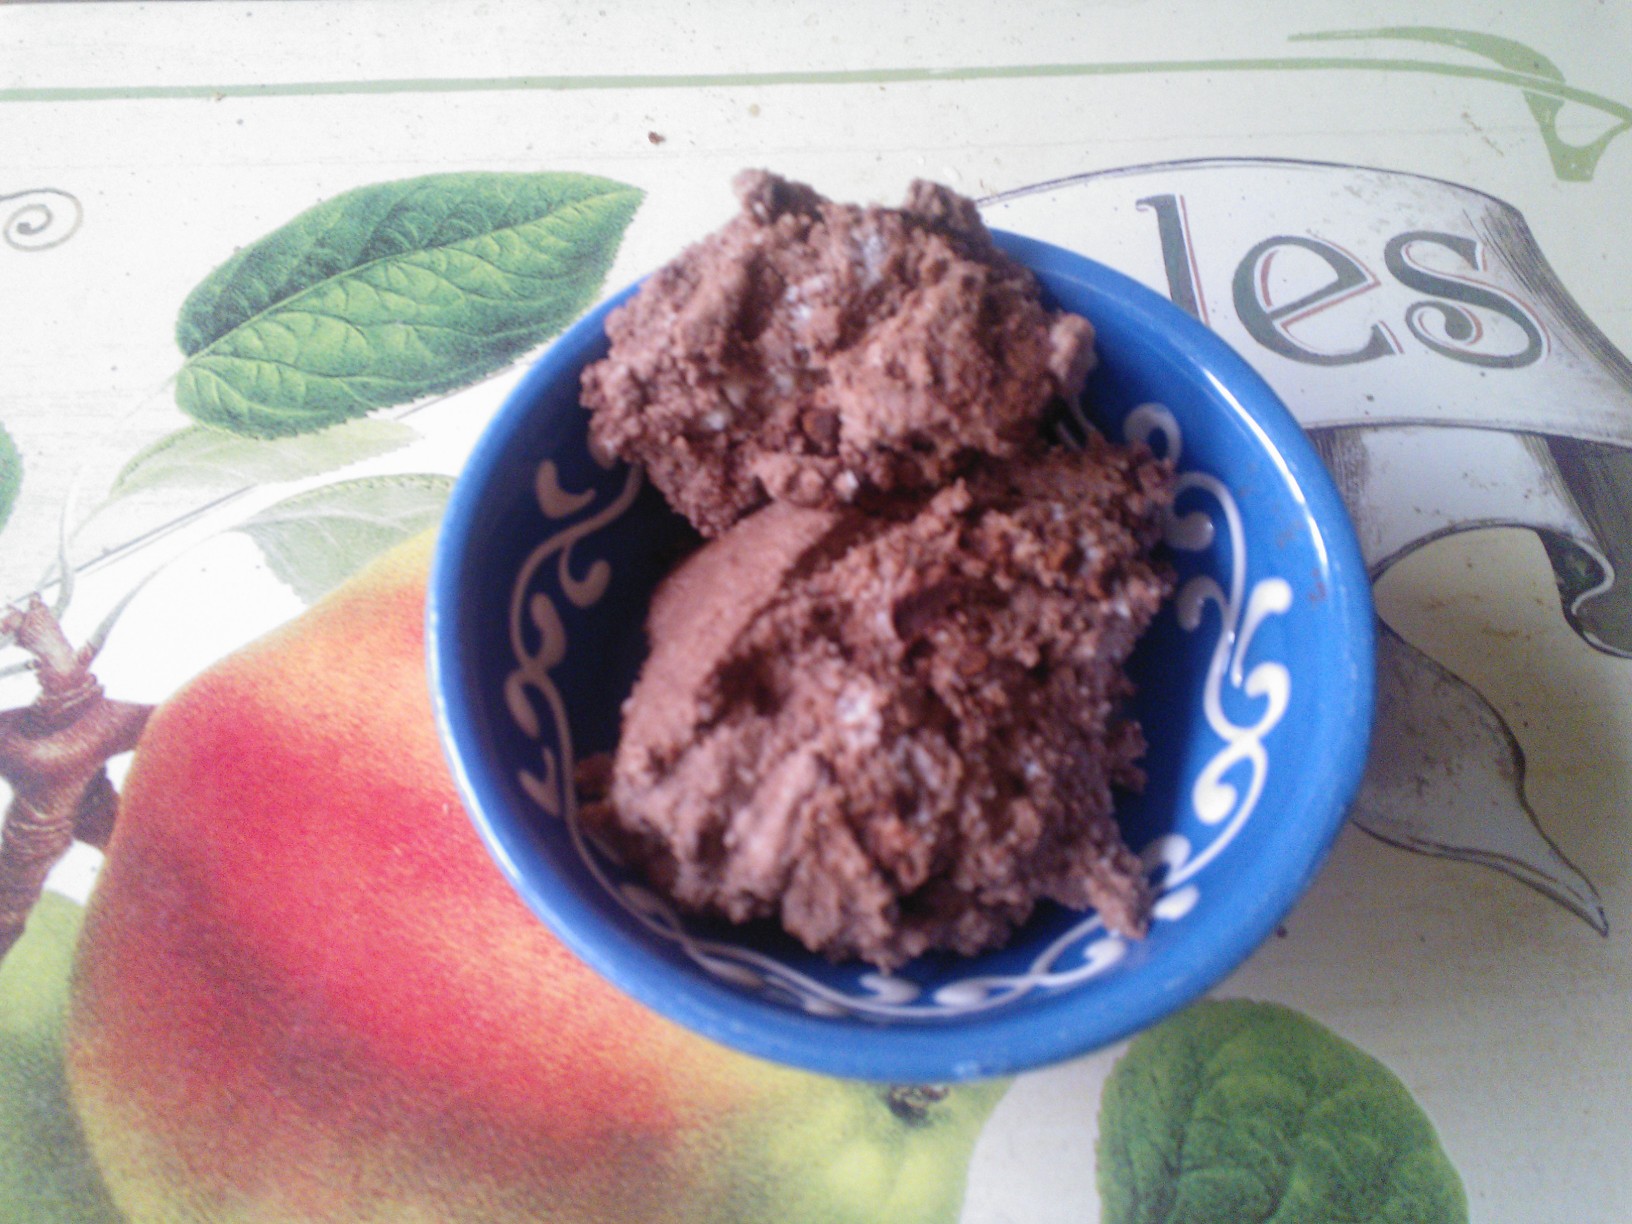
The yummyness, the fluffyness, the beauty – chocolate mousse can actually be good for you!
Marveling at the Wonders of Instant, Healthy, Low-carb, Vegan, Paleo Chocolate Mousse or I Want it All,Act I, Scene I
Test Eater: Wow, this looks great! You must have spent ages making this! Chef: Not even a minute, dear. Test Eater: Um. So it’s bought stuff, ay? I thought you make things from scratch! Chef: All from scratch, darling. (Well, I didn’t harvest the coconut or the cocoa.) Test Eater (tries some): This is heaven! Honestly, this is one of the best chocolate mousses I have tried, and I am picky you know…actually, I shouldn’t really have a treat like that… (becomes serious) It must be loaded with sugar and carbs! Chef: Not a trace. This is virtually carb-free. Test Eater: Yeah right. So it’s filled with bucket loads of artificial sweeteners and other poisonous stuff! Chef: Just the sweetness of nature, honey. (Well, it doesn’t actually contain honey because it’s carb-free.) Test Eater: Wow. So I can have as much as I want – but you can’t, since you can’t have dairy! And we can’t offer it to XXX – she’s a vegan! Chef: In this dessert, there is not a cow in sight – nor any other animal. Test Eater: OK, I give up. What IS this stuff, and how did you make it? Chef: Scroll down to the recipe!
Common dilemmas and how to solve them. A practical guide. Problem 1: You need your chocolate fix and you are extremely impatient and/or short of time.
Solution 1: Make this chocolate mousse.
Problem 2: You have an insatiable sweet tooth, but you are trying to eat more healthily.
Solution 2: Make this chocolate mousse.
Problem 3: You are on a low-carb and/or paleo diet, but you miss chocolate mousse.
Solution 3: Make this chocolate mousse.
Problem 4: You love chocolate, but you are worried about all the unhealthy ingredients in it.
Solution 4: Make this chocolate mousse.
Problem 5: You need/want to cut out dairy, but you need/want chocolate mousse.
Solution 5: Make this chocolate mousse.
Problem 6: You are a vegan, but you suddenly have an odd craving for chocolate mousse.
Solution 6: Make this chocolate mousse.
Problem 7: You need your chocolate fix, and you need it now.
Solution 7: MAKE. THIS. CHOCOLATE. MOUSSE. NOW.
It takes one minute to make. One minute! Doesn’t matter whether you are suffering from a very sudden, very intense chocolate craving that does NOT allow postponement or whether you need a goodie for a surprise guest or whether you just can’t be bothered spending hours making a great dessert – this is it. Got the in-laws over for Christmas? Why spend hours making dessert when you need/want the time for your beauty routine/yoga lesson/wrapping presents/unwrapping presents? You can make this in one minute. Or less. One minute, that’s 60 seconds. That’s how long it takes – maximum. And that’s a promise. (OK, your coconut milk must be refrigerated, but you should have a couple of tins in your fridge anyway – at least when you are trying my recipes ;-))
I know not everyone cares whether desserts are healthy, but this one is. Spot on. There is no more than three ingredients (four if you count the water): Coconut meal, coconut milk, raw cocoa. That’s it. No sugar, no grains, no dairy, no processed crap, no GMO, no thickener, MSG, emulsifier, colourant or flavouring. Just. Pure. Goodness. Straight from mother nature. It is real, it is paleo, it is nutritious.
It is low-carb, if not no-carb, it is absolutely sugar free, but without nasty sugar replacements that can spike your blood sugar. This is as low GI as it gets. And it is very filling!
It is absolutely dairy free, and it goes without saying that it is also gluten and soy free. It is vegan. It is a very allergy-friendly dessert as even many nut sufferers can have coconut.
Oh, and for those who are interested – it is also veeeeeery delicious. Not to mention divine.
Dear vegans, low-carbers and paleoists, here comes the one-minute-guide how to have your mousse and eat it, too. Thanks for reading, my friend, and if you can spare one more minute of your precious time, you better make this. NOW.
Note: This has quite a strong flavour. If you like your stuff very sweet, you should probably add some stevia or erythritol. Use honey to make it paleo. I don’t sweeten it, as I don’t like my things overly sweet, but then – I’m special. 😉
Serves 1 very hungry chocoholic or 2 normal people 😉
4 tbsp coconut flour 4 tbsp solidified coconut milk (should have been stored in the fridge overnight) 4 tbsp cocoa powder 4 tbsp filtered water
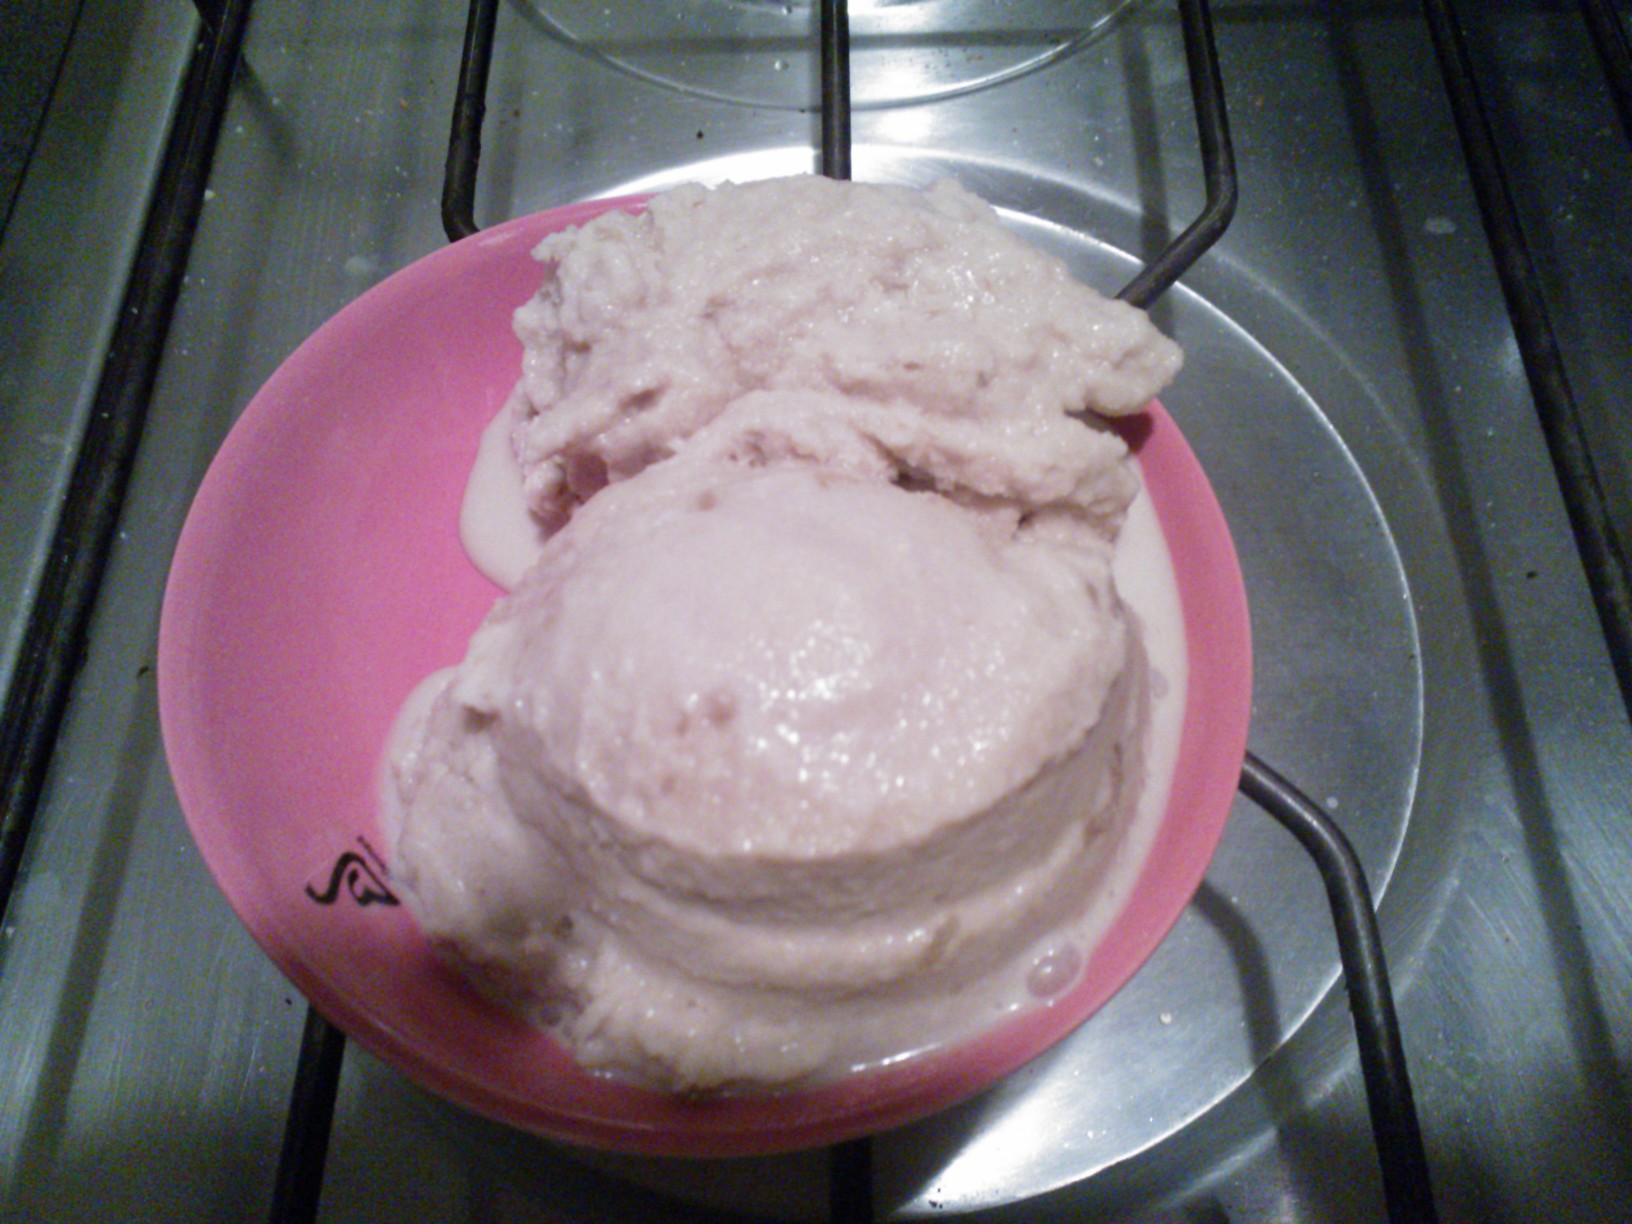
The coconut milk should look like this:
solid coconut milk
Mix all ingredients bar the water in a small bowl, then slowly add the water while stirring until smooth.
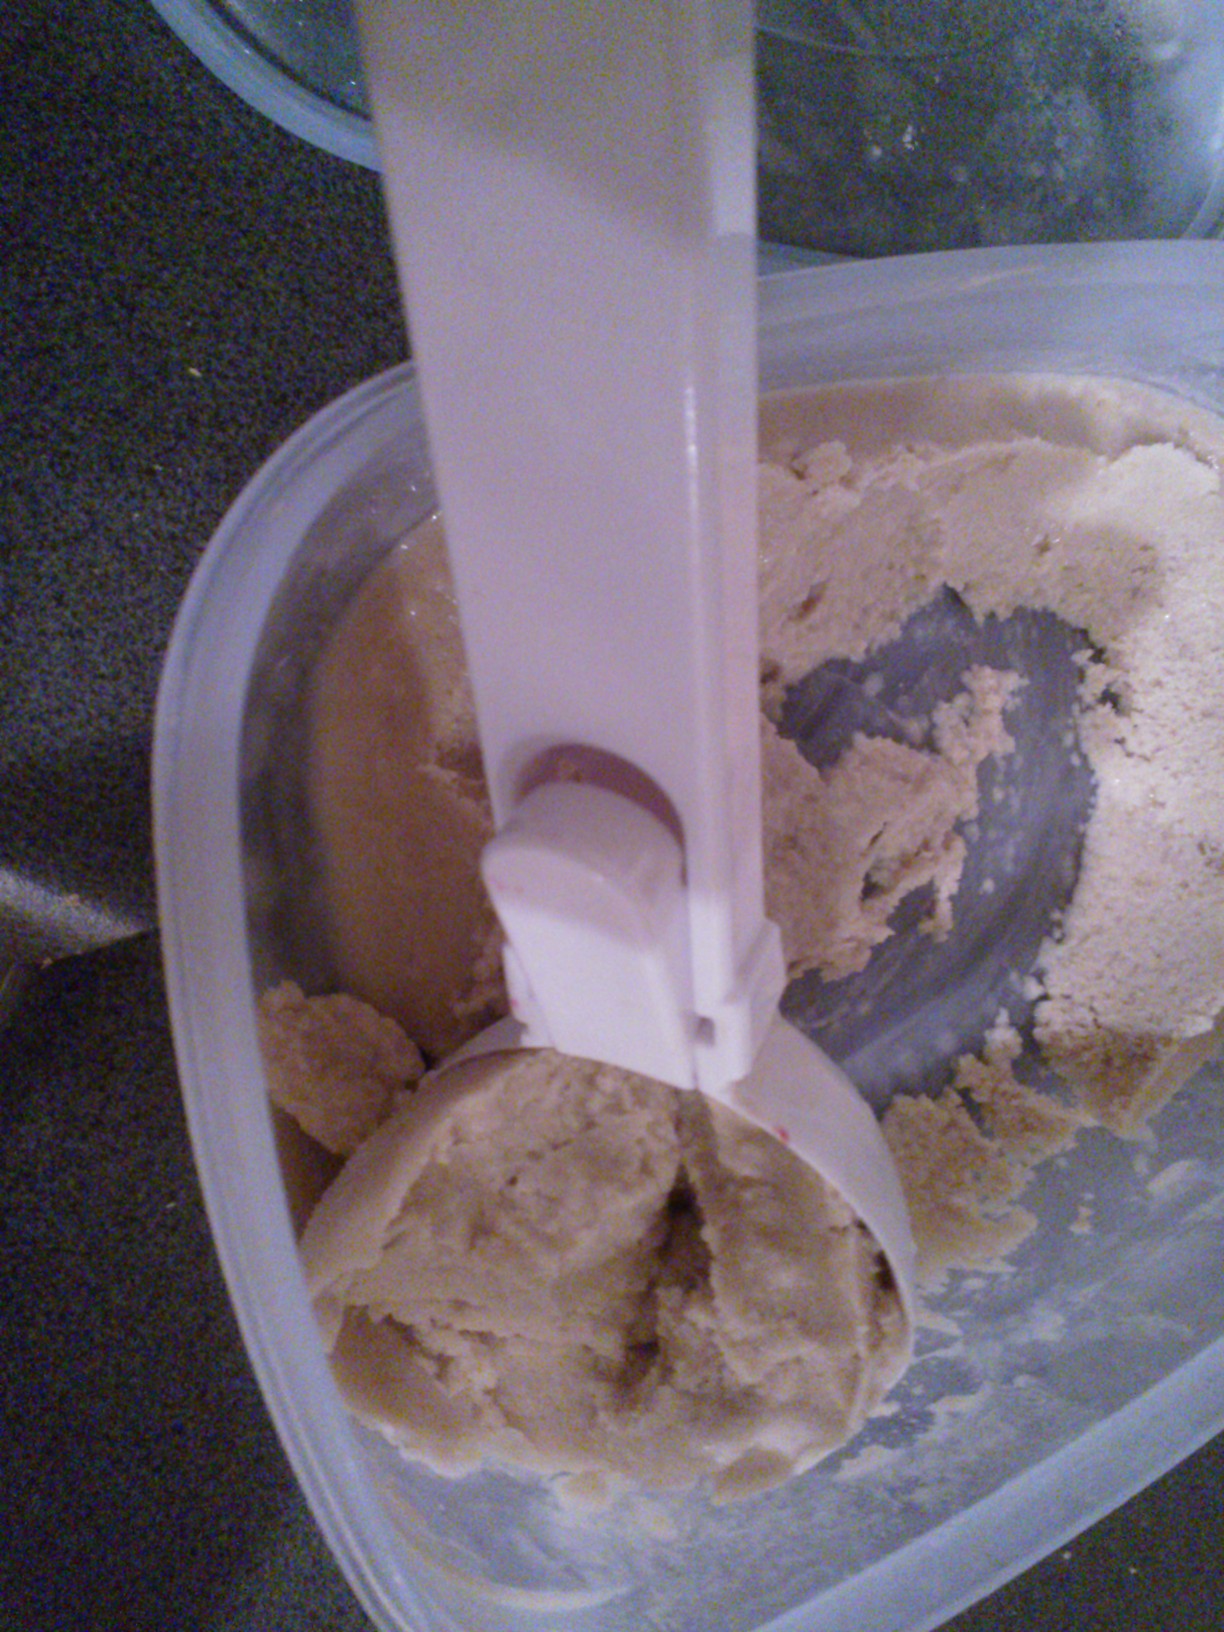
I was never much into chocolate or lollies, but icecream was one of the sweet things I ALWAYS needed to have. I couldn’t go past a gelateria whenever I was out and about, and I always had a couple of tubs of the frozen delight in my freezer – until the diagnosis of dairy intolerance ruined it all. My newly bought icecream maker seemed to be doomed to abandonment in the shed. Alas! So I thought…until I found that I can make yummy, creamy, luscious, and decadent icecream creations with one of my favourite newly discovered cooking ingredients – coconut milk! Yes, you can make delicious icecreams and gelatis without dairy, and you won’t really taste the coconut in the final product, so don’t worry. This icecream is the happy marriage of strong and black Italian espresso with creamy and sweet coconut milk – oh my!
600 ml full-fat coconut milk or cream 160 ml espresso (I used Nespresso Grand Cru Roma) 100 g sugar 1 teaspoon vanilla
Creamy, dairy free frozen delight
Whisk all ingredients in a saucepan over medium heat, stirring continuously until well combined. Bring to the boil and simmer for 5 to 10 minutes. Remove from heat and stir in vanilla. Let cool, and then transfer to fridge. Chill in fridge overnight – the longer the better! Then churn in icecream maker according to manufacturer’s instructions. After 20 minutes or so, it will be like a Frappuccino – transfer to a freezer safe dish and put in freezer, stirring every now and then. After a few hours in the freezer, it’s all ready to go! On the second day, it gets a bit harder, and you might have to let it thaw for a few minutes before serving.
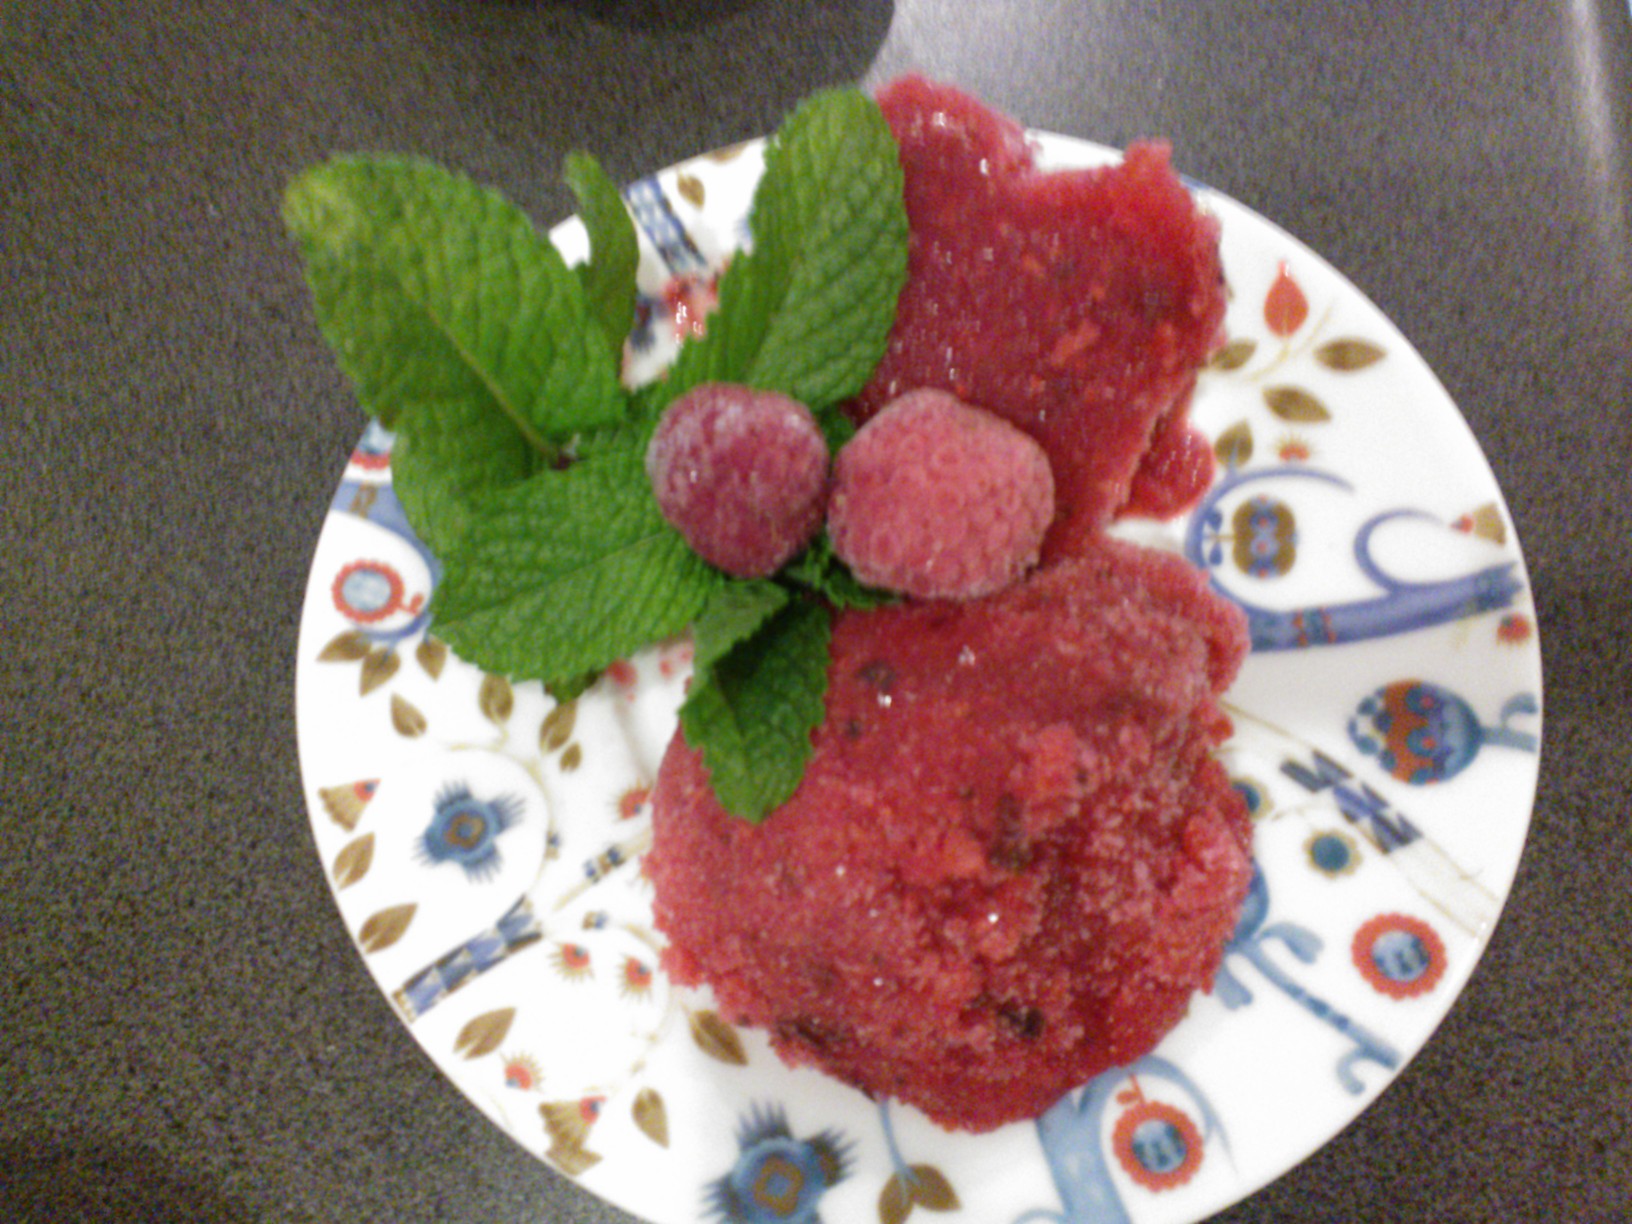
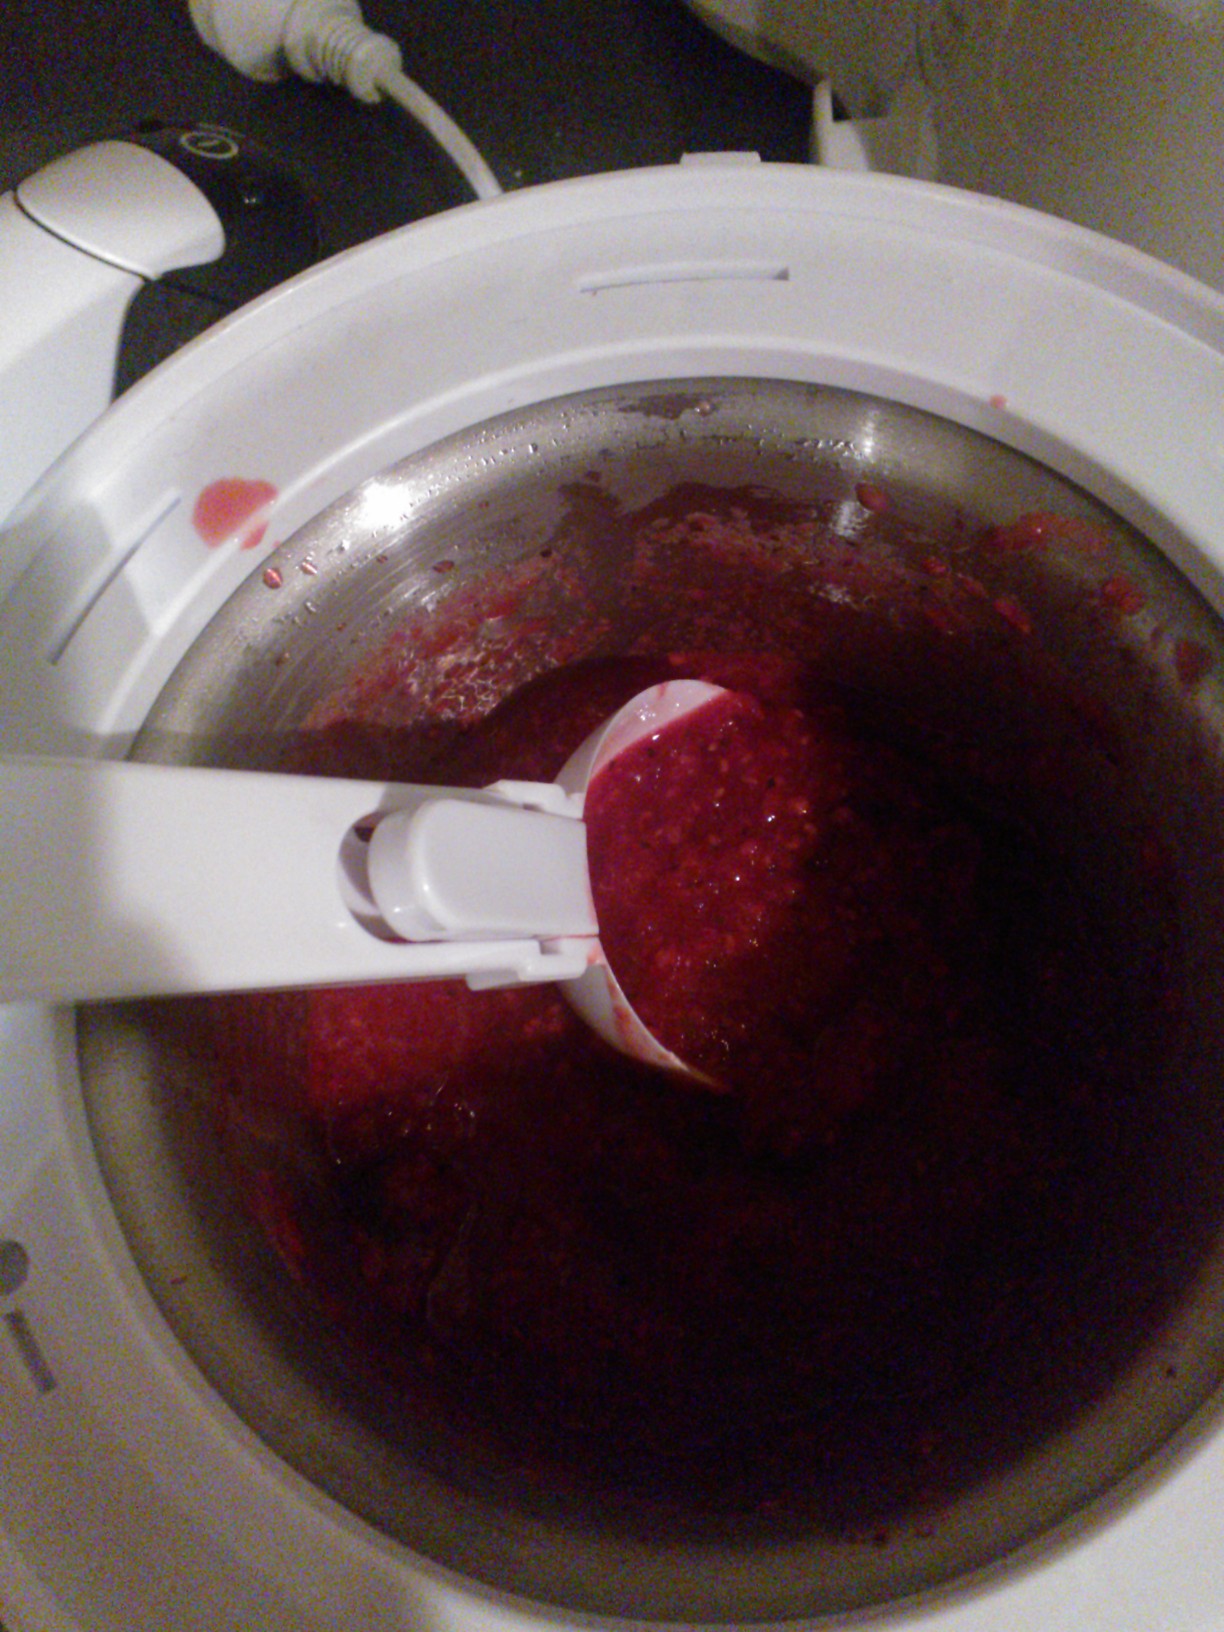
It’s decadent, it’s pink, it’s tangy, it’s refreshing, it’s Nat’s Raspberry Champagne Sorbet!Raspberry Champagne Sorbet with Mint
I thought it was time to venture into new areas of dessert making that did not involve an oven, and since I have had an ice-cream maker for a while, sitting unused on the bench, I thought it was a good idea to make use of it instead of just dusting it, as usual – and I think I am gonna do this more often now! It came in handy that we had some champagne left from a gathering a couple of nights ago, and the mint in our yard is overgrowing, so my mind came up with this concoction. It is a raspberry champagne sorbet with mint, and it is divine, whether you are entertaining the in-laws or having a girl’s night. It is lovely and pink and yummy. It is especially refreshing in summer, but also great on New Year’s Eve. In fact, you can just have it anytime, and it could not be easier to make!
It contains regular sugar though – in ice-creams and sorbets, you cannot really replace the sugar, as the texture won’t work out any more, and you need the sugar to keep it smooth, or it gets brick hard (I learned that the hard way). I know there are sugar free ice-creams out there, but not only are they made in high-power machines which are able to whip more air in than an ice-cream machine for home use, but they are filled with nasties, and we would rather have sugar than thickeners, fillers, emulsifiers, starches, preservatives, and who knows what! Trust me, this is worth every calorie! And the sugar content is rather low when compared to other ice-cream recipes anyway.
375 g frozen raspberries 375 ml champagne 70 g sugar juice of 1 lemon mint to taste
Dissolve the sugar in the champagne and bring to the boil; then add the lemon juice and simmer for 5 minutes. Take the syrup from the heat, add berries and mint and puree everything with a stick blender. Transfer to a container and chill thoroughly (for several hours or according to the instructions by the ice-cream maker’s manufacturer). Churn in your ice-cream machine according to instructions.
Who doesn’t like puddings, custards, fudge or millionaire’s shortbread (aka caramel slice)? And who wouldn’t want to have these treats sugar-free, dairy free and low-carb? Who of you vegans, low-carbers and dairy intolerant folks has not pondered old favourite recipes calling for condensed milk – only to resign yourself to the fact that no dairy and no sugar means saying good bye to your favourite treat?
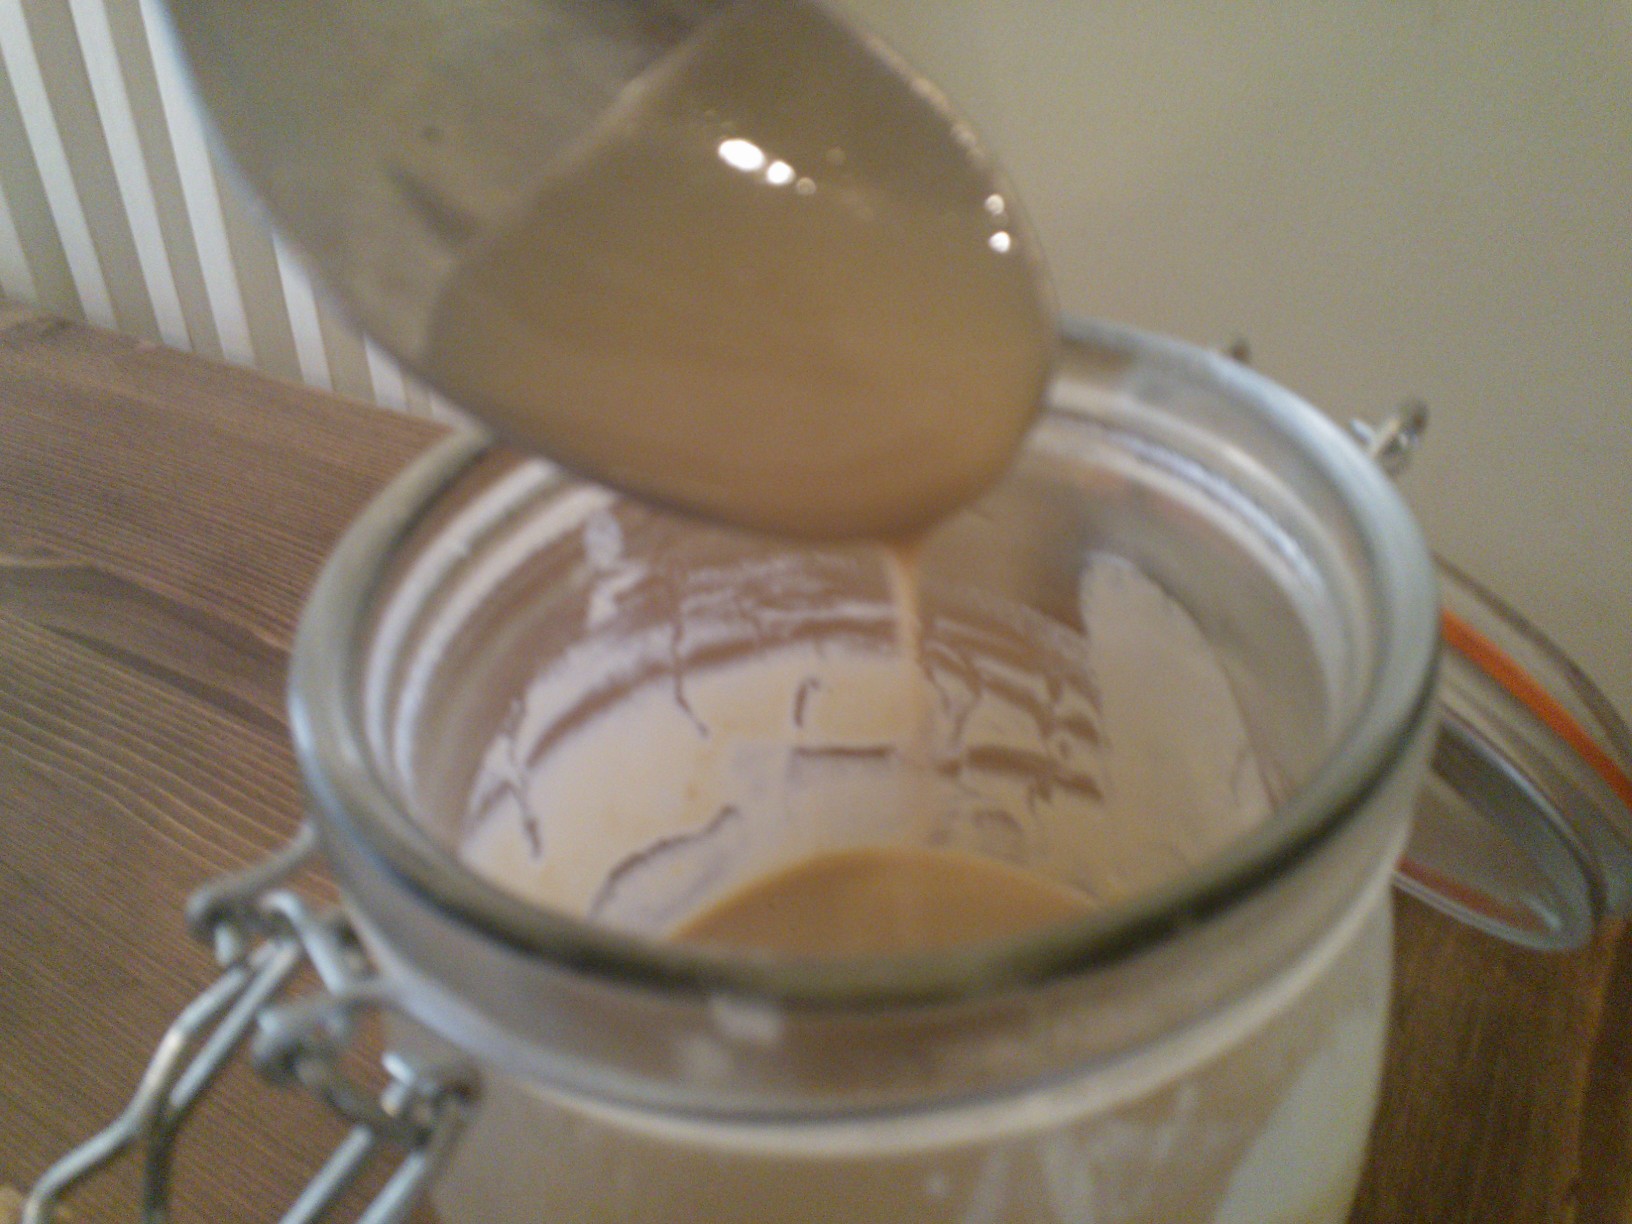
Don’t fret! Rescue is nigh! Would you have thought that you can create a sugar free dairy free worry free version of this yummy ingredient (I prefer it straight from the spoon!) all by yourself? All you need is yummy-tummy almond milk – which you should have in your fridge at all times anyway, some erythritol, stevia, honey or other sweetener of your choice, a pinch of salt, and a drop of vanilla, as well as an hour or so of your precious time – so if you are like me, you don’t even need to leave the house! The great thing about almond milk (and other non-dairy milks) is that the risk of burning is considerably reduced.
Makes approx. 400 g sweetened condensed milk (equivalent to 1 tin from the shop)
1 l unsweetened almond milk 2 tbsp erythritol or other sweetener (I have used honey and agave before, which also works well, it just gets a bit more runny than with sugar crystals, so if you make condensed milk for fudge or millionaire’s shortbread, I would use a solid sweetener like erythritol, stevia or palm sugar.) pinch of salt drop of vanilla
Place all ingredients in a saucepan (the bigger it is, the quicker you will have your condensed milk!), bring to the boil, then simmer uncovered on low heat, stirring every few minutes until the mixture has reduced by about half and has turned a slight amber colour (this takes between one and up to two hours). At this stage, it will still be slightly runny, but that is okay – it will firm up, promise! Let cool in the pot for a few minutes, covered by a clean teatowel, then transfer to a glass jar and refrigerate. Enjoy straight from the spoon or in your favourite recipes. Lasts about one week in the fridge.
Carrot cake muffins with vegan whipped cream fillingVegan whipped cream in bowl
What do strawberries, applestrudel and icecream sundaes have in common? – They are nothing without whipped cream! What do whipped cream, cheesecake and frosting have in common? It is a challenge to make them dairy free! However, after much experimenting, I have come up with a recipe for a dairy free (and soy free!) whipped cream which comes very close to the original without the saturated fats and the cholesterol! Living in Australia, I based this yummy and versatile cream on the delicious macadamia nut, which is packed with vitamin, minerals, antioxidants, fiber, phytosterols and heart-friendly mono-unsaturated fatty acids.
To add to these health benefits, there is plenty of coconut oil – according to experts one of the healthiest foods on the planet – please have a look at this or this article if you are interested in reading up on coconut oil.
This cream gets very firm, making it ideal for decorating and layer cakes. It can be served with any cake, dessert or fresh fruits – or just spooned straight from the bowl into your mouth! It is not difficult to make; however, you will need some time for soaking the nuts and a good food processor.
Ready? Here we go:
Ingredients
1 cup of macadamia nuts (raw, unsalted, unprocessed) 30 g coconut oil 30 g vegan margarine (Nuttelex) 1 teaspoon of stevia pinch of salt 1 teaspoon of vanilla
-Process the nuts in your food processor, using the pulse function, until they have a become powder – it doesn’t matter if there are still some bigger chunks
-let the “nut powder” soak in 1 cup of filtered water for 2 to 4 hours until thick and white
-with a stick blender or your food processor process nut paste until smooth
-heat the nut paste with the coconut oil, stevia and salt, bring to the boil and simmer for 10 minutes, whisking constantly
-chill mixture in fridge overnight
-transfer chilled mixture in a bowl, add margarine and vanilla and mix with hand blender until thick and fluffy
Carrot Cake with whipped cream fillingCarrot Cake with vegan frosting
Those who think that gluten free cooking is complicated and tasteless hasn’t tried these fantastic carrot cake muffins – they are ready in a jiffy, packed with fibre (they really are satisfying!) and beta-carotene, low carb and low GI, and of course completely gluten free, dairy free, soy free, and sugar free! Have I mentioned that they are extremely yummy, too?
For all frosting addicts out there who cannot or don’t want to have milk, yes, I created a dairy free frosting that tastes like a cream cheese frosting! And no, it does NOT contain Tofutti or any other GMO-laden soy crap. It is made with coconut milk – however, you won’t taste the coconut much in the final product so don’t fret if you are not the biggest coconut fan in the world – you will still like it, I promise. You can find the recipe here and below. Update: I created a new vegan and sugar-free frosting without any nuts. Recipe here.
Alternatively, these muffins are even better filled with my vegan whipped cream! Highly recommended! (see left-hand picture above)
Watch out, these delicious little cakes will be gobbled up before you know it – so better make a bigger batch if you need them for a party! You can easily double or triple this recipe. They last well in the fridge (in fact, they taste even better the next day) and you can freeze them without any worries.
Makes 12 muffins
For the muffin batter 2 eggs or egg replacer to make it vegan 100 g of honey (can be substituted with organic maple syrup or agave nectar) 40 ml olive oil 100 g plain gluten free flour 30 g flax seed 1 teaspoon gluten free baking soda 50 g nuts (almonds and/or walnuts are best, but you can use any nuts) – more nuts improve the flavour even further 1 1/2 cups of freshly grated carrots – the more carrots, the more moist and delicious your muffins will be 1/2 teaspoon xanthan (if your gf flour mix doesn’t contain it already) 1 teaspoon cinnamon 1/2 teaspoon kosher salt (or Celtic sea salt) 1 teaspoon vanilla 10 dates (optional, but adds taste and texture – could be replaced with raisins and/or sultanas)
For the frosting 1/2 can of coconut cream (full fat or light – both work fine) 1 teaspoon of honey pinch of salt 80 g coconut oil 80 g vegan margarine (Nuttelex) or butter 1/8 teaspoon xanthan to thicken
Muffins:
-Preheat oven to 180° C
-Beat honey, eggs, oil, vanilla in a large mixing bowl until smooth
-In a separate bowl, combine the dry ingredients: flour, flax, soda, xanthan, salt and cinnamon
-Add to wet ingredients and beat until smooth
-Mix in carrots, nuts and dates and transfer batter to muffin pan
-Bake for 30 min or until a toothpick comes out clean
Frosting:
-Heat coconut milk, honey and salt, bring to the boil and let simmer for 10 minutes
-add xanthan, stirring continuously, bring to the boil and remove from heat – the mix should have a shiny surface
-stir in coconut oil, whisking or using a blender
-set to cool for 15 minutes and transfer to fridge for another 2 hours (the longer, the better), until mix has firmed up
-when it is thoroughly chilled, transfer coconut mix to a mixing bowl (you might need to blend it again with a stick blender to make it really smooth), add the margarine or butter and mix with hand blender for 2 minutes until thick and fluffy
-decorate muffins with the frosting using a cake decorator or silicon spatula
Enjoy!
Tips
– use sugar free orange marmalade instead of honey, to get a more tangy and zesty taste
– add some ginger to the dough for some exotic spiciness
– mix some gingerbread or pumpkin pie spice in the frosting for a delish Halloween or Xmas treat
– replace the carrots with cooked pumpkin or sweet potato for an extra luscious treat
– you can of course make this a cake instead of muffins. This recipe is enough for one round 20 cm baking pan. Double this recipe for a bigger cake.