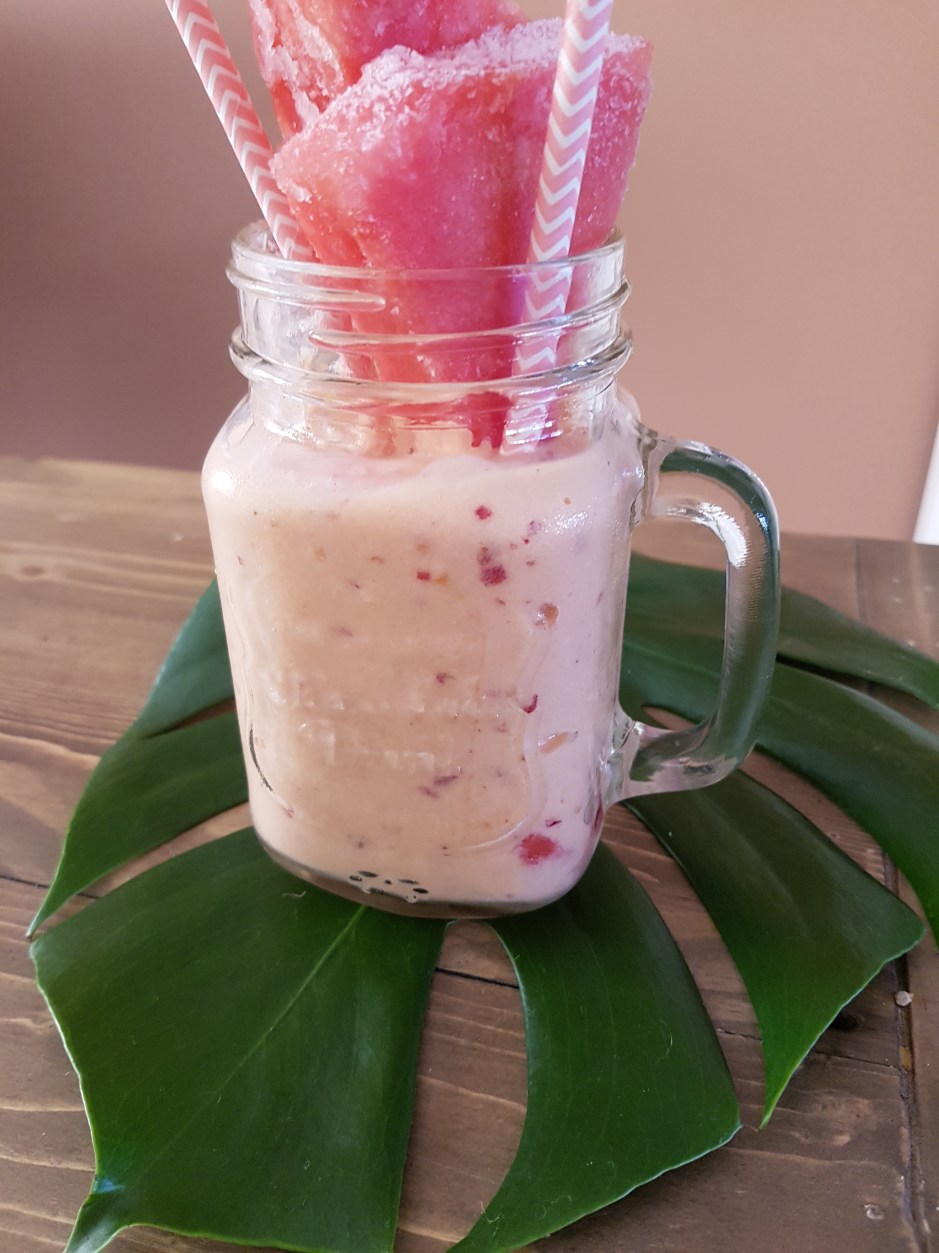
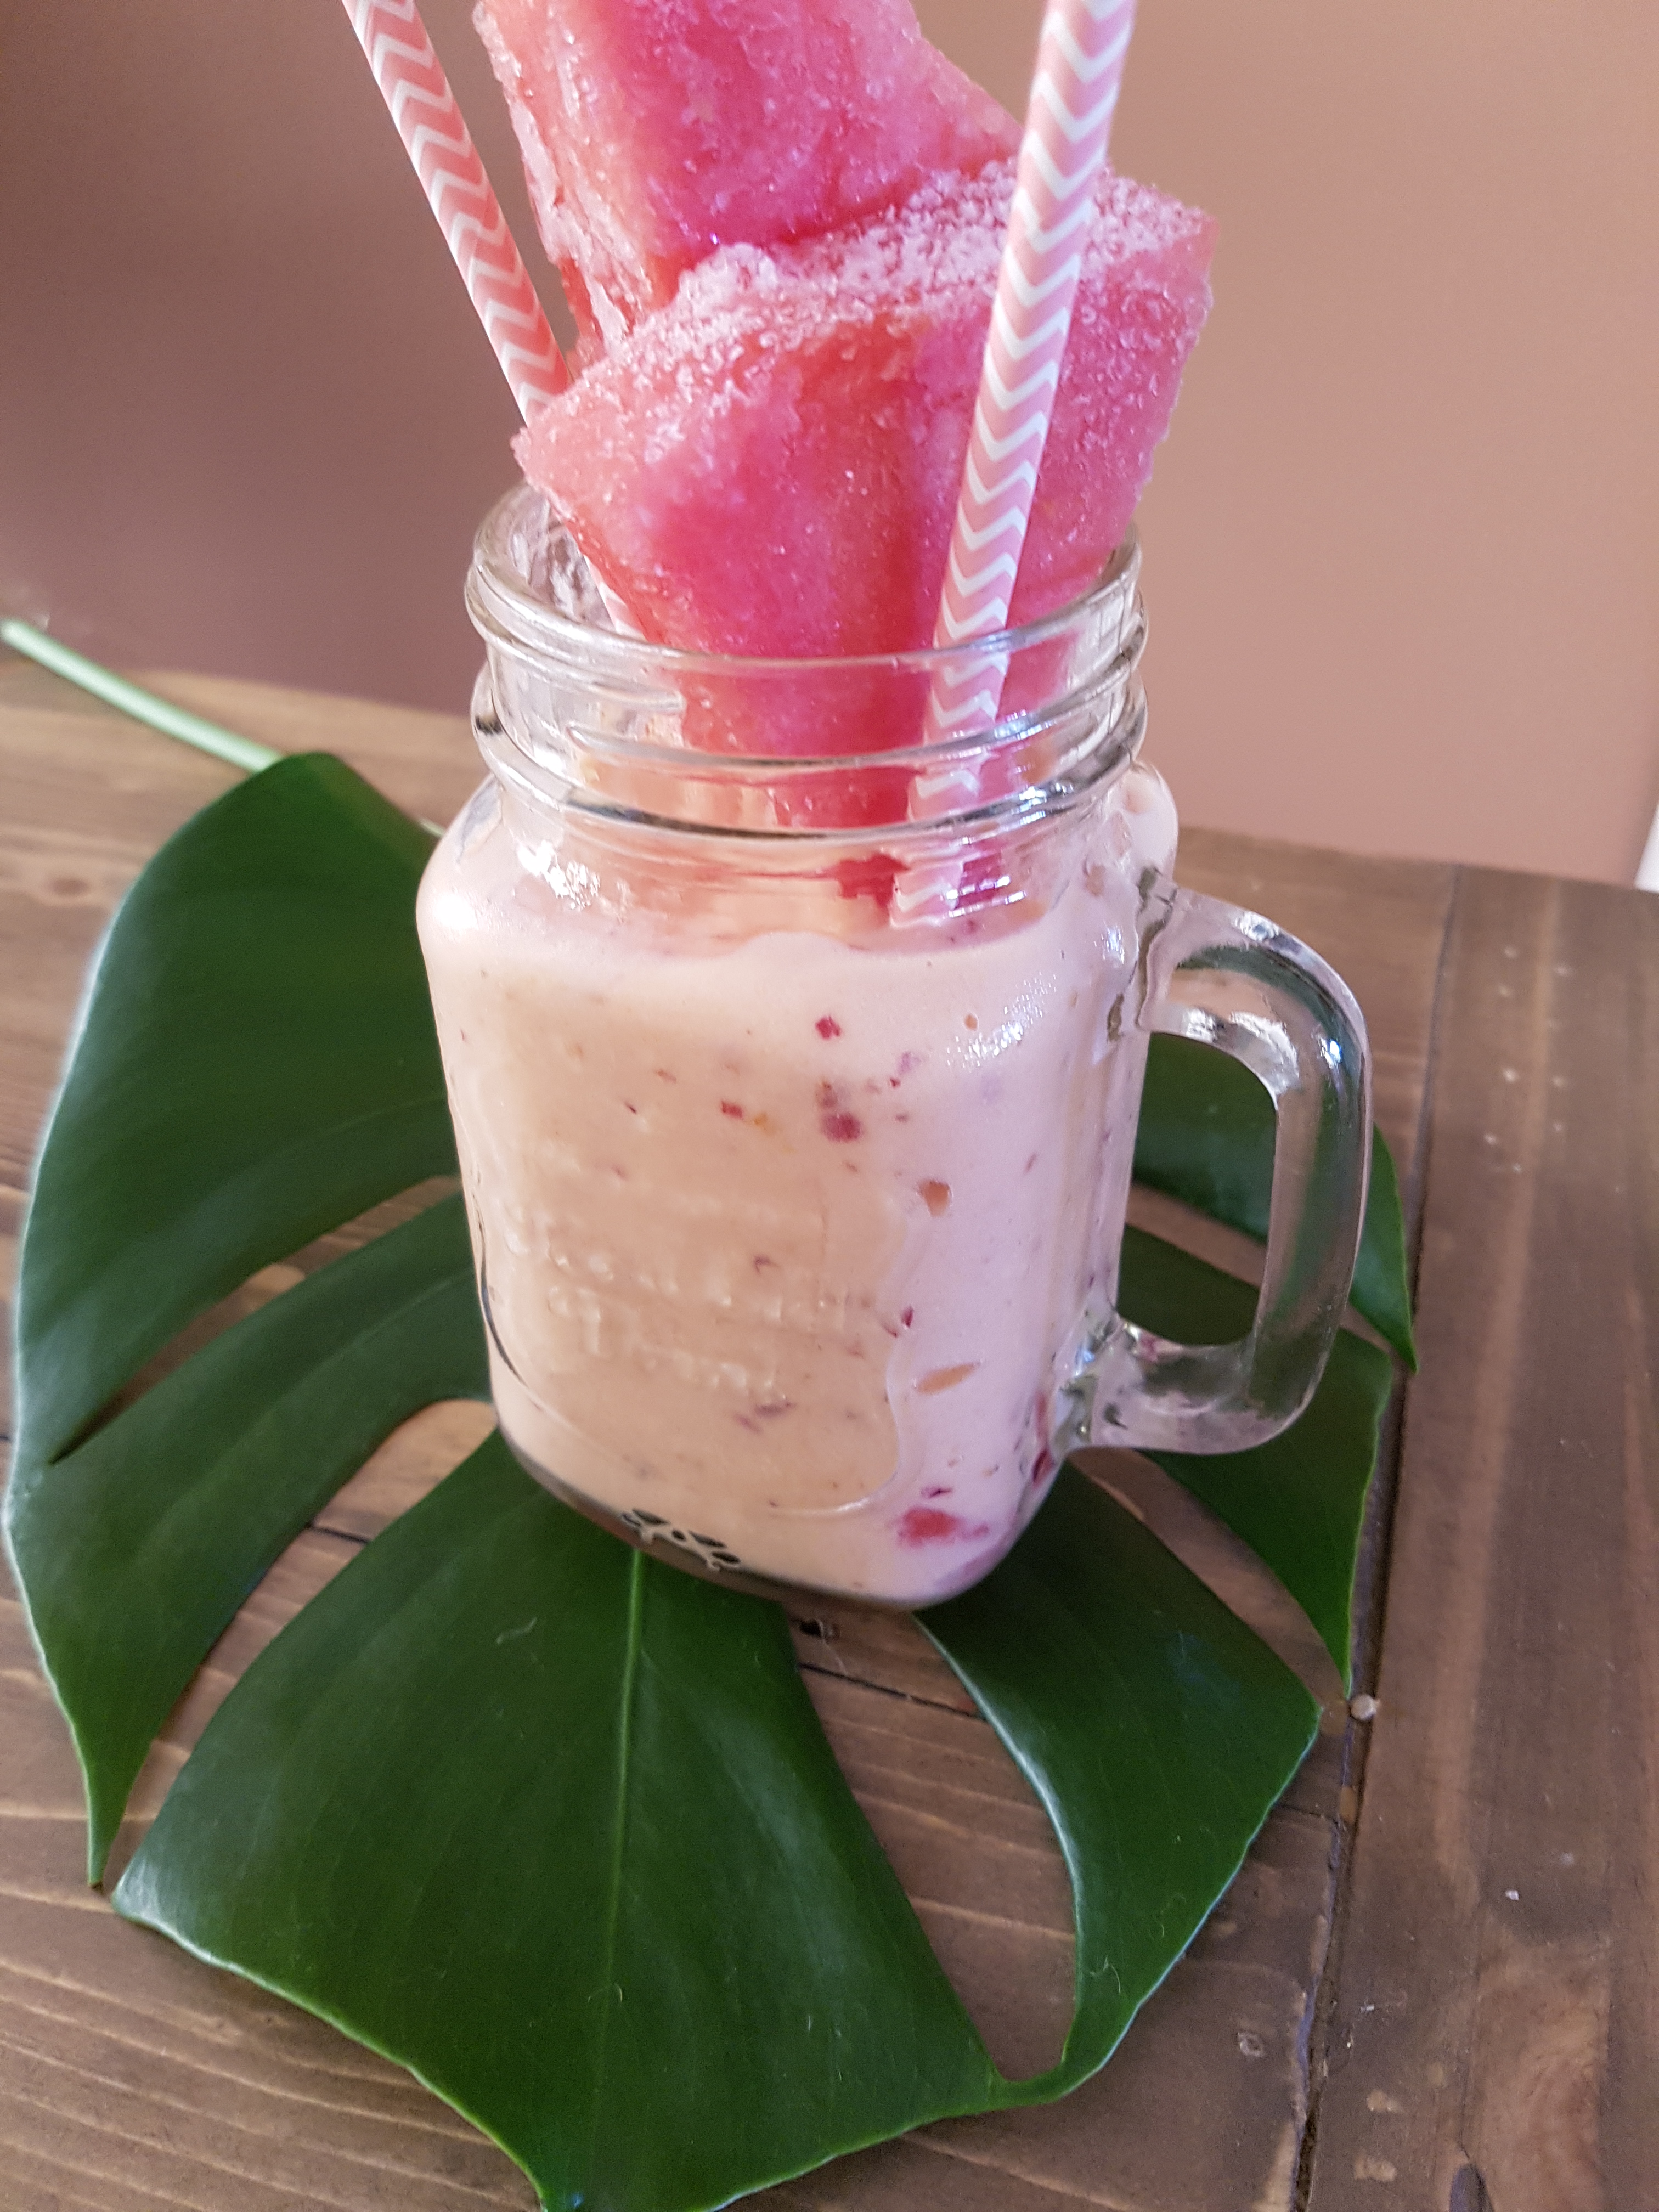
I am on a quest to enjoy all my favourite summer fruits again before autumn definitely hits us. What a revelation to find some frozen watermelon in my freezer which I had wisely deposited there when they were in peak season. I love watermelon on a hot day and have found that frozen watermelon makes the most amazing and refreshing smoothies and shakes. Throw some fresh peaches into the mix and you got a super yummy, creamy, indulgent yet entirely vegan watermelon & peach smoothie!
Watermelon just screams “summer!” like no other fruit does and is one of my favourite breakfasts and snacks on a hot day. But watermelon also shines as a smoothie ingredient. Due to its natural sweetness there is no need to add a lot of other sweeteners to achieve delicious smoothies. Thanks to its high water content you do not have to add much liquid at all to get things blending. Besides its great taste and in spite of being mainly water, watermelon is also extremely good for you. It is an outstanding source of fibre, healthy carbs, antioxidants and electrolytes and hydrates you much better in the hot season or after a workout than just plain water.
This is a very simple smoothie with only four ingredients, requiring just a few minutes of your time, which will wow you with mind-blowing results. If you only have fresh watermelon at hand but want to get going with this recipe immediately, just add a few icecubes. I recommend freezing some watermelon though if you have the chance. Trust me!
Vegan Watermelon & Peach Smoothie
Vegan Watermelon & Peach Smoothie
Serves one
1 cup frozen watermelon cubes (1 cup fresh watermelon cubes and a handful of ice cubes) half a frozen banana or a handfull of frozen mango dash of plant milk to mix 2 fresh peaches
Just blend all ingredients in a high-powered blender.
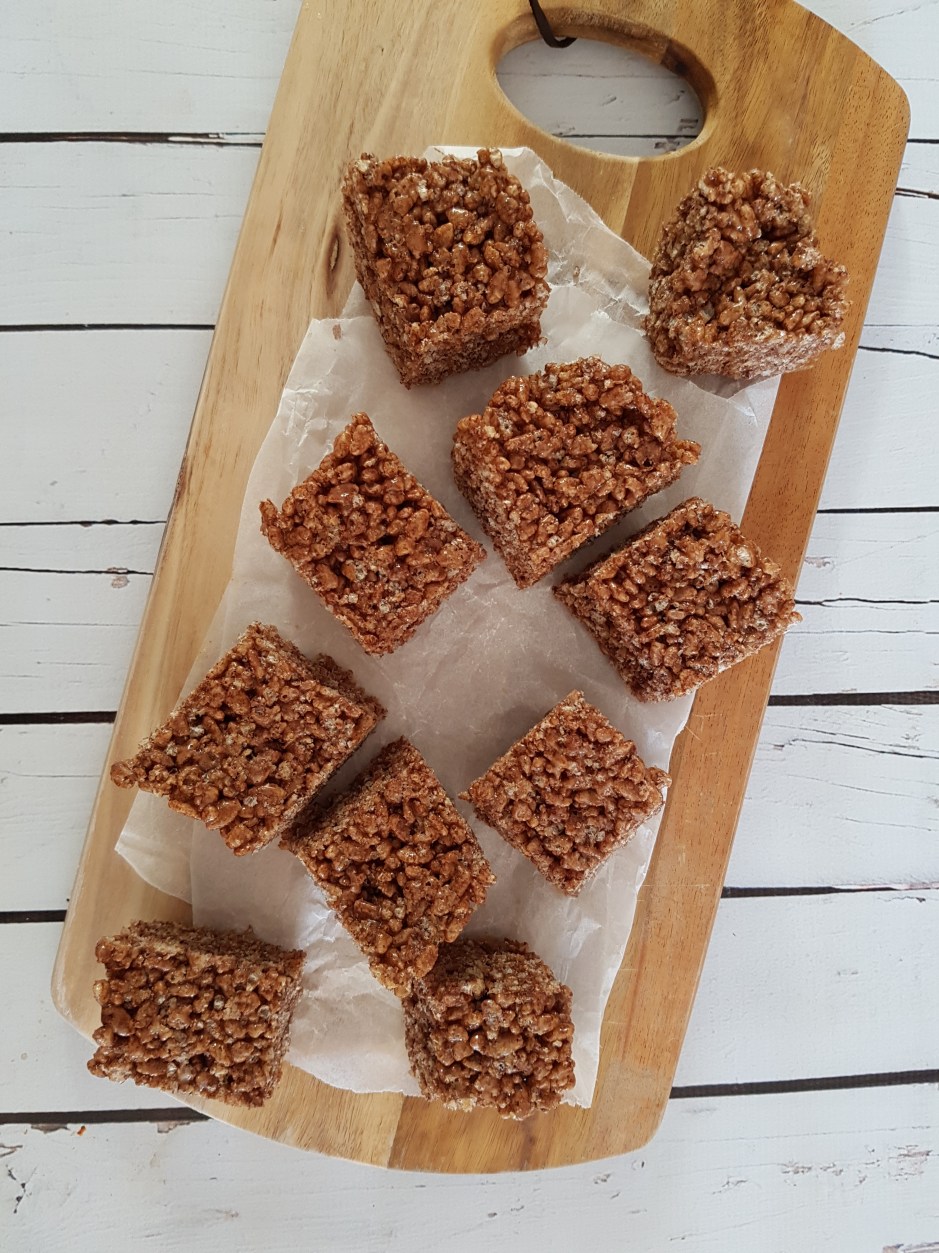
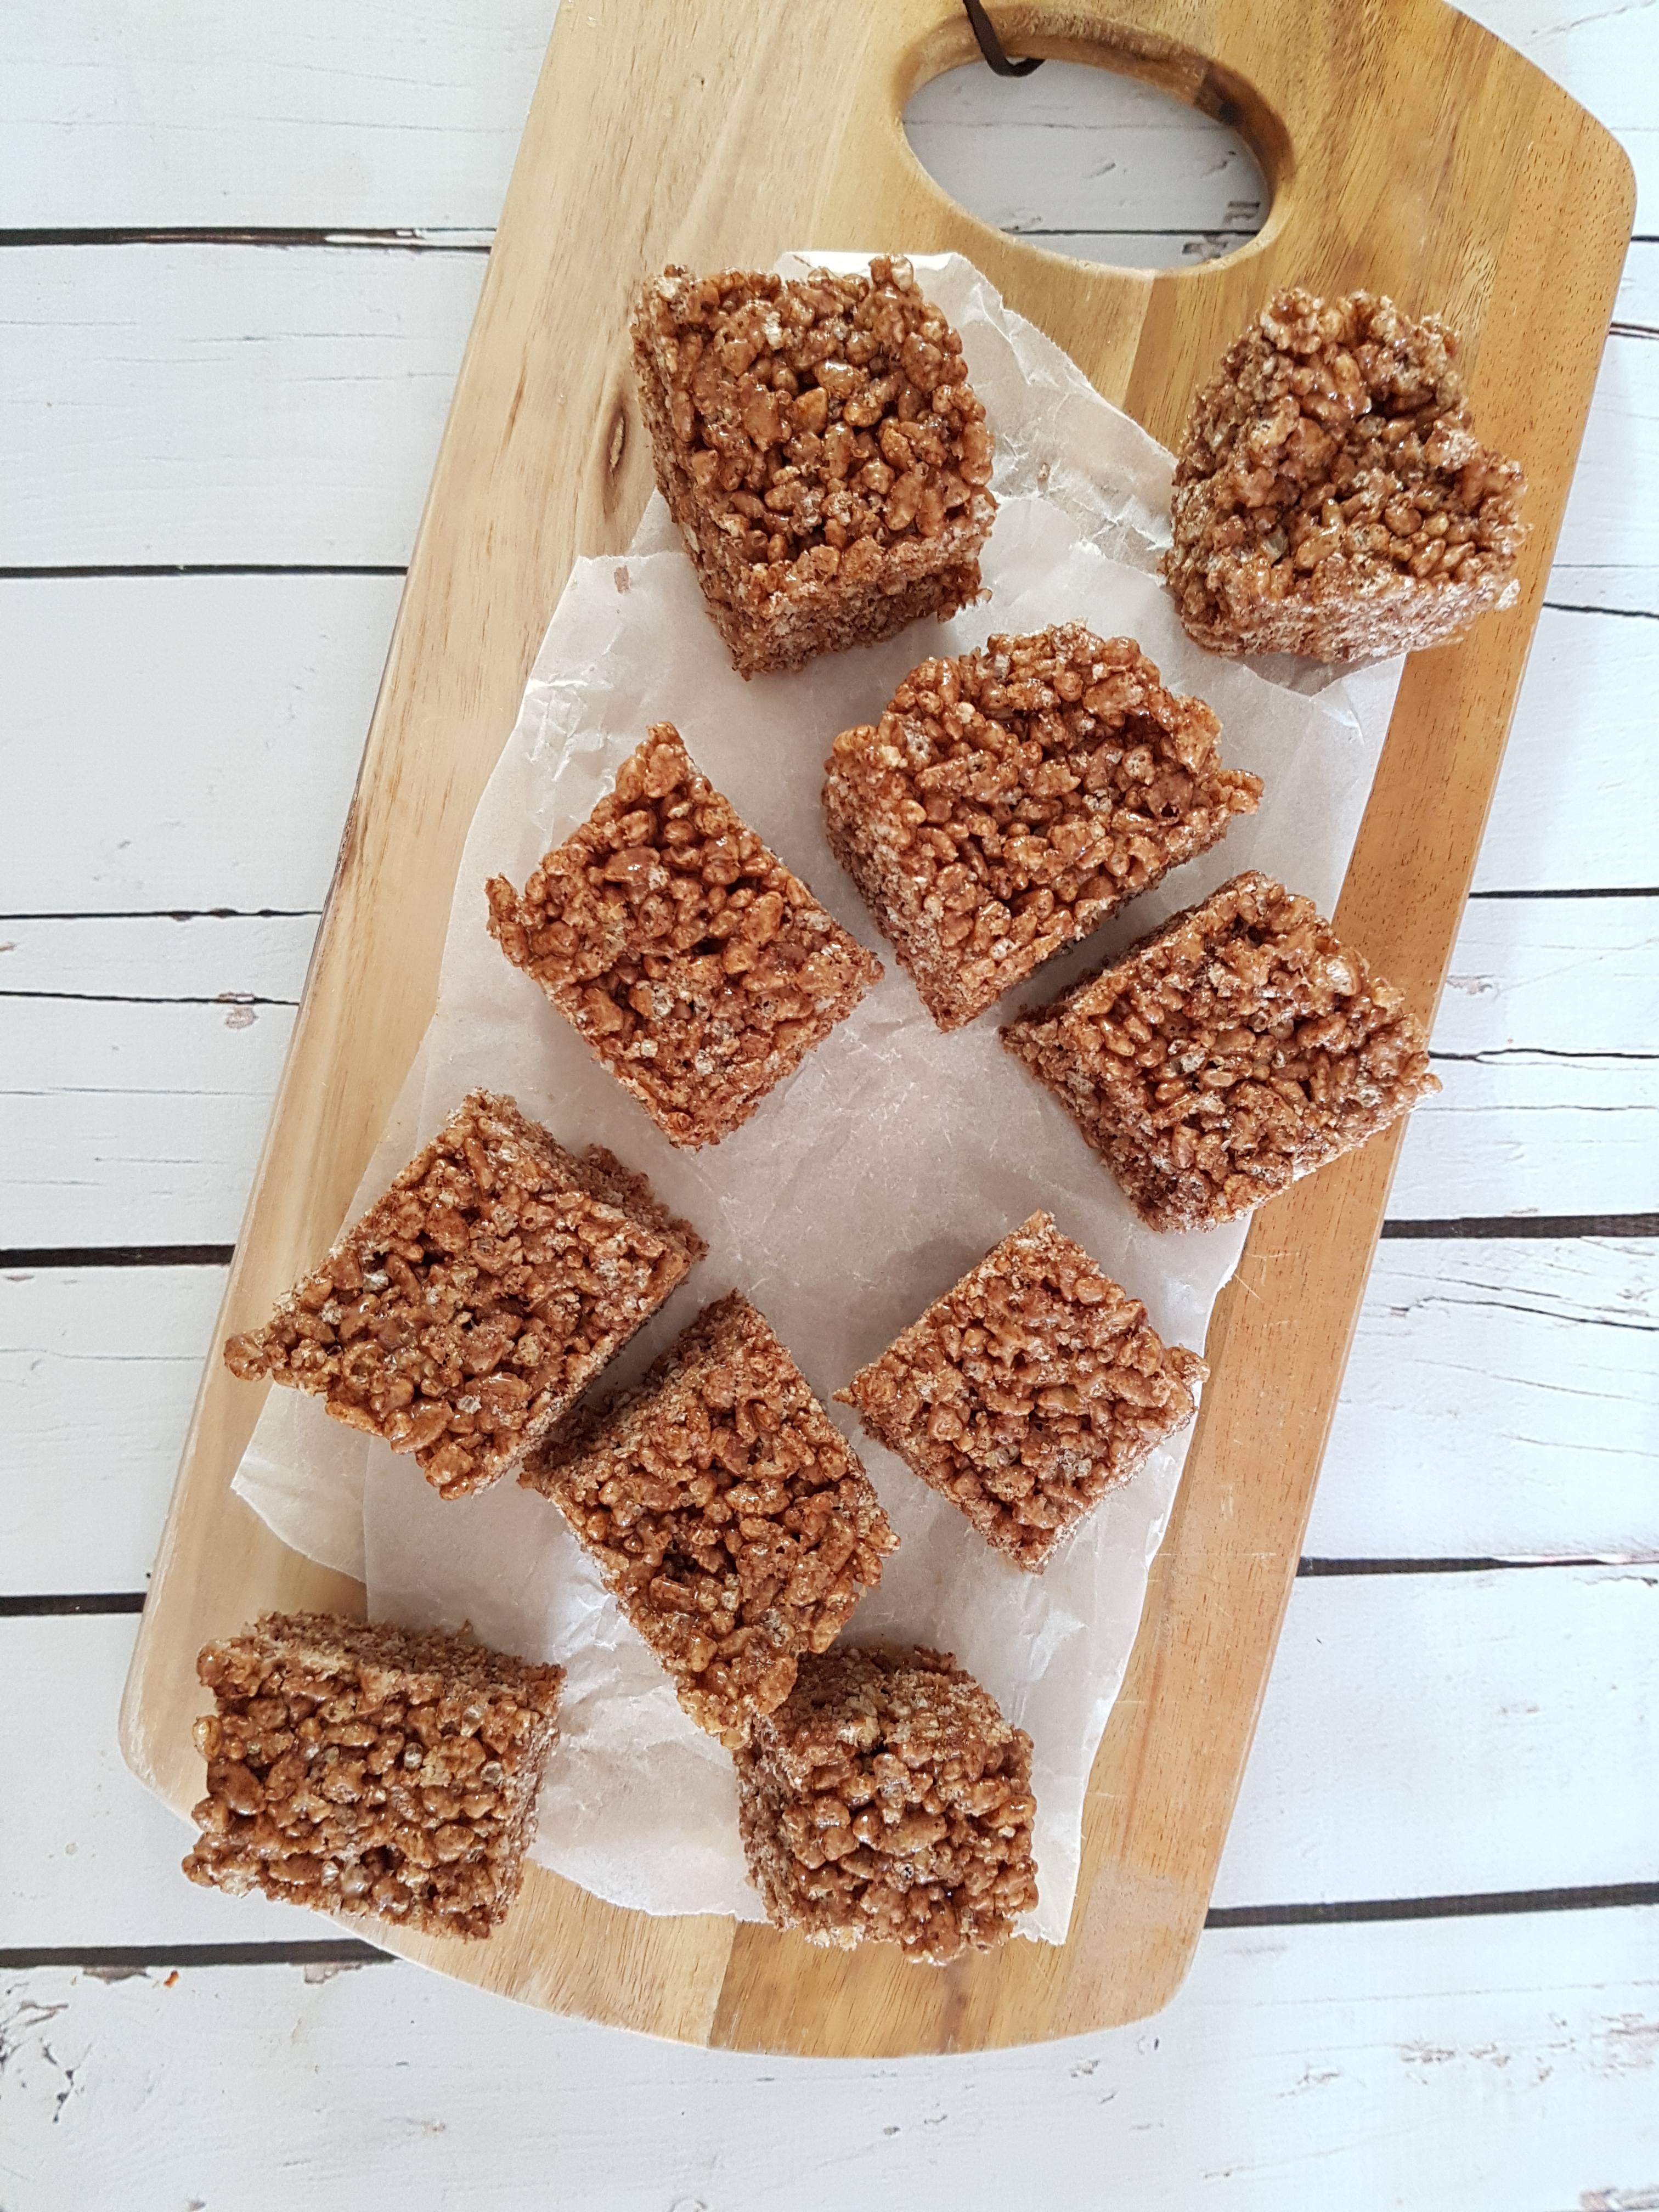
Of all my unhealthy childhood favourites, sugary breakfast cereals definitely top the list. And of all breakfast cereals coco pops was always the winner. I mean, c’mon, a CHOCOLATE milkshake only CRUNCHY? The flavour of chocolate and the texture of crunch? Can it get any better than this? And don’t even get me started on the cute monkey and his catchy theme song. And coco pops squares…yum! Who needs muesli bars? Coco pops are the best! If you think so too (or have a kid who does), I can definitely help to create a healthier version of a childhood favourite: healthy coco pops squares! Who is in?
Rice bubbles with raw cacao and low GI brown rice syrup instead of all this high-fructose corn syrup provide for a delicacy that will satisfy your sweet tooth without sending your blood sugar soaring. These healthy coco pops squares are light and airy, crunchy with just the right amount of sweetness, and beautifully chocolatey. They are also very low in fat – perfect if you love chocolate but are concerned about the fat grams. This is an indulgence that won’t weigh you down. And due to the rich taste and satisfying chewy texture of these healthy coco pops squares, a little goes a long way and you won’t need much to get you through the feared 3pm slump.
These healthy coco pops squares are some easy to make and affordable goodies, perfect for gatherings and kids parties, but also to indulge your sweet tooth after a meal without overindulging. Please note that while this is definitely a better-for-you version than traditional coco pops squares, it is still a treat that should be treated like a treat and enjoyed in moderation.
Healthy Coco Pops Squares
Healthy Coco Pops Squares
Makes 10 squares
3 cups (gluten-free) rice bubbles (I use Freedom foods) half a cup brown rice syrup 1 tbsp coconut oil dash of vanilla extract 3 tbsp raw cacao pinch of sea salt
Line a 10x20cm baking pan with baking paper. Pour the rice bubbles into a large mixing bowl. Gently melt the brown rice syrup with the coconut oil, vanilla extract, cacao and salt until fully combined. Pour into the bowl with the rice bubbles and gently stir through until fully incorporated and all bubbles are coated with the mixture. Press into the prepared pan and press down very, very firmly until very firmly pressed down (and I mean firmly!). Freeze for one hour, then lift out of the pan and cut into ten squares with a very sharp knife. Store in the fridge for up to a week.
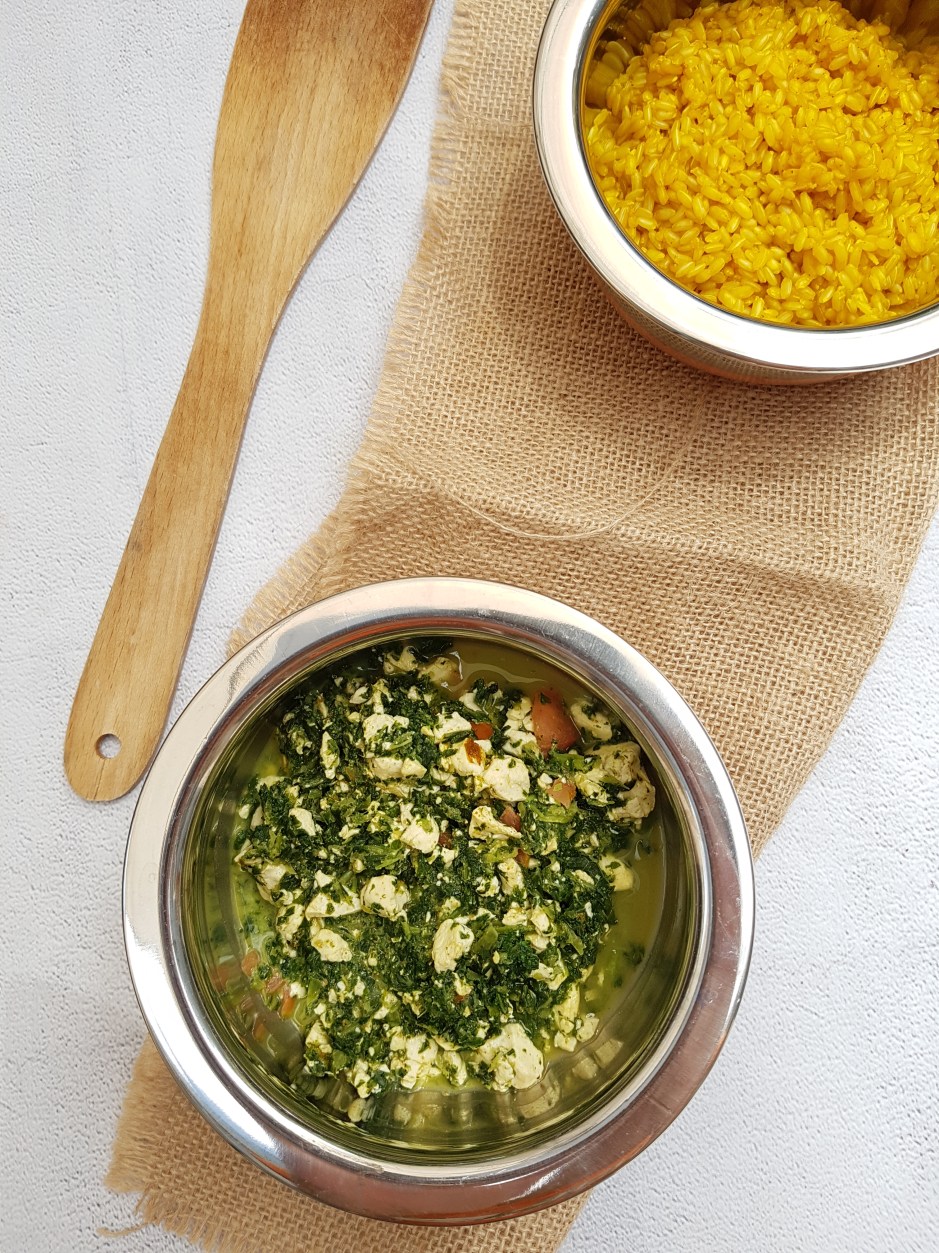
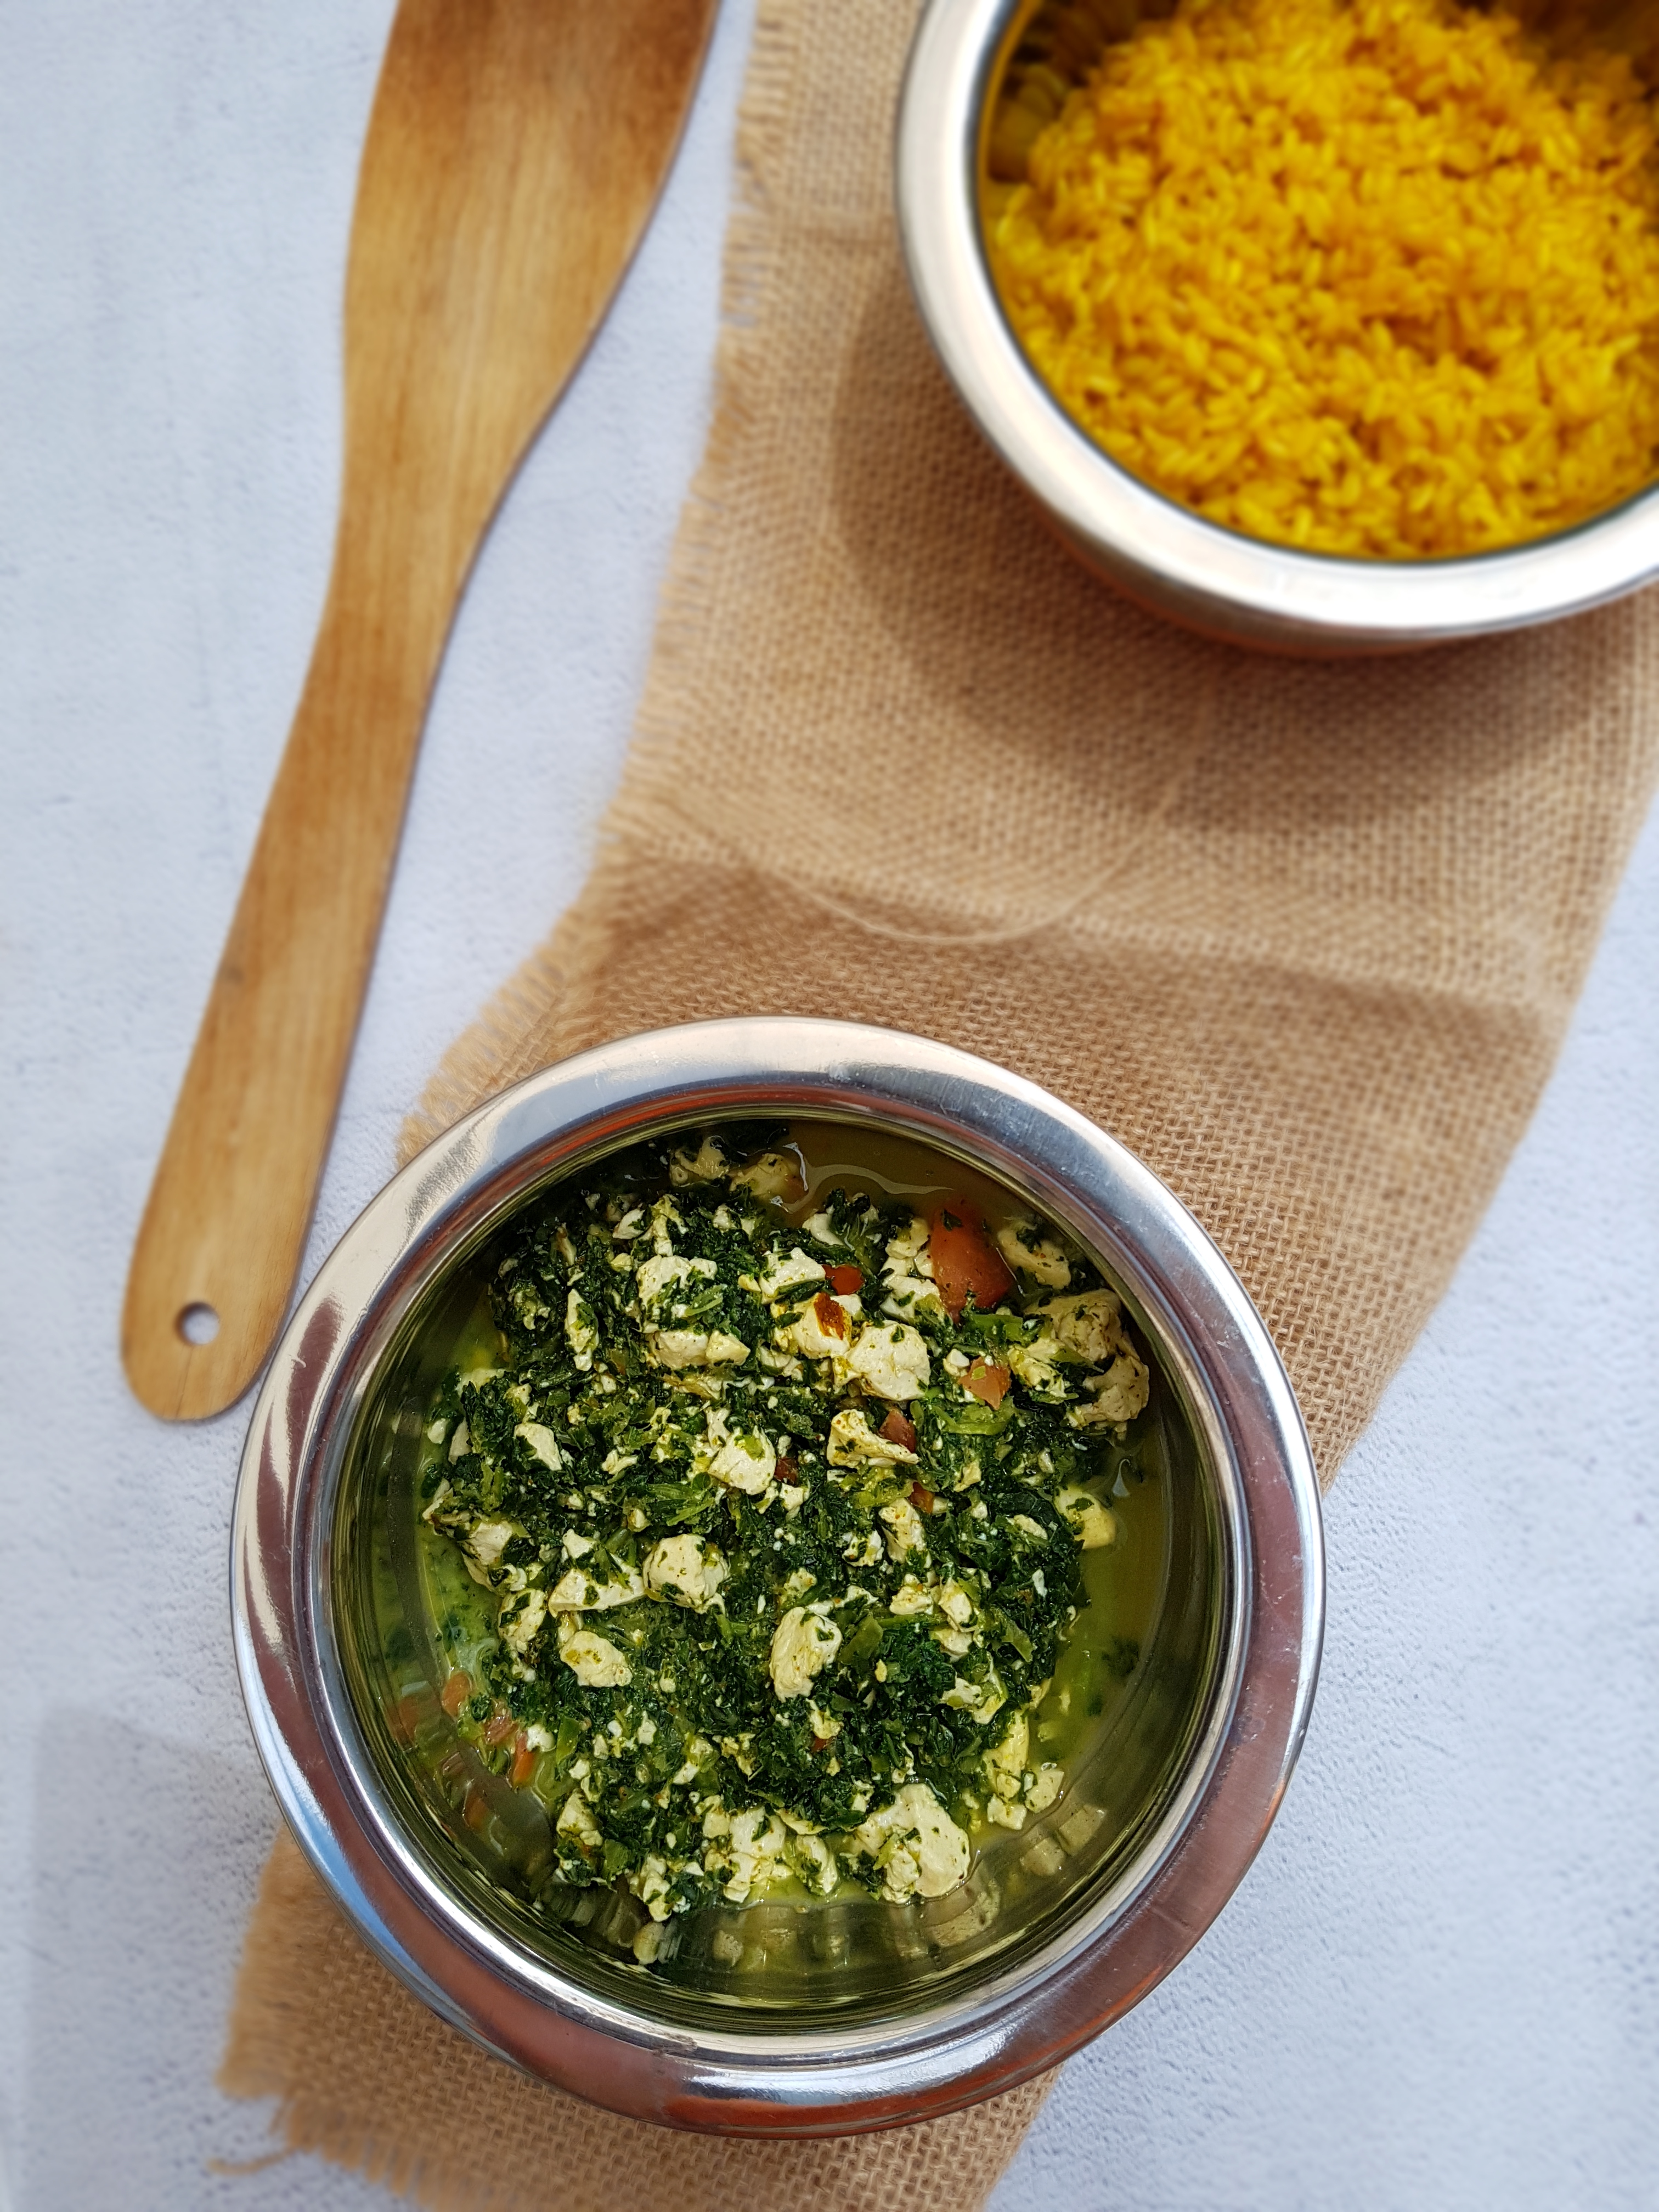
Indian cuisine is delicious, flavourful, nourishing and has great options for vegan and gluten free dietary requirements. But let’s face it, with its ample use of oil, cream and cashews, it is generally not the healthiest food going around. If you fancy spicy Indian flavours without sacrificing your waistline, I am here to your rescue with this super-quick, ultra-easy, mega-delicious and, yup, healthy vegan palak paneer (aka tofu and kale curry).
I know that palak means spinach and not kale, and that paneer is the name of an Indian cow’s milk cheese, neither of which feature in this dish. Consider my version as a hipster take on palak paneer: lots of protein and only very little fat from silken tofu in combination with superfood kale. Though it is a perfectly good option to use spinach or other leafy greens here, kale is what I had on hand, so kale it was. You could use firm tofu instead of silken tofu here, but I find the silken tofu makes this dish a bit more creamy.
This healthy vegan palak paneer is really easy to put together with just a handful of basic ingredients. Hello easy weeknight meal. Probably the only obscure ingredient I used was powdered peanut butter aka pb2 which might be hard to get so you can use ground cashews instead which would be more authentic but also packs more fat. I used a very light coconut milk for drinking from Vitasoy with only 2% fat which is almost nothing but still conveys this dreamy coconut flavour. You could use a fuller fat coconut milk or other plant milk instead.
Healthy Vegan Palak Paneer
Healthy Vegan Palak Paneer
Serves 2
1 block (300g) silken tofu, pressed to remove moisture and cubed half a tsp or more of sea salt 4 tsp powdered garlic 1 tsp ground ginger 1-2 tsp mild or hot curry powder or garam masala pinch of kashmiri chilli if you like it hot 250g fresh or frozen kale, thawed half a cup very light coconut milk or plant milk 2 tbsp powdered peanut butter or ground cashews a tbsp desiccated coconut
Heat the tofu in a large frying pan with salt, garlic, ginger, curry powder and chilli. You can use a bit of oil or, as I prefer, a bit of water to prevent sticking. Cook for a minute, add the milk, then add the kale and mix with the tofu without breaking up the tofu too much (it should still have the shape of cubes). Adjust the spices according to your tastebuds and cook a few more minutes until your desired consistency is achieved. Add the powdered peanut butter or ground cashews and coconut. Serve with saffron rice or with my 5-minute gluten free naan.
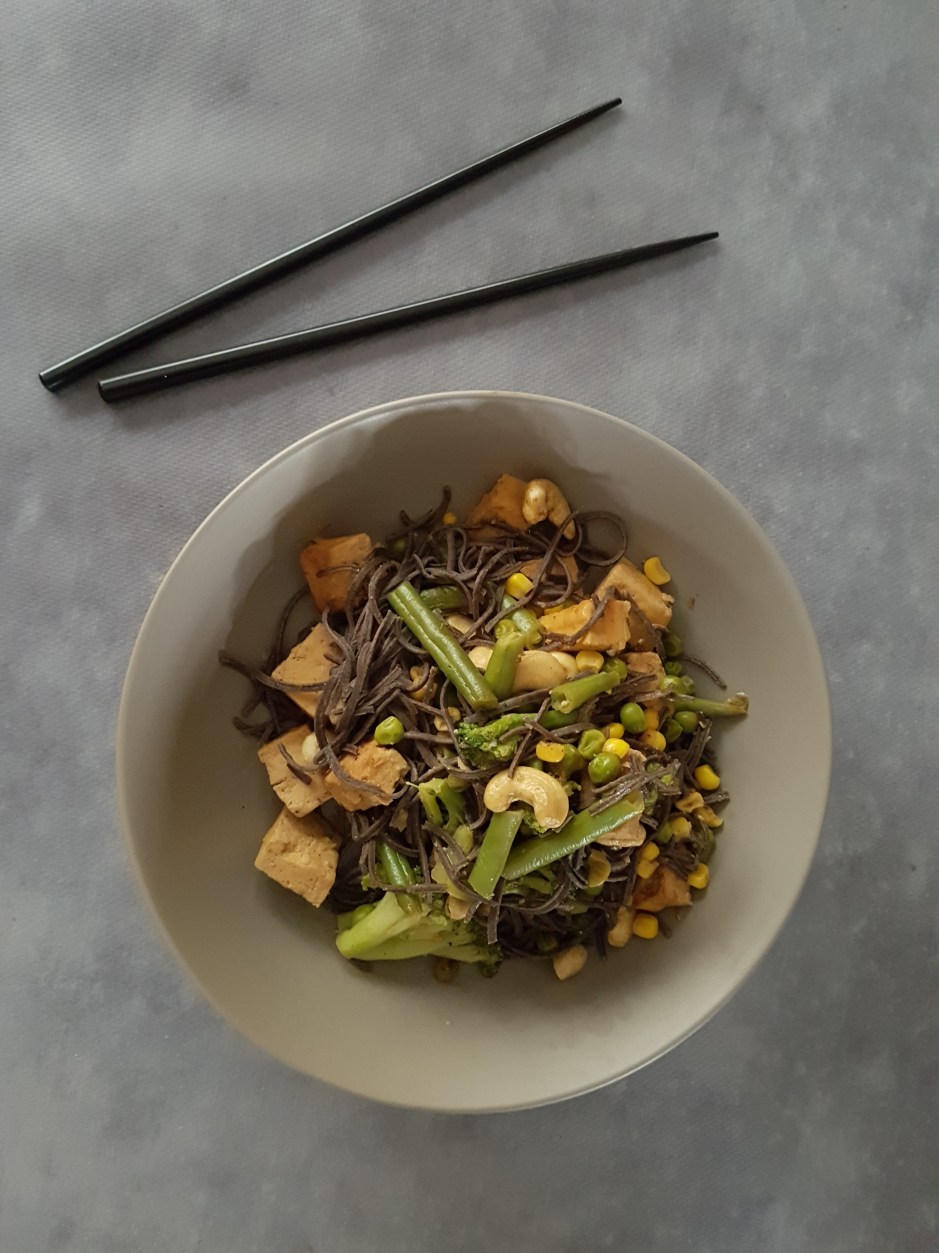
Stirfry for me is the ultimate comfort food. It is vibrant, full of flavour, satisfying and warming, and I love how versatile it is. Stirfrying means cooking more quickly. Vegetables therefore retain more nutrients. And because stirfrying is so quick, it means less time standing in front of the stove and more time eating! Stirfrying for the win! Here goes my vegan tofu stir fry with black bean noodles. It is ultra quick (about 15-20 minutes) so there are absolutely no excuses for not dishing up a delicious and healthy meal on a week night! (Or any night, for that matter.)
Now, this does not need to be a tofu stir fry and you don’t need to use black bean noodles. I just used them as I think they work well together. I have come to really appreciate bean noodles. They are quite a bit lower in calories and higher in fibre than regular or processed gluten-free noodles/pasta, and they cook in a fraction of the time. If you can’t get your hands on black bean noodles, not to worry! Just use your favourite noodles or zoodles instead. This dish will still be delicious. If you don’t like tofu you could use tempeh (also have a look at my tempeh curry recipe here) or if you avoid soy simply use more veggies or try something new by making chickpea “tofu”. The options are endless.
That’s what I like about these kind of meals. No-one nowadays has the time or desire to go shopping every day so it’s imperative to have a handfull of standby recipes in which you can use whatever you have on hand.
Tofu Stir Fry with Black Bean Noodles
Tofu Stir Fry with Black Bean Noodles
Serves 2
1 pack (300g) tofu, cubed 4 tbsp tamari 2 tbsp maple syrup 4 cloves garlic, minced 1 tbsp apple cider vinegar 1 tbsp ground ginger
half a tbsp sesame oil dash of fresh lime juice salt, pepper and chilli to taste
black bean noodles or other noodles (amount to taste) dash of water or vegetable stock about a pound (approx. 450-500 grams) mixed vegetables such as green beans, broccoli, sweetcorn, green peas, capsicum, carrots… cashew nuts, fresh coriander, fresh chilli to serve (optional)
Mix the tamari, maple syrup, garlic, oil, vinegar, ginger, lime juice and spices in a medium bowl, then add the tofu and let sit for 5-10 minutes to soak up the marinade. Prepare the noodles according to the manufacturer’s instructions. Heat water or stock in a large frying pan or, better, a wok, and blanch the vegetables for a couple of minutes. Take out the veggies, then add the tofu with all of the marinade, cover and let cook for 5-10 minutes. Add the veggies, mix in thoroughly and cook for another two minutes. Turn off the heat, toss in the noodles and mix everything through. Adjust the spices and let sit for a minute. Serve with cashews, coriander and chilli according to your liking and…
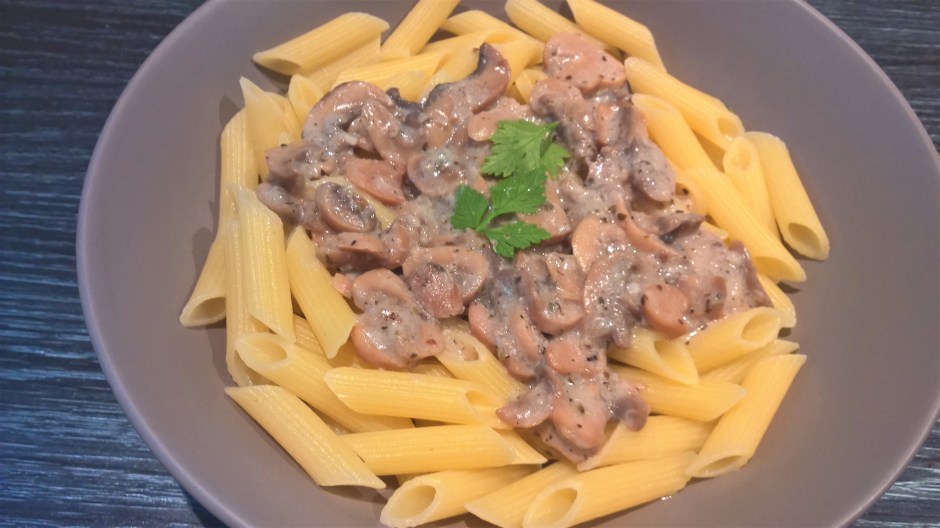
As promised on my Instagram account, here comes the easiest, healthiest and best 10-minute lowfat vegan mushroom alfredo you’ll ever make.
I don’t say this lightly. This is serious stuff. I am aware that there is no lack of vegan Alfredo recipes, a lot of which involve tofu (which can be an issue for some) or cashew nuts and/or coconut cream, therefore being very heavy. In short, alfredos, whether vegan or not, are not exactly lowfat. I have made alfredo sauces using cauliflower which is a better option to achieve that creamy consistency that we crave but the flavour of the cauliflower (and the smell of your kitchen when cooking it) can be a bit overwhelming when all you are after is mushrooms, creams and garlic. What I wanted was an Alfredo sauce which fulfilled the following criteria:
-relatively low in fat
-takes 10 minutes to make from start to finish
-requires about 5 ingredients
-is economical
-tastes divine
I’m so excited because my mushroom Alfredo does all that! With only coconut oil, garlic, plant milk, mushrooms (duh!), cornstarch and plenty of herbs and spices, there are no obscure or hard-to-get ingredients, no nasties and you don’t need to set aside your precious weekend for meal prepping – all you need is the commercial TV break on a weeknight. Sounds good? Sure does!
You can use any plant milk you like or have on hand. If you are not worried about the soy/nut issue, then soy or nut milk is perfectly fine to use. I like oat milk as it makes the sauce really unctuous, however, it is quite a bit higher in carbs than other non.dairy mylks and also sweeter, so you might want to keep that in mind. I have tried this recipe with both almond and oat milk and love them both! So it’s completely up to you. What’s not up to you is the spice part. There is garlic, sea salt, fresh black pepper and fresh parsley, which is not a lot of spices. They are therefore not negotiable. If you don’t like or can’t have garlic, pepper and/or parsley (seriously???), then you can try to omit them, but it really won’t be the same.
Lowfat Vegan Mushroom Alfredo
Serves 2
1/2 to 1 tbsp refined coconut oil 3 garlic cloves, minced 250 g button/cup mushrooms 250-350 ml unsweetened plant milk (depending how much water is sweat out by your mushrooms) 1 tbsp cornstarch, mixed with equal amounts water to form a paste sea salt and fresh black pepper parsley any other herbs of choice
Melt the coconut oil in a large saucepan and fry the garlic until aromatic. Add the mushrooms and fry until they start to wither. Add the plant milk, starting with a cup (ca. 250 ml). Whisk in the dissolved cornstarch and keep whisking until no lumps are left and the sauce starts to thicken. Add salt, pepper and spices and some more plant milk until the sauce has your desired consistency. Serve with pasta of choice.
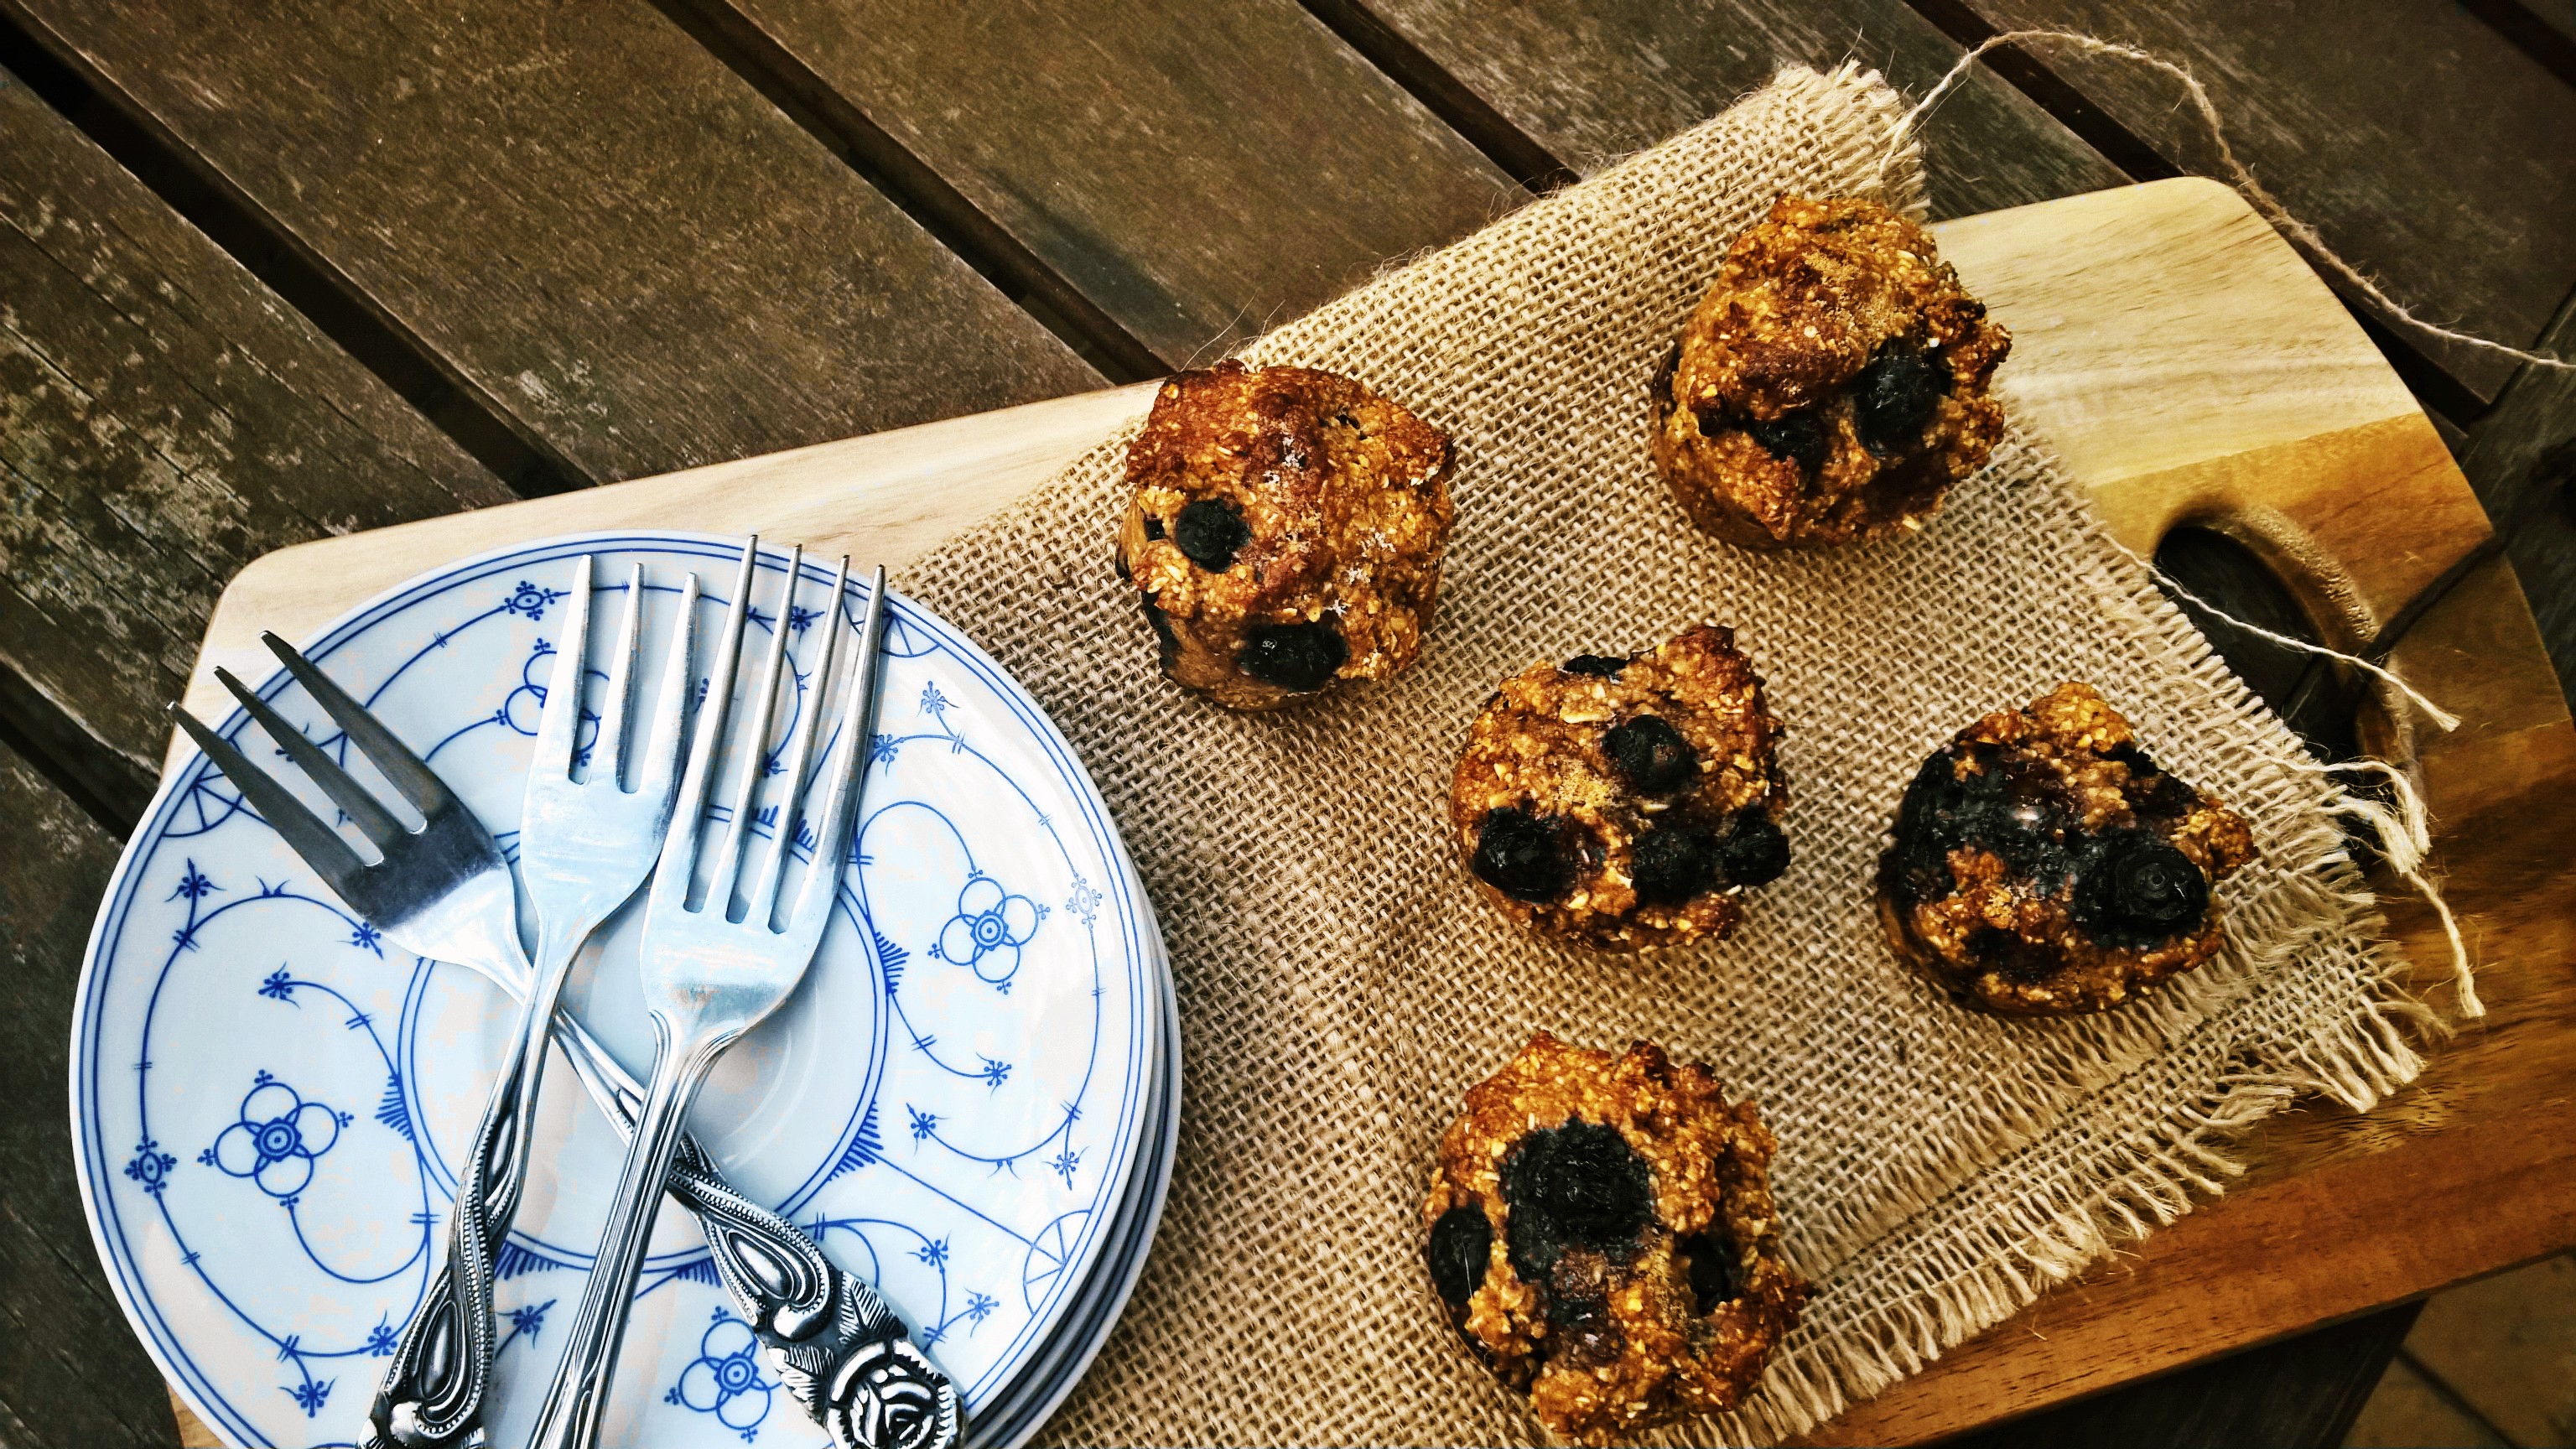
Back in the days when I ate wheat and dairy and generally all things processed and sugary I had a staple recipe for blueberry muffins, which – on the rare occasions that I baked – I always fell back to. I loved it as it was lower in fat than other muffin recipes, replacing most of the fat with buttermilk. It was also dirt-easy to make, requiring just one bowl – perfect for a fast food-addicted 20-something university student without a dishwasher! The muffins were always a success and the recipe was customisable meaning you could use any fruit you wanted in place of the blueberries.
A solid muffin recipe is the first and most basic thing in a baker’s repertoire so once I got into this whole gluten free baking thing, I knew I had to tweak my old go-to. My new gluten-free version of this was just as popular but still relied on refined gluten-free flour and dairy. So after the first step – creating a gluten-free muffin recipe – I needed to come up with a way to make it wholesome and not rely on conventional gluten free flour mixes that with their less than ideal nutritional profile literally make you hungry while you eat! However, not only did I want to create a gluten free and oil free muffin, but also a vegan muffin. Yogurt and buttermilk are great in gluten-free muffins as they really provide that texture that we love and miss about conventional baked goods. The acid in the milk combines with the baking soda to yield moist and tender products. Using yoghurt or buttermilk also means you can nix most of the oil, butter and eggs! So how to replace dairy?
After a bit of research I decided to recreate the sourness from the yogurt/buttermilk with some apple cider vinegar in almond milk. Instead of conventional gluten free flour I used a mix of freshly ground oat flour, almond meal and flax meal (with the flax also replacing the need for eggs). Apple sauce and blueberries keep these muffins nice and moist, so there is no need for eggs or oil. I will probably still tweak the flour part a bit, as the flax gives a somewhat coarse texture but for the time being this is a great recipe if you want a tasty and filling muffin that is gluten free, vegan, refined sugar free, oil free, low in fat and refined grain free and is easy and quick to make with some simple ingredients you likely have in your pantry!
Oil-free Blueberry Muffins {vg, gf}
Oil-free Blueberry Muffins (vg, gf)
Yields 16 mini muffins
½ cup almond milk
1 tb apple cider vinegar
2 cups oat flour 1/3 cup almond meal 1/3 cup flax meal ½ cup coconut sugar ½ cup apple sauce
Pinch of salt pinch of cinnamon 2 tsp of baking powder
dash of vanilla
1 cup of fresh or frozen blueberries
Preheat oven to 180 °C and lightly grease a muffin pan or use paper muffin cups. Mix the almond milk with the apple cider vinegar in a medium bowl and set aside for the two ingredients to react. Then add oat flour, almond meal, flax meal, coconut sugar, apple sauce, salt, cinnamon, vanilla and baking powder and whisk just until combined. Fold in the blueberries and pour the batter into the prepared muffin tray. Bake for 15-20 minutes until a toothpick comes out clean.
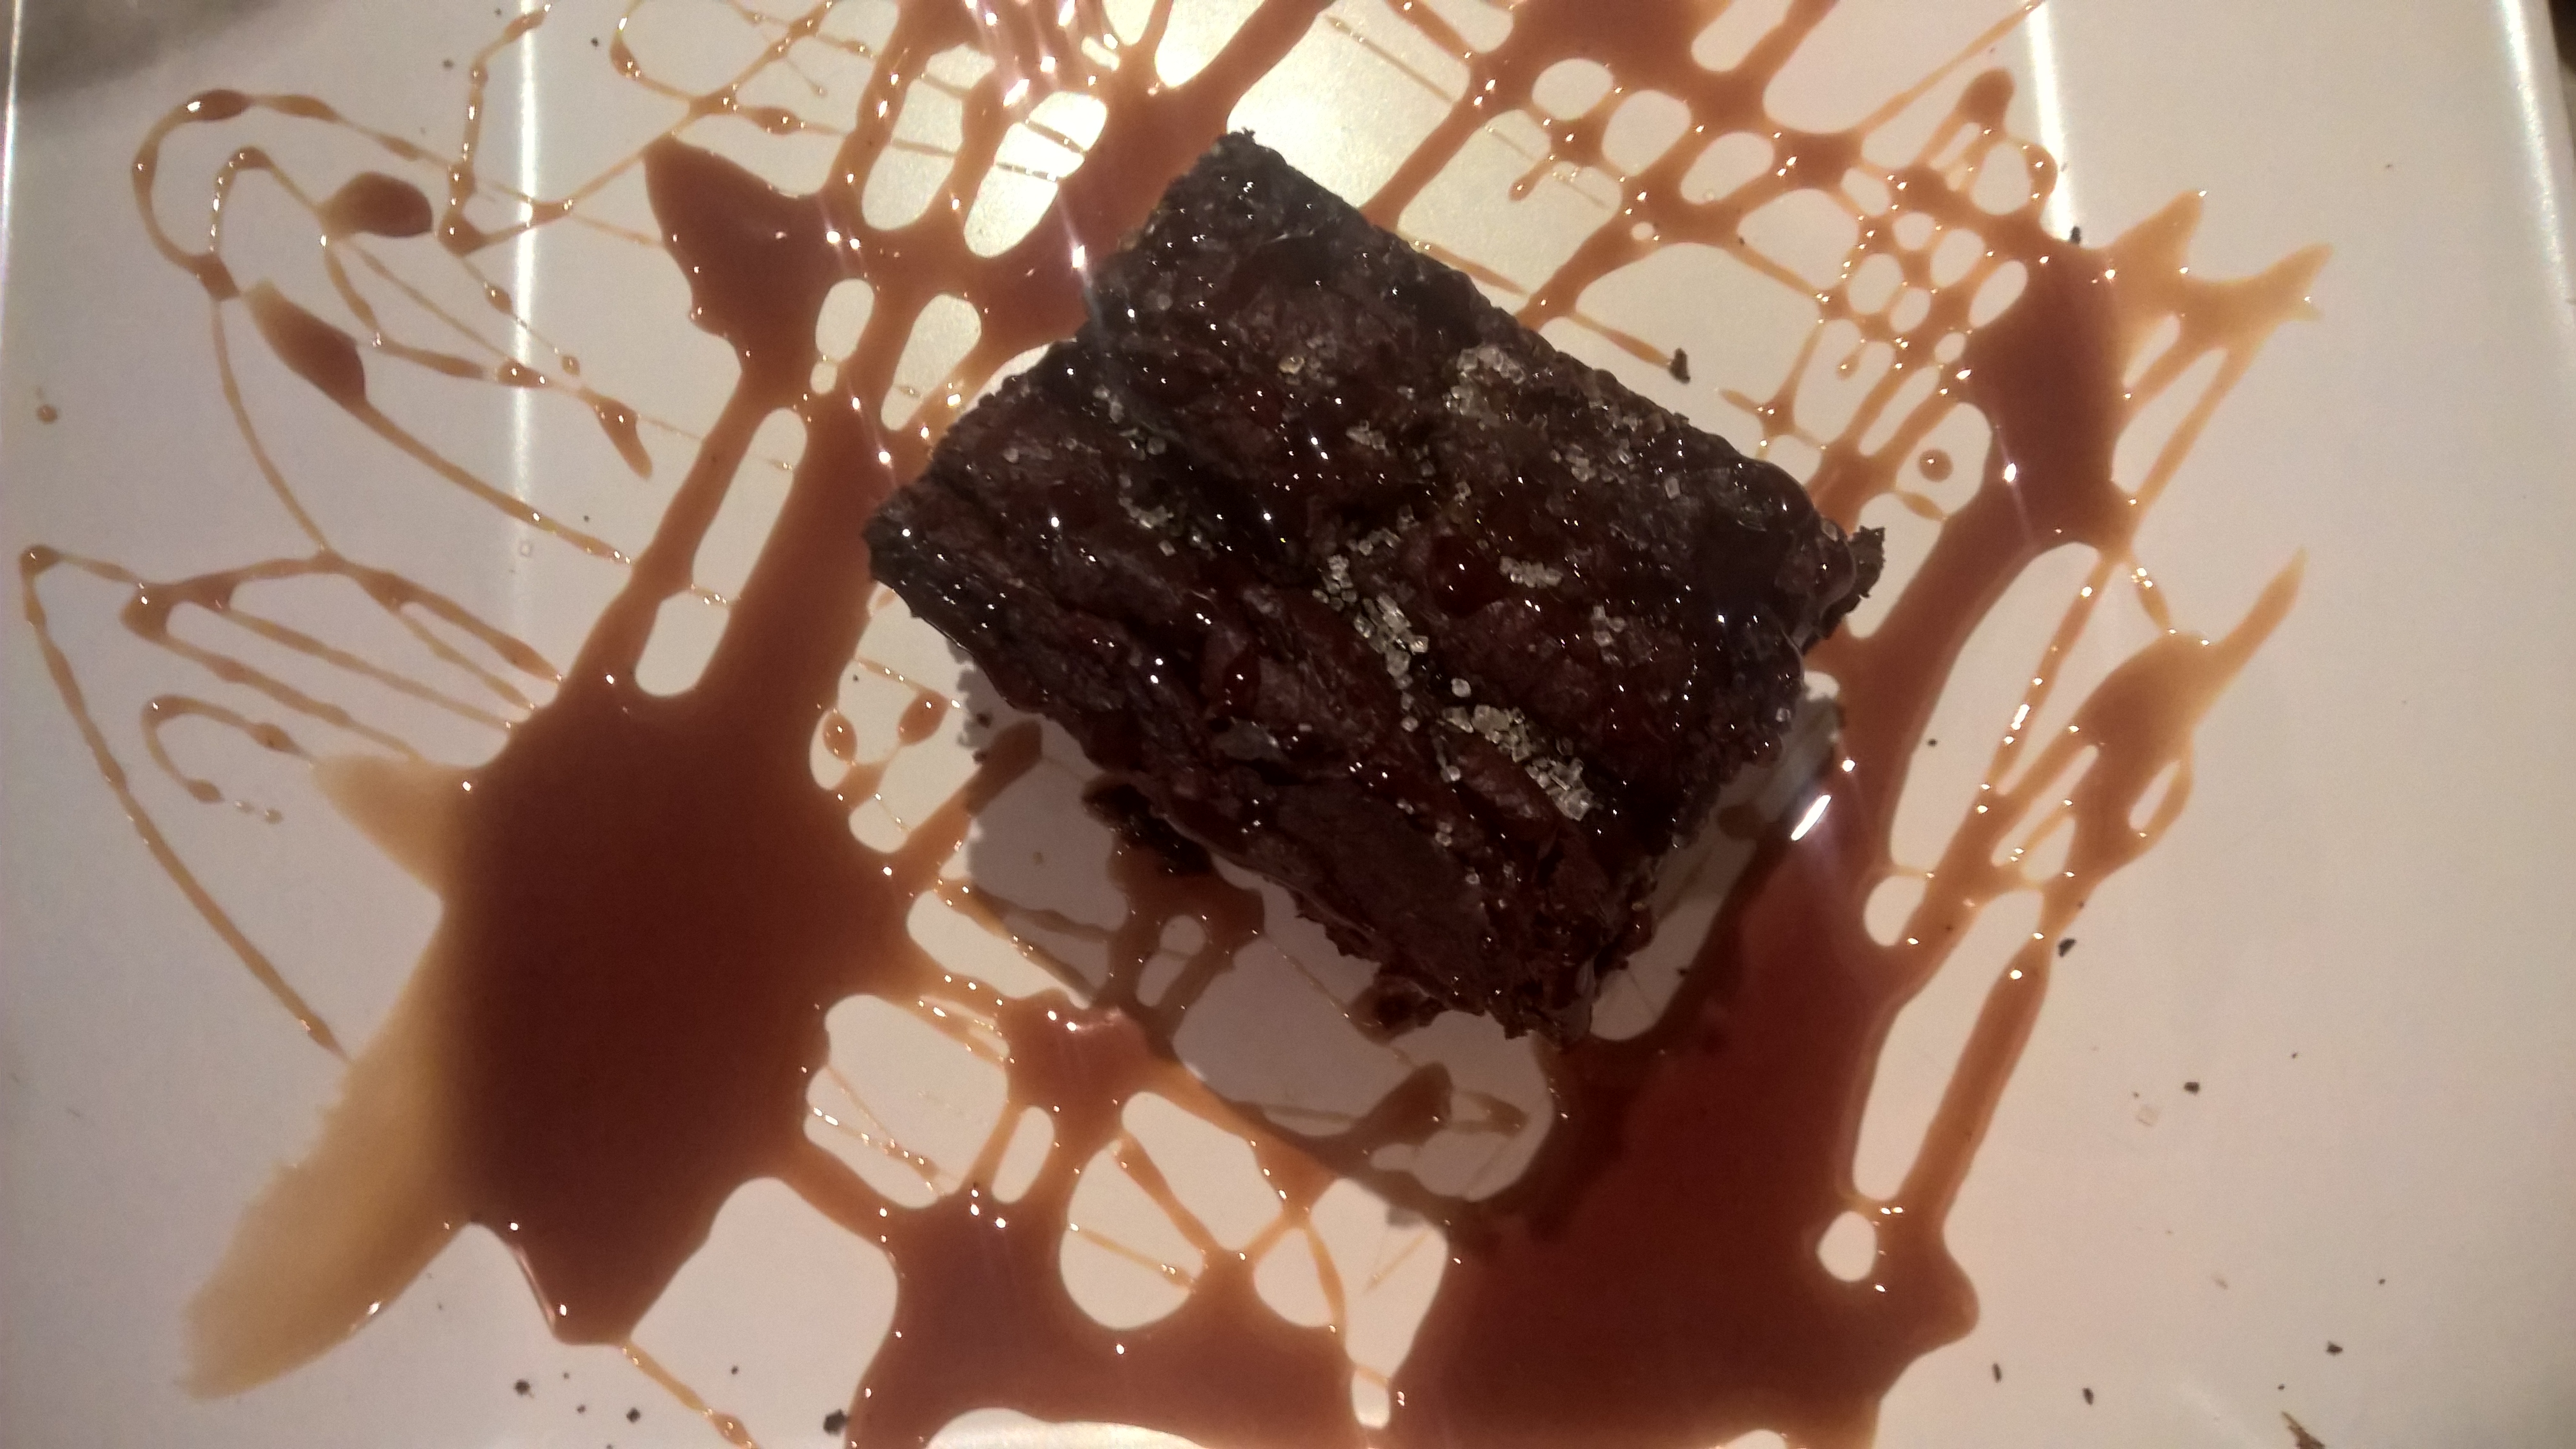
Luscious chocolate brownies that are vegan, oil-free and gluten free sounds like an oxymoron, but if you have avocados, you can make the impossible a reality. With their neutral taste and creamy texture, avocados are the perfect replacement for nasty processed oils and antibiotics-laden eggs. Avocados are also a perfect complement to dark chocolate and cacao, so using avocados to make brownies was a no-brainer for me.
Now, every man and his dog seems to make chocolate cake with avocado as a “secret” ingredient these days, so I am probably not going to shock anyone anymore by saying that these yummy gooey brownies have avocado in them. Both my husband and daughter love avocado, and they are in season right now, so needless to say, we are going through quite a few at the moment. As they ripen very quickly, this recipe doesn’t only make sure that you get your dose of healthy monounsaturated fats in one super-fudgy yet good-for-you brownie, it is also a great way to rescue any avocados you might have lying around that are past their prime! I hate wasting food so if you can create something nutritious to fix your chocolate cravings while being good to your wallet and the planet too, then why not?
Honestly folks, if you don’t try this, you are really missing out! These brownies are seriously rich and chocolatey and so fudgey it’s ridiculous. Your junk-loving friends, relatives and kids will never be able to tell that they pack a punch: Besides superfoods avocado and raw cacao, there is oatmeal for healthy carbs, protein and fibre, vegan protein powder to keep you full and satisfied as well as coconut flour, psyllium and flaxmeal for some more protein, fibre and nutrition! Needless to say, they are gluten free, vegan, dairy free, soy free, refined sugar free and oil free! How about that? Like most of my recipes, this is a fuss-free affair – melt chocolate, mix everything together and bake for 20 minutes. Easy as that!
Shall we get baking?
Gluten Free Vegan Avocado Brownies
Gluten Free Vegan Avocado Brownies
60 g vegan dark chocolate 150 g brown rice syrup, divided flesh of 1 large ripe avocado, mashed 1 large ripe banana, mashed 50 g ground rolled oats 2 tbsp rice or pea protein powder 2 tbsp raw cacao 1 tbsp flaxmeal, almond meal or LSA 2 tsp coconut flour 1 tsp psyllium husks, flaxmeal or chia seeds 1 tsp gluten free baking powder
Preheat oven to 180 °C or 350 °F and grease a 20x20cm baking pan. Melt chocolate and 100 g brown rice syrup in a double boiler until melted and smooth. Let cool slightly. In a different bowl, mix avocado, banana and 50 g brown rice syrup until smooth. Stir in melted chocolate mix until smooth, add all remaining ingredients and blend until smooth. Spoon into baking pan and bake for 20 minutes.
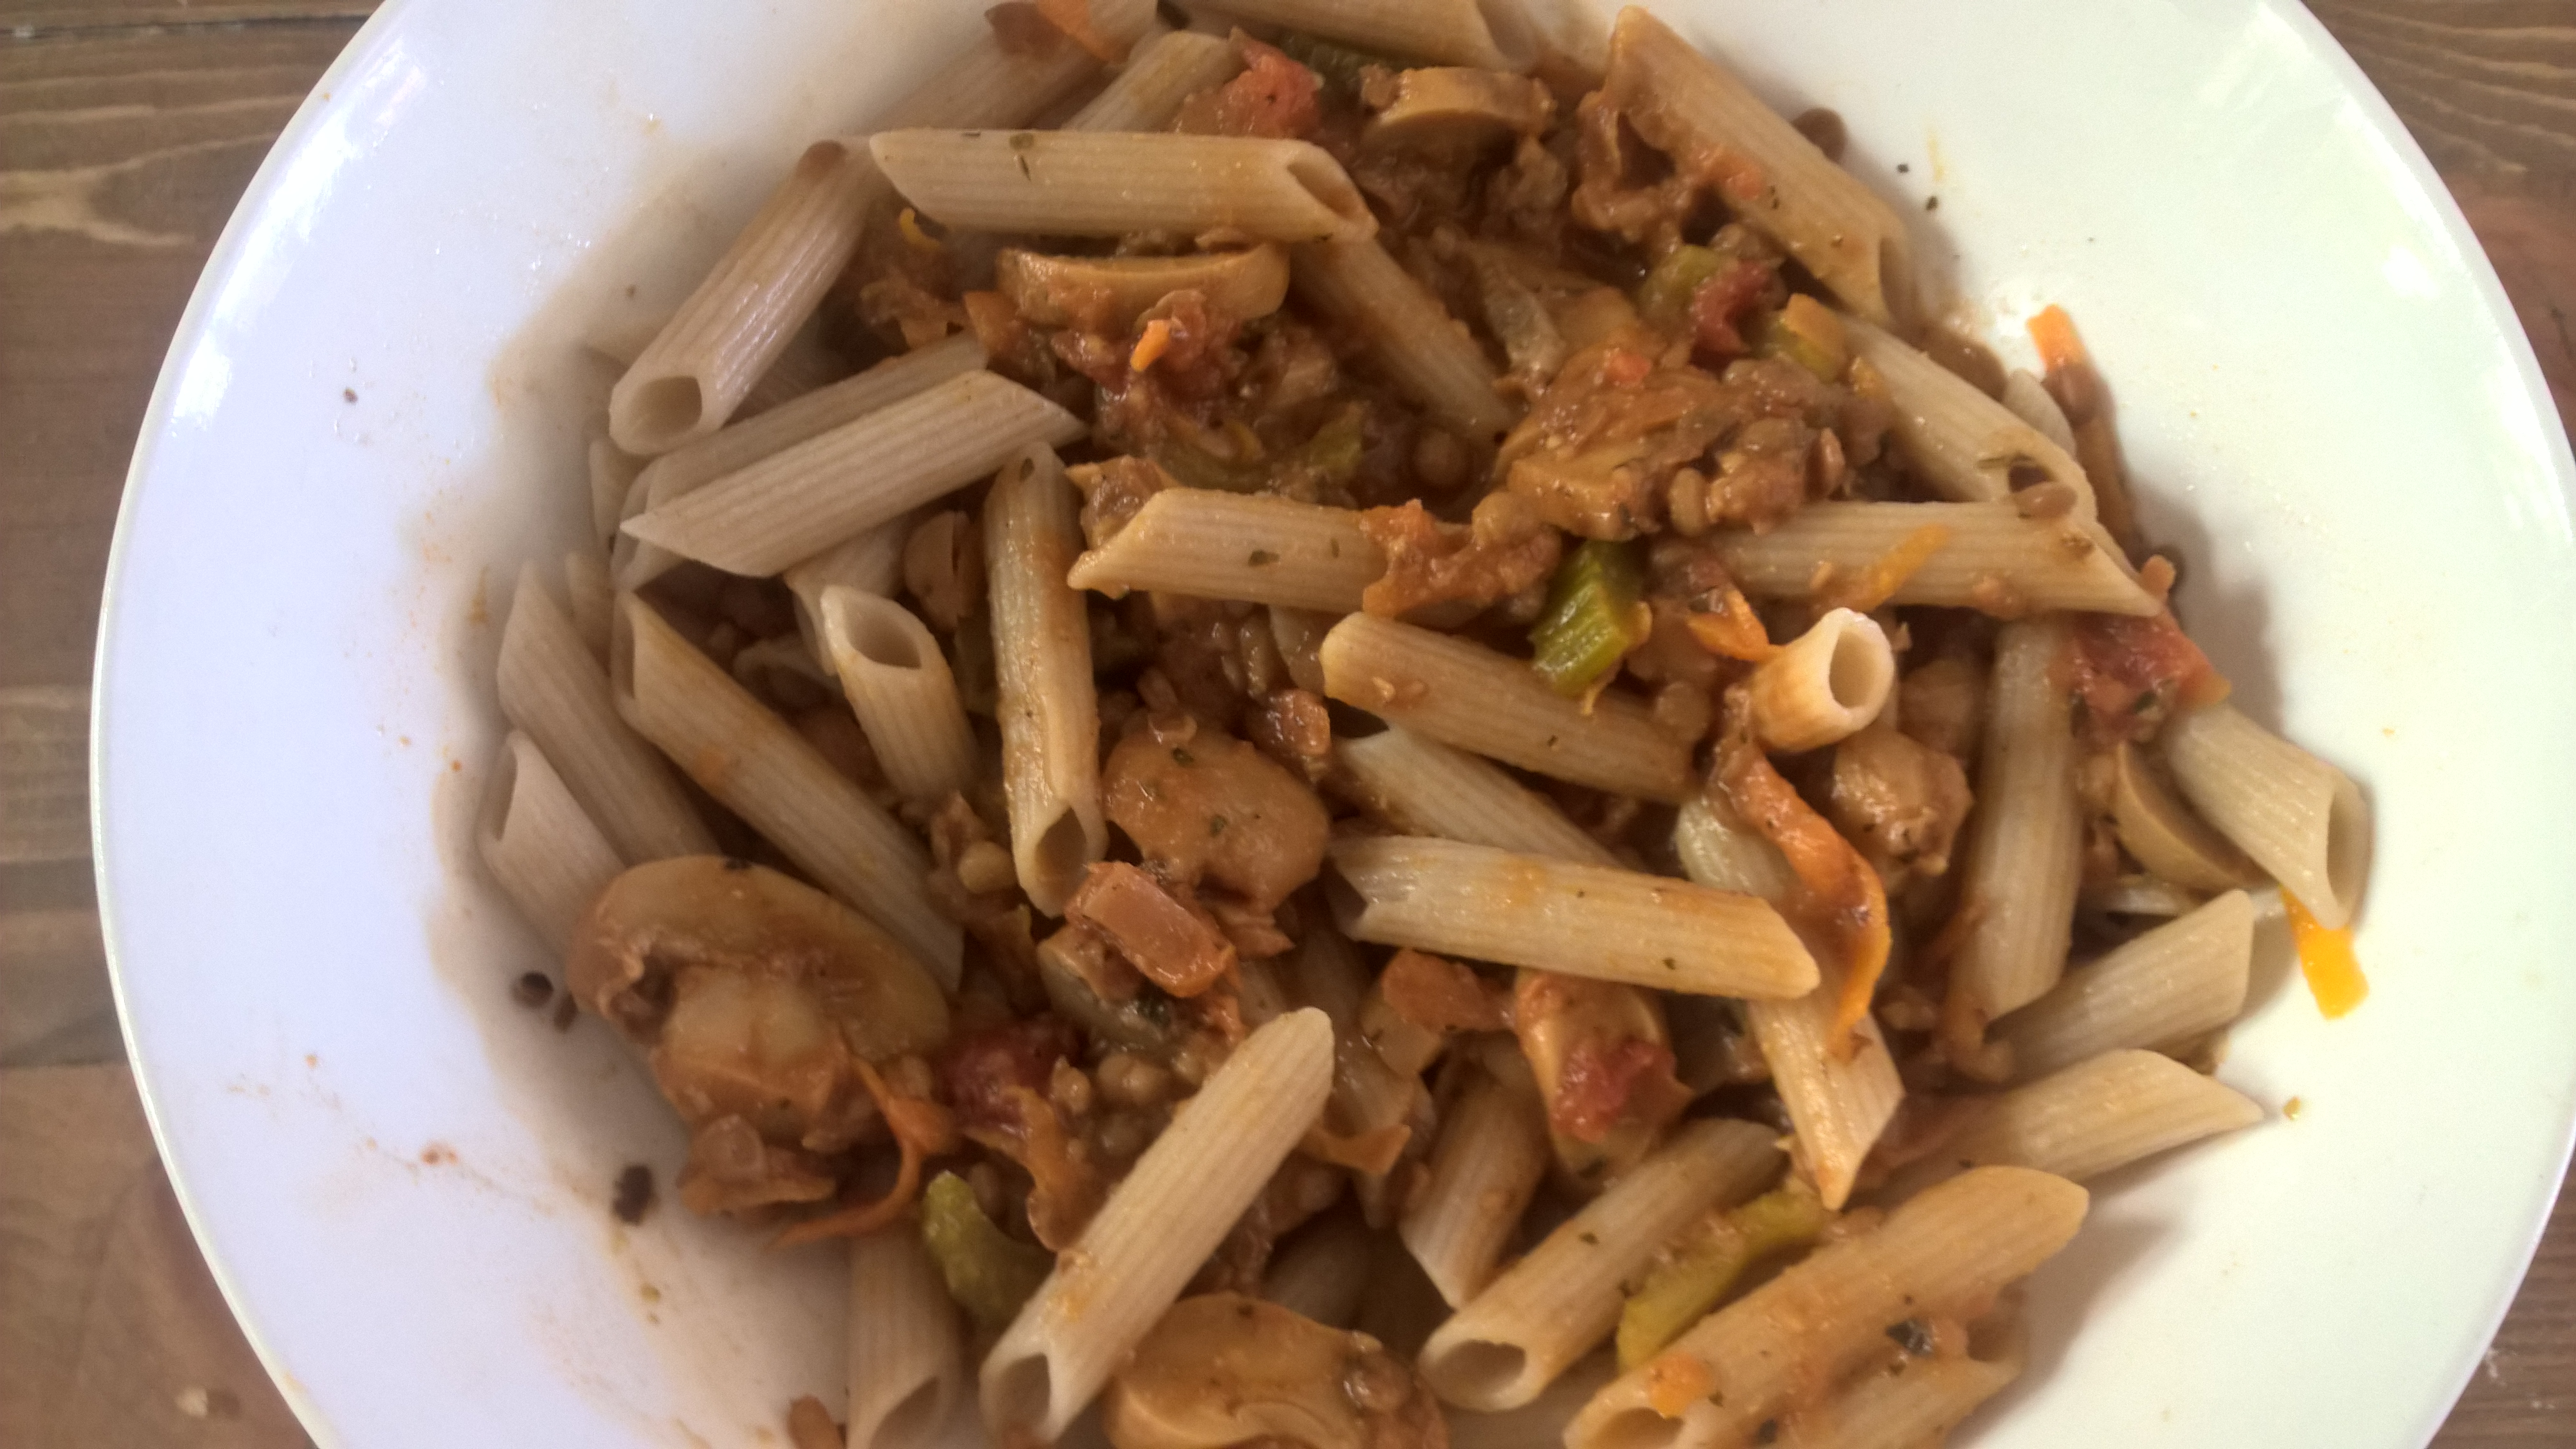
The idea of making a vegan “Bolognese” with legumes has been at the back of my mind for some time, and while the concept is not exactly new, I think I have come up with quite a cracker vegan lentil bolognese recipe which will convince even the most ardent meat lover! At the point of making this, I had run out of diced tomatoes in my pantry (yes, it happens). I had neither the time nor the inclination to run out to the shops and get some so I used the last bit of Maggie Beer tomato sauce we had in the fridge.
The result was divine, which is the best proof that you don’t need a tin of tomatoes or a jar of marinara sauce if you make bolognese (you’ll be hard-pressed to find a recipe for bolognese on the net, vegetarian or not, which doesn’t include a tin of tomatoes or a jar of marinara sauce).
Back to the vegan bolognese – you won’t miss anything in here. My husband, an avid meat eater, loved it and simply couldn’t believe there was no meat in it. This is comfort food at its best, and at the same time full of goodies while being very low in fat. Your vegan/vegetarian and omnivore friends will be raving alike. Serve it with gluten free pasta like I did (photo) or “voodles” (spiralised vegetables) and it’s gluten free as well. So what inspired me to make a lentil bolognese?
While mushrooms or quorn mince would be an obvious choice, there had to be a more cost-effective solution. I love the effect legumes have on my blood sugar and satiety levels – I don’t so much love their effect on my gut. However, I found the “smaller” the legume the more easily digested, hence lentils are usually my legume of choice. (They taste friggin’ delicious too.) I love kidney beans and chickpeas, but if I have too much of them, they just about kill me (or rather, my bowels). Of course I know the spiel about soaking and phytic acid and blabla, but I couldn’t find a huge difference between soaking dry lentils and just rinsing organic tinned ones very well, and if in doubt, I always opt for the easier and quicker option but it is of course up to you if and how you prepare your lentils.
With all this being said, you would assume that lentils are the hero of this dish, but they are actually not…it’s celery! What the…? Well, I have to admit I’ve never liked celery all that much, especially in its raw version. In fact, celery is probably the only vegetable I couldn’t eat raw to save myself (something I inherited from my mum). So while I have recently found a new organic box delivery service which I really like, their inclusion of celery in the last box was a bit of a letdown for me at first. But an unknown vegetable for the amateur chef is like a new country to the devoted adventurer, so I knew I had to experiment. My internet search about the uses of celery only yielded raw salad recipes – three strikes, I was out. Had to do it without the help of Uncle Google.
Soups and stocks usually contain traces of celery. I figured if I just cooked it long enough, maybe it would act a bit like vegetable stock without imposing the (imho yucky) raw flavour of celery. Bingo! This bolognese tasted so rich and just had this certain “je ne sais quoi”, and since I don’t cook with onions, I knew it had to be the celery which lended this dish “a depth of flavour”, according to my hubby.
So I’ll be sure to include celery more often in my creations. You never stop learning, do you?
Vegan Lentil Bolognese
Vegan Lentil Bolognese
2 generous portions
1 garlic clove, minced 2 carrots, grated or finely sliced 2 celery stalks, very finely sliced 1 tin organic brown lentils, drained and rinsed very well (or sub other legumes) a dash of tomato sauce or tomato paste or diced tomatoes (amount depends on your preferences) 250-350 ml good vegetable stock basil, oregano, salt, pepper and any other herbs and spices of choice other vegetables of choice (optional) (mushrooms are a great choice) nutritional yeast (optional)
Make sure to have all the ingredients readily prepared. You don’t want your garlic to burn while you are still slicing the celery! Heat the oil in a large saucepan, add the garlic and fry for a few minutes until soft. Add carrots, celery and lentils and heat through for another few minutes, than add the tomatoes and stock, bring to the boil and simmer until the desired consistency is reached. Adjust the amount of stock according to your preferences. Stir in the nutritional yeast for a lovely cheesy flavour. Season to taste and serve with gluten free pasta or voodles. (I’ve got no idea how long this stuff lasts and if it tastes better the next day – we finished it in one sitting!)
This carrot cake is almost an insolence. Yes, it is low carb AND low fat – for all of you that can’t decide between the two lifestyles (or simply want to eat a truly delicious carrot cake). Talk about having it all. There is many recipes for healthy treats out there, but this cake is gonna make them blush with envy. Not only is this cake moist, scrumptious and totally utterly delicious (tick tick tick). It is low carb and low sugar with the carbohydrates coming from carrots, banana and just a dash of honey (tick tick). It is low fat with the fat coming from eggs and flax (tick). It is high protein (tick), high fibre (tick) and on top of it all, gluten free, grain free, dairy free, nut free and soy free (tick tick tick tick tick). Another decisive advantage is that if you are lazy busy you can just throw all ingredients together in one big bowl in no particular order and without any laborious instructions such as “put the dry ingredients here…mix the wet ingredients there”, separating the eggs, or melting butter or coconut oil (helped by the fact that there is no fat or oil in there). It also neatly pours out of the bowl (thanks to the flax that keeps everything together)
Given the high amount of protein and fibre, this cake will fill you up for a while which is another plus, and the icing on the cake is the icing on the cake (forgive the pun). It is fat free and sugar free, made of cannellini beans – which is the reason why this cake is not paleo. If it wasn’t for the icing, this carrot cake would be perfectly paleo(ish). So for all our primal friends out there, just omit the icing or use your favourite paleo icing instead. As there is eggs and honey in it, this is not a vegan cake, but you might be able to experiment with chia eggs and rice malt/agave/maple syrup though I cannot vouch for the results.
As a word of warning, if you have IBS, follow a low FODMAP diet or otherwise have problems with fibre, this carrot cake might not be suitable for you or you might just want to go easy and enjoy a small amount. The coconut flour in this recipe is full of fibre which is great but might give certain people intestinal discomfort. Try it for yourself. Nothing ventured, nothing gained.
For one cake (approx. 12 large or 24 small slices)
2 heaped tbsp vanilla flavoured pea protein powder 3/4 cup coconut flour 1/2 cup flaxmeal pinch of salt 1.5 tsp baking soda 1.5 tsp cinnamon 0.5 tsp nutmeg 1 mashed banana 2 tbsp honey 2 tsp vanilla essence 4 eggs 300 ml plant milk 5 large carrots, grated
For the frosting 1 cup cannellini beans, drained and rinsed 4 tbsp stevia 1 tsp vanilla pinch of sea salt
Preheat oven to 180 °C and line a round baking tin with baking paper. Mix the cake ingredients in a large bowl until a homogenic mass develops (I did this by hand). Scoop into the mould and bake for 20 minutes until a toothpick comes out clean. Transfer to a cooling rack and allow to cool completely before frosting.
For the frosting, process all ingredients in a high-powered blender until completely smooth. You can use it straight away or place in the refrigerator to firm up even more. Tip: If you find the taste of the frosting to bland, you could add spices such as nutmeg or flavouring such as almond or lemon essence.
Update: I have updated and veganised this recipe which is now even more delicious and completely vegan! I hope you enjoy it!
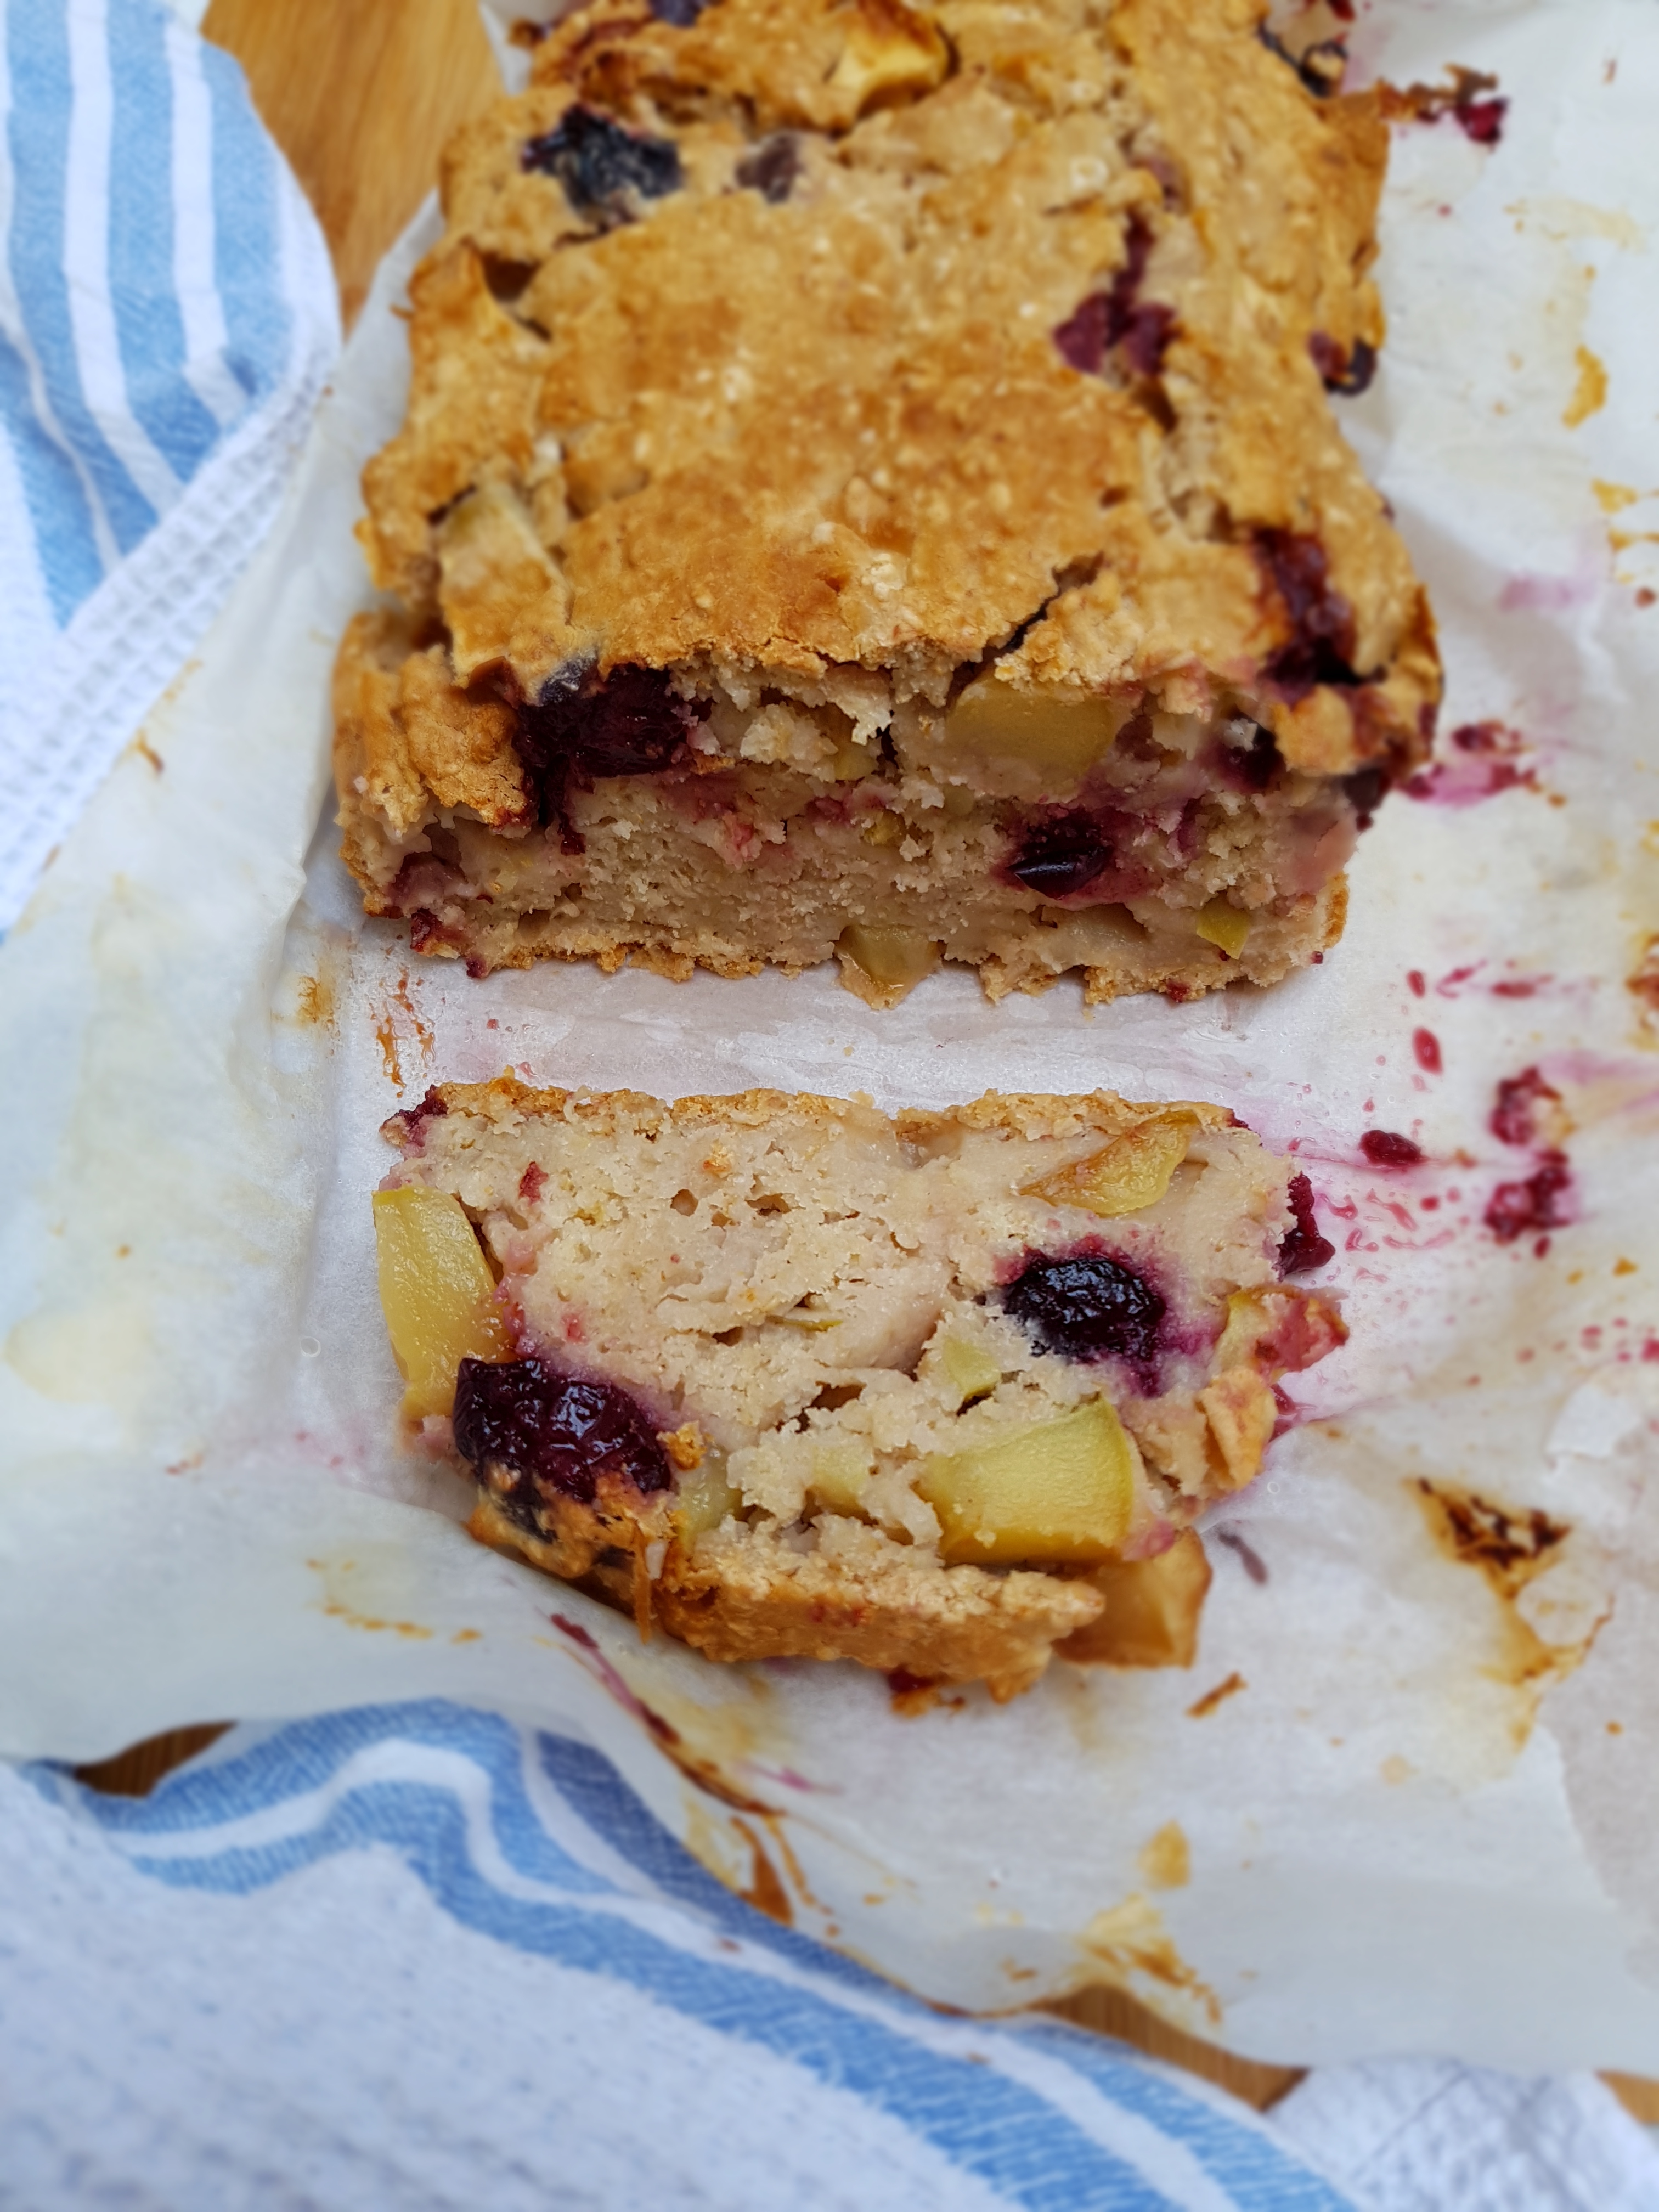
I love healthy and satisfying treat that are a cinch to make, especially since having a toddler, and this delicious, fudgy and moist apple & cherry bread just fits the bill. It’s so good that I just had to share it with you! My husband and kid love it, and it’s vegan, dairy free, egg free, gluten free, soy free and low in fat.
This crossover between a cake and bread can be done with whatever fruit you like/have available, and you could even include nuts in it (which wouldn’t make it lowfat but nonetheless delicious). It is very addictive, comes in handy as a quick snack or breakfast on the go, is very kid friendly, not overly sweet and still super yummy, and it’s a great companion with your afternoon cuppa – in short, go baking now!
The base is actually porridge – yes, oats soaked in water! So if you ever find yourself with leftover porridge, here is a great way to make us of it! No need to first mix the dry ingredients and then the wet – just throw everything together. Doesn’t get easier than that!
Apple & Cherry Bread
Apple and Cherry Bread {vg, gf, lf}
Makes 1 loaf/12-15 slices
1 cup almond milk 1 tsp apple cider vinegar 1 cup quick oats, soaked in cup water (porridge) 1 cup gluten free all-purpose flour
half cup brown rice flour 1/3 cup coconut sugar or raw sugar 1 tbsp gluten free baking powder half a cup unsweetened apple sauce dash of vanilla extract 2 apples, cubed, or other fruit 2 handfuls of frozen cherries or other fruit
Preheat oven to 180 °C. Line a loaf tin with baking paper (if using a silicone mold, you don’t need to line it). Pour the almond milk into a large mixing bowl, add the vinegar and set aside to let it react for a couple of minutes. Add the porridge, flours, sugar, baking powder, apple sauce and vanilla and mix until you achieve a homogenic consistency. Carefully fold in the fruit.
Pour the dough into the prepared tin and bake for 50 minutes until the top is golden brown and the bread passes the “toothpick” test. Turn off the heat and let the bread cool in the oven to firm it up. Once the tin is no longer hot to the touch, take out the bread and let cool completely. Serve as slices and store at room temperature, wrapped in aluminium foil.