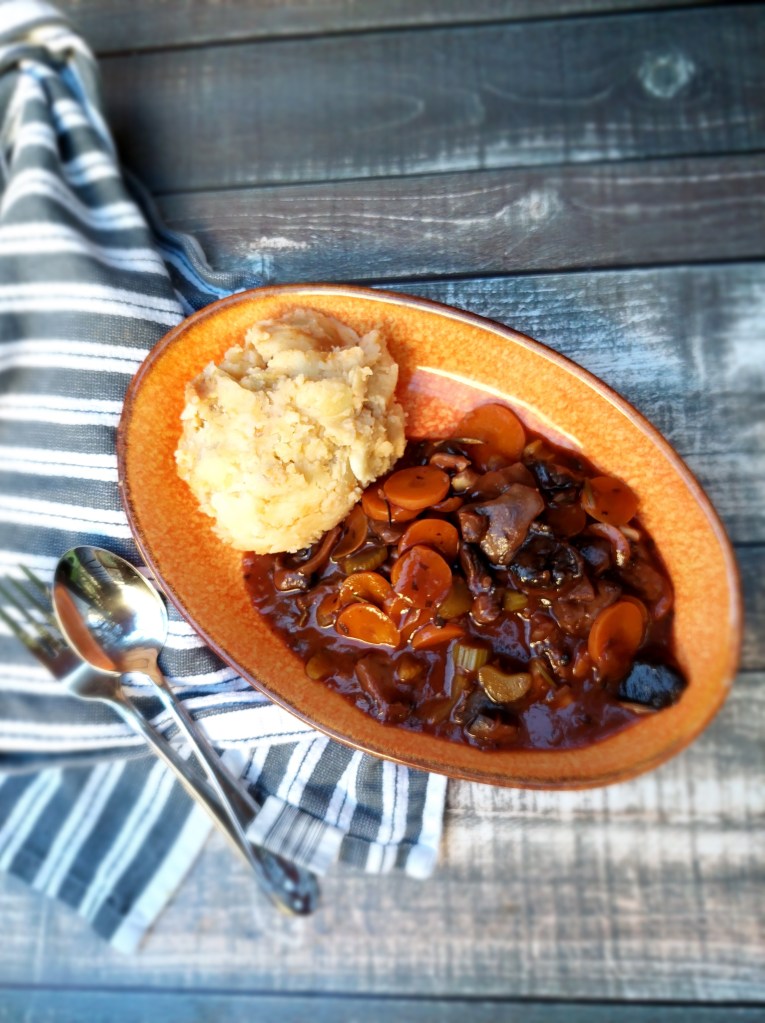
Whether you are veteran vegan, someone who is new to the plantbased lifestyle or just looking for a meat-free staple recipe for lent and beyond, this superb vegan mushroom bourguignon is for you!
It is easy and economical to make yet refined and elegant, looks fancy enough for a dinner party, it is comforting and warming and with its meaty texture will convince even the staunchest meat eater! It is the perfect dish on a gloomy autumn night – and actually for any other night as well!
Mushrooms are a rich, low calorie source of fiber, protein, selenium, and antioxidants. This recipe does without any oil, butter, cream or other fat sources and is therefore low in fat and calories and suitable for pretty much any diet!
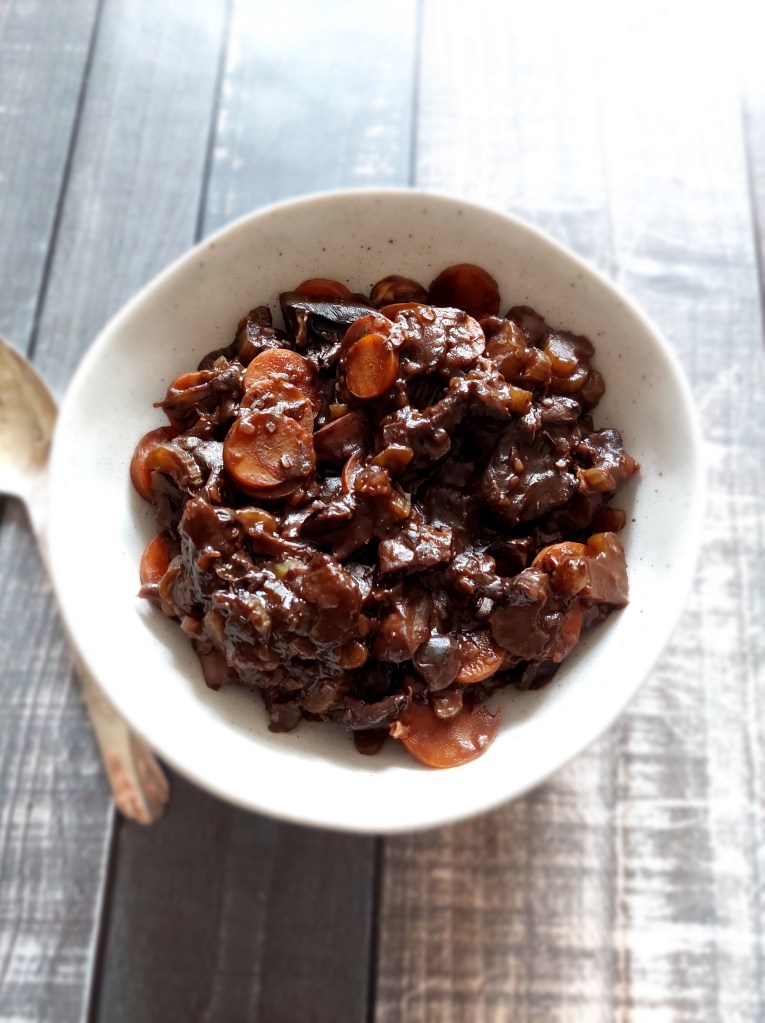
It freezes well and is therefore suitable for meal prep.
Mushroom Bourguignon for Meal Prep
4 garlic cloves, minced 2 onions, peeled and finely chopped 3 carrots, finely sliced 3 stalks celery, finely sliced 480g mushrooms, brushed and sliced (any type is fine) 120ml (half a cup) tomato paste dried thyme and rosemary 1-2 tsp cornstarch or tapioca starch 1 cup vegetable broth 1 cup red wine salt (or soy sauce) and pepper to taste
Sear garlic, onions, carrots, and celery in a bit of water or broth in a heavy pot until softened, add mushrooms, thyme, rosemary. Add one cup red wine and broth and let cook until reduced and alcohol smell has evaporated (about 25-30 minutes). Add tomato paste and salt or soy sauce and pepper. Dissolve cornstarch or tapioca in equal amount cold water and add to the bourguignon while vigorously stirring. Let simmer until thickened. Serve with mashed potatoes or alternatively over pasta or rice.
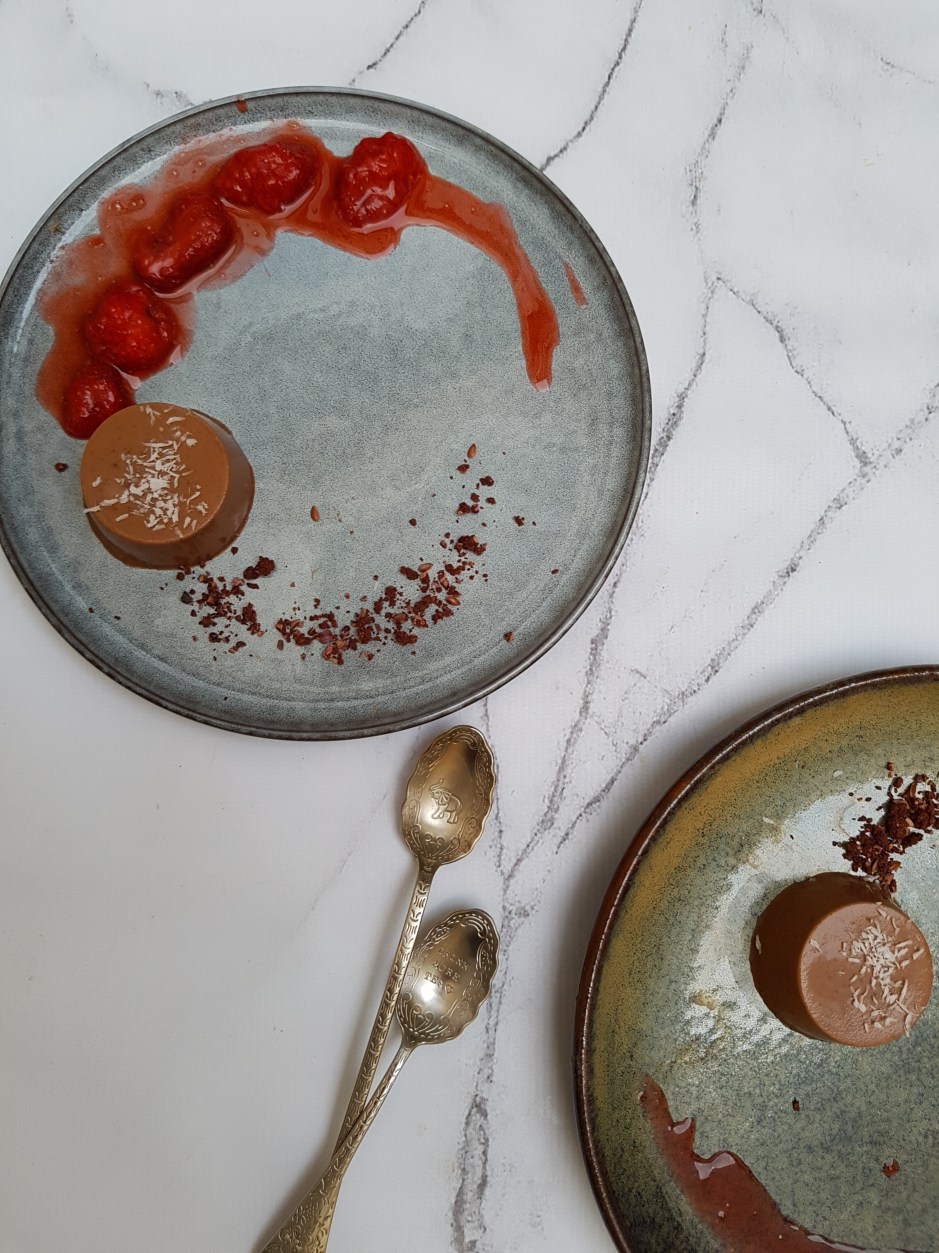
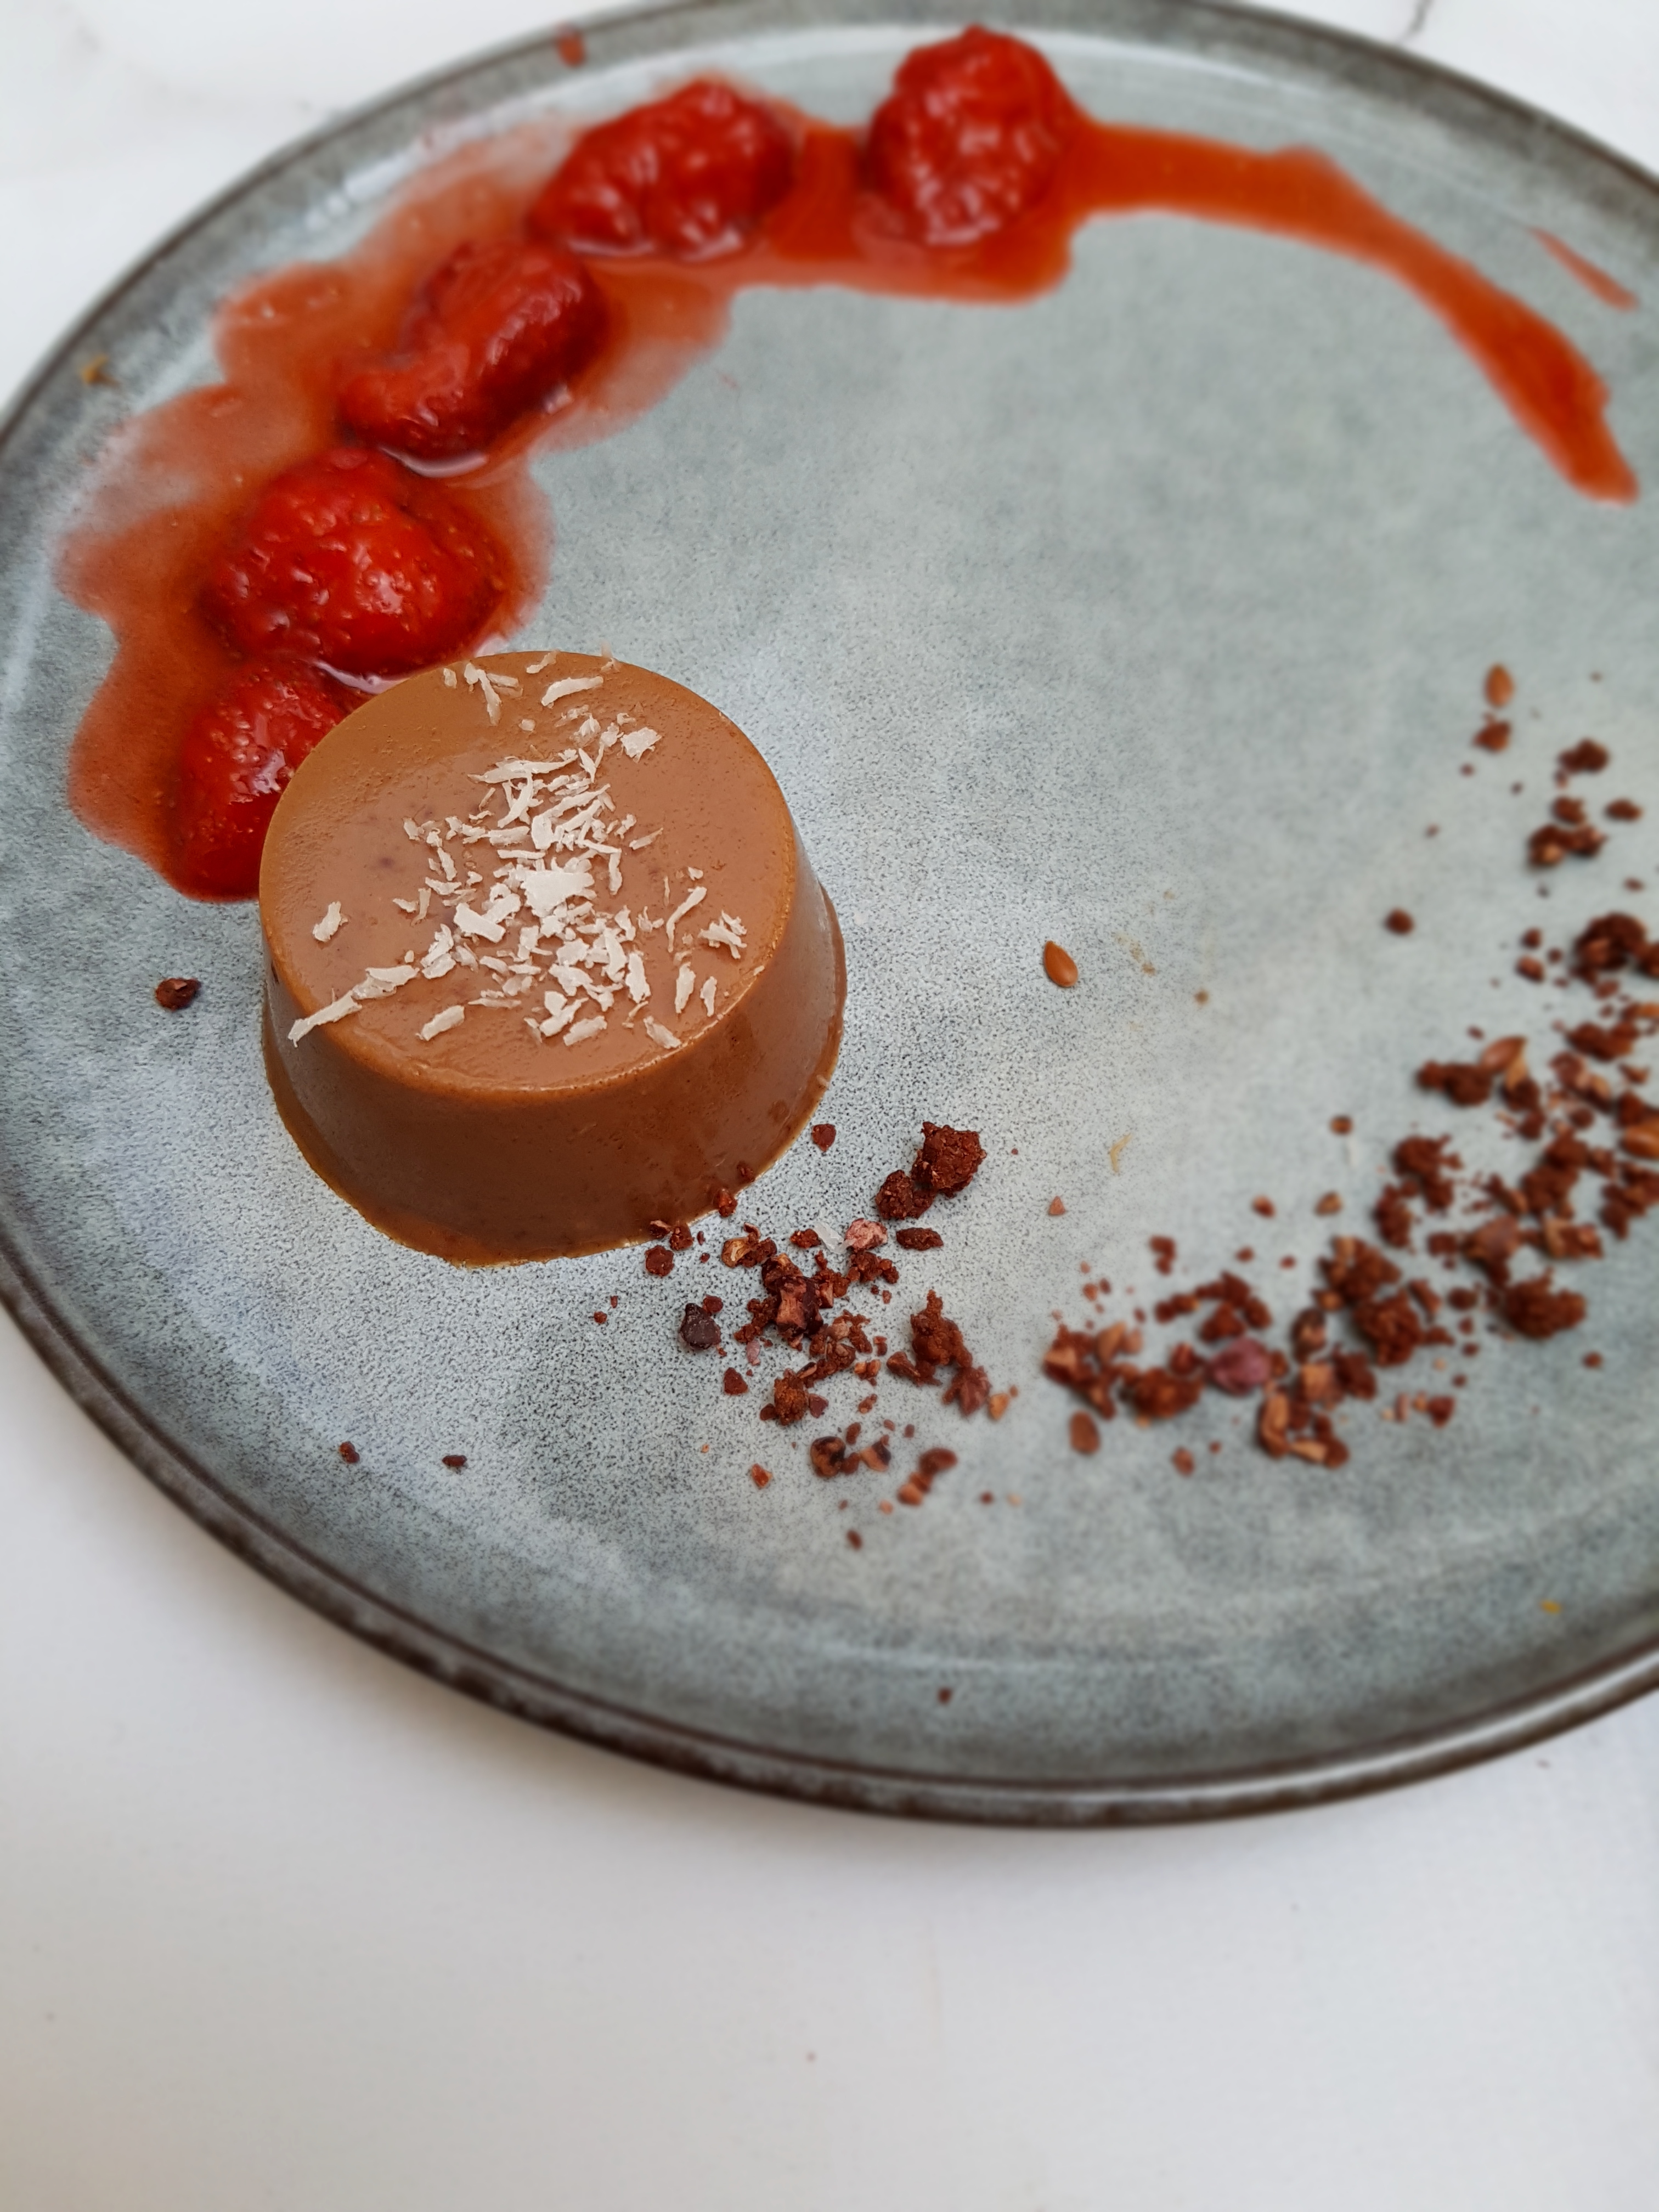
Panna Cotta is the ultimate Italian dessert. It is creamy and indulgent, but light enough to to be served after a rich meal. Because it is a snap to make and can easily be prepared in advance, it is a popular option for dinner parties. Maximum impression with minimum effort – well, not so fast. Panna cotta (literally “cooked cream”) is traditionally made from cream and/or milk, making it unsuitable for folks with dairy intolerance/allergies or those who avoid dairy for health and/or ethical reasons. Moreover, panna cotta’s infamous “jiggle” results from beef gelatin which is obviously not suitable for vegans and vegetarians or for those who avoid gelatin for religious reasons. But fear not! I got you covered with my vegan chocolate coconut panna cotta – less jiggle, more fun to eat!
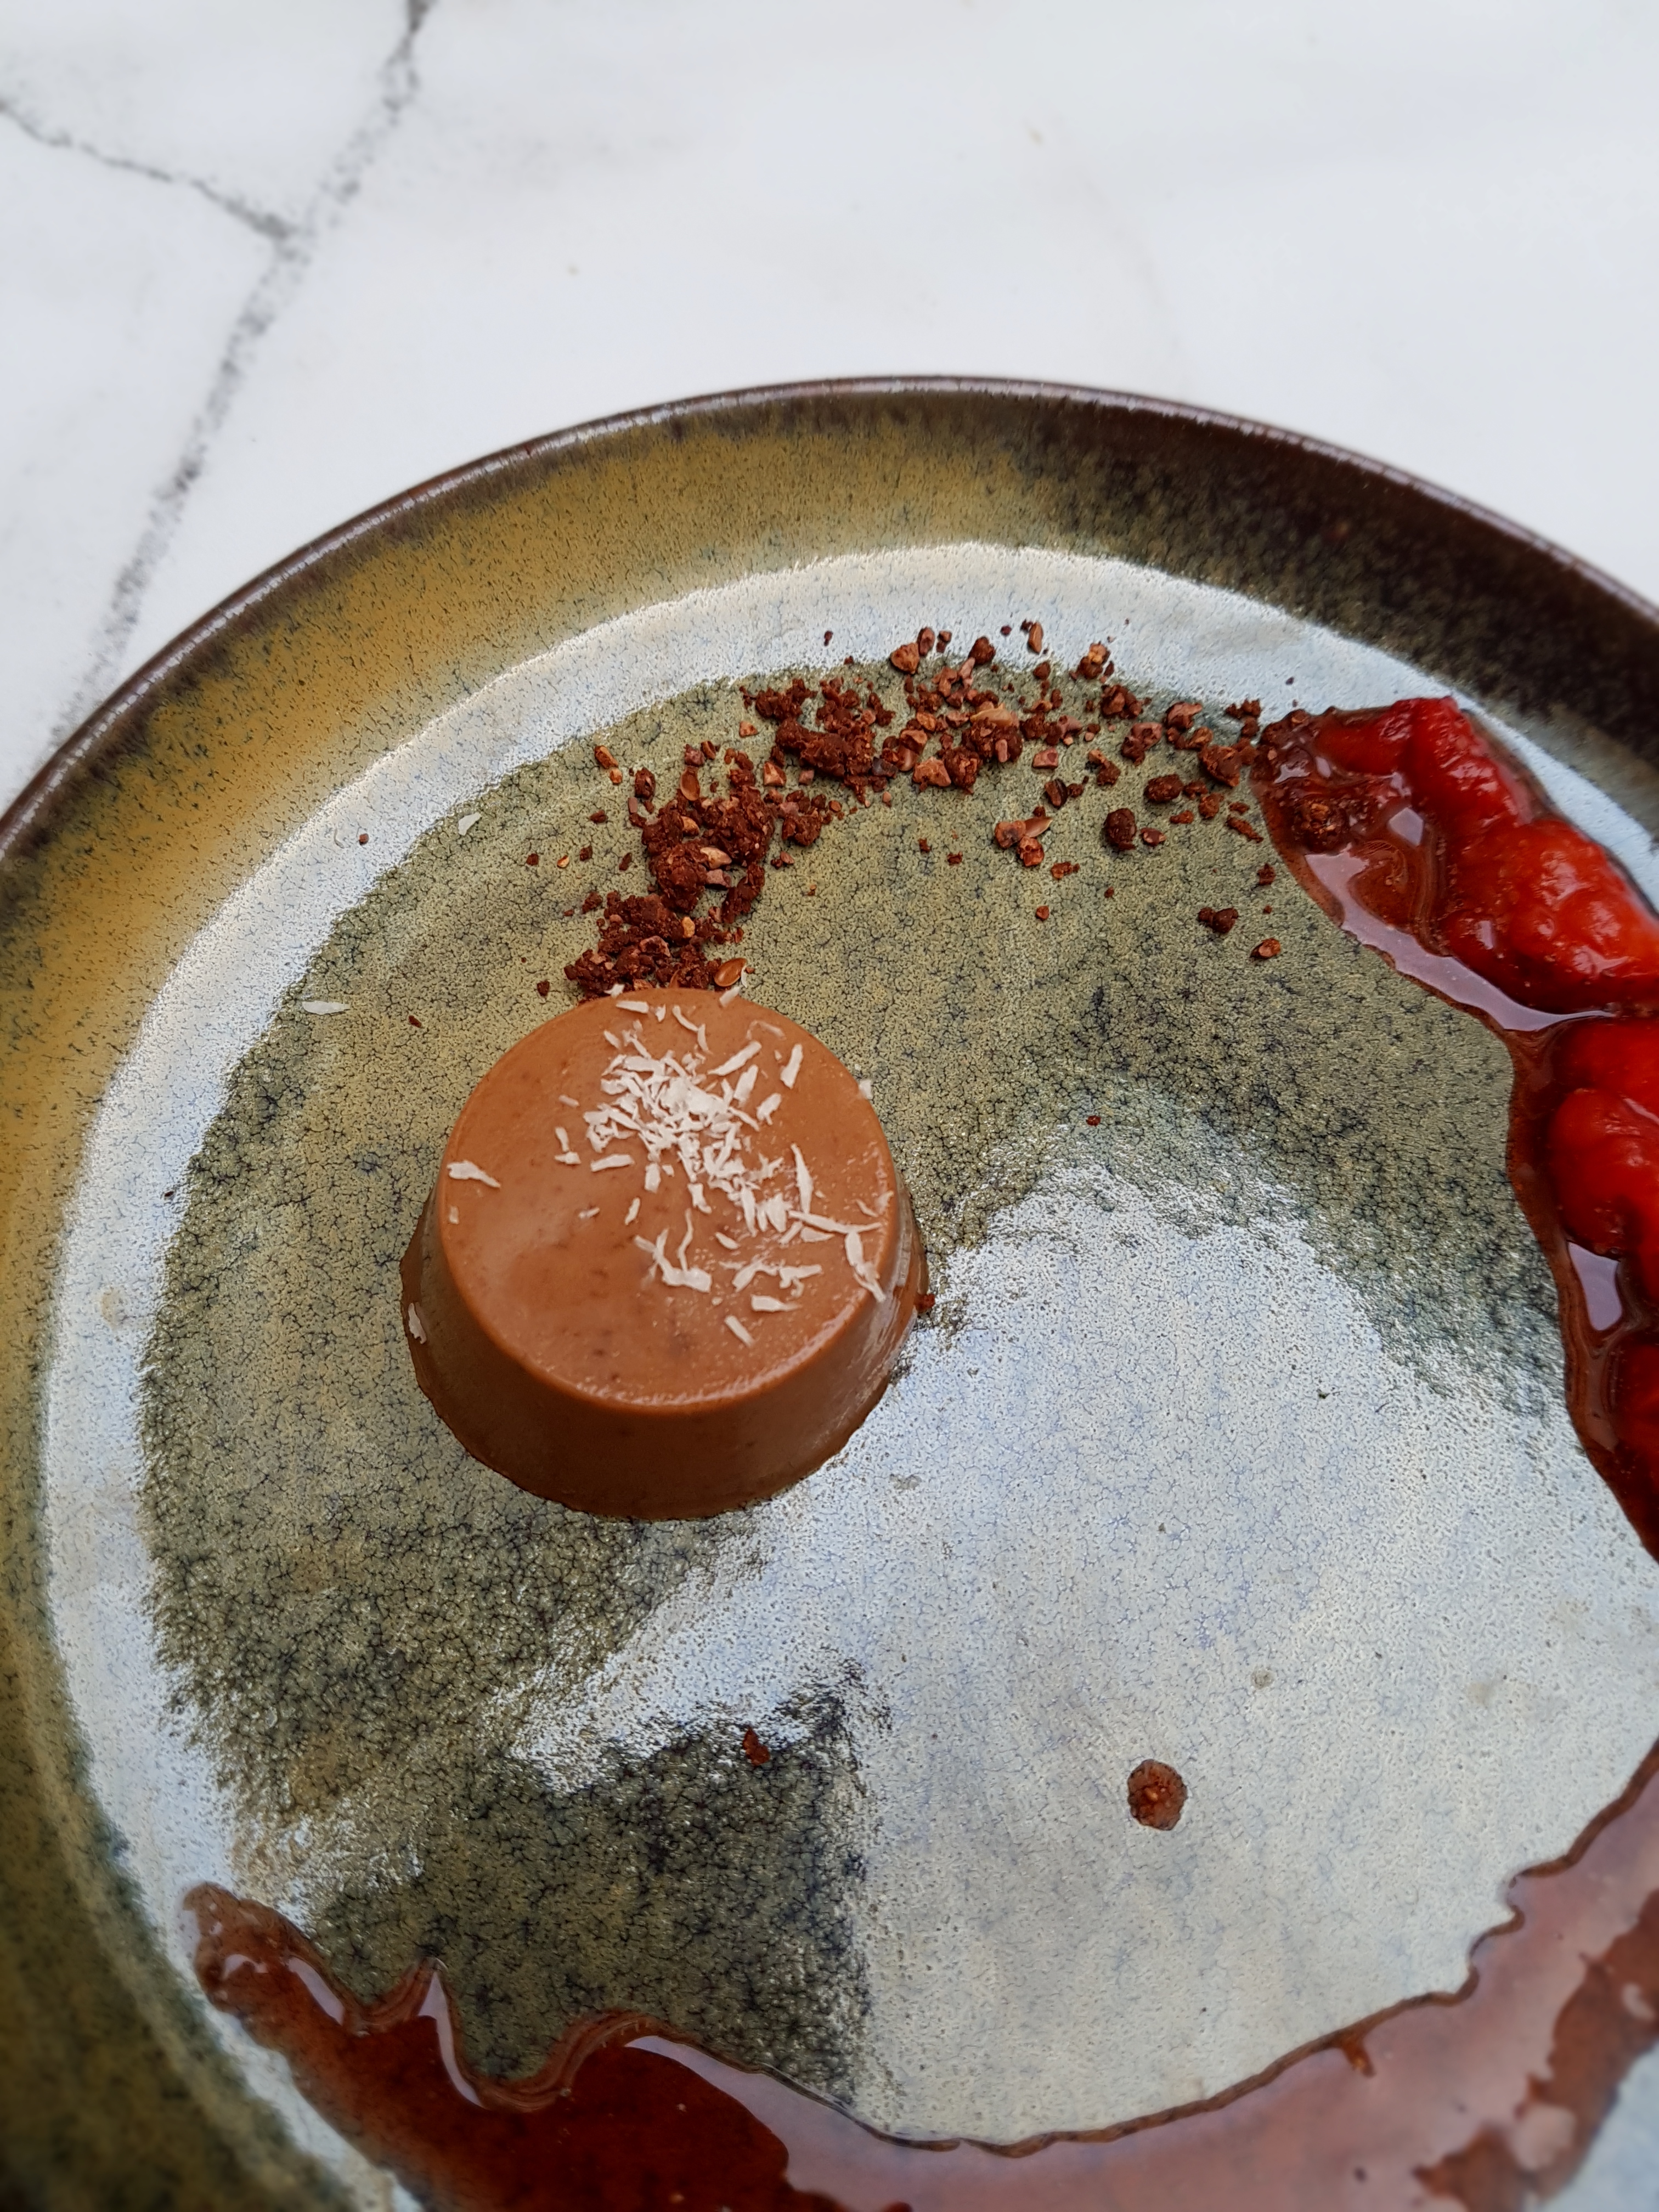
Vegan Chocolate Coconut Panna Cotta
The concept to use agar agar instead of gelatin is of course not new and I have experimented with it before. However, it is very difficult to get the ratio right. Most of the time, the vegan “panna cotta” ended up brick hard, overset and just unpleasant to eat. Obviously, a panna cotta made from agar will never be 100% like a gelatin one, but this vegan chocolate coconut panna cotta is almost like the real deal without any dairy – and is omnivore-approved as well. I think that’s a fair deal!
This vegan chocolate coconut panna cotta is fairly foolproof to put together and the agar sets a lot quicker than gelatin – another plus in my book. So yes, if your mother in law texts you to let you know they’ll be at your place for dinner in an hour, you can still whip this one up and have it ready for dessert. If that sounds good or you just want to have an excuse to enjoy a healthier, but no less delicious, version of a classic, grab your pot and stirrer now!
I also used xylitol instead of sugar (though you can totally use sugar or any other sweetener of your choice). This makes this dessert practically zero-carb, although that is not necessary. The idea to add cacao is due to the fact that I had run out of vanilla. If you have vanilla, I would still recommend adding it as it just makes everything awesome. I used raw organic cacao – another superfood I consume pretty much daily. Not that I am a health freak. But if you can have deliciousness that’s also good for you, why not?
Another thing I love about this vegan chocolate coconut panna cotta is that it is so customisable. Add some peppermint or orange oil for an interesting twist. Bring the summer on your table by adding some berries or mango!
Vegan Chocolate Coconut Panna Cotta
Serves 6
250ml coconut milk (light is fine) 1.5 teaspoon coconut oil (melted) 0.5 teaspoon agar agar powder 2 tablespoons xylitol or sugar 2 tablespoons raw cacao a dash of vanilla essence (optional but recommended)
Add coconut milk, coconut oil, agar and xylitol/sugar into a saucepan and stir well over medium heat until completely dissolved. Bring to a gentle boil while constantly stirring, then turn down the heat. Add the cacao and vanilla and keep stirring on a gentle simmer for at least five minutes or until viscous.
I used a silicon mini muffin tray to pour the mixture in. If you are using a ceramic or metal mould/ramekin, you will need to slightly oil it to be able to get the panna cotta out. If you intend to serve it in a glass without flipping it over, you won’t need to worry about. Pour the mix into your mould and chill in the fridge for around two hours. Serve with whatever you fancy. Chocolate sauce and fresh berries are great options.
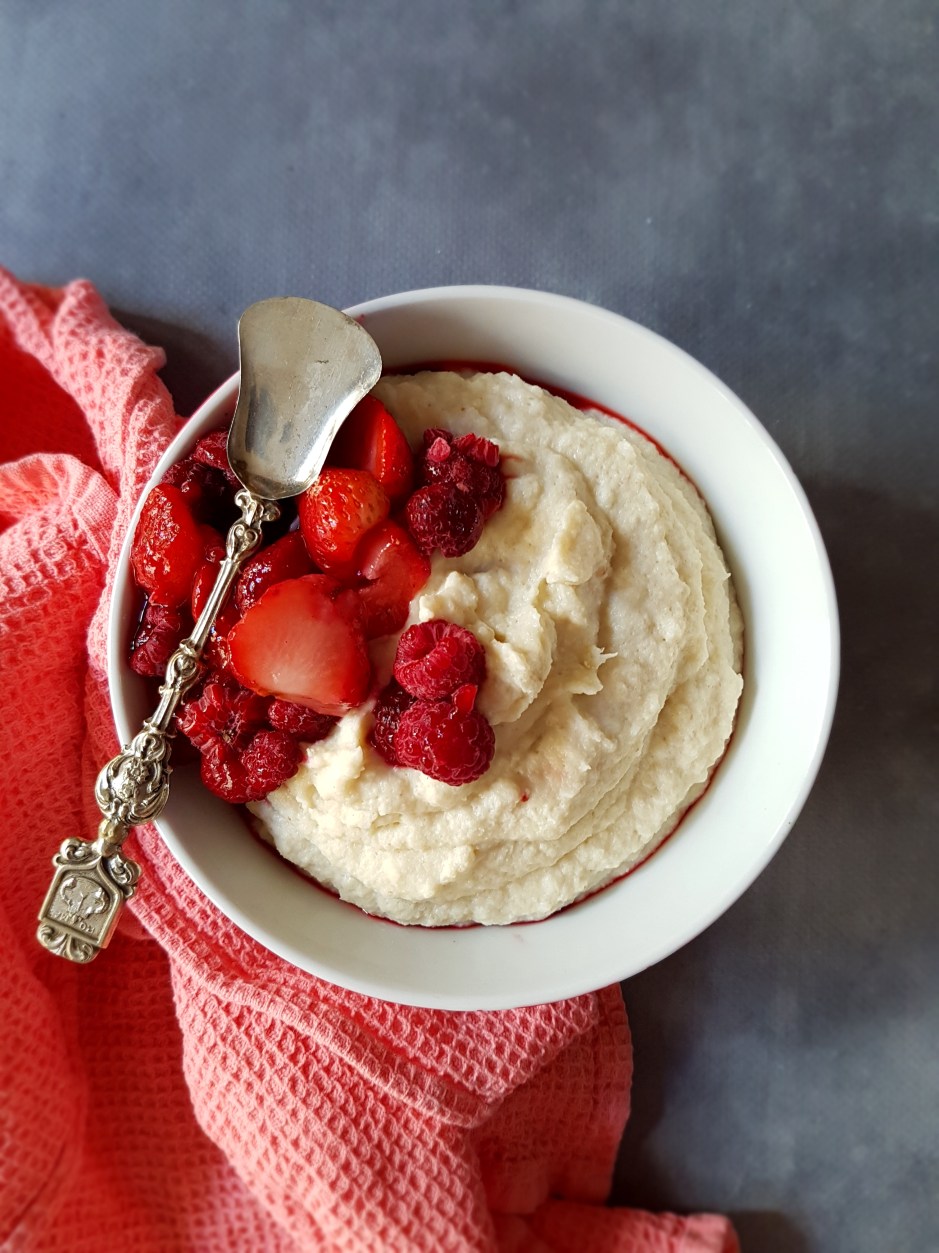
Who else hated cauliflower as a kid? I certainly did – now I love it! And I bet I am not the only one. It’s amazing how your tastebuds change, isn’t it? And there is hardly a vegetable that is more versatile than the humble cauliflower. From cauliflower rice and cauliflower pizza dough to cauliflower buffalo wings and cauliflower steak – what can’t you do with cauliflower? Few people though know that cauliflower is not only great in savoury dishes, but also sweet! What? Yes, you read that right! Here comes….drum roll…my healthy cauliflower pudding!
Healthy Cauliflower Pudding
Before you close this page because you think I went completely crazy, hear me out! This is a game changer. Actually, if you haven’t made cauliflower pudding you haven’t lived, in my view. This cauliflower pudding is seriously addictively delicious. It actually reminds me of my favourite childhood dish – wheat semolina pudding (or “Grießbrei” for my German-speaking readers), which is something like cream of wheat (correct me if I am wrong). Which is obviously not gluten free or low-carb or any of those things that the hipster in me relishes in.
So for all the lovers of cream of wheat and Grießbrei out there, here is a healthy version that will absolutely knock your socks off! Besides, it is ready in only a few minutes and it is vegan, gluten free, paleo, low carb and low fat! How about that!! It is also extremely filling, rich in protein and fibre and the best way to get one of the world’s healthiest vegetables into your child. Even my fussy toddler loves it. You will never walk past cauliflower again!
To add a bit of the nitty gritty of what you take in while you are munching this scrumptious healthy cauliflower pudding. Cauliflower is not only higher in protein and lower in carbs than most other vegetables, it is also loaded with fibre for a happy tummy (yes, I suffer from IBS and a lot of fibre-rich foods are off-limits for me but I DO tolerate cauliflower well), folate for healthy blood cells, vitamin C to get that immune system going, B vitamins for energy, enzymes to aid detoxification processes, manganese for the old nerves and antioxidants to protect from cancer. Not bad for a comfort food!
This cauliflower pudding tastes great hot or cold, in a bowl or jar (or straight from the processor), with fresh berries in summer or stewed apple and cinnamon in winter. Or get indulgent with chocolate sauce and add some crunch with cacao nibs and/or nuts and seeds. The options are endless!
Vegan Lowcarb Cauliflower Pudding
Serves 1-2
500 g cauliflower (approx. half a head) a good dash (75-100ml) almond milk or other plant milk 30g vegan vanilla protein powder sweetener or flavdrops to taste real vanilla or vanilla essence 1 tsp guar gum (optional, but helps firm it up; leave out if you tend to have tummy issues like me)
Start by thoroughly washing your cauliflower and trimming it into small pieces. The smaller the pieces, the more quickly it will be cooked. You can also process it in your food processor until it resembles rice to speed up the cooking. Boil, steam or microwave the cauliflower until it becomes REALLY soft – trust me, you don’t want any raw cauliflower pieces in your pudding! Once the cauliflower is cooked and cooled down a little, process with all the other ingredients until smooth and creamy. Adjust the sweetener to your liking and…
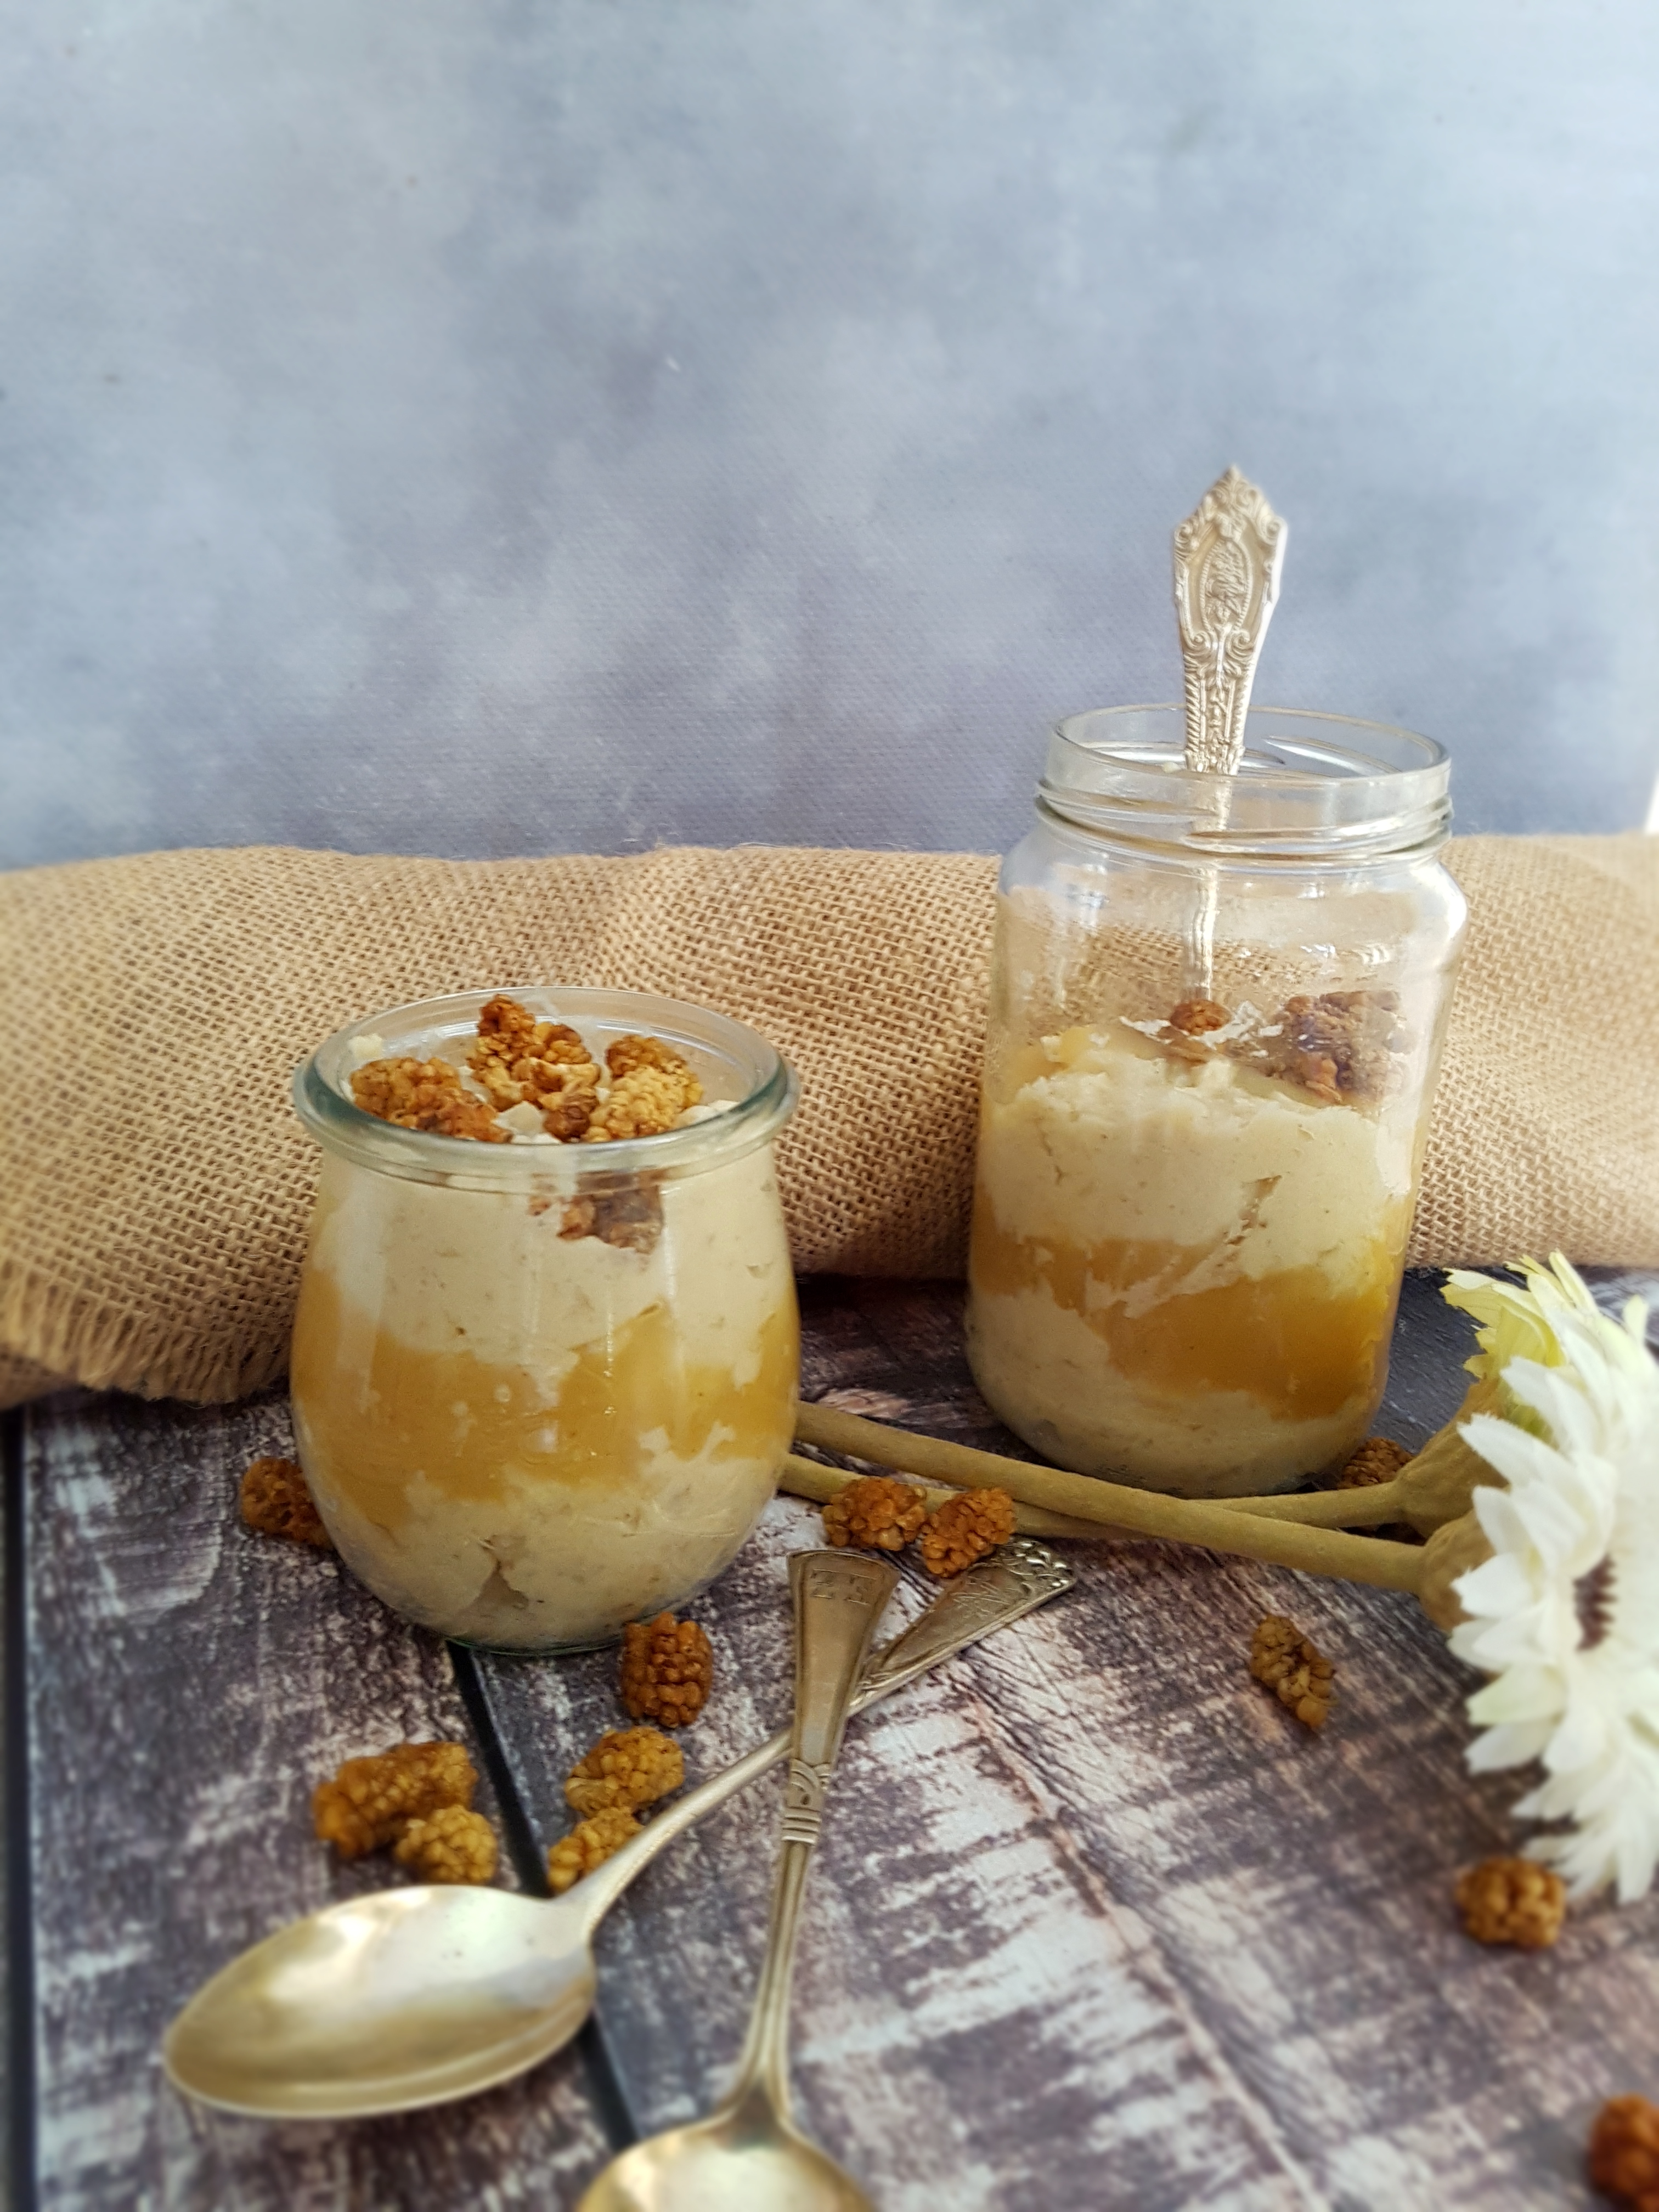
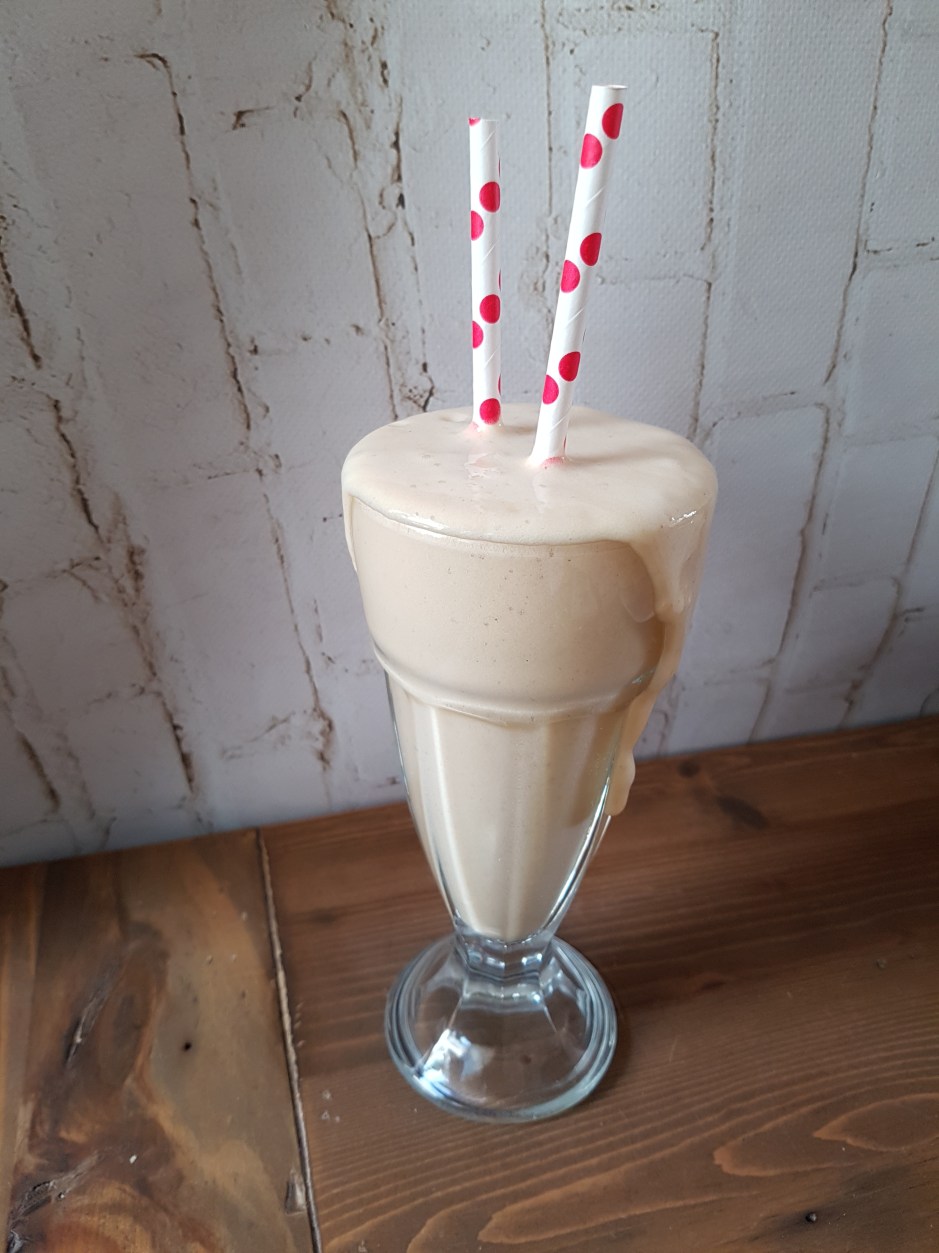
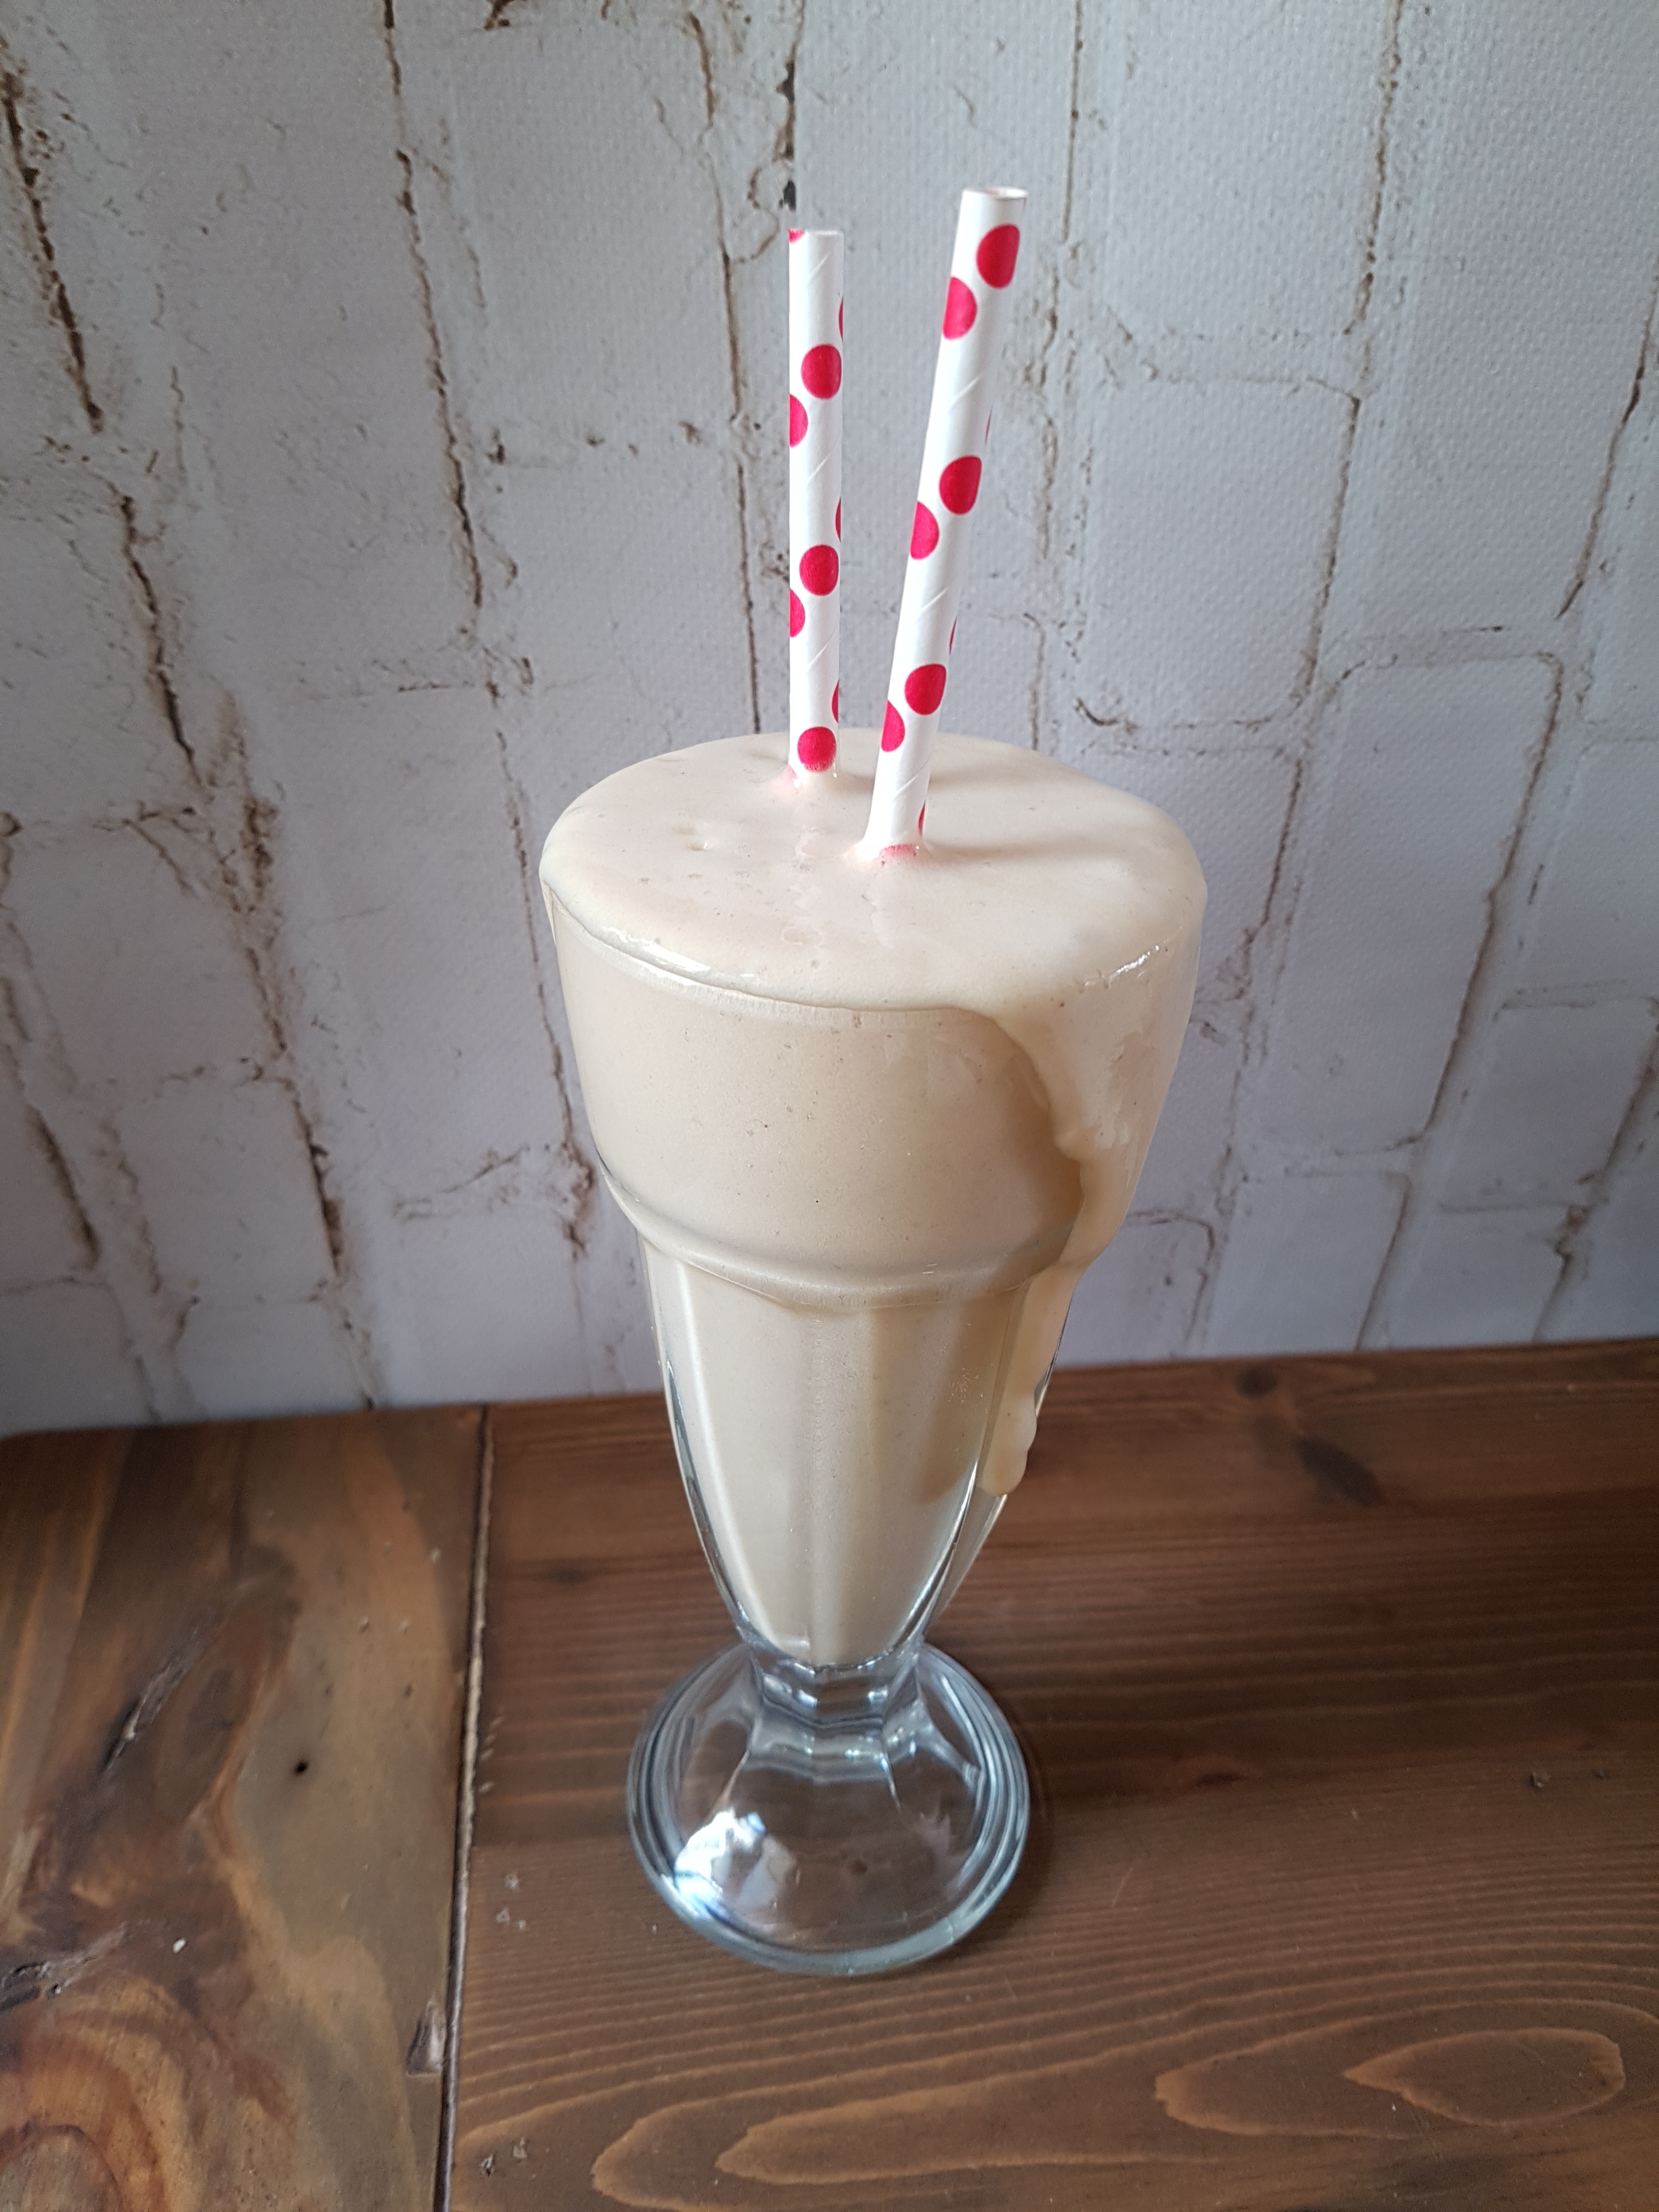
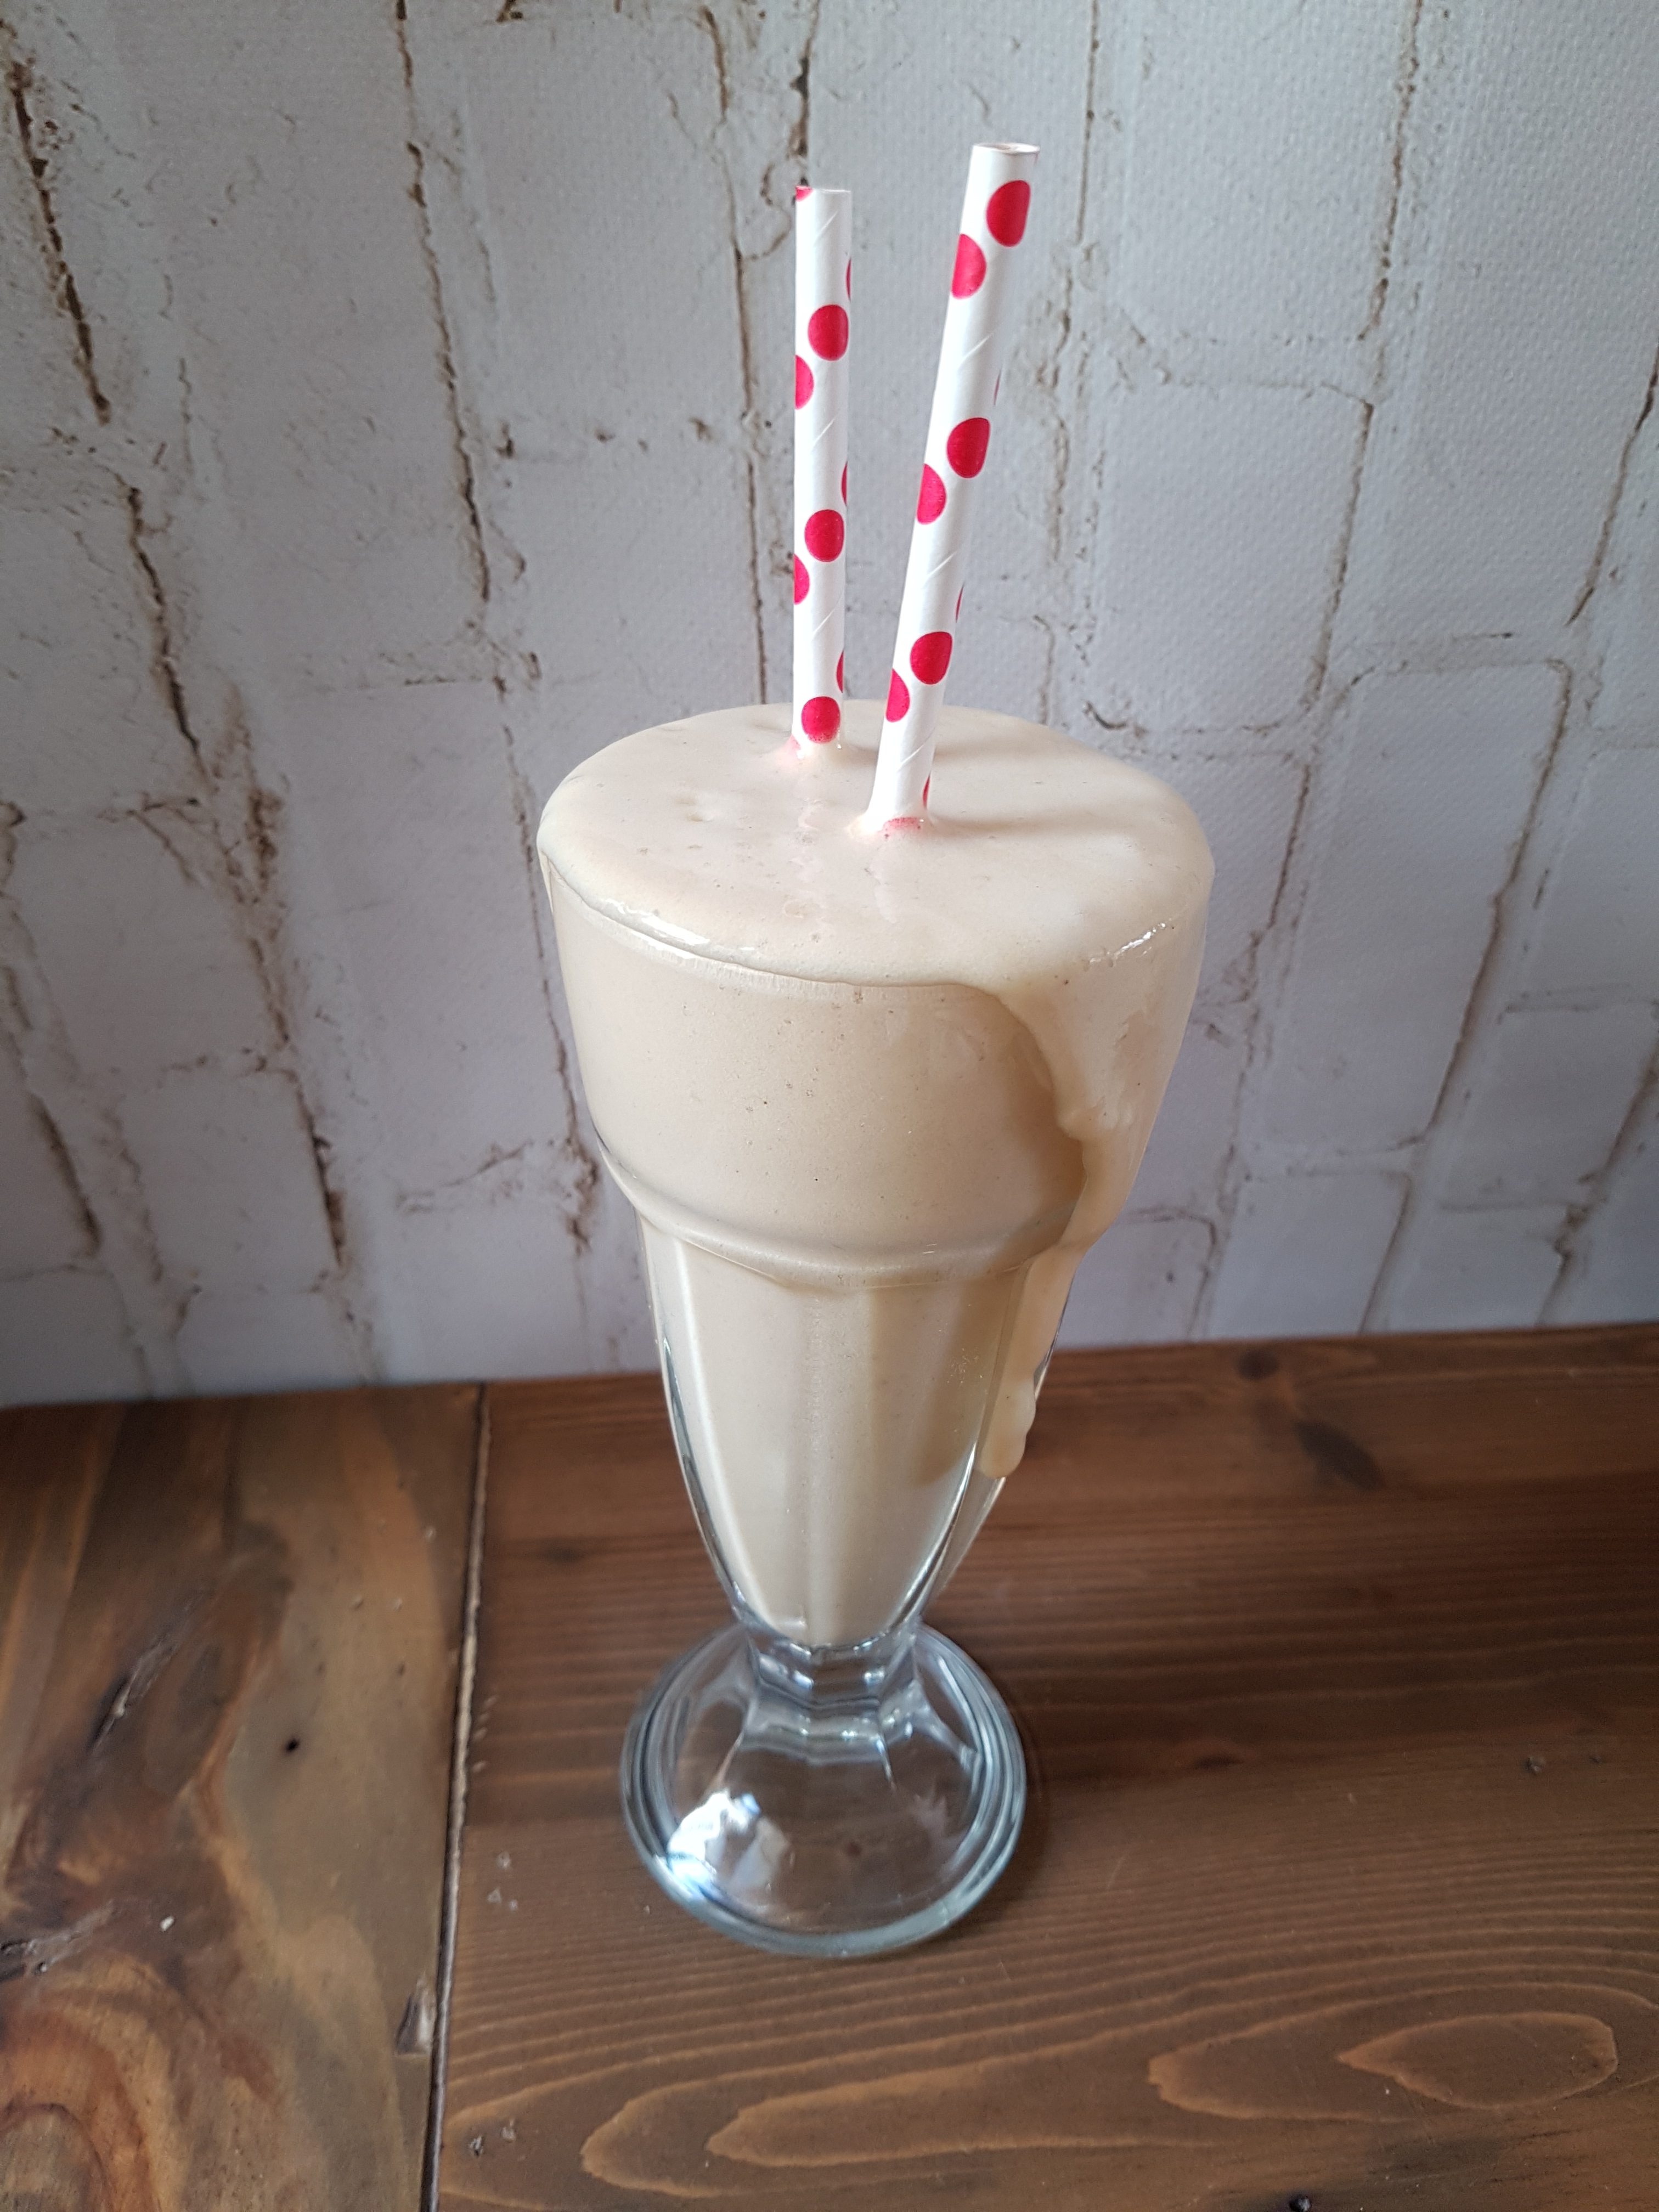
Vegan “milk” shakes and smoothies (which don’t contain dairy obviously) are all the rage these days. They usually rely heavily on frozen bananas and/or other fruit as well as dried fruit such as dates to achieve a sweet, creamy and thick consistency. While arguably delicious, this makes them heavy on the carbs and sugars, and if you follow a lowcarb diet, they can easily account for your daily allowance of carbohydrates. Enter my low-carb vegan vanilla milkshake – so thick and creamy you won’t miss anything. And it virtually doesn’t have any net carbs!
Low-Carb Vegan Vanilla Milkshake
The secret ingredient is my newly found favourite ingredient – guar gum! It is a completely natural low-carb binder that provides a luscious and viscous texture to anything from smoothies, puddigs and oatmeal to soups, sauces, and homemade icecream. More recipes featuring guar gum will follow but it truly is a game changer if you like your smoothies thick! Plus, you don’t need frozen bananas, yogurt or icecream to get this a dreamy creamy milkshake-y texture.
While I don’t necessarily avoid carbs and sugar myself and don’t think they are the devil they are sometimes made out to be, there are a number of reasons you might want to go easy on carbohydrates. And with this milkshake, you are in for a treat! It is high in protein, low i carbs and low in fat and will keep you going for a while! It is the perfect afternoon treat or dessert that won’t blow your calorie budget. Moreover, it is easy as and only requires ingredients you are likely to have at hand. You won’t even need a milk alternative as it works perfectly fine with plain water. Your favourite nut milk will provide for a creamier texture though.
This milk shake is extremely customisable. You can add your favourite protein powder or any other superfood powder. Add some coffee or raw cacao for an extra boost against that arvo slump. Or dump in any veggies that are starting to look a bit sad. Not to mention, this beauty is ready in 30 seconds to beat that hangry feeling in no time. This milkshake is your lady!
Low-Carb Vegan Vanilla Milkshake
Serves 1-2
500 ml plant milk or filtered water 5-7 icecubes 1 scoop vegan vanilla protein powder 1 tsp organic guar gum vanilla flavdrops or your favourite sweetener vanilla extract (optional) any extras (superfoods, coffee, maca…)
Blitz all ingredients in your high powered blender and –
Note: This is an updated – veganised – version of a vegan clafoutis to my previous recipe for paleo clafoutis! I hope you enjoy it!
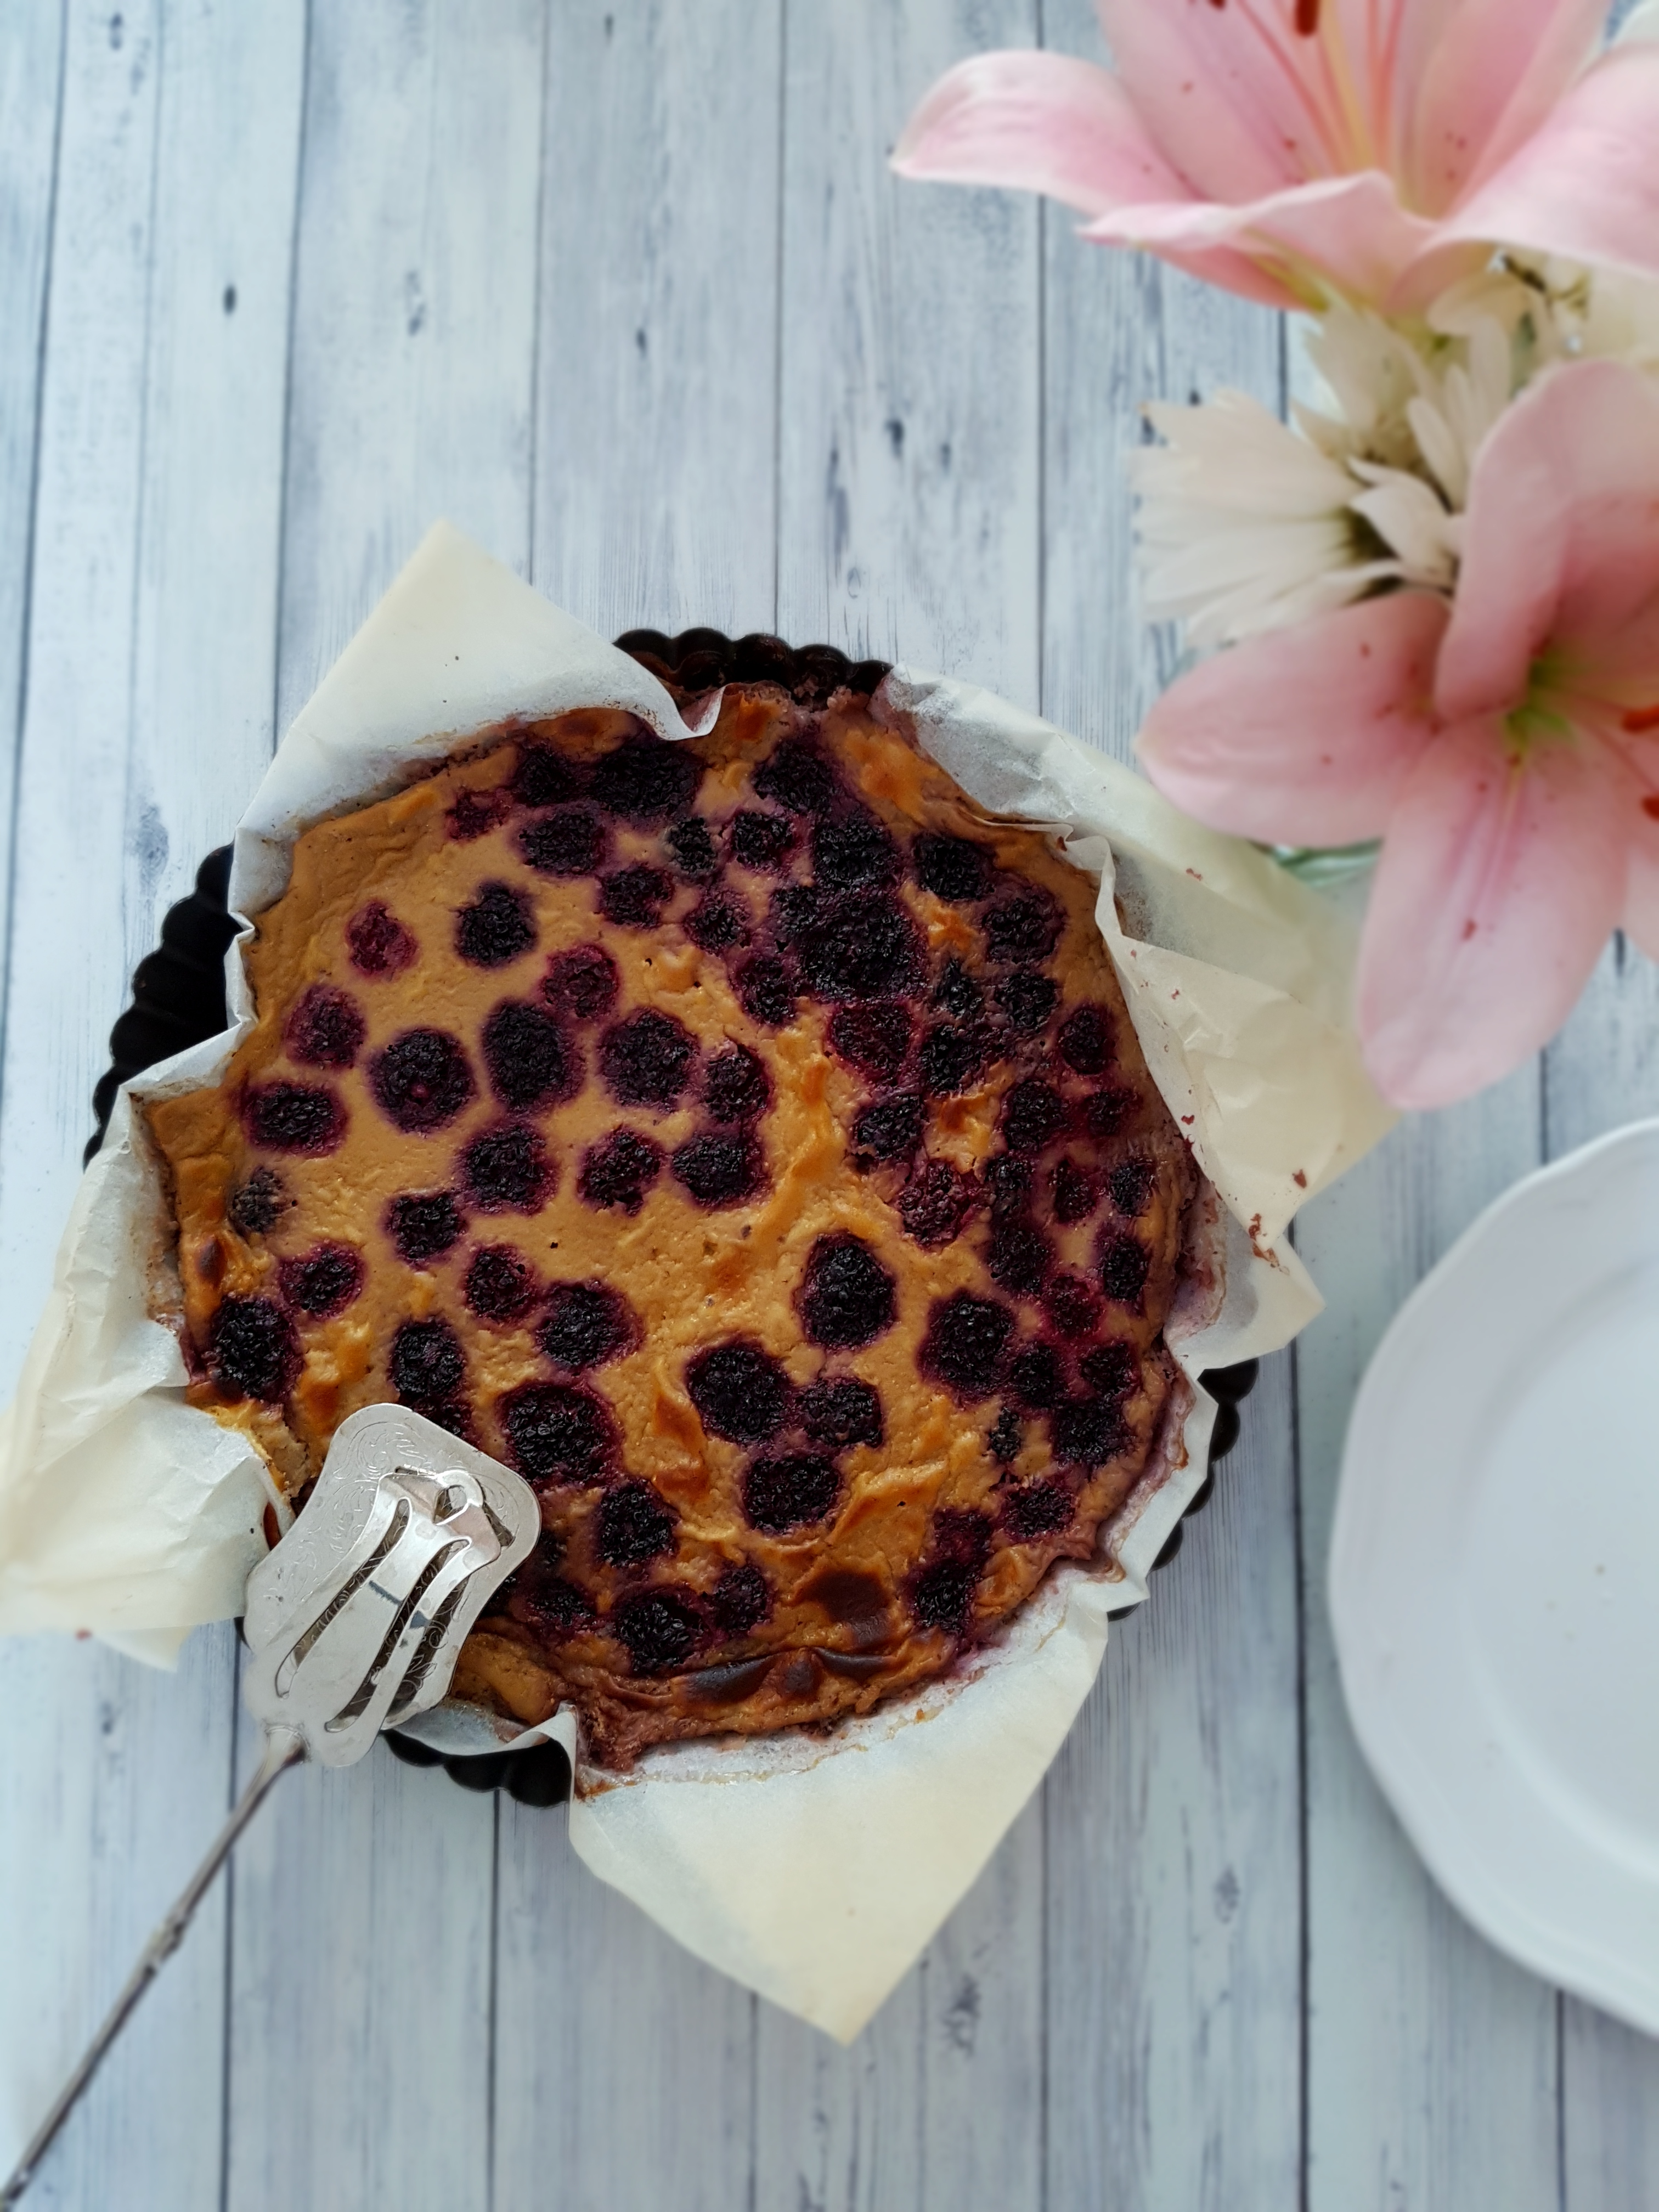
It seems I have a thing for French desserts at the moment – or rather, my take on them. While I love the timeless finesse that French desserts exude, a little makeover never goes astray, especially if it’s as delicious as this one! My previous paleo version of clafoutis already hit the spot, but when I embarked on a vegan diet, I knew I had to make this a vegan clafoutis as well. And I have to say, the result was pretty successful! So here is my vegan clafoutis. I use aquafaba (chickpea brine) instead of eggs (more about aquafaba here), so technically this is not paleo anymore. However, there is absolutely no nasties in here, no wheat, dairy, soy, refined sugar or oils, and also no eggs. I hope you enjoy this truly cruelty-free but no less delicious version of clafoutis.
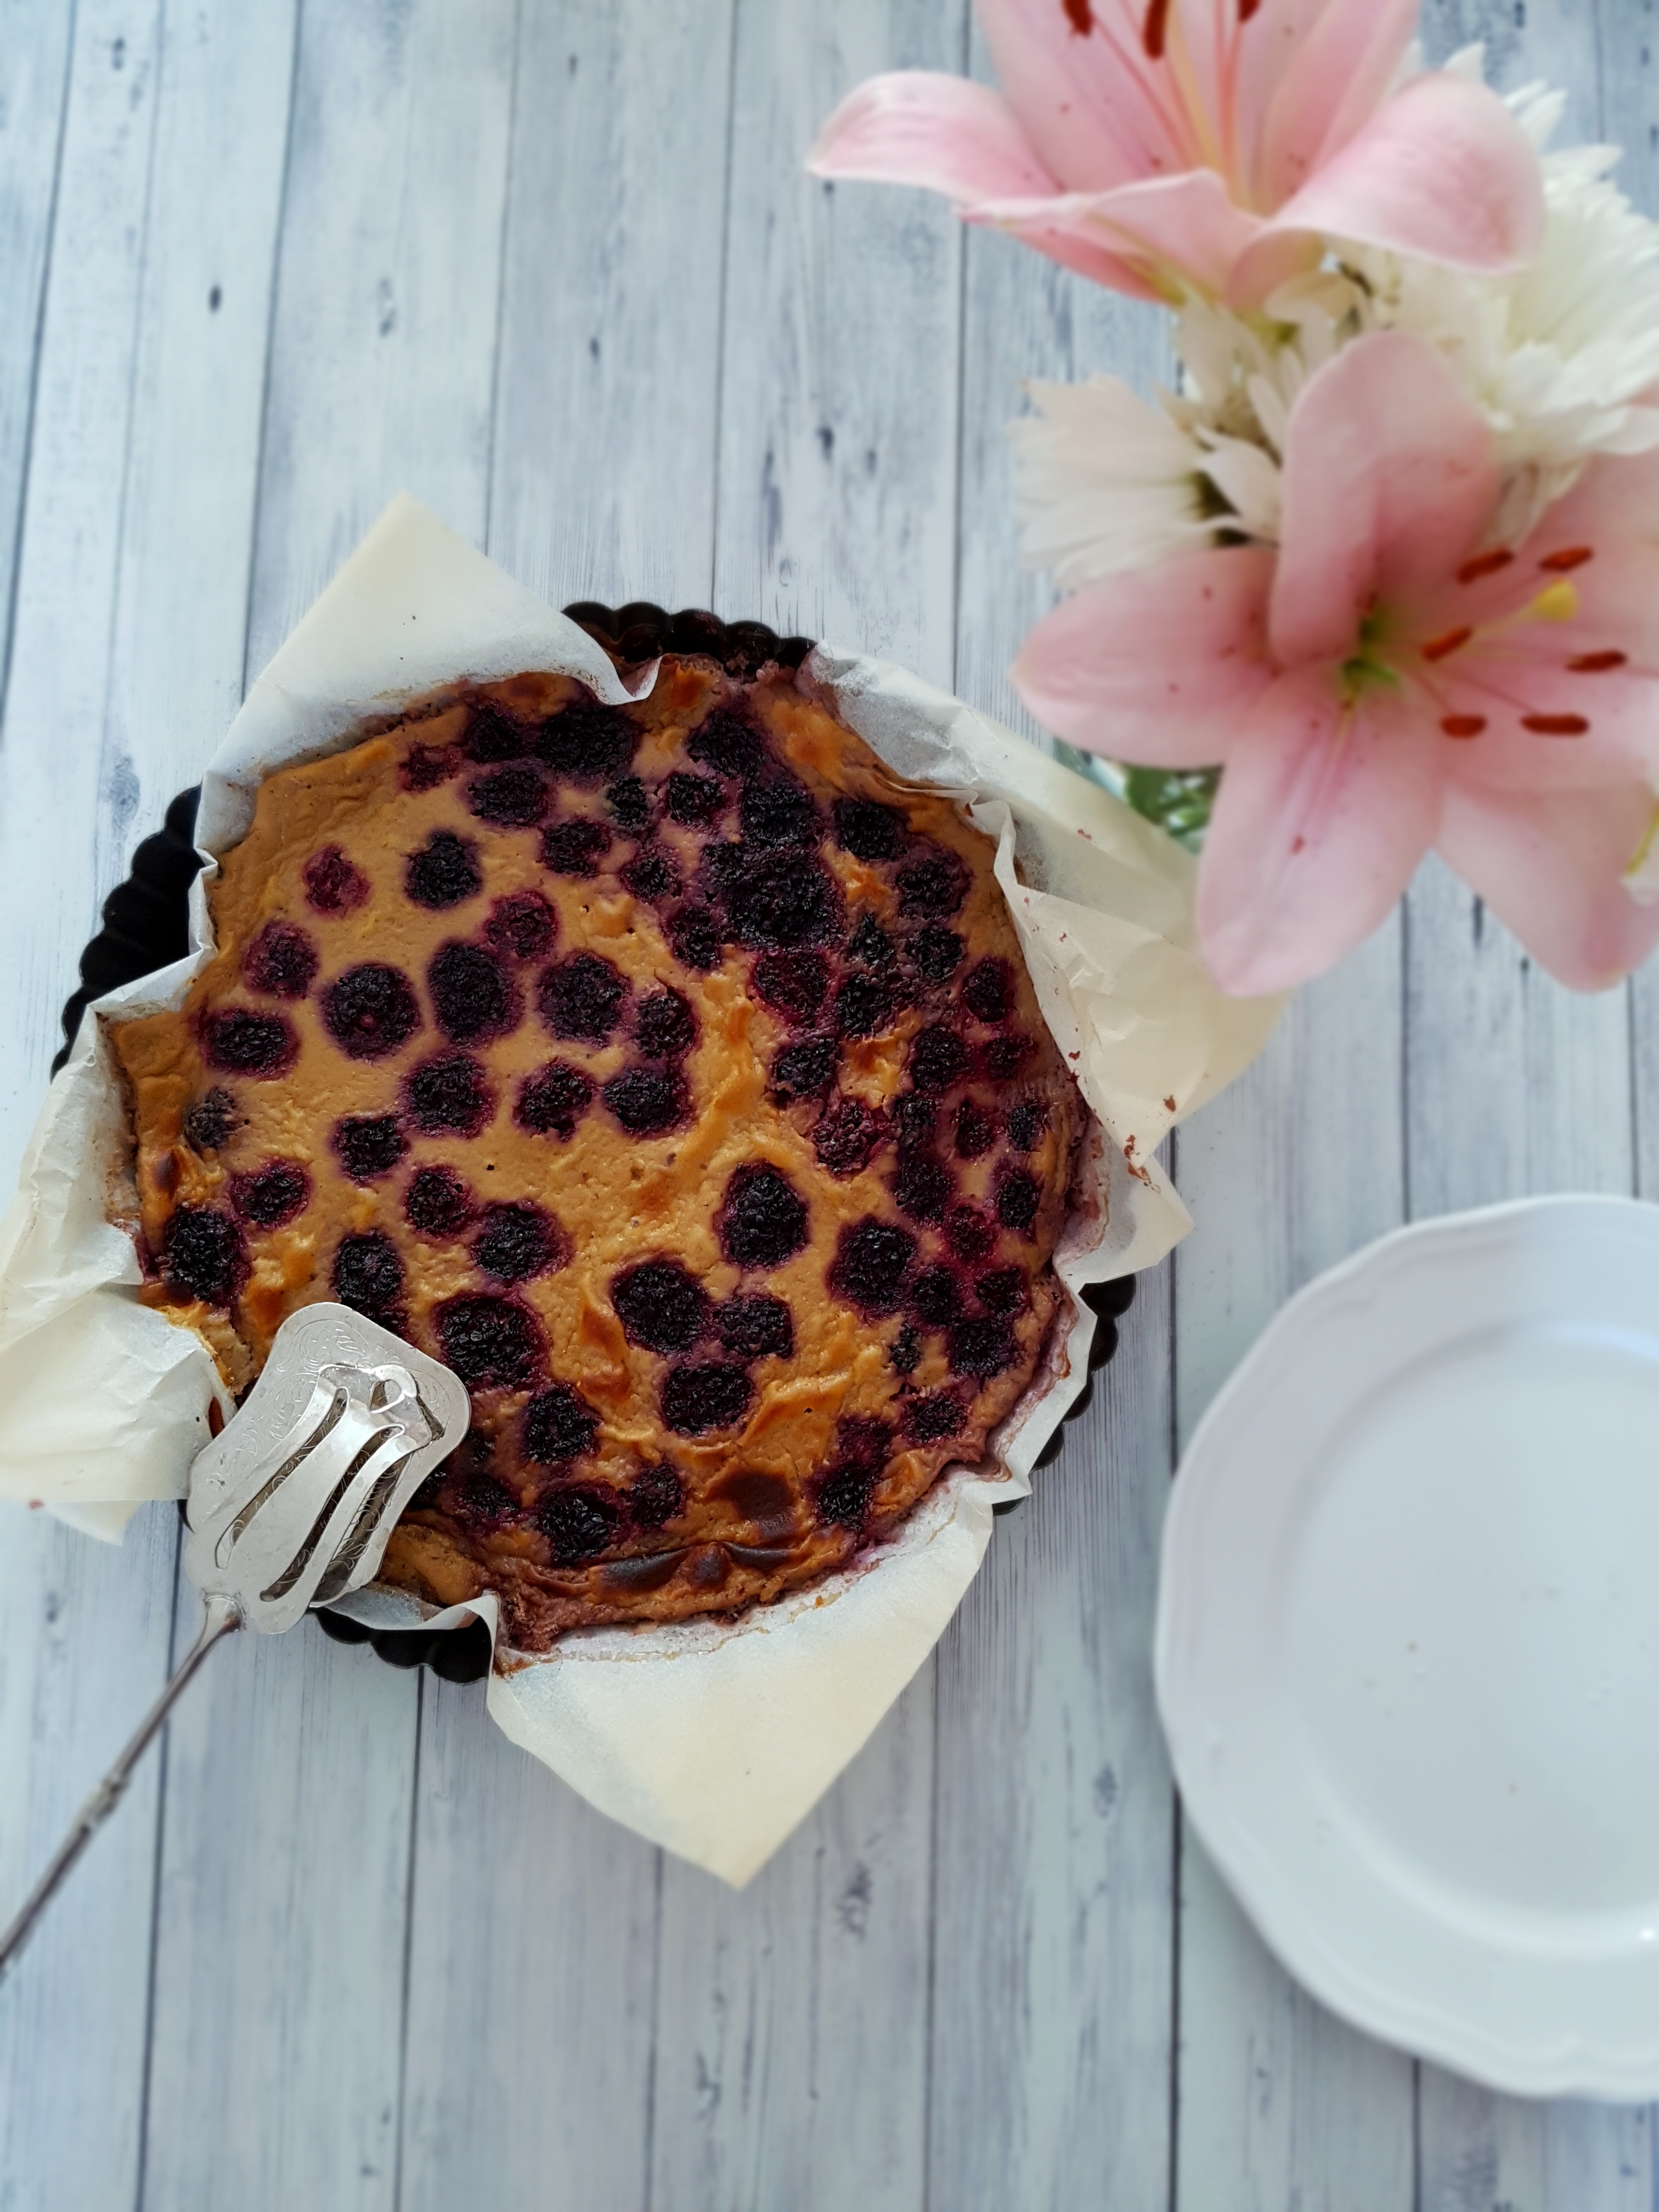
Vegan Clafoutis
The thought about making clafoutis has been at the back of my mind for a while – actually, ever since I saw a recipe for cherry clafoutis in my French text book at high school. (Which, sadly, is a long time ago now. Very long.) Ever since then, clafoutis recipes have been popping up in magazines. and, naturellement, on the internet. This recipe is my own little invention. There is low-carb, fibre-rich coconut flour instead of conventional flours and starches, coconut sugar and maple syrup instead of sugar, plant mylk instead of milk, and no fat, oil or butter (I did grease the mould but dare I say that the amount of fat used is rather negligible).
I like my clafoutis so much that I will never go back to any other recipe. It is also very versatile – you can use any fruit, any milk and any sweetener you like. This little delight is as good as impressive dessert to impress guests as it is as for afternoon tea or even a satisfying breakfast – all this knowing that you are devouring a treat that is not going to blow your calorie budget (something you can’t say about French desserts), and that is a winner on the health front. Plus, it looks pretty.
Vegan Clafoutis
Vegan Clafoutis
Serves 8
4 tbsp coconut flour 4 tbsp LSA or ground chia seeds 4 tbsp coconut sugar
4 tbsp maple syrup healthy pinch of Maldon sea salt aquafaba from one 425g tin of chickpeas (approx. 3/4 cup) 2 cups plant milk (I used cashew) fruit of choice (approx. 1-2 cups, red fruit are a great option)
Preheat oven to 180 °C and prepare a tart pan by lining it. Mix coconut flour, LSA, sugar, syrup, salt in a bowl. Make a well in the centre and carefully fold in the aquafaba until mixed in. Beat in milk until you reach a homogenic consistency. Divide fruit between the four dishes and spread batter over the fruit. Bake for about 60 minutes or until lightly golden on top. Let cool completely and preferably store in the fridge before serving to firm up.
Who doesn’t love a Twix bar? The combination of a crumbly biscuit, gooey caramel and creamy chocolate certainly never goes astray. Shame only that the original Twix bar is so full of sugar and industrial oils – not to mention that for us gluten free folks, it is off-limits anyway. So I thought I come to your rescue and create a healthy version of this popular treat.
As part of my subscription to a monthly box with organic goodies, I was regaled with a packet of coconut flour recently. Though by no means a coconut flour newbie, I have experimented a bit with the stuff lately and just love how it is so easy to create yummy and healthy goodies with it. As it sucks up all the moisture of any other ingredients you mix it with, it is also a great staple for lowfat baking as mixing it with mashed banana or apple sauce yields terrific results. Once I had nailed my shortcrust base, it was time to think of the caramel (knowing that I would use my favourite Lindt chocolate as topping). So it came in handy that Minimalist Baker has this recipe for making a one-ingredient date caramel. A one-ingredient date caramel ticks all my boxes for healthy, easy and yummy delicacies. And I tell you, the stuff rocks. I use it in yogurt, on icecream or porridge. It tastes just as indulgent, creamy and buttery as store-bought caramel – minus the fat and the sugar slump! For this recipe, I use the caramel of about 4 dates, but I’d recommend making the original recipe and keeping any leftovers in the fridge – they won’t stay there for long!
So once you got your biscuit and your caramel sorted, it’s time for the chocolate glaze! Just use your favourite dairy free chocolate for a true vegan delight. If you tolerate dairy and are not vegan, you could also use milk chocolate. It#s a matter of taste and experimenting. The date caramel is rather sweet so I try to offset the sweetness with a bitter-ish chocolate. Using milk chocolate would obviously yield a result closer to a “real” Twix bar (whatever is real about the stuff). It’s up to you – but this recipe is sooo easy and requires just 15 minutes in total so I think you should do it again and again and see how you like it best!
Makes one double-finger “Twix” bar
For the biscuit base 40 g coconut flour 40 g “babyfood” (i.e. unsweetened apple sauce, pureed banana or any other pureed fruit) 2 tbsp of plant milk stevia or erythritol to taste generous pinch of Maldon sea salt pinch of gluten free baking powder
For the chocolate glaze 40 g chocolate (dairy free preferred)
Preheat oven to 180 °C. Line a baking tray with paper. Mix all ingredients for the biscuit base until it comes together in a uniform mass. Roll a ball, then half this ball and shape two “Twix” like logs. Bake until slightly golden, about 10-15 minutes. Let cool slightly before adding the caramel.
Meanwhile, prepare the date caramel according to the recipe. Spread evenly onto the biscuit logs.
Break up the chocolate in little pieces, place in a microwave safe bowl and heat in microwave in 30 second increments. Once it is liquid and smooth, drizzle over the caramel logs.
Now, here comes the hardest part: If you can at all resist, place the Twix bars in the fridge to firm up. But there’s no harm in devouring these beauties straight away.
This carrot cake is almost an insolence. Yes, it is low carb AND low fat – for all of you that can’t decide between the two lifestyles (or simply want to eat a truly delicious carrot cake). Talk about having it all. There is many recipes for healthy treats out there, but this cake is gonna make them blush with envy. Not only is this cake moist, scrumptious and totally utterly delicious (tick tick tick). It is low carb and low sugar with the carbohydrates coming from carrots, banana and just a dash of honey (tick tick). It is low fat with the fat coming from eggs and flax (tick). It is high protein (tick), high fibre (tick) and on top of it all, gluten free, grain free, dairy free, nut free and soy free (tick tick tick tick tick). Another decisive advantage is that if you are lazy busy you can just throw all ingredients together in one big bowl in no particular order and without any laborious instructions such as “put the dry ingredients here…mix the wet ingredients there”, separating the eggs, or melting butter or coconut oil (helped by the fact that there is no fat or oil in there). It also neatly pours out of the bowl (thanks to the flax that keeps everything together)
Given the high amount of protein and fibre, this cake will fill you up for a while which is another plus, and the icing on the cake is the icing on the cake (forgive the pun). It is fat free and sugar free, made of cannellini beans – which is the reason why this cake is not paleo. If it wasn’t for the icing, this carrot cake would be perfectly paleo(ish). So for all our primal friends out there, just omit the icing or use your favourite paleo icing instead. As there is eggs and honey in it, this is not a vegan cake, but you might be able to experiment with chia eggs and rice malt/agave/maple syrup though I cannot vouch for the results.
As a word of warning, if you have IBS, follow a low FODMAP diet or otherwise have problems with fibre, this carrot cake might not be suitable for you or you might just want to go easy and enjoy a small amount. The coconut flour in this recipe is full of fibre which is great but might give certain people intestinal discomfort. Try it for yourself. Nothing ventured, nothing gained.
For one cake (approx. 12 large or 24 small slices)
2 heaped tbsp vanilla flavoured pea protein powder 3/4 cup coconut flour 1/2 cup flaxmeal pinch of salt 1.5 tsp baking soda 1.5 tsp cinnamon 0.5 tsp nutmeg 1 mashed banana 2 tbsp honey 2 tsp vanilla essence 4 eggs 300 ml plant milk 5 large carrots, grated
For the frosting 1 cup cannellini beans, drained and rinsed 4 tbsp stevia 1 tsp vanilla pinch of sea salt
Preheat oven to 180 °C and line a round baking tin with baking paper. Mix the cake ingredients in a large bowl until a homogenic mass develops (I did this by hand). Scoop into the mould and bake for 20 minutes until a toothpick comes out clean. Transfer to a cooling rack and allow to cool completely before frosting.
For the frosting, process all ingredients in a high-powered blender until completely smooth. You can use it straight away or place in the refrigerator to firm up even more. Tip: If you find the taste of the frosting to bland, you could add spices such as nutmeg or flavouring such as almond or lemon essence.
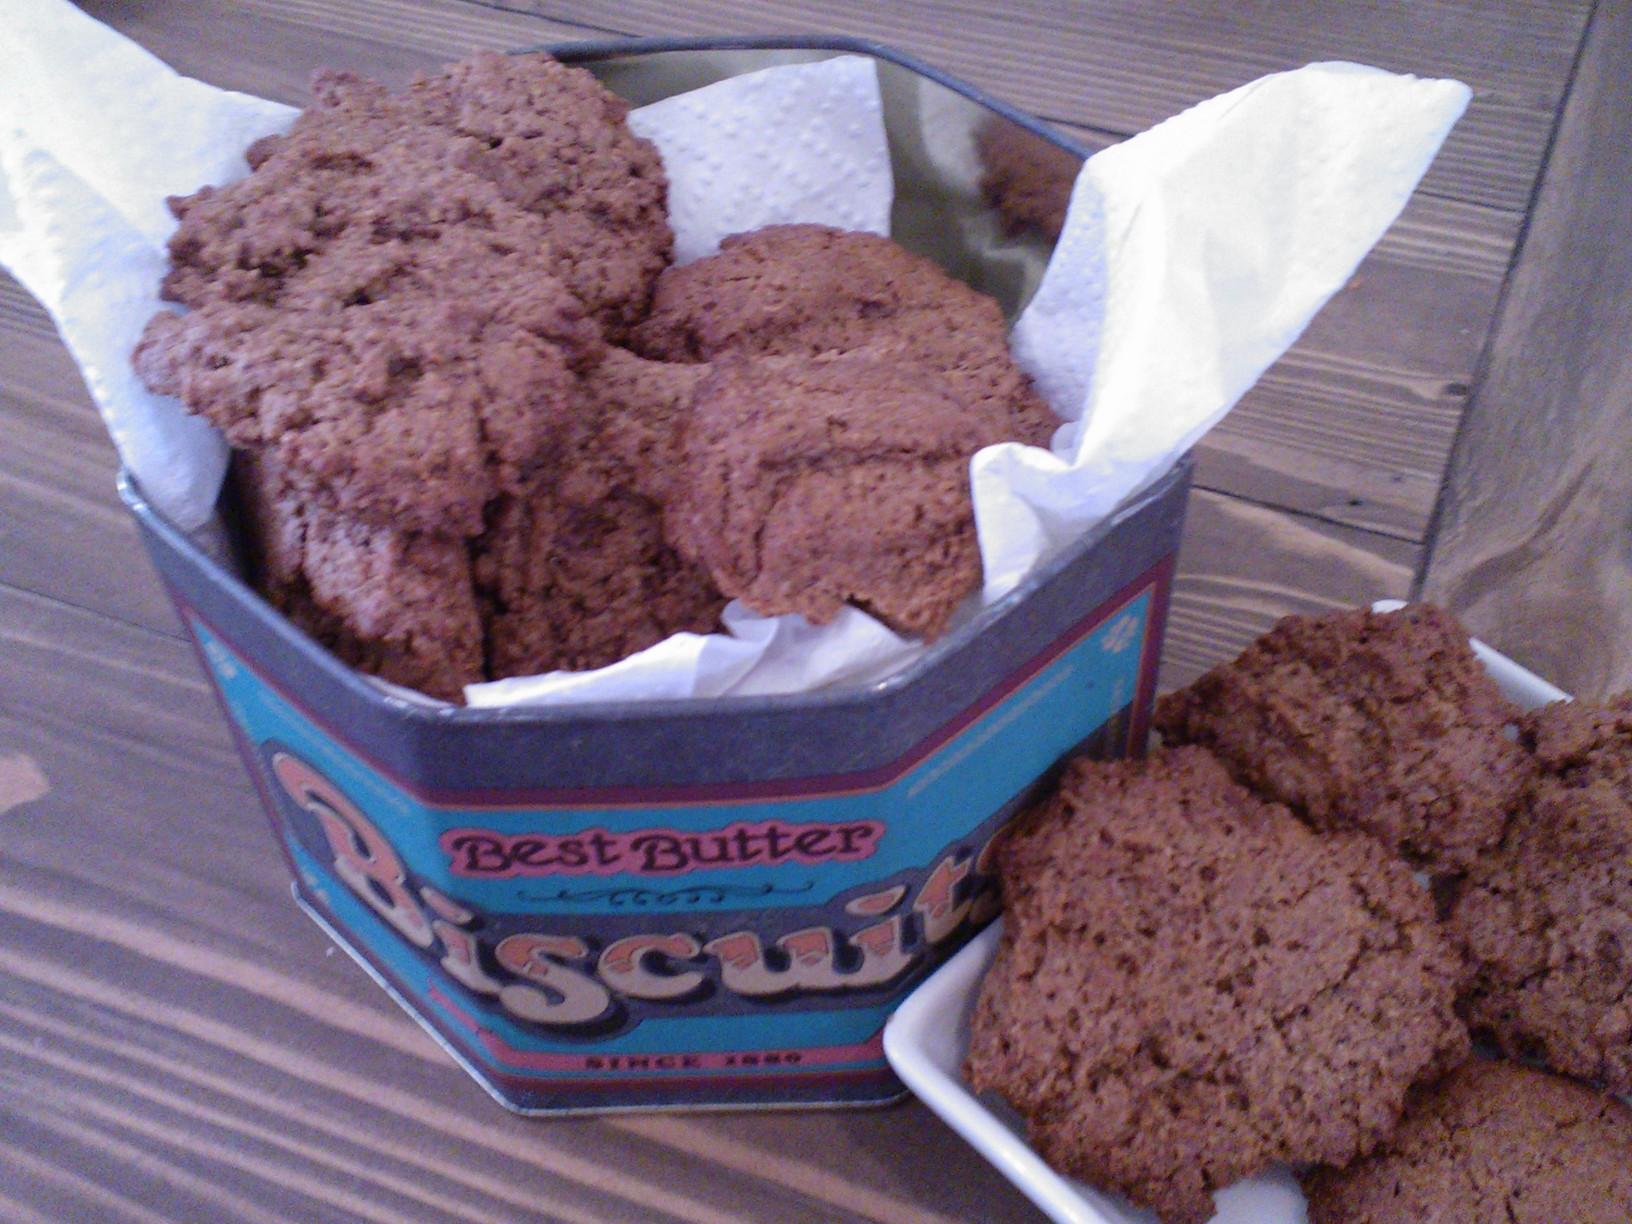
My husband loves biscuits. I mean, he LOVES LOVES LOVES biscuits. There used to be times when not a day went by without him buying a colourful packet full of concentrated bombs made of wheat, sugar, processed and hydrogenated oils, emulsifiers, thickeners, and preservatives. And for him, those bombs served as a perfect substitute for breakfast, not to mention that no cup of tea was complete without them. Luckily for me, my gluten intolerance has prevented me from following suit for some time, but even I admit that I DO long for a nice, crunchy bickie along the way – and I don’t even have a sweet tooth!
As probably everyone is aware, the plethora of “gluten free” biscuits lining the supermarket shelves at exorbitant prices might be gluten free – and some of them might even be quite tasty – but they are a far cry from healthy. What I wanted was tasty biscuits that even though they cannot quite replace broccoli are healthy-ish, without creepy ingredients, don’t break the bank, are quick and easy to make, and that even my junk addicted husband would eat. And that happen to be gluten free.
What I came up with was not only gluten free, but also dairy free, soy free, egg free, vegan, and almost sugar free. With just the right amount of almond flour left to produce two dozen of yummy cuties, some ideas, and a healthy dose of curiosity, I set out to create one of my most successful experiments, the result of which hubbs happily gobbles down – and asks for more. Him snooping around the biscuit tin and devouring a handful of these biscuits at work is probably the most convincing argument that these biscuits are good. Very good.
My husband never bought biscuits from the shop again.
They actually don’t taste overly peanut-buttery, so if you really fancy peanut butter, you might want to replace all the vegan spread with the peanut butter and even add some peanuts to the dough. This is a great base for an all-time favourite biscuit recipe, as it is so versatile. You can use other nut butters, giving it a different flavour each time, or you can add cocoa powder and chocolate chips for chocolate biscuits, or dried fruit and oats for muesli biscuits. The choice is yours. They are whipped up in a jiffy and take only 12 minutes to bake. So whether you fancy a morning or afternoon snack right now or need something sweet to conclude a nice meal, head to the kitchen now! These babies are so healthy you can even have them for breakfast!
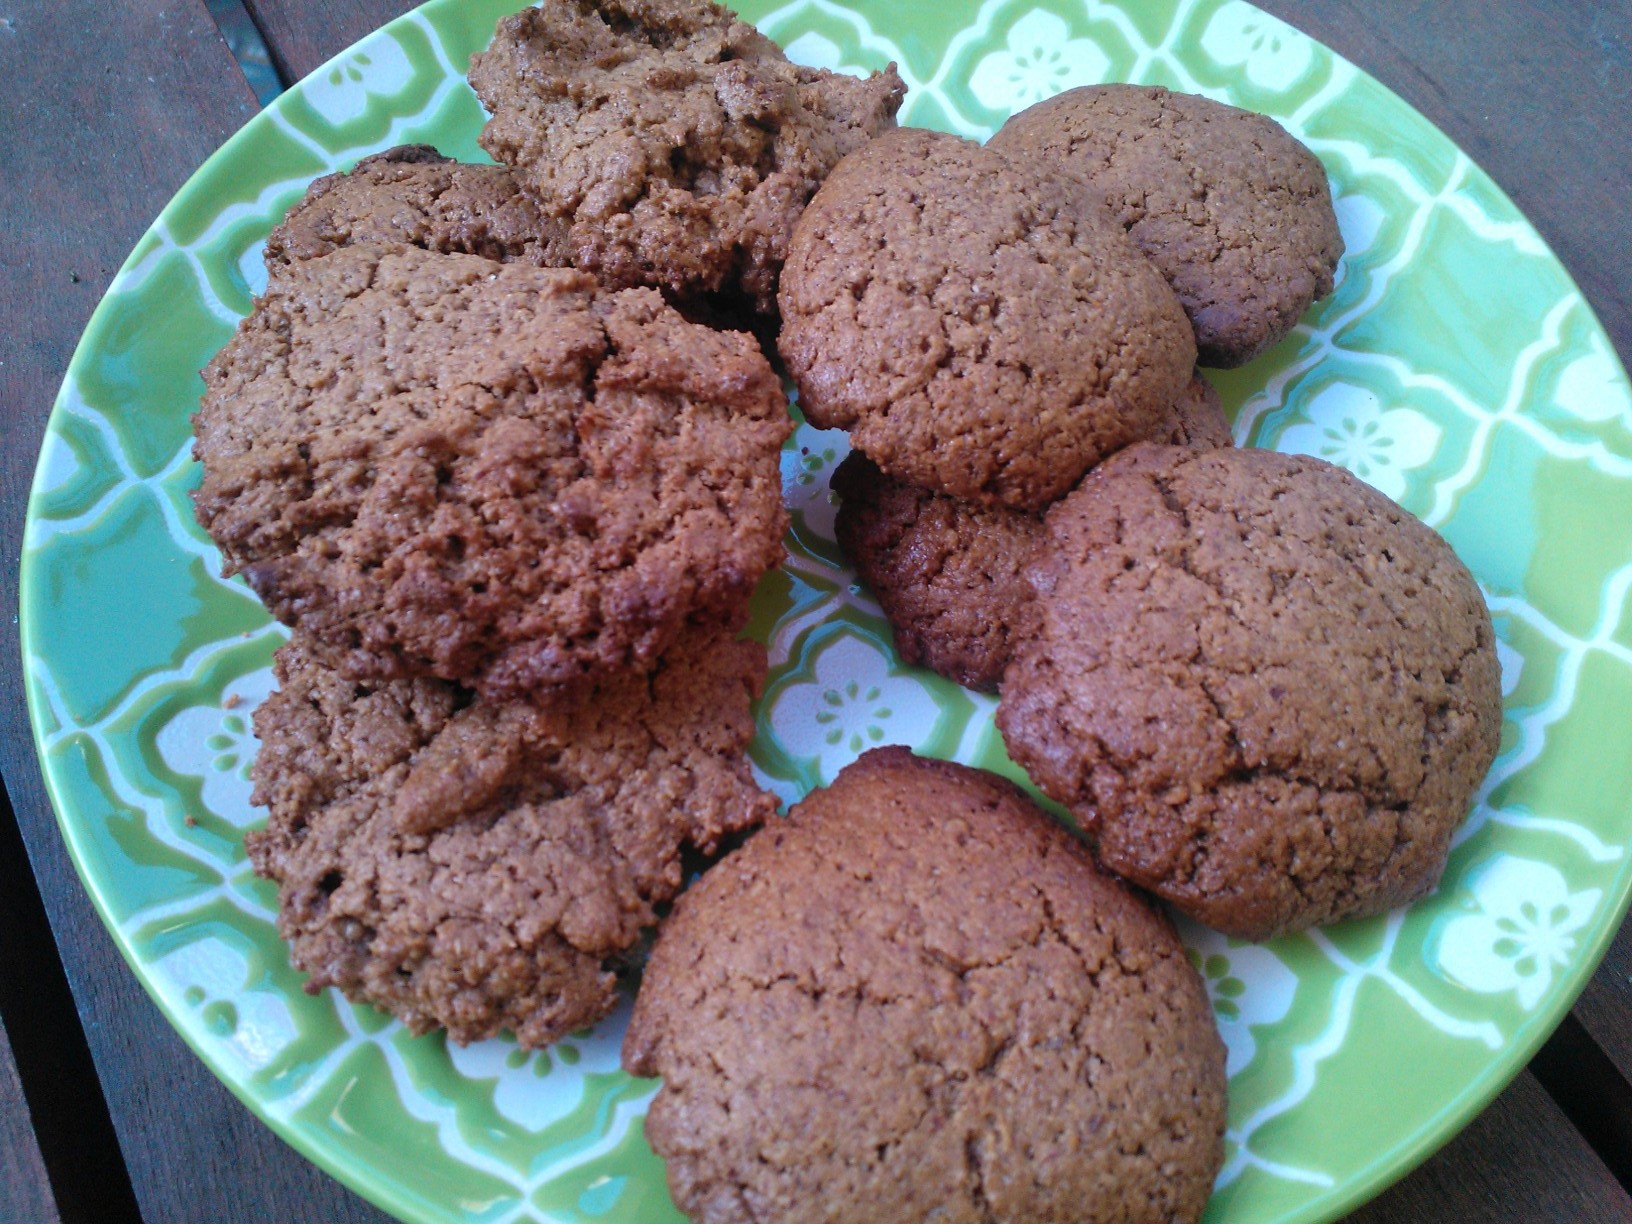
As the title reveals, my biscuits are not only gluten free, but completely grain free and starch free, thanks to lovely almond flour and my favourite ingredient flax, both of which come with a healthy dose of satisfying protein and fiber, as well as healthy fats, including omega 3! I would recommend using some sort of “real” sugar for a nice texture and colour, but you can probably use stevia throughout if you follow a strictly non-sugar diet. I used half brown sugar and half stevia for the biscuits displayed in the picture, and with 7 g of carbs per large biscuits, they are still fairly low-carb even if you use some regular sugar. I used vegan spread and flax as egg replacer to make a truly vegan biscuit, but feel free to use real butter or beat an egg in the dough – both of which improve the flavour even further. Note that I used reduced-fat spread, as the almond flour already contains a lot of fat. Feel free to use full-fat margarine if fat is not your worry, or butter as mentioned above.
Chilling the dough for 30 minutes before baking improves flavour and texture slightly, but is not a must. If you don’t chill the dough, the biscuits’ appearance is a bit “rougher”, but they are yummy nonetheless!
250 g almond meal (blanched for lighter biscuits or natural as in the pictures) 7 tbsp brown sugar or other sugar 7 tbsp stevia or other sweetener 20 g ground flax seed 1/2 tsp baking soda 1/2 tsp sea salt 80 g peanut butter, smooth or crunchy 40 g reduced fat vegan spread 2 tsp vanilla
Preheat oven to 180 ° C and prepare two baking sheet. Cream peanut butter, spread, sugar, vanilla and stevia until light and fluffy. Mix the almond flour with the soda and salt and carefully fold into the wet ingredients. The dough should be sticky and wet. If it appears to dry, add 2 tbsp of water. Once blended well, you can chill the dough for 30 minutes to achieve smoother looking biscuits (see picture below the cookies on the right hand side). If you are in a hurry or very hungry, just skip this step and put up with coarser looking biscuits.
right: cookies with dough being chilled before baking, left: cookies with the dough not being chilled
Take 1 tbsp, form into a round shape and place onto baking sheet. Repeat with the rest of the dough until you have 24 biscuits. You will probably need two sheets as there needs to be space between the biscuits (they will spread out during the baking process).
Bake for 12 minutes – they might still appear slightly raw, but you must switch off the oven now, otherwise you risk them getting too hard as they will continue too harden. Let them rest in the hot oven for a few minutes, then take out and let cool (if you have the patience).
Store in an airtight (preferably metal) container where they will keep for up to five days.
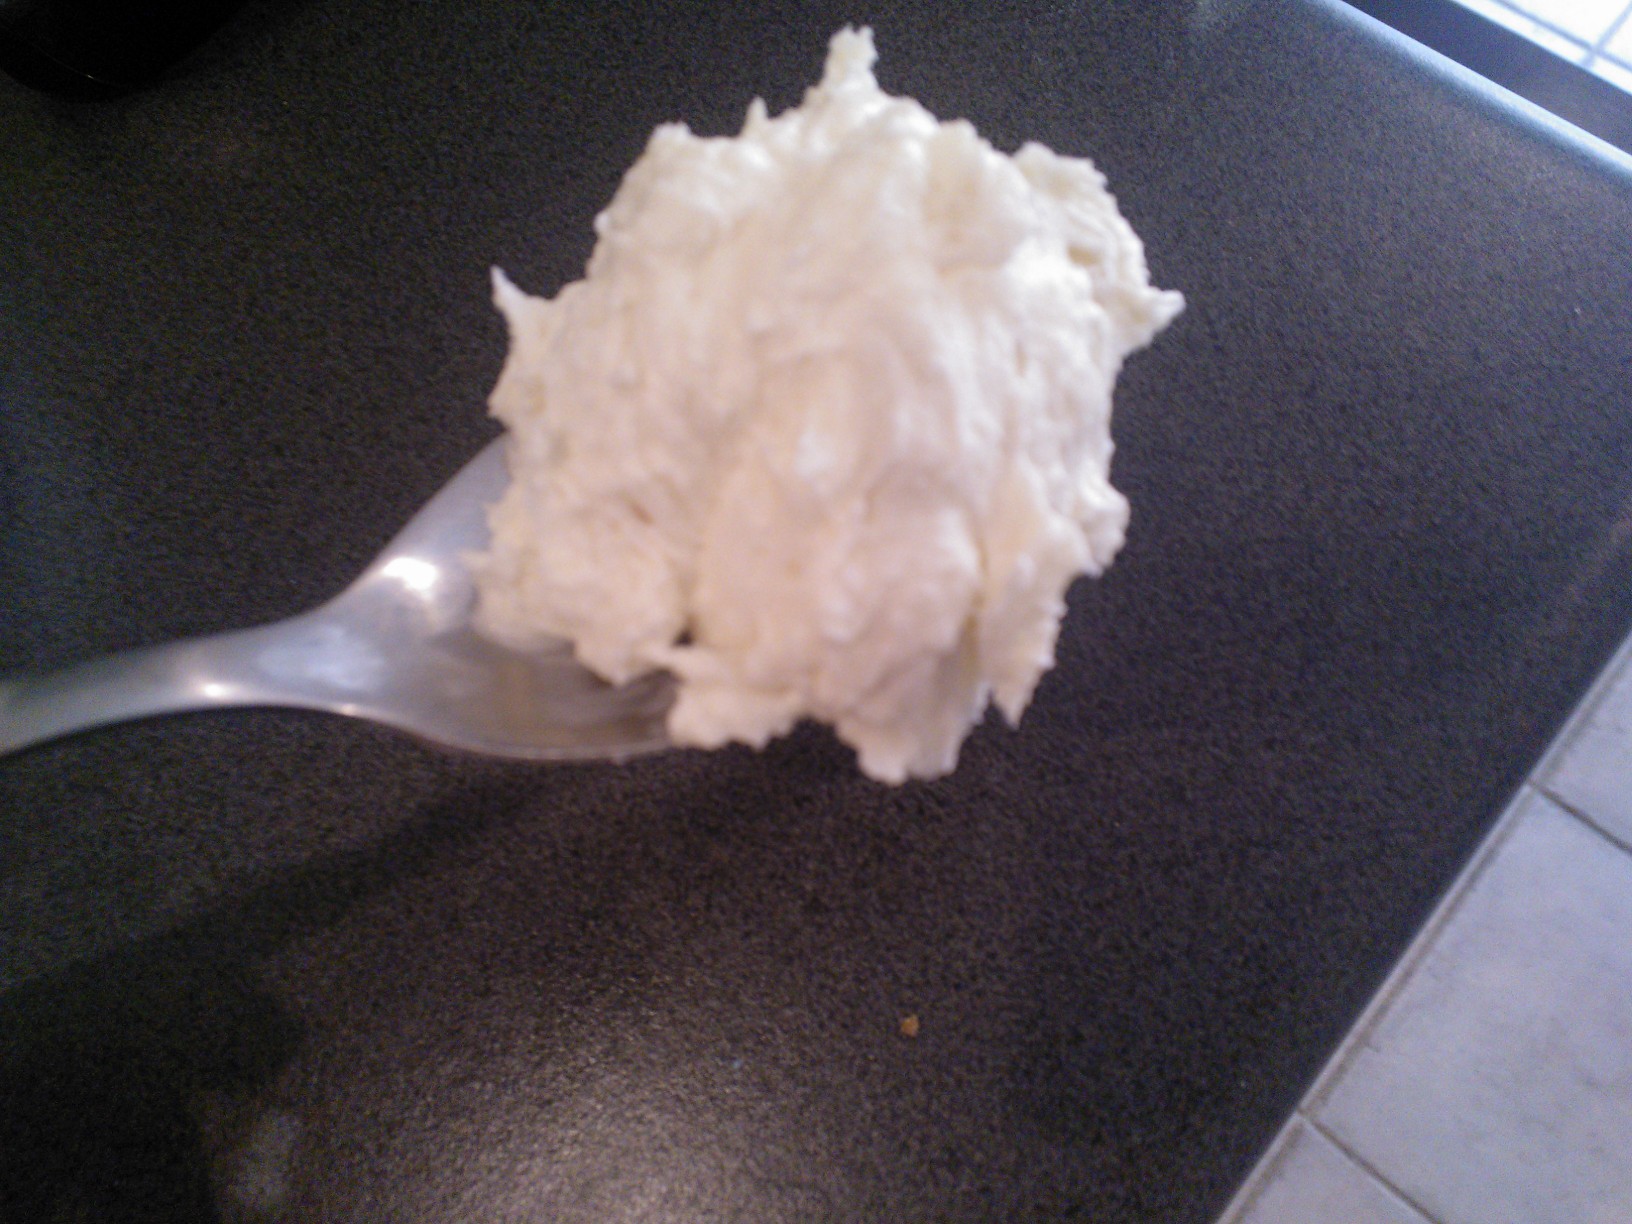
I experimented a bit more with my dairy and soy free frostings, as I found that Xanthan does not only get lumpy, but is also a bit hard on the stomach for some folks!
This coconut frosting is relatively easy and quick and tastes great! It also has a better texture than my previous frosting and uses arrowroot instead of Xanthan.
1/2 tin of coconut milk a bit of erythritol to taste pinch of salt teaspoon of arrowroot, dissolved in a teaspoon of water a drop of vanilla 100 g coconut oil 20 g Nuttelex or other dairy free spread (you can use butter if not strictly vegan or dairy intolerant)
Simmer coconut milk, sweetener and salt and simmer for 10 minutes. Remove from heat and add the arrowroot paste and vanilla, bring back to the boil and swiftly whisk out any lumps. The mix becomes shiny and of goopy texture. Remove saucepan from the heat source and quickly stir in coconut oil. Let cool, transfer to container and chill for 2 hours. Once nice and cool, remove from fridge and beat with the spread until it looks like frosting. Voilà! Your vegan frosting is ready to use! Great on my carrot cake! Be careful: This frosting gets very firm in the fridge, but will melt very quickly when outside the fridge.