Of all my unhealthy childhood favourites, sugary breakfast cereals definitely top the list. And of all breakfast cereals coco pops was always the winner. I mean, c’mon, a CHOCOLATE milkshake only CRUNCHY? The flavour of chocolate and the texture of crunch? Can it get any better than this? And don’t even get me started on the cute monkey and his catchy theme song. And coco pops squares…yum! Who needs muesli bars? Coco pops are the best! If you think so too (or have a kid who does), I can definitely help to create a healthier version of a childhood favourite: healthy coco pops squares! Who is in?
Rice bubbles with raw cacao and low GI brown rice syrup instead of all this high-fructose corn syrup provide for a delicacy that will satisfy your sweet tooth without sending your blood sugar soaring. These healthy coco pops squares are light and airy, crunchy with just the right amount of sweetness, and beautifully chocolatey. They are also very low in fat – perfect if you love chocolate but are concerned about the fat grams. This is an indulgence that won’t weigh you down. And due to the rich taste and satisfying chewy texture of these healthy coco pops squares, a little goes a long way and you won’t need much to get you through the feared 3pm slump.
These healthy coco pops squares are some easy to make and affordable goodies, perfect for gatherings and kids parties, but also to indulge your sweet tooth after a meal without overindulging. Please note that while this is definitely a better-for-you version than traditional coco pops squares, it is still a treat that should be treated like a treat and enjoyed in moderation.
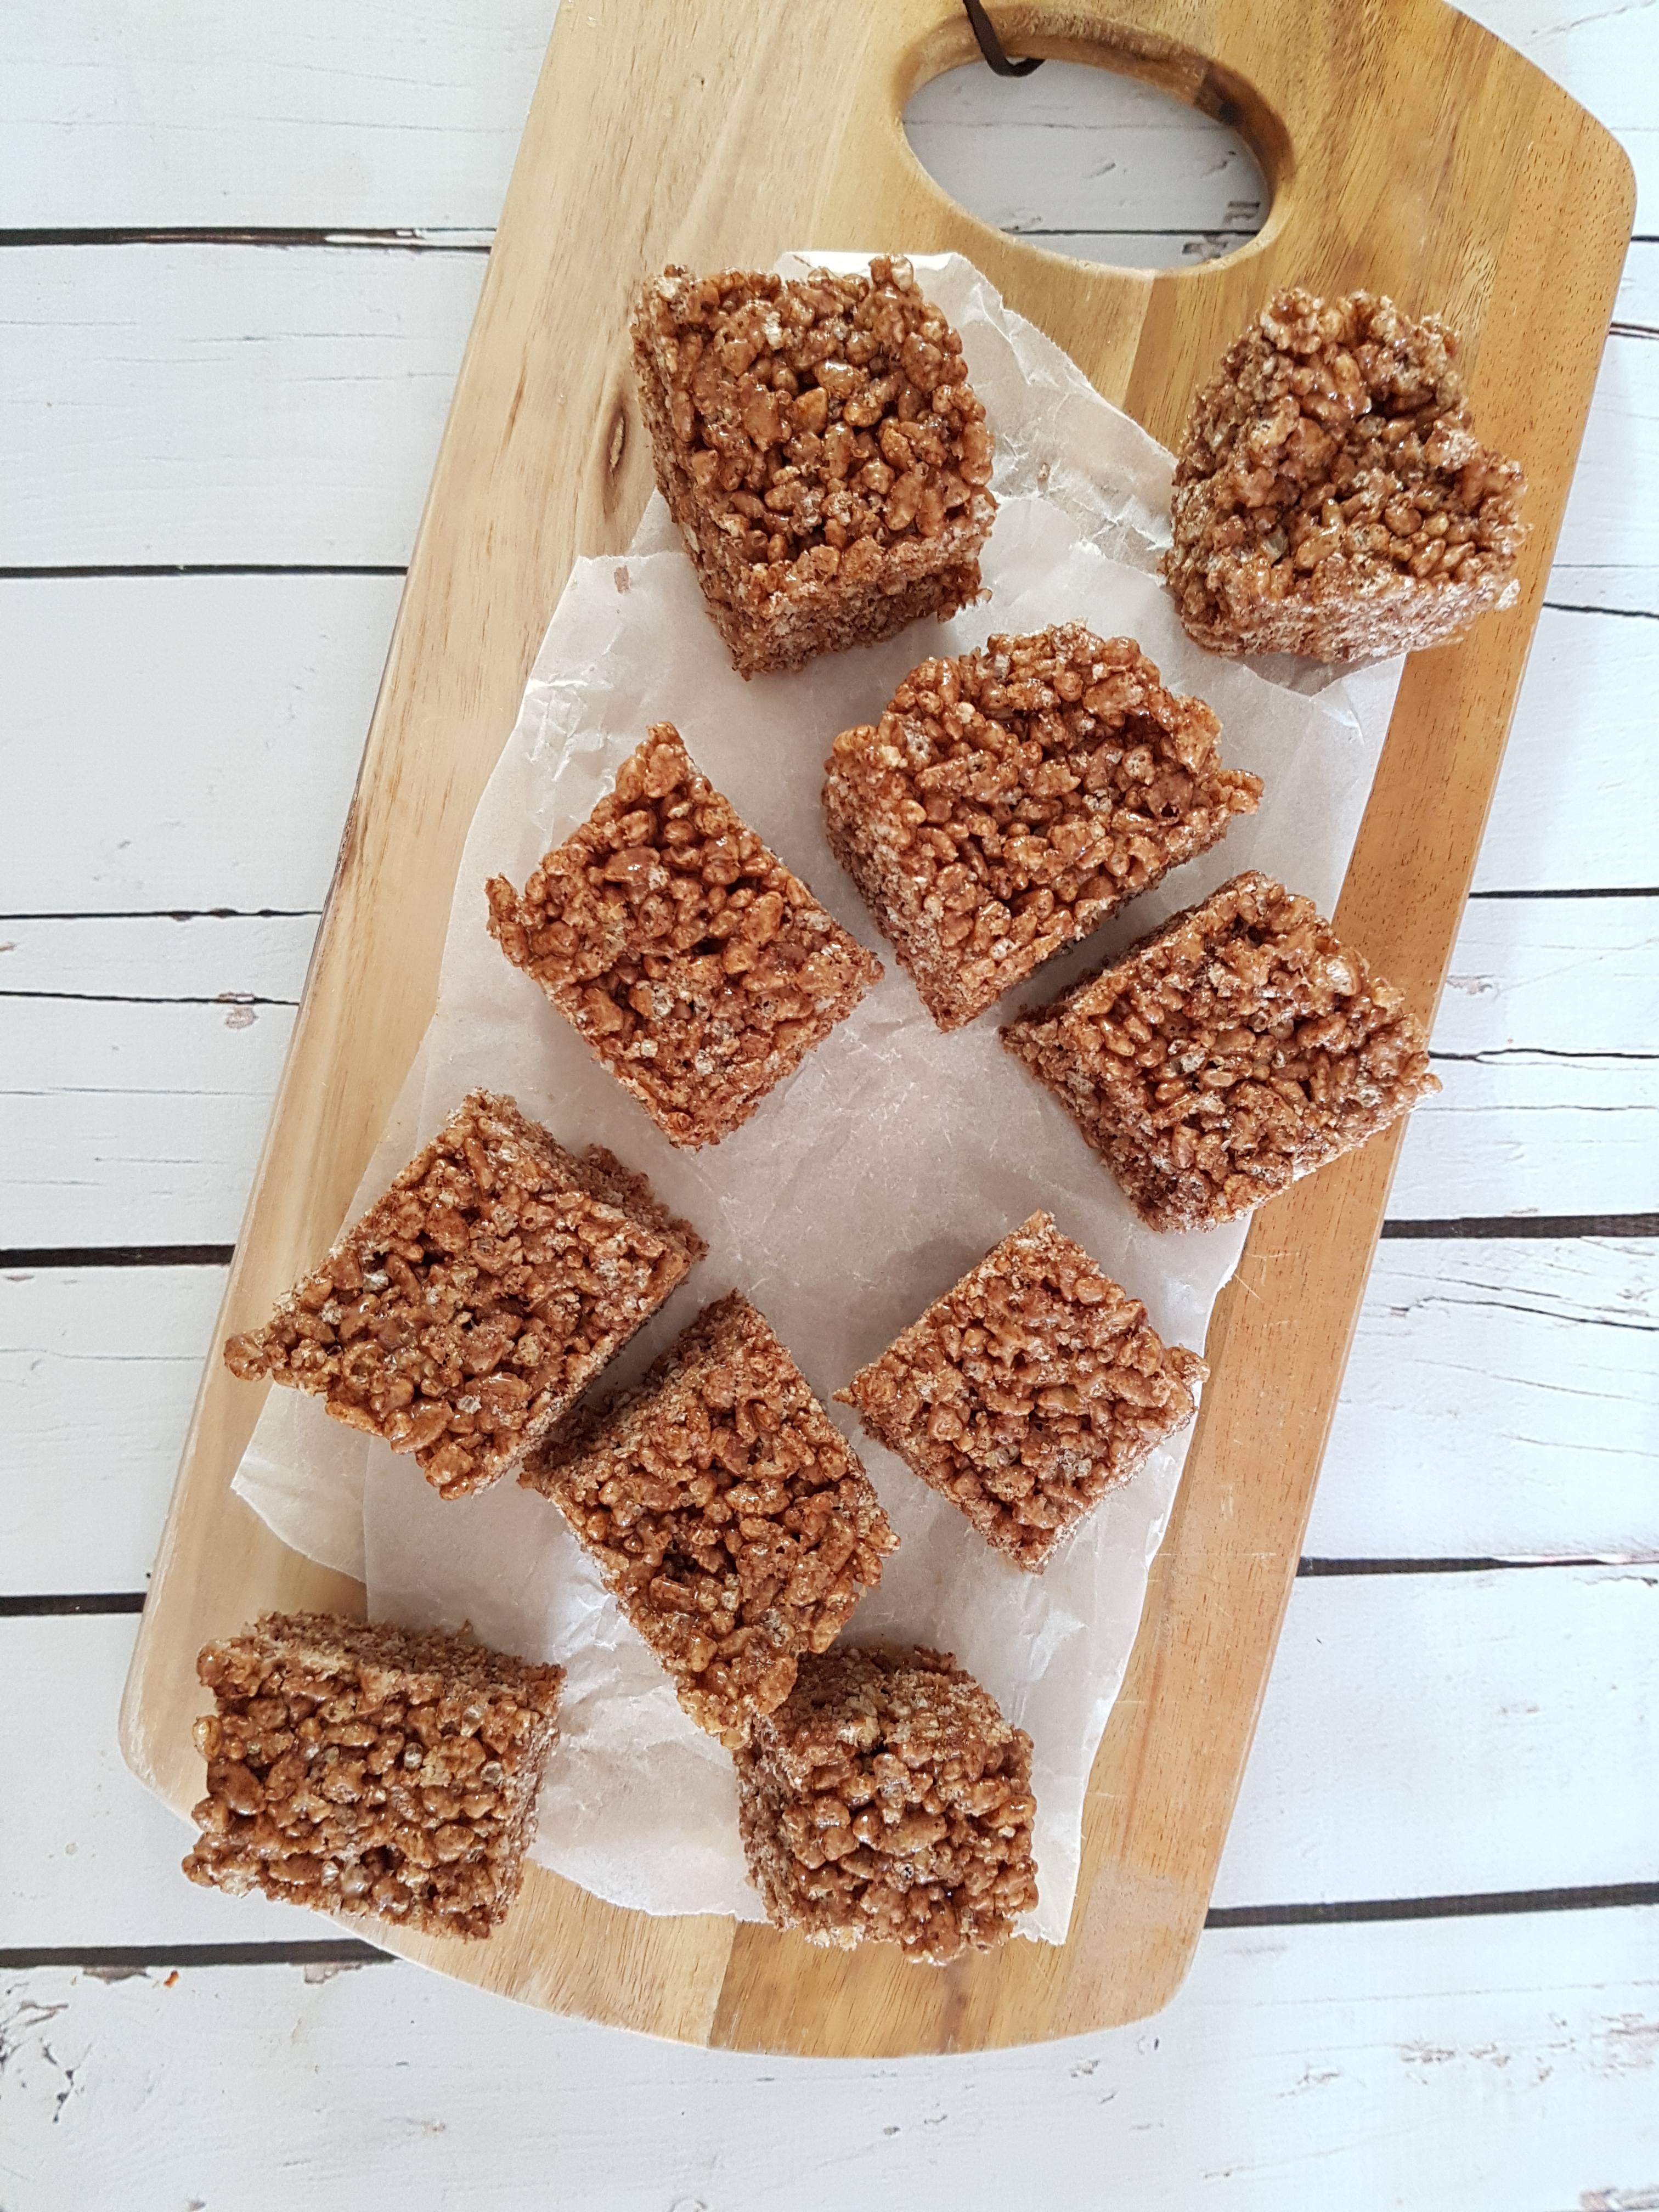
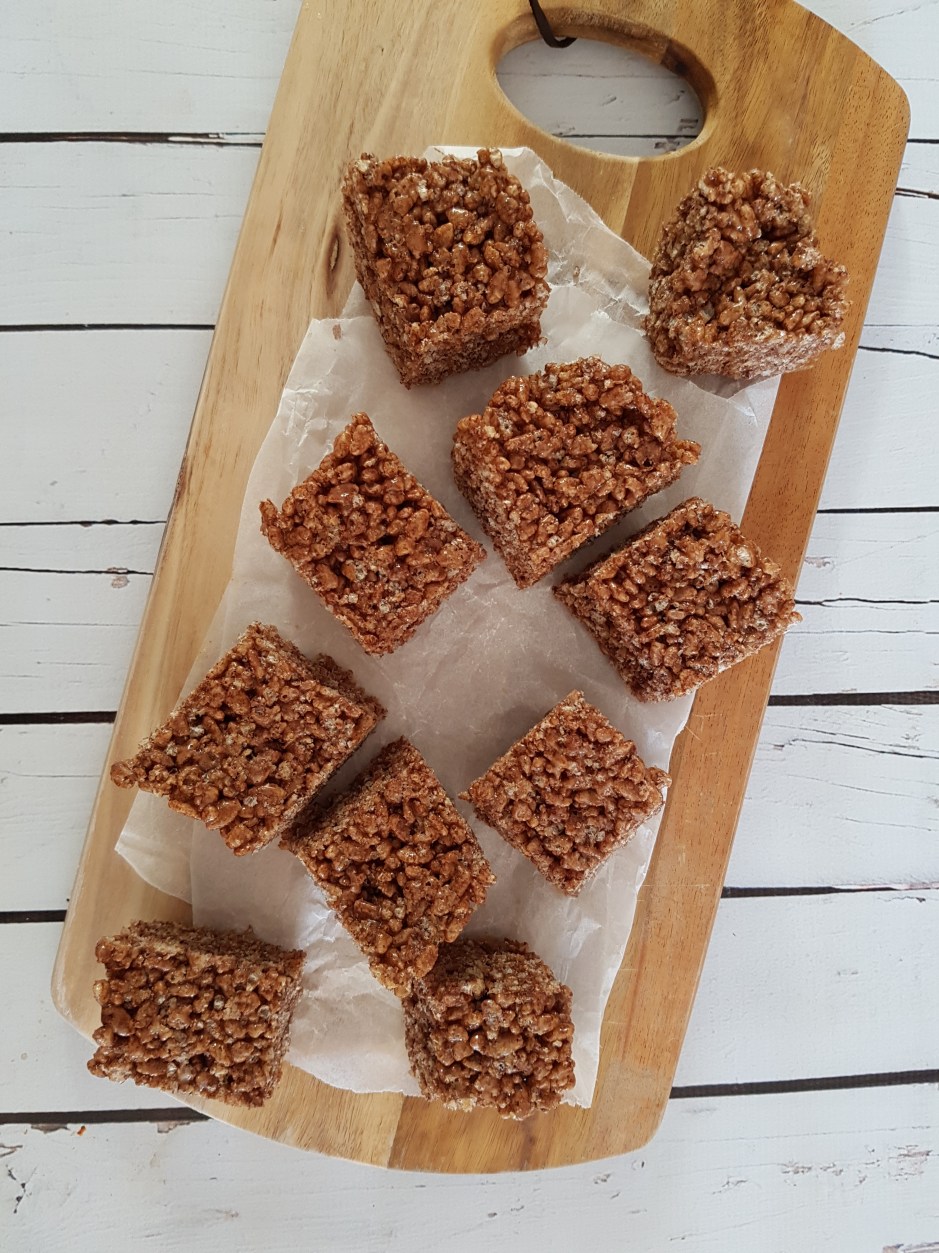
Healthy Coco Pops Squares
Makes 10 squares
3 cups (gluten-free) rice bubbles (I use Freedom foods)
half a cup brown rice syrup
1 tbsp coconut oil
dash of vanilla extract
3 tbsp raw cacao
pinch of sea salt
Line a 10x20cm baking pan with baking paper. Pour the rice bubbles into a large mixing bowl. Gently melt the brown rice syrup with the coconut oil, vanilla extract, cacao and salt until fully combined. Pour into the bowl with the rice bubbles and gently stir through until fully incorporated and all bubbles are coated with the mixture. Press into the prepared pan and press down very, very firmly until very firmly pressed down (and I mean firmly!). Freeze for one hour, then lift out of the pan and cut into ten squares with a very sharp knife. Store in the fridge for up to a week.
Enjoy!