Hemp and Coconut Bliss Balls [vegan, gluten free, oil free, nut free, refined sugar free]

Hemp and Coconut Bliss Balls

With school thankfully being back again this year (yay!), my frantic mornings are filled with two dilemmas. One is packing a snack in my daughter’s lunchbox that is a) nut-free and b) actually gets eaten. The other is that I often don’t have time for a full-on breakfast but need the energy to tackle the drop-off and dealing with those first work emails. Enter my allergy-friendly hemp and coconut bliss balls – a nutritious and delicious breakfast or snack that is very versatile and can even be frozen for meal prep.

I used to make bliss balls with rolled oats and pea protein powder to replace nuts but at the moment my digestive system hat hit rock bottom sadly so I cannot even have oats or pea protein anymore. Enter hemp protein! I don’t care for it much in smoothies but it is superb in these bliss balls.

Most bliss ball recipes suggest to use Medjool dates and they are definitely superior in texture (much softer) but they are also very expensive. I find I can achieve the same result with just regular dried dates from the baking aisle. I soak them for a bit in hot water and then drain them well.

Ingredients
1 cup packed dried dates (approx. 210g), soak in hot water before using to soften them up
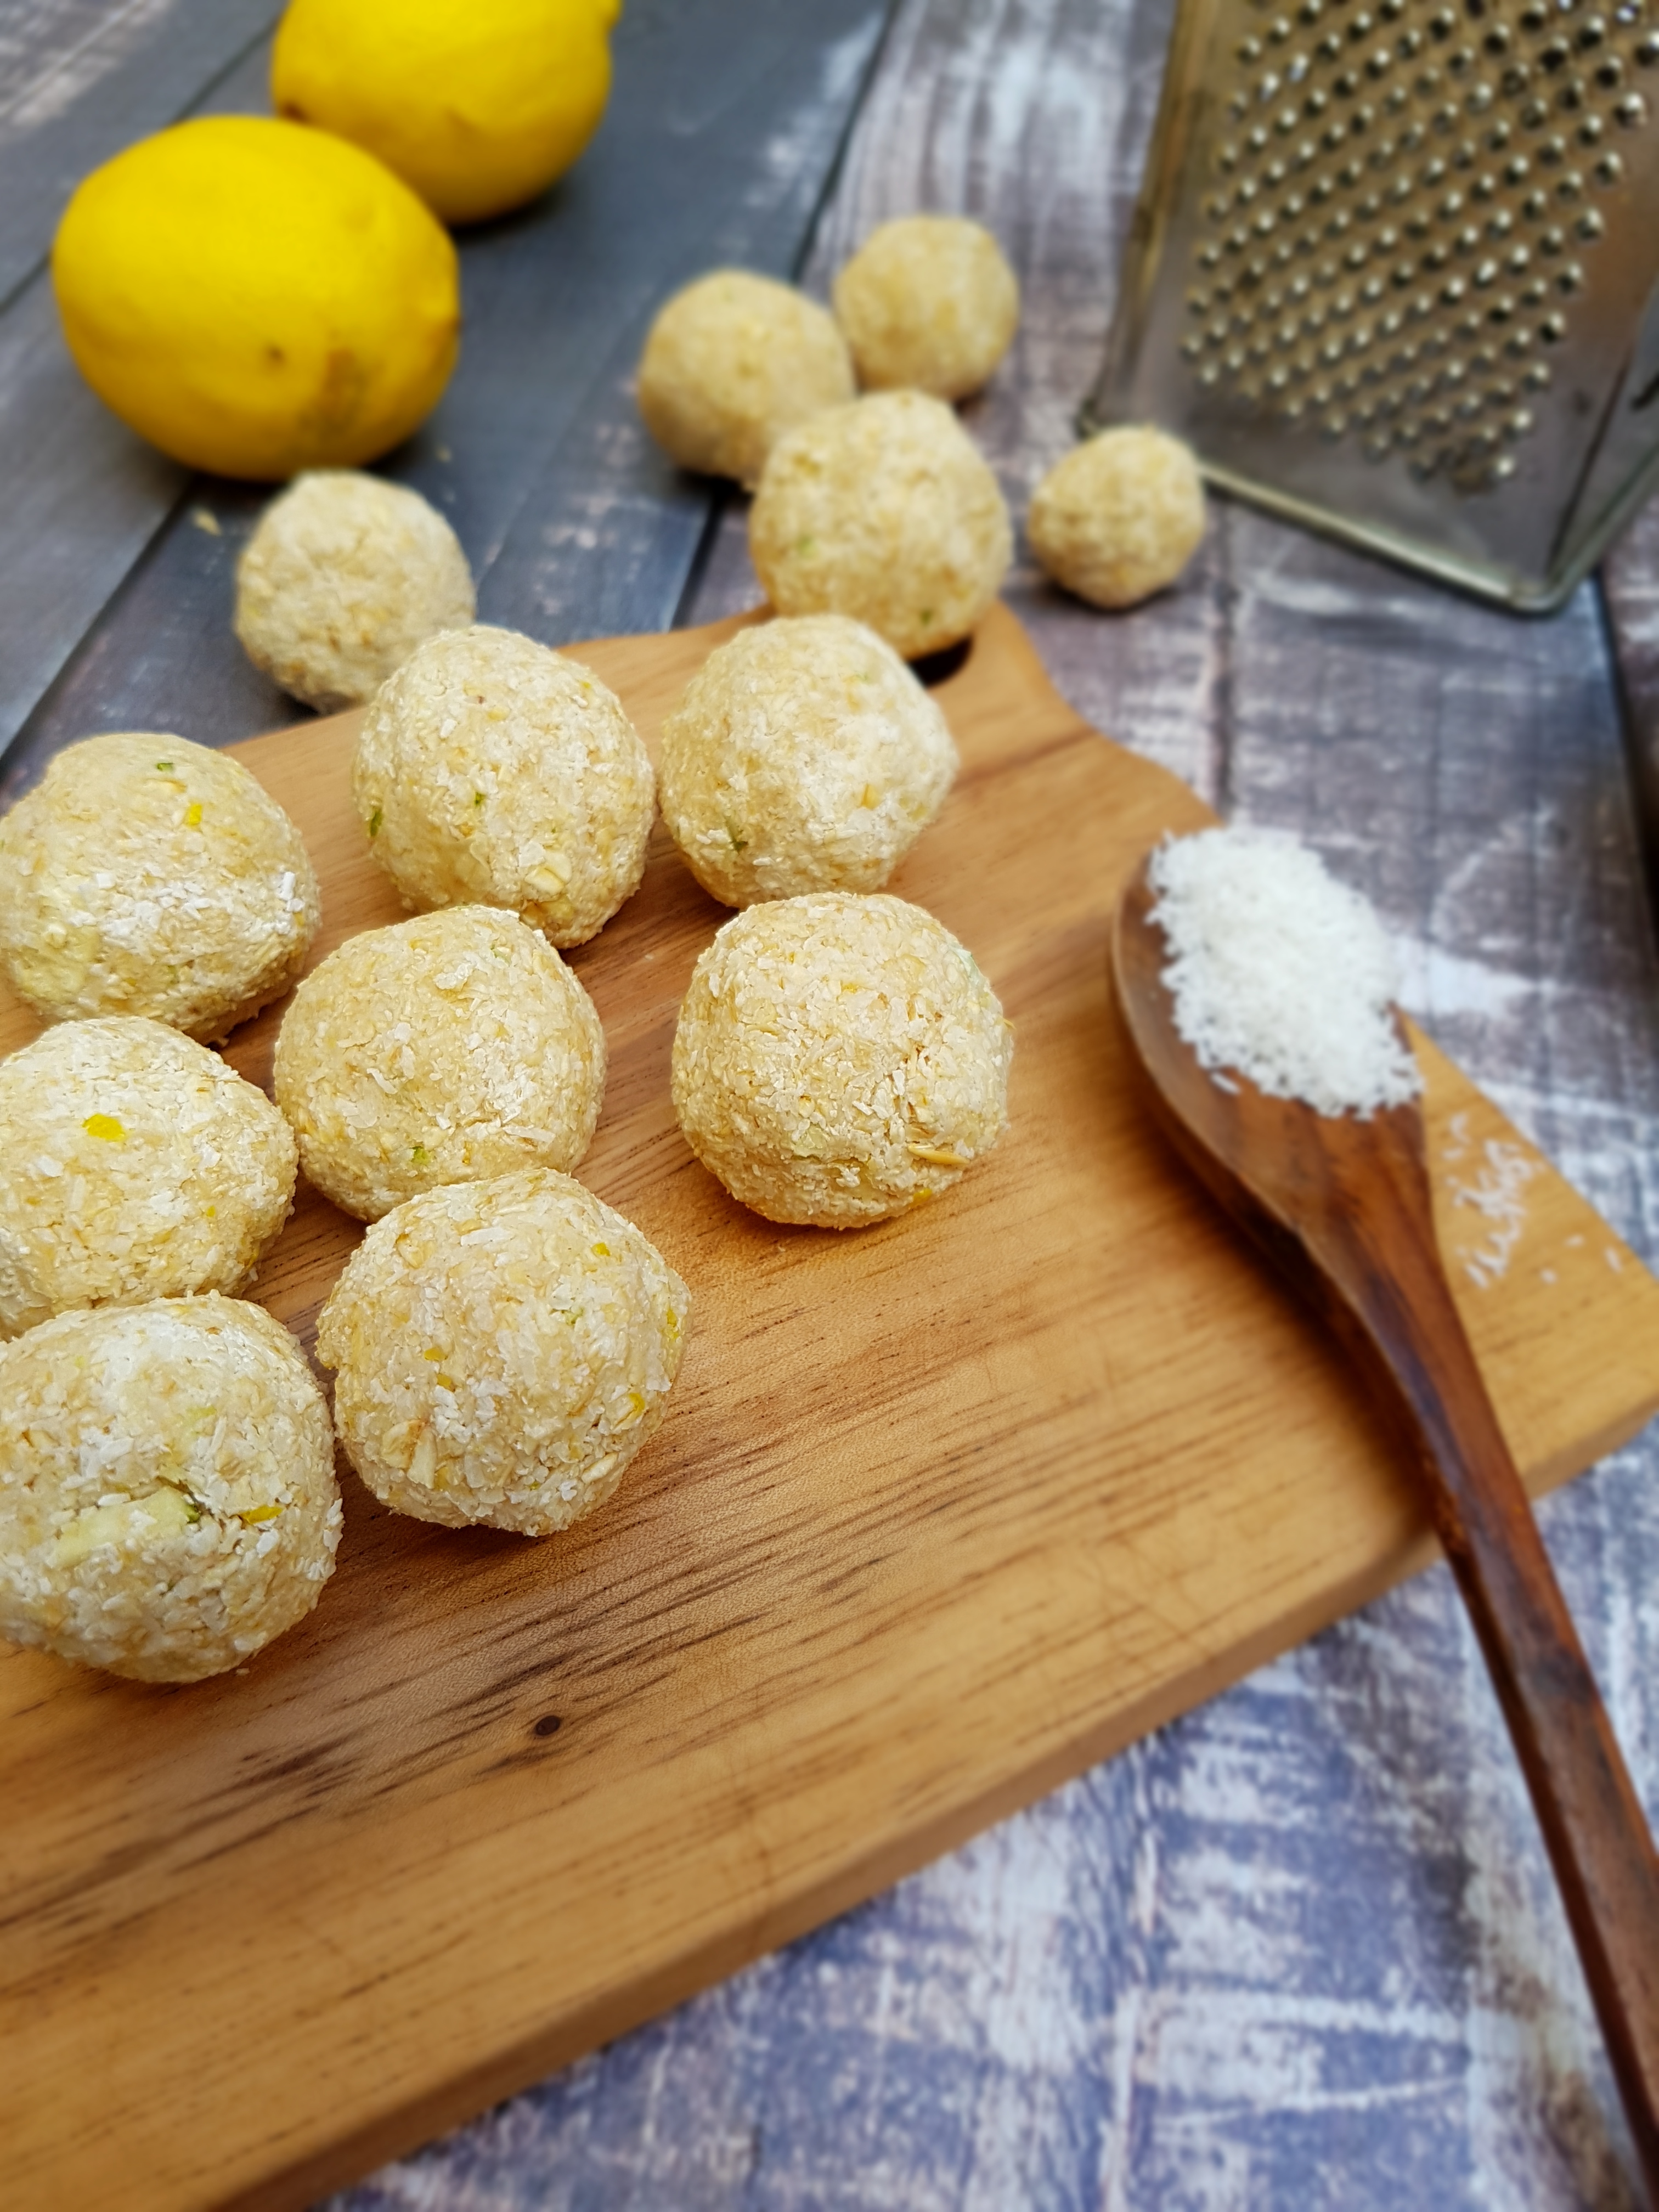
1 cup desiccated coconut (reserve some for rolling)
1 scant cup of hemp protein powder (can use other protein powder)
2 tbsp raw cacao
optional: spices like cinnamon, gingerbread spice
optional: vanilla or almond extract

Method
Blend the dates first into a date paste using a high powered blender.
Then add everything and blitz into a sticky dough. I should come away from the sides of the blending cup after some time. Add a few drops of water if it seems to crumbly.
Wet your hands a bit to form 20-24 balls and roll in reserved desiccated coconut. Store in the fridge or freeze for up to 3 months.

Enjoy! Nat xoxo

Lemon Meringue Bliss Balls {vg, gf}

If you love bliss balls, there is no shortage of recipes on the internet, including my blog. Whether you feel like carrot cake, lamington, cookie dough, baklava or ginger bread, I have you covered. Only missing are cheesecake blissballs and black forest bliss balls, and I can offer you a whole patisserie in bliss ball shape! So here is the latest creation…drumroll…Lemon Meringue Bliss Balls!

Have you tried any of my bliss ball recipes? All these lovelies – besides being healthy and super delish – have one thing in common: they are based on dates. I think making my bliss balls have severely increased our local supermarket’s turnover on dates! What, however, if you don’t love dates? I know, I know – it seems blasphemic to say this. Not loving dates? Who are you? But, ahem, tastes are different. So I am not going to judge you if you happen to be someone who doesn’t love dates. I just think you are weird, I mean, erh, did i just say weird? Okay. Sorry. I mean – we just have different tastes then. I still want to be friends with you. So I come to your rescue with some lemon meringue bliss balls, completely without dates. Are you in?

I love these babies as they are so featherlight and refreshing. They even smell a bit like a tangy lemon cheesecake. So if you are interested in a healthy snack on the go, but found my previous bliss ball recipes too sweet, I hope you’ll enjoy these ones. They come together just as easily as all my other bliss balls so they are a great stand-in for an emergency snack attack with a much lower carbohydrate and sugar content than “standard” bliss balls. They are also vegan, gluten free and refined sugar free, but I am repeating myself here…

Lemon Meringue Bliss Balls

Lemon Meringue Bliss Balls

Makes 15 bliss balls

1 cup oats
1 cup desiccated coconut
juice and zest of one organic lemon
5 tbsp maple syrup

Blitz the oats in a high-powered blender until they resemble fine crumbs. Add the remaining ingredients and process until you achieve a malleable dough. Chill the mix for 30 minutes to firm up, then shape 15 bliss balls and enjoy! Store in the fridge in an airtight container for up to a week.

Enjoy!

Gingerbread Bliss Balls {vg, gf}

I am continuing my bliss balls obsession with a new flavour that is just perfect for the current season – autumn! While autumn here in the southern hemisphere doesn’t necessarily go hand in hand with gingerbread, the shops in Germany and other Northern and Central European countries start to fill up with all kinds of gingerbread-y goodies as soon as the leaves turn yellow. And because gingerbread is so delicious and comforting all year round – not just in the lead-up to Christmas – here’s my gingerbread bliss balls.

The idea for gingerbread bliss balls has been at the back of my mind for a while. After all, if you make carrot cake bliss balls and cookie dough bliss balls, why not turn other baked favourites into healthy snacks as well? I am pleased to say that these babies are utterly delicious! They are spicy, warming, comforting, full of flavour and just divine. I love all my bliss ball creations – if I do say so myself – but I think this is by far my new favourite. So make these now or bookmark this page if you are craving something really delicious and really healthy or frantically looking for Christmas presets (or any presents) in a few months’ time.

These gingerbread bliss balls are of course vegan and gluten free, but they are also nut free, which is great if you are watching your fat intake or struggle with nut allergies. My gingerbread bliss balls are therefore also great for kids’ parties and toddler snacks, in which case you might want to ease up on the spices a bit. Featuring dates, oats, maple syrup and an array of spices, these gingerbread bliss balls are refined sugar free, packed with fiber and magnesium, antioxidants, vitamins and minerals, while cinnamon helps to lower blood sugar, ginger has anti-inflammatory effects, and cardamom aids detoxification.

If that is not enough to convince you, these balls take just a few minutes to prepare!

Gingerbread Bliss Balls

Gingerbread Bliss Balls

Makes 12-15 bliss balls

2 cups rolled oats
6 Medjool dates
1.5 teaspoons ground ginger
1.5 tsp ground cinnamon
half a tsp nutmeg
half a tsp cardamom
2 tbsp maple syrup
half a tsp gingerbread spice

First, process the oats in a high powdered blender until a coarse meal forms. Add the other ingredients and blitz until you achieve a malleable consistency. Shape 12 to 15 balls and store in the fridge to firm up a little. They can last in the fridge in an airtight container for up to two weeks. But I doubt they will last that long. 😉

Enjoy!

Healthy Coco Pops Squares

Of all my unhealthy childhood favourites, sugary breakfast cereals definitely top the list. And of all breakfast cereals coco pops was always the winner. I mean, c’mon, a CHOCOLATE milkshake only CRUNCHY? The flavour of chocolate and the texture of crunch? Can it get any better than this? And don’t even get me started on the cute monkey and his catchy theme song. And coco pops squares…yum! Who needs muesli bars? Coco pops are the best! If you think so too (or have a kid who does), I can definitely help to create a healthier version of a childhood favourite: healthy coco pops squares! Who is in?

Rice bubbles with raw cacao and low GI brown rice syrup instead of all this high-fructose corn syrup provide for a delicacy that will satisfy your sweet tooth without sending your blood sugar soaring. These healthy coco pops squares are light and airy, crunchy with just the right amount of sweetness, and beautifully chocolatey. They are also very low in fat – perfect if you love chocolate but are concerned about the fat grams. This is an indulgence  that won’t weigh you down. And due to the rich taste and satisfying chewy texture of these healthy coco pops squares, a little goes a long way and you won’t need much to get you through the feared 3pm slump.

These healthy coco pops squares are some easy to make and affordable goodies, perfect for gatherings and kids parties, but also to indulge your sweet tooth after a meal without overindulging. Please note that while this is definitely a better-for-you version than traditional coco pops squares, it is still a treat that should be treated like a treat and enjoyed in moderation.

Healthy Coco Pops Squares

Healthy Coco Pops Squares

Makes 10 squares

3 cups (gluten-free) rice bubbles (I use Freedom foods)
half a cup brown rice syrup
1 tbsp coconut oil
dash of vanilla extract
3 tbsp raw cacao
pinch of sea salt

Line a 10x20cm baking pan with baking paper. Pour the rice bubbles into a large mixing bowl. Gently melt the brown rice syrup with the coconut oil, vanilla extract, cacao and salt until fully combined. Pour into the bowl with the rice bubbles and gently stir through until fully incorporated and all bubbles are coated with the mixture. Press into the prepared pan and press down very, very firmly until very firmly pressed down (and I mean firmly!). Freeze for one hour, then lift out of the pan and cut into ten squares with a very sharp knife. Store in the fridge for up to a week.

Enjoy!