Basic Homemade Granola (gluten free, sugar free, low carb)

Delicious and guilt-free homemade granola

If granola has been one of the few things you have never tried to make yourself even though you try to make as much as possible from scratch, let me tell you: It is really easy. In fact, it is so ridiculously easy that you will be vexed when you find out just HOW easy it is – and you won’t tell the difference to store-bought granola, other than that your tummy will be thankful for being spared the bucketloads of sugars, chemicals and cheap industrial oils in commercial granolas. In fact, I dare to say that this granola tastes far superior than any granola you will find in your supermarket or health food shop.

Speaking of “health food” – just because something is labelled healthy, it is not necessarily good for you. I have always been disappointed by the options in health food shops. Even the supposed “healthy” cereals from the organic shop come with loads of dodgy ingredients – and that at a premium price! Making your own granola is not only far better for you and far tastier, it is fun, quick, and cheap! Keep in mind that this way you can also make this granola “your own”, adding any ingredients you fancy! Have you not often thought: I wish they had pecan & walnut / cashew & cranberry / mango & coconut / hazelnut & chocolate chip / white chocolate & raspberry granola?

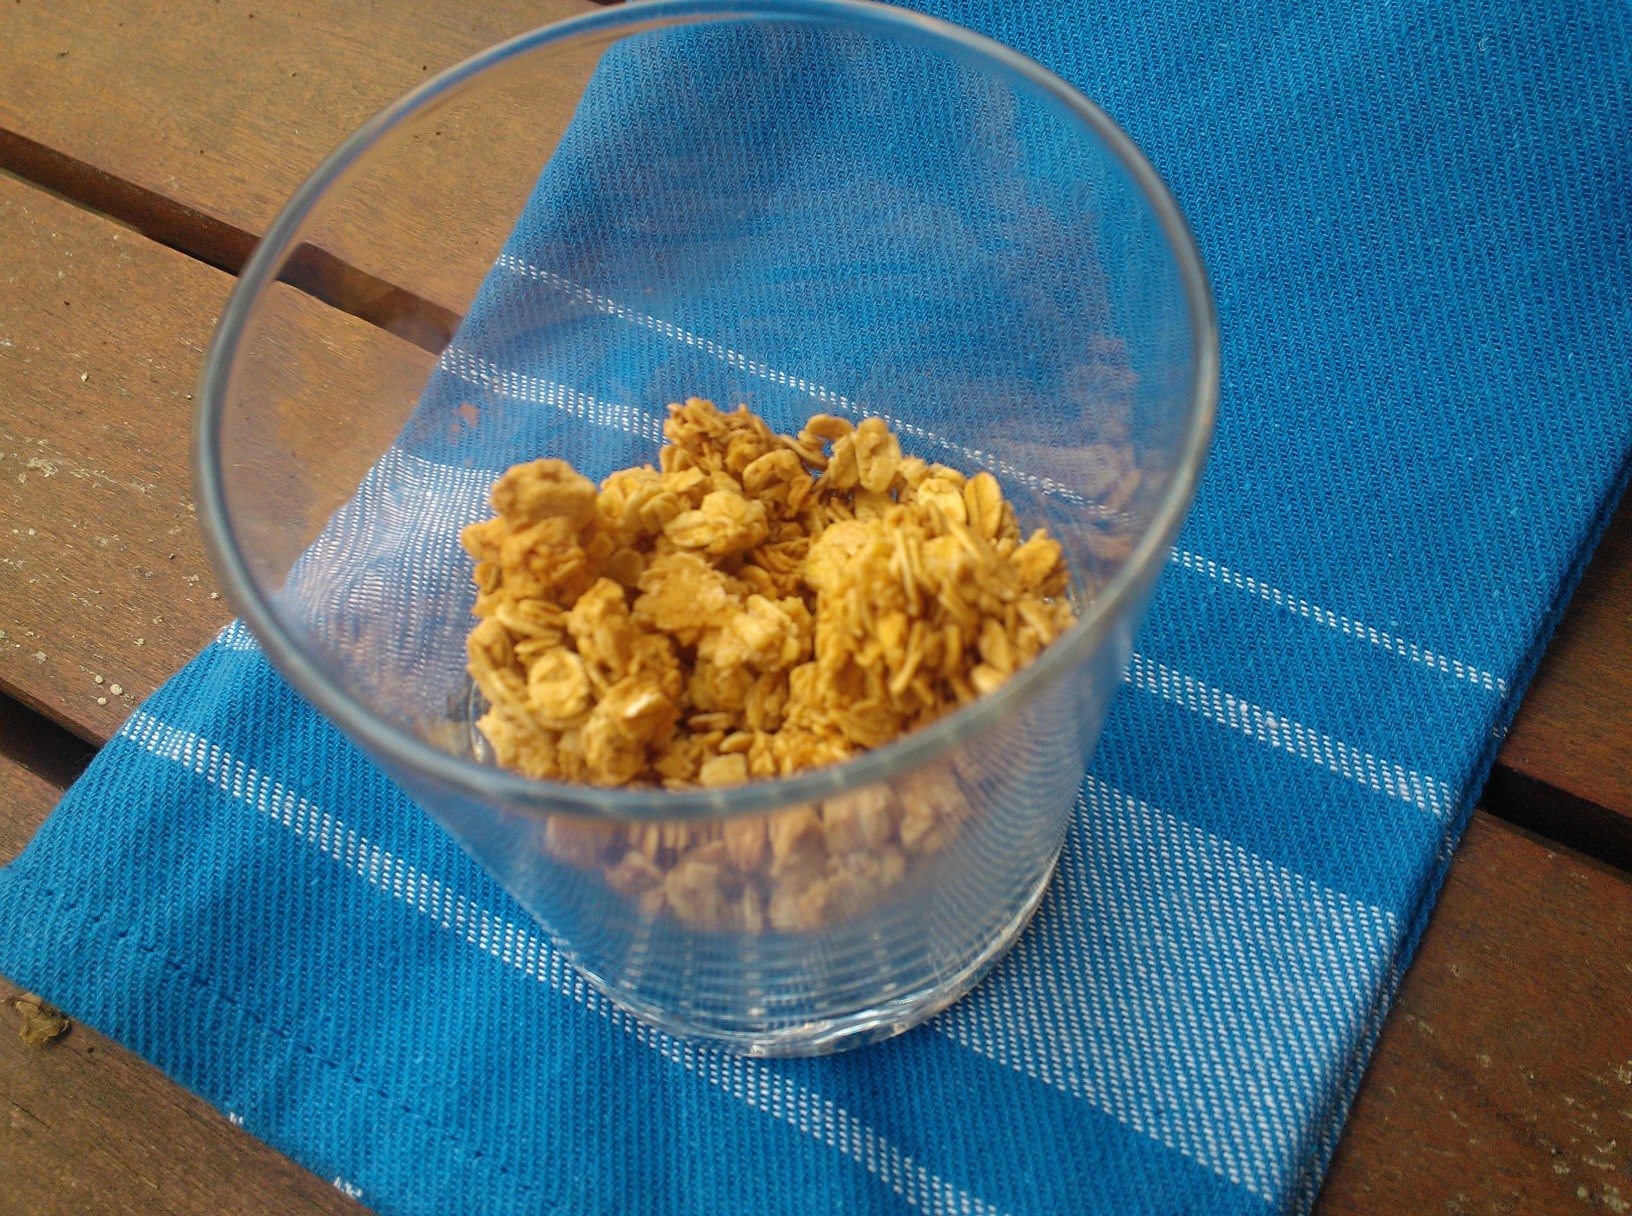
Now you can make your very own granola! As it lasts a long time, it’s worth making a big batch and storing it in a mason jar in the fridge. The main ingredient, rolled oats, you can get very cheaply, so you can spend as little or as much as you want on your granola.

Adapted from Elizabeth Rider

200 g rolled oats (certified gluten free)
80 dates, roughly chopped
1 tb honey
2 tb coconut oil, melted
dash of vanilla
good pinch of sea salt
Any optional ingredients (nuts, seeds, dried fruit, chocolate chips…)

Preheat oven to 150 °C. Mix all ingredients in a mixing bowl until well combined. Spread thinly on a lined baking sheet and bake for up to 10 minutes until lightly toasted. When cooled, transfer to a mason jar and store in the fridge. Serve with Greek yogurt or milk of choice and fresh fruit.

Enjoy!

Homemade Apple Cinnamon Granola (Sugar Free, Nut Free, Wheat Free)

Healthy Homemade Granola

Dear friends, Christmas is coming around veeeery fast – too fast if you ask me – but here in the Southern Hemisphere, the days are getting hotter, so the time for a big, steaming bowl of hot porridge are over – for now. It’s time t move on to a lighter breakfast snack, so I tried to make some homemade apple cinnamon granola – a light alternative to oatmeal without lacking a xmas-y touch.

Making granola is not as difficult as it sounds, and in fact, this granola is as HEY – healthy, easy, and yummy – as all my other recipes. You can make a big batch and store it in an open-mouth jar, where it will keep fresh for a while. My granola contains no sugar – only natural fruit sugars – and only a tiny pinch of healthy coconut oil, no other oils, especially not palm oil or other scary things! Besides, this one is nut-free (for a nutty granola see here), so even the nut allergy sufferers among you can enjoy their granola!

I love this as a healthy snack by itself, a nourishing breakfast with almond milk or natural yogurt, or to add some pizzazz to fruit salads and compôtes.

Makes 4 servings

200 g rolled oats
50 g dried apple (unsweetened), very finely chopped
2 tbsp raw honey , agave or maple syrup
15 g coconut oil, melted
generous pinch of cinnamon
generous pinch of sea salt
drop of vanilla

Preheat oven to 150 °C. Combine oats, fruit, cinnamon, and salt in a big bowl. Whisk honey, oil and vanilla in a separate bowl until well combined. Now pour the “wet” ingredients into the “dry” ingredients and mix well with your clean hands as if you prepare a shortbread dough. Be warned though, this is veeery sticky – but the good thing about making homemade things is, you get to lick your fingers legitimately! (And you will with this one, you will!)

Now spread (what’s left of) the mix (after finger-licking) onto a prepared baking sheet (i.e. silicon sheet or a lined baking sheet) and bake for 10-15 minutes until very lightly toasted. Let cool and refrigerate.

Enjoy!