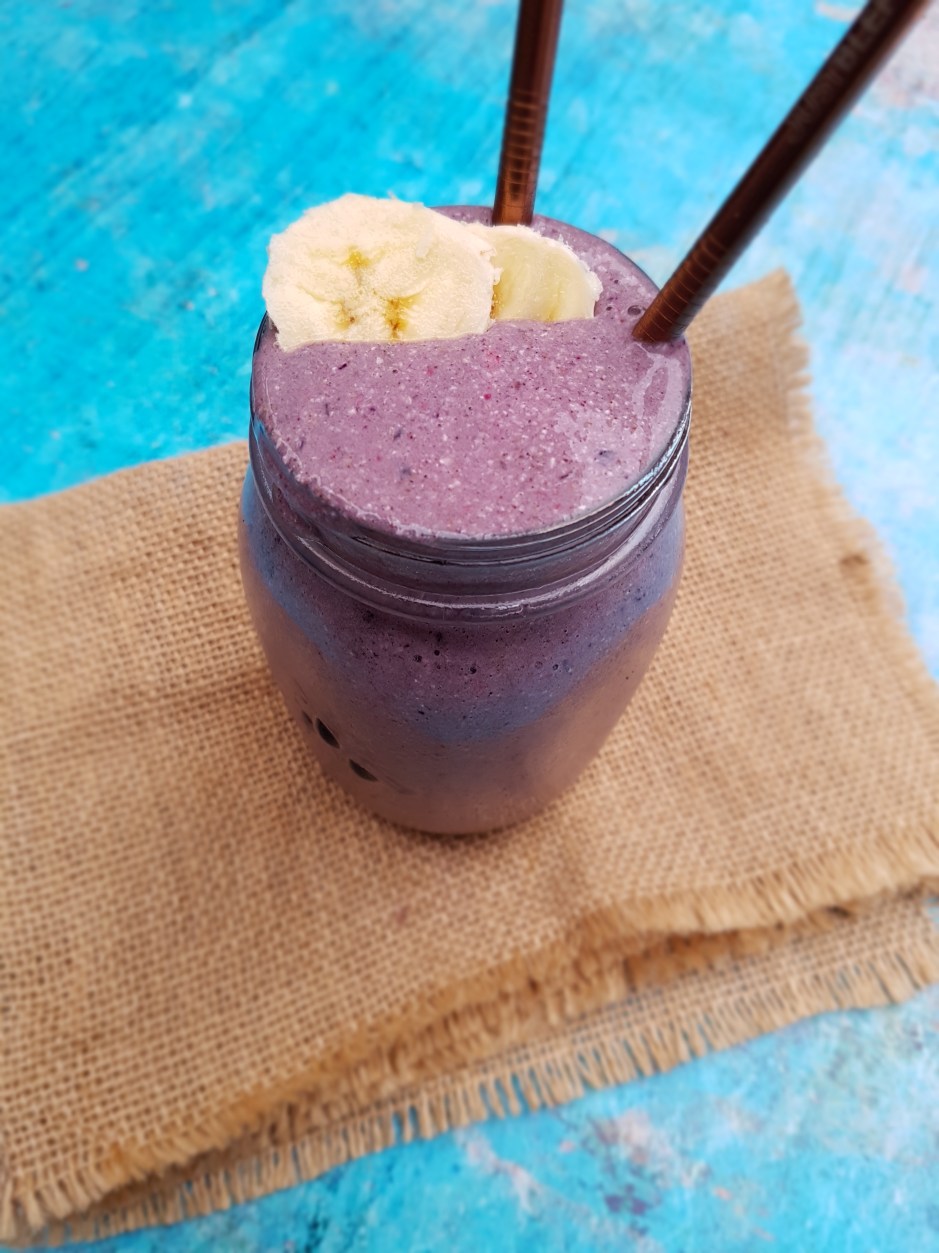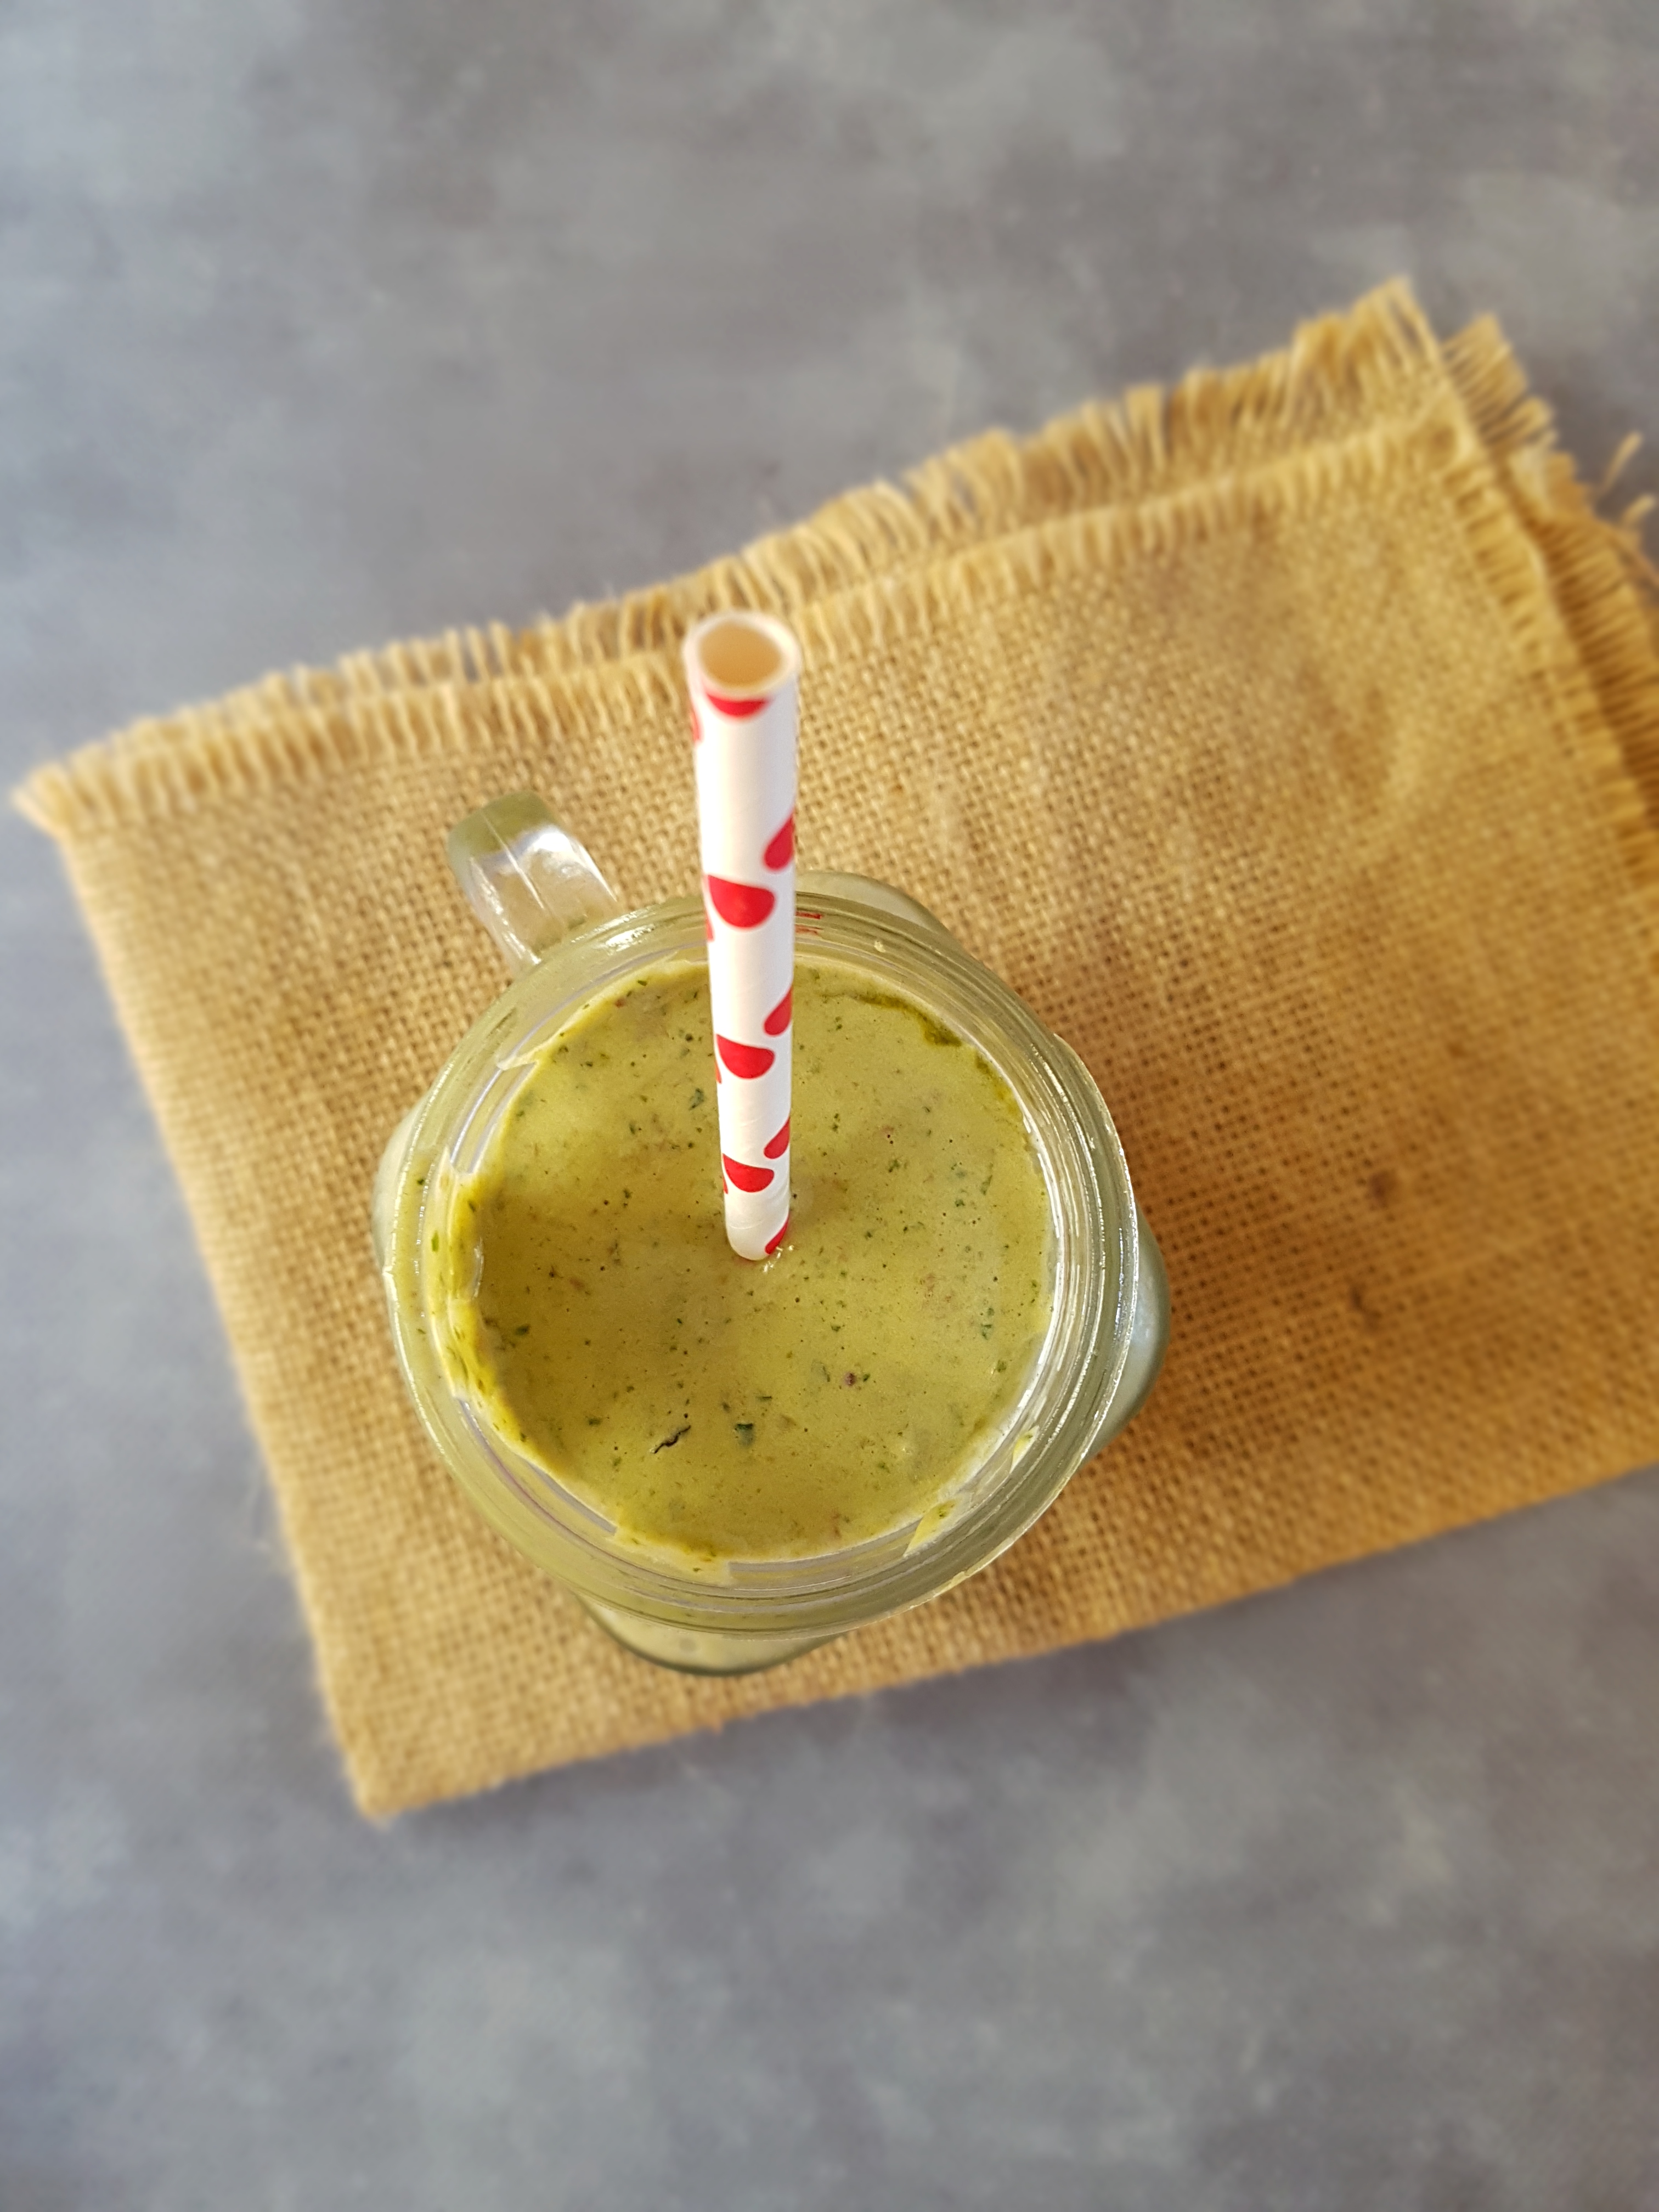
Summer is clearly coming to a close in Australia. This, sadly, means saying farewell to some of my favorite fruits. Strawberries, raspberries, cherries, apricots, watermelons – oh, and mango and nectarines, of course. The flavour and texture of mango and nectarines complement each other so well, so why not throw them together. My newly found love for the fruity and tangy taste of baobab led to the idea for a mango nectarine & baobab smoothie!
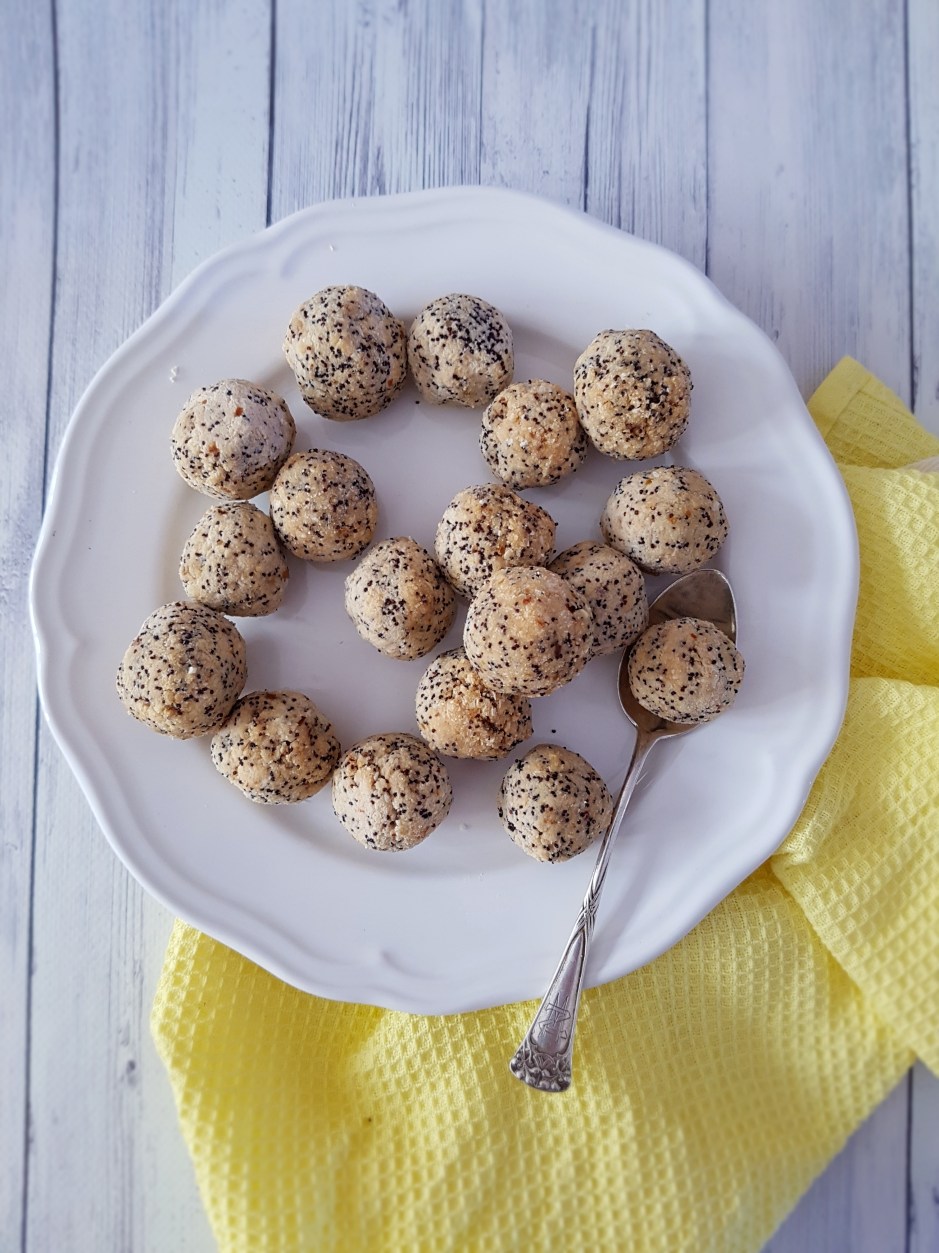
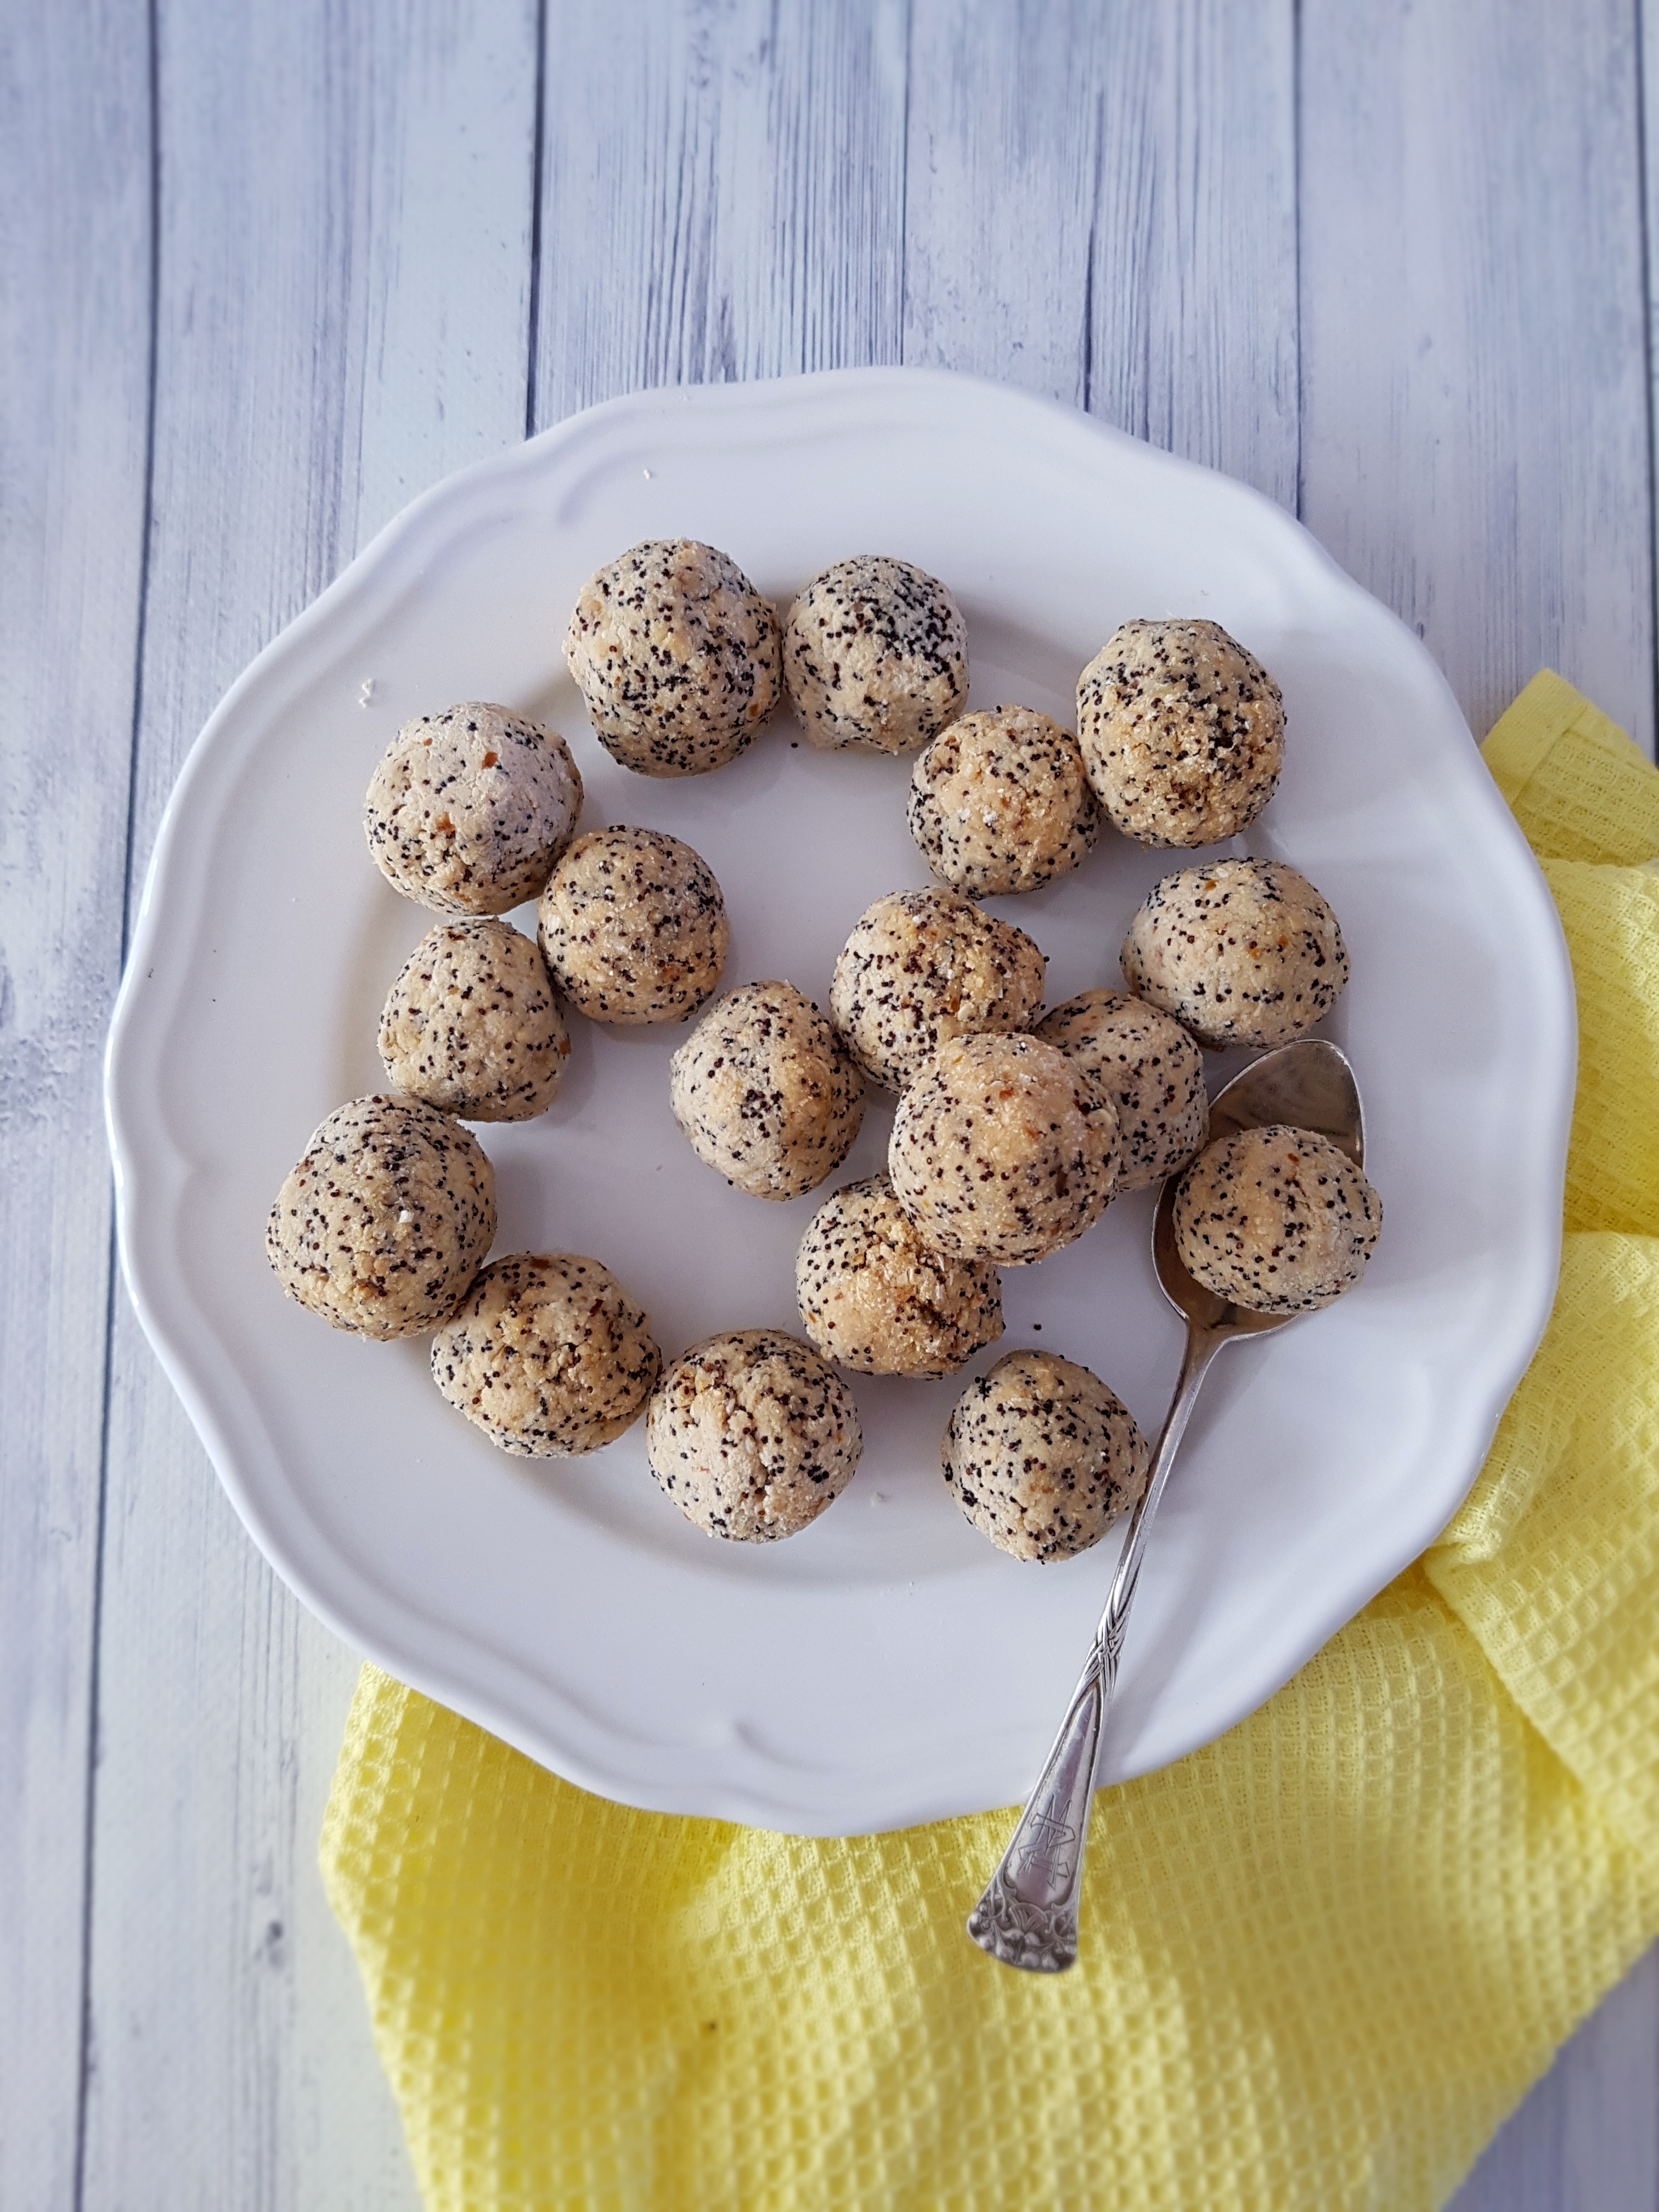
This smoothie is thick, creamy, and refreshing, a bit like a mango lassi. It is, however, less sweet and has a slightly tangy, yogurt-like flavour which I absolutely love – without any dairy! You would never think that this creation is vegan, refined sugar free, low in fat and good for you. I have already raved about the health benefits of baobab in my recent blog post about lemon poppyseed & baobab bliss balls. Baobab is shock full of electrolytes (great to hydrate on a hot day!), has more antioxidants than goji and acai (hello glowing skin and healthy immune system), plus fiber, vitamin C, potassium, magnesium and calcium to boot!
While technically not mandatory for the purposes of this smoothie, the addition of baobab boosts the already amazing health benefits of mangoes and nectarines. Think fibre, vitamin C, vitamin A, antioxidants, vitamin E and much more. With its unique fruity and zesty taste, baobab with mangoes and nectarines makes for a winning summer flavour combination – not only in summer!
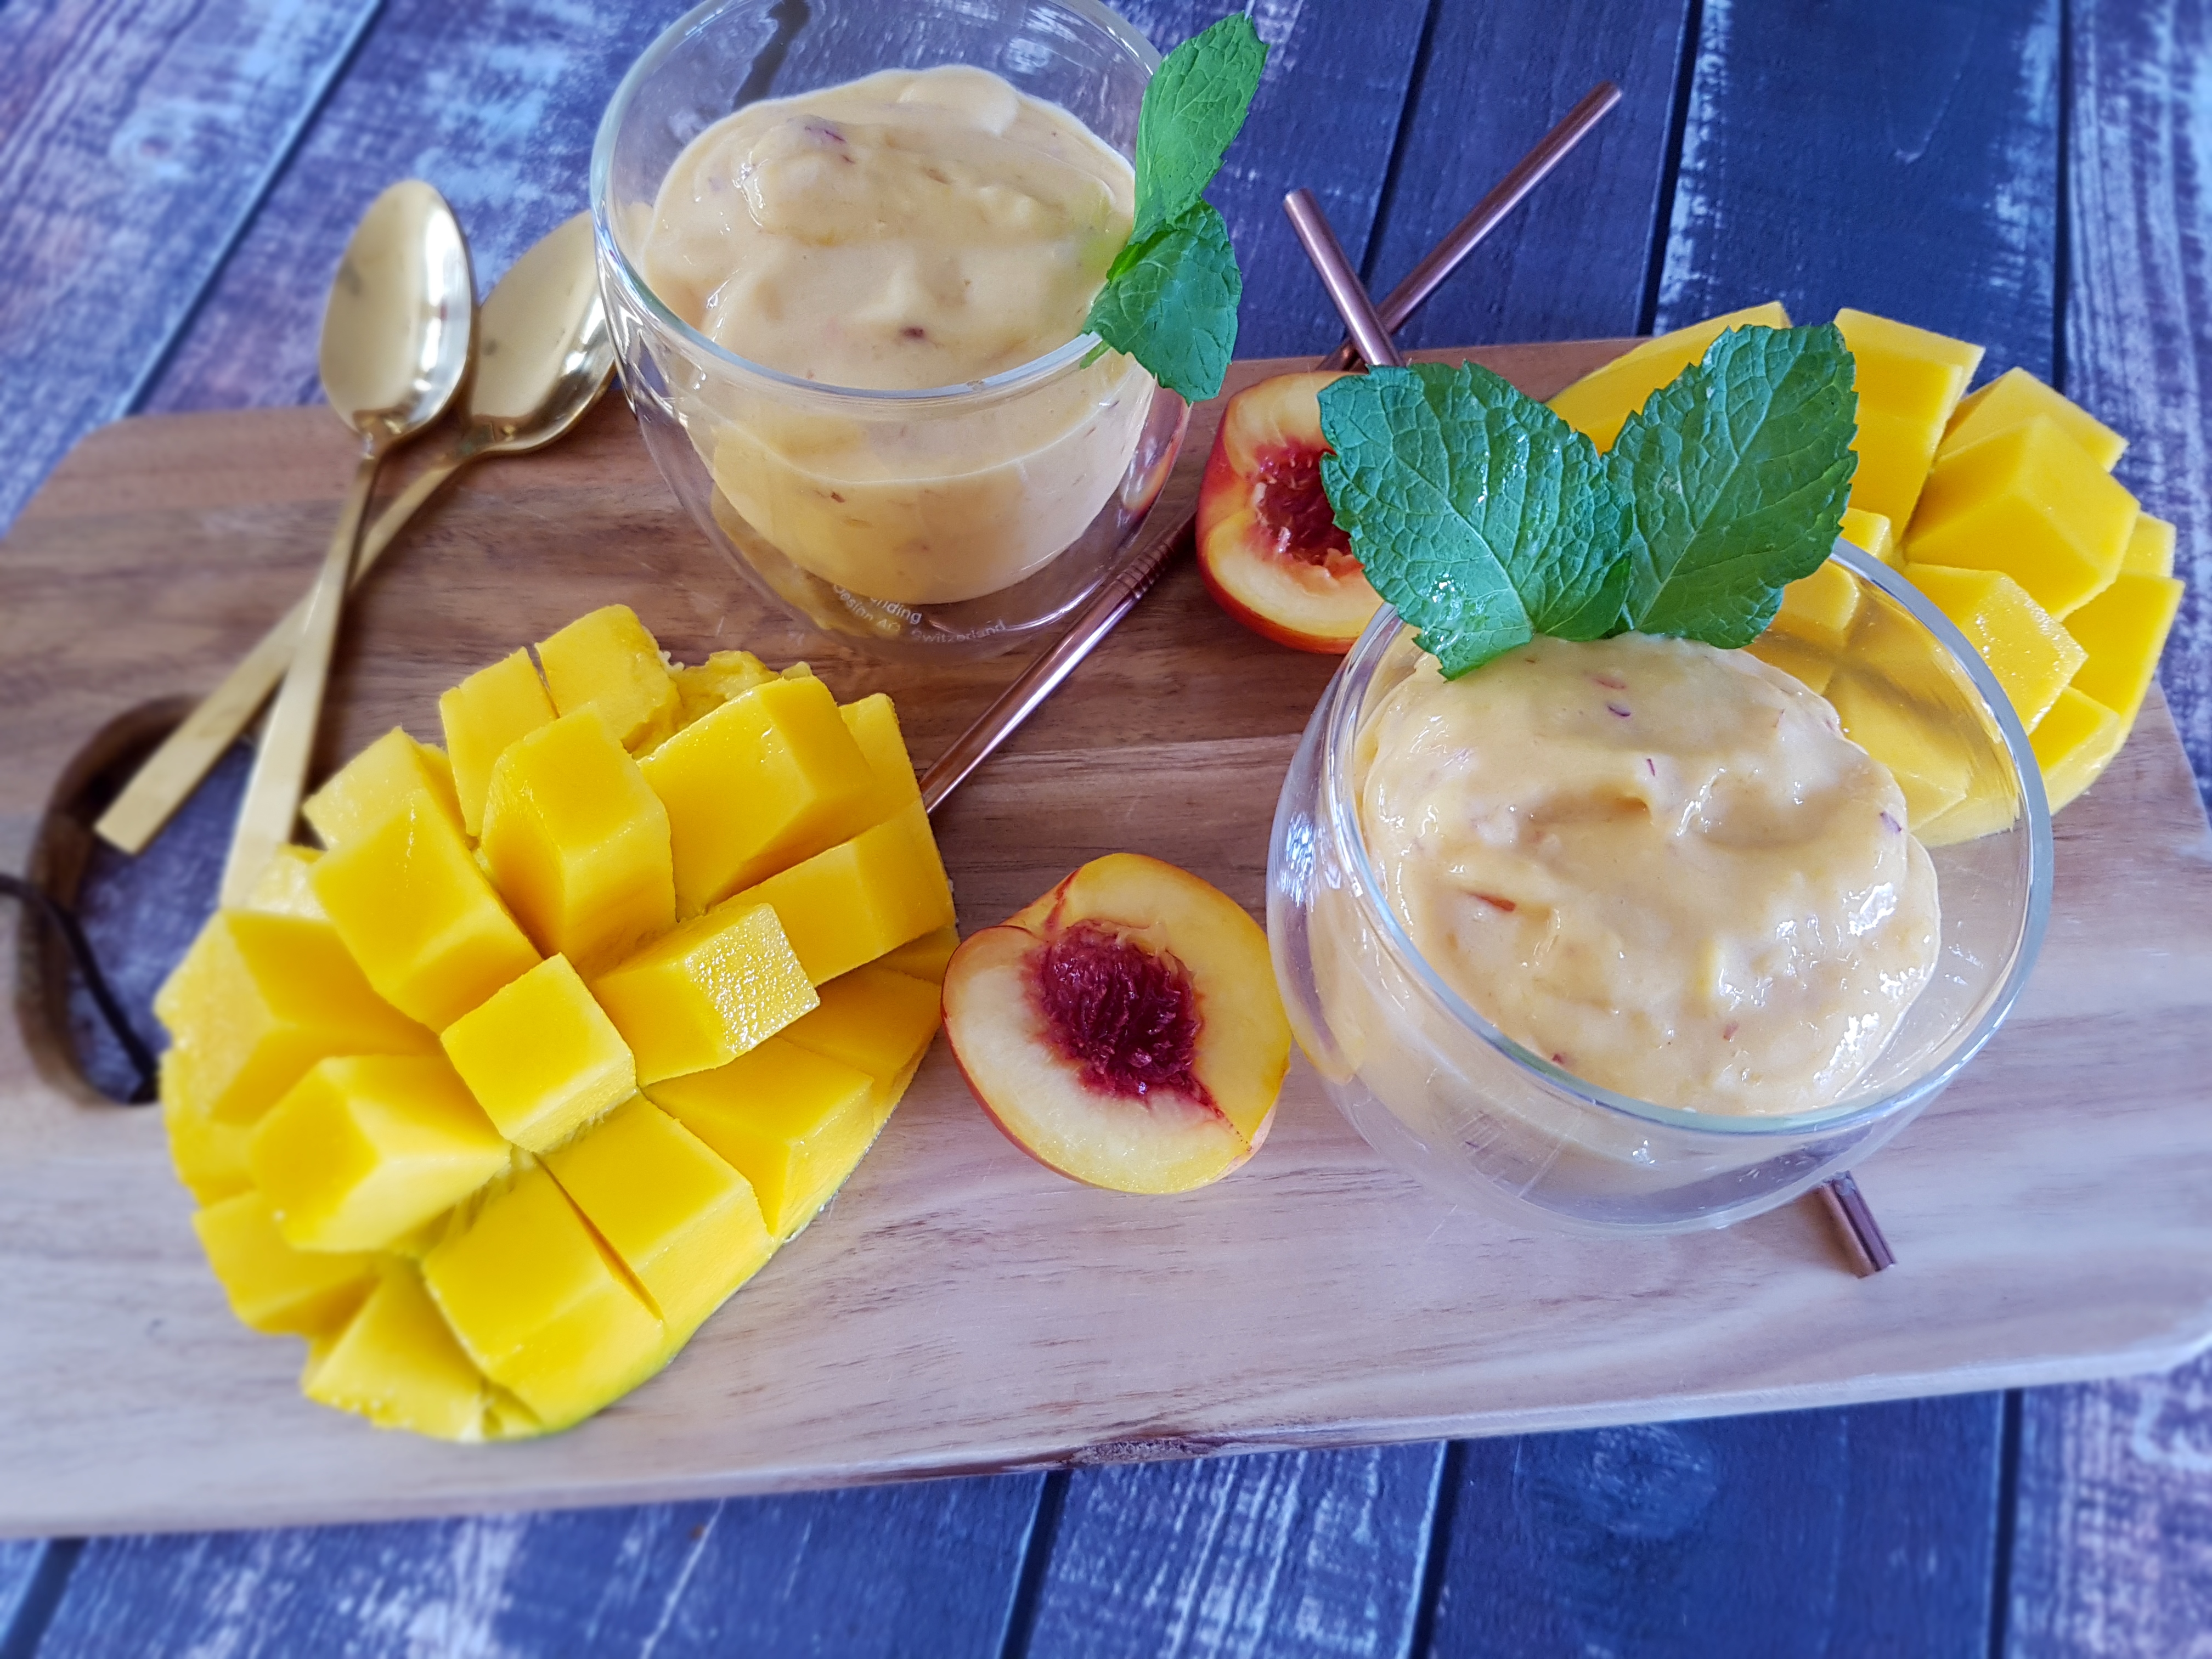
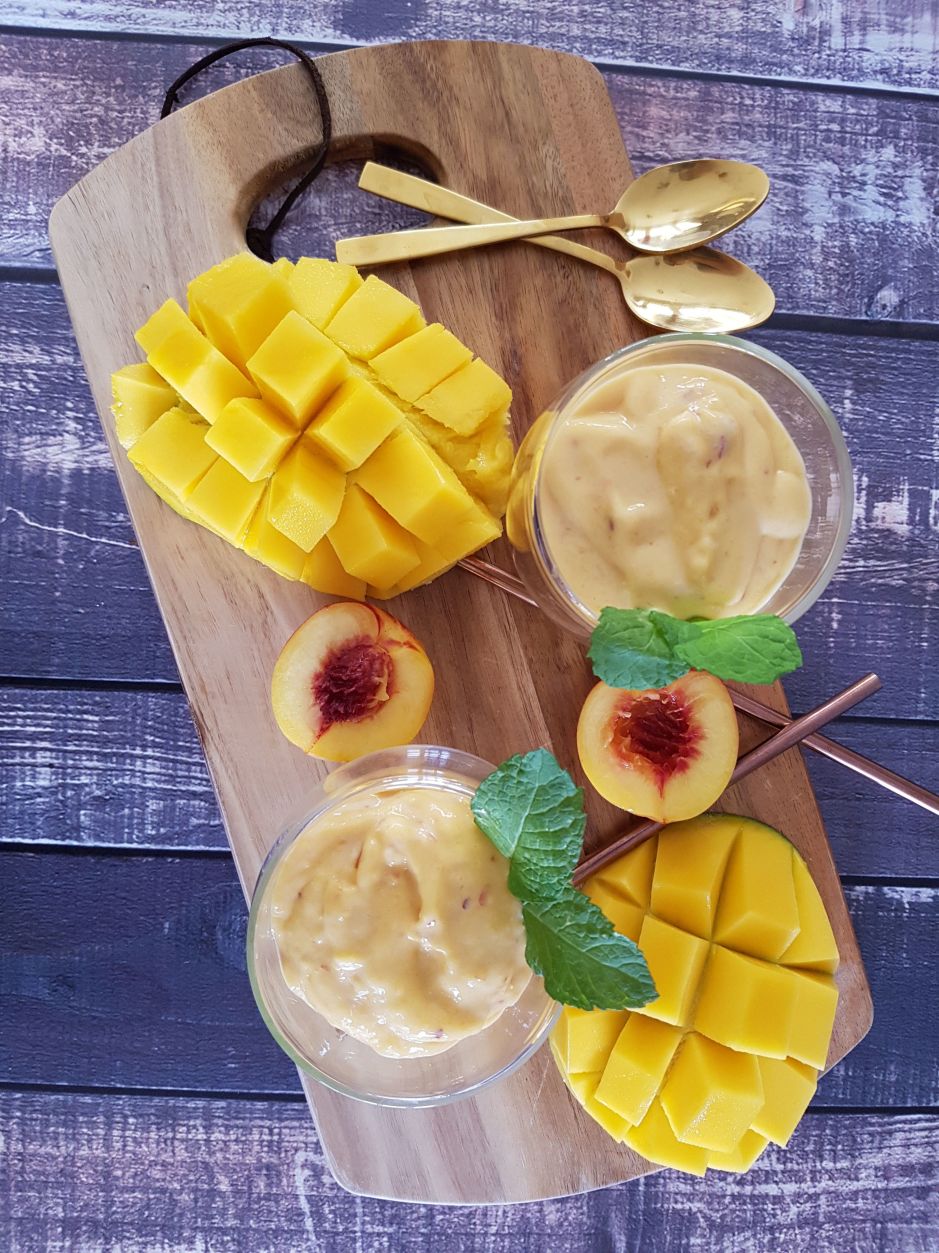
Mango Nectarine & Baobab Smoothie
Serves 2
250 g frozen mango
3-4 fresh nectarines
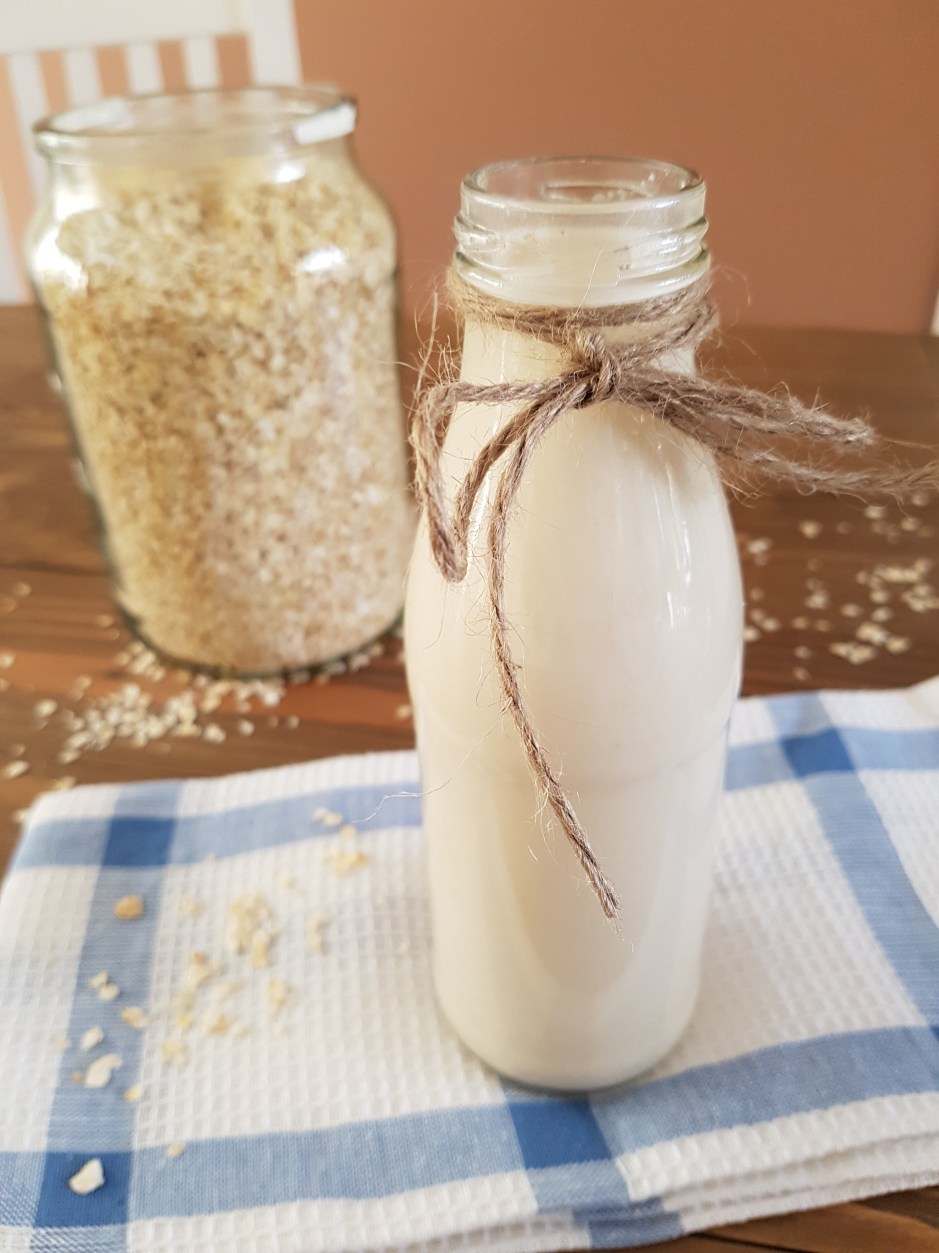
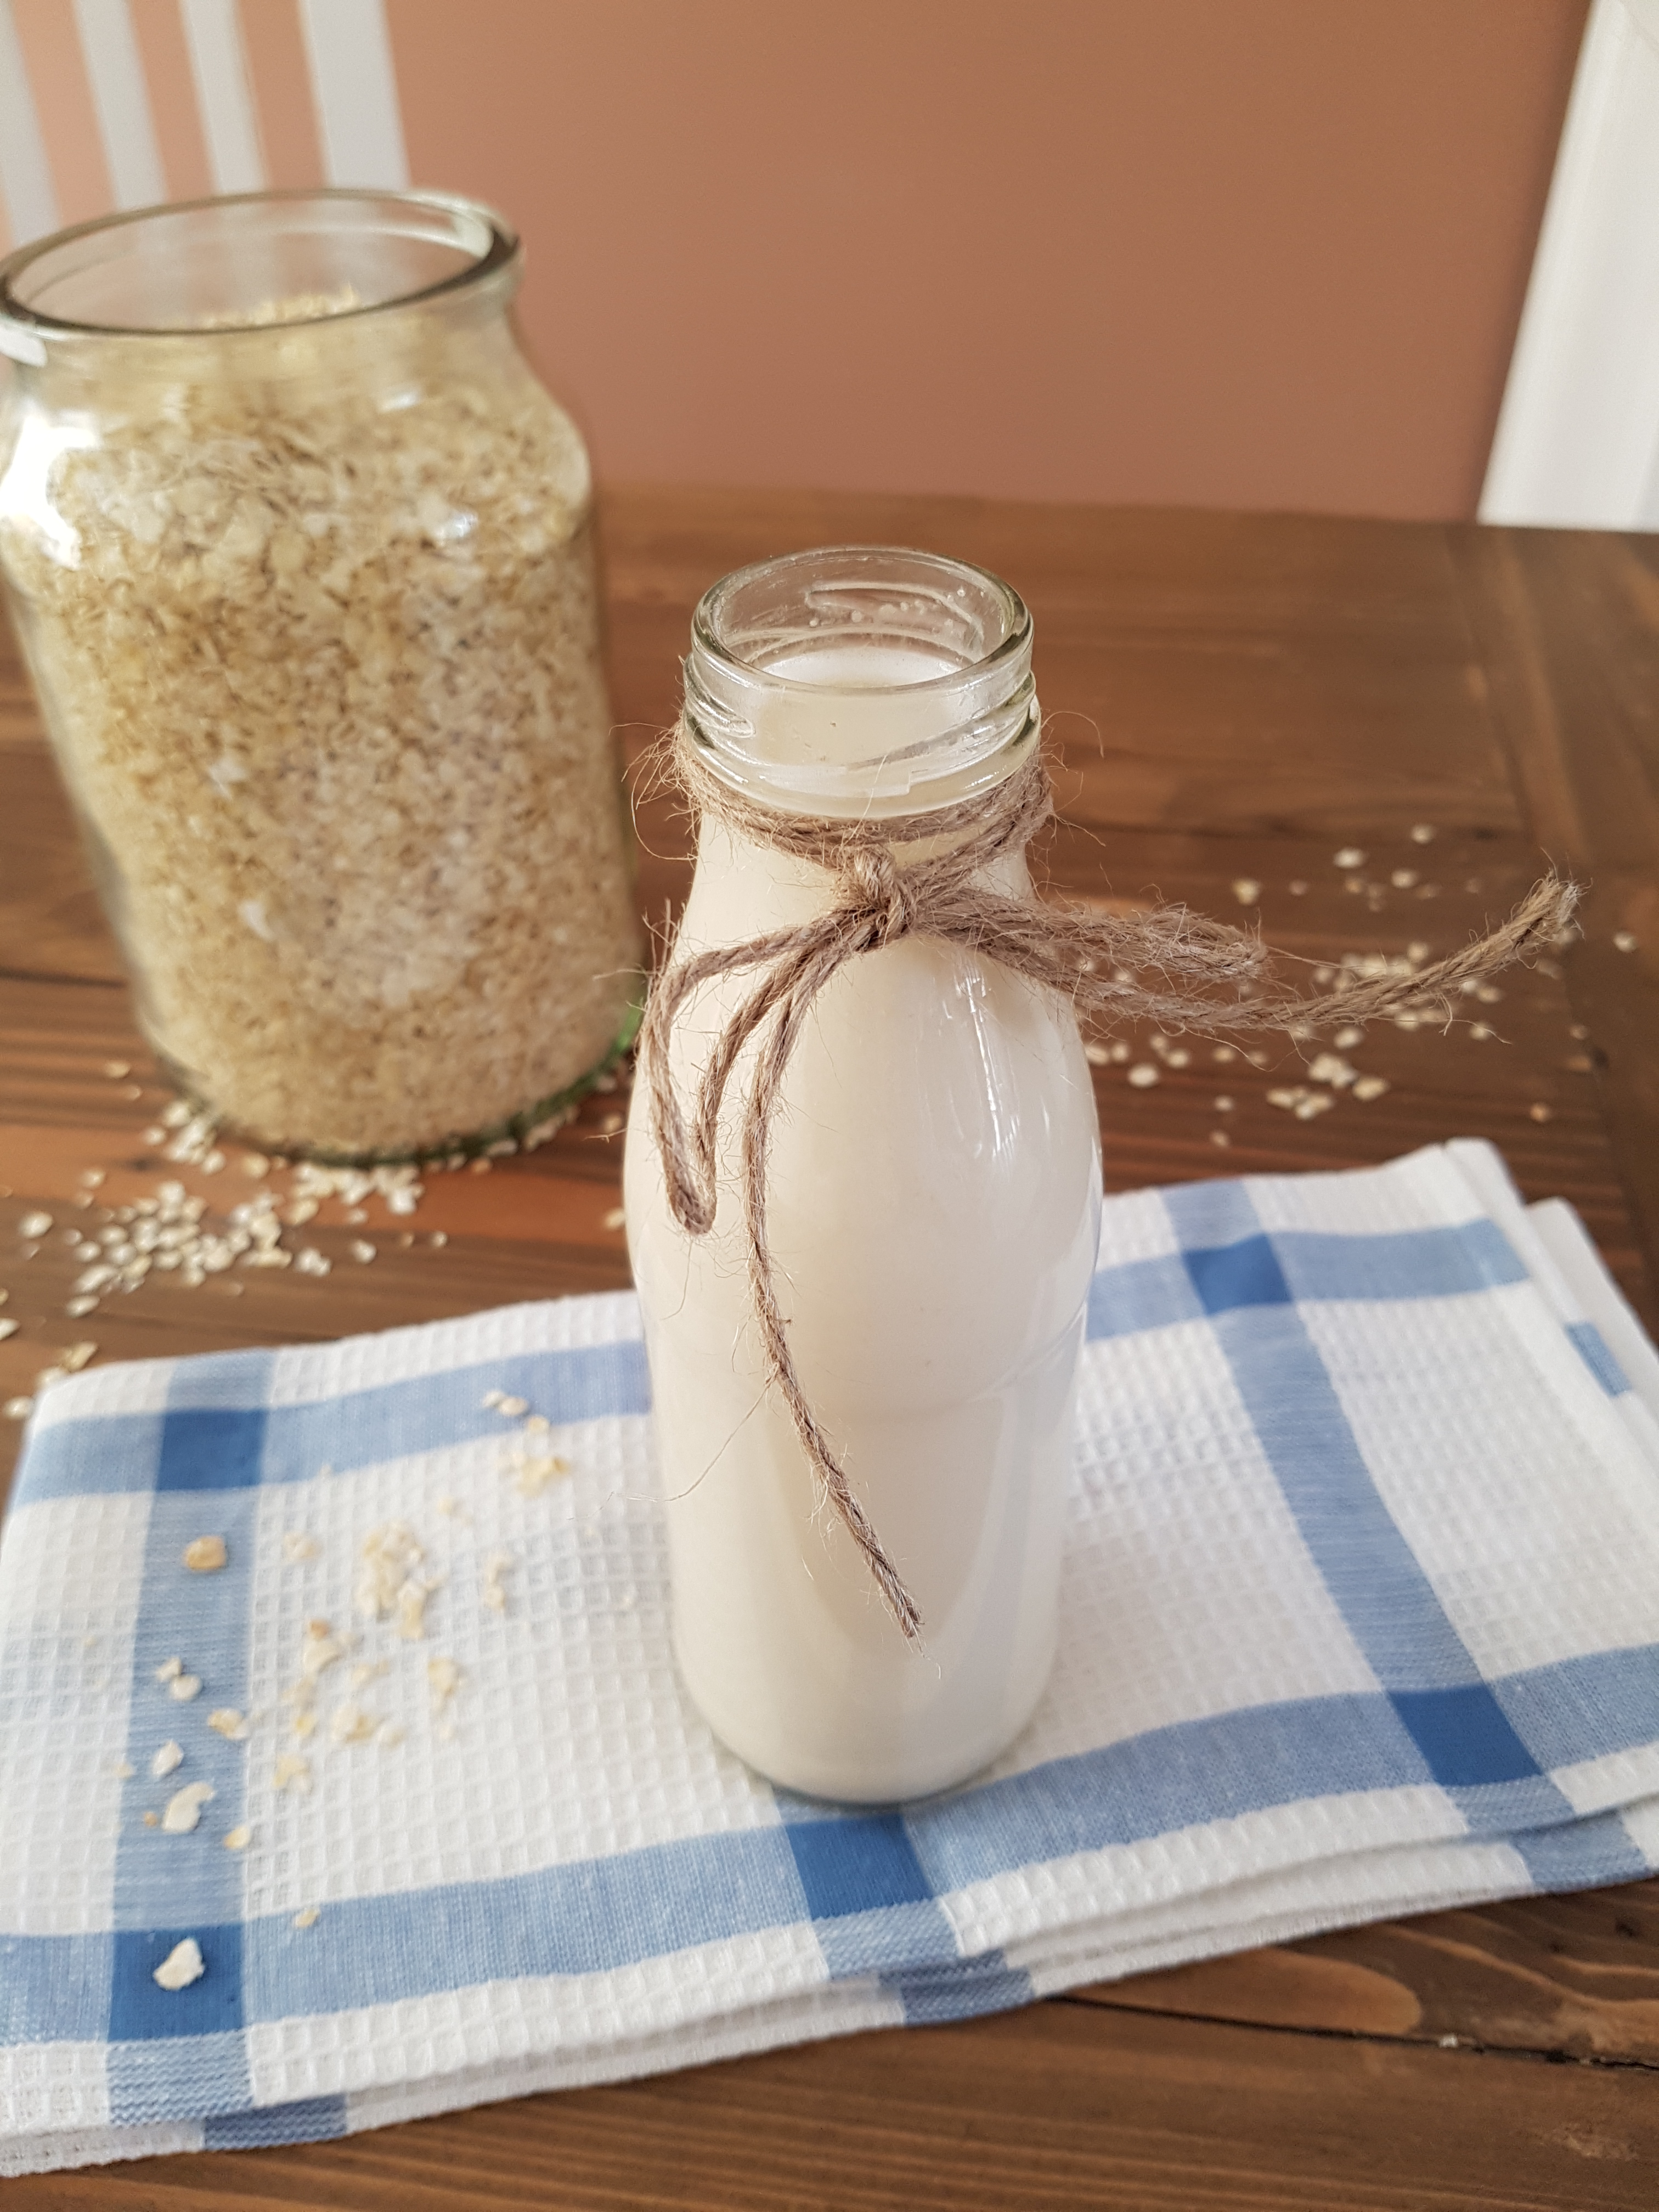
one cup soy milk or other plant milk
4 tbsp baobab powder
mint to serve (optional)
Blend fruit, milk and baobab until nice and smooth, divide between two glasses and serve with mint and fresh fruit.
Enjoy!